


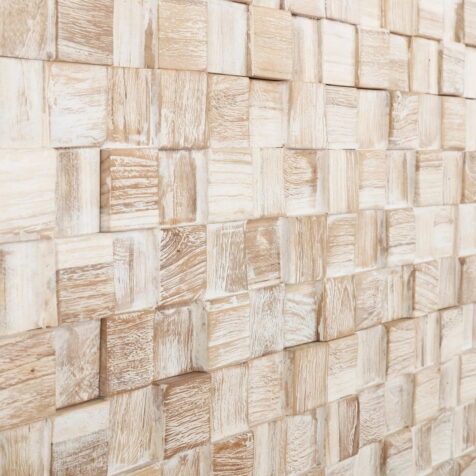
Montauk Blue 3D Wall Panels
$119.00 per box
Material:
Authentic Reclaimed WoodSquare feet p/box:
9.5 sq. ft.Installation:
Glue & NailsQuantity per box:
10 panelsSize per panel:
19.5” x 7” x 0.3"-0.75”Related products


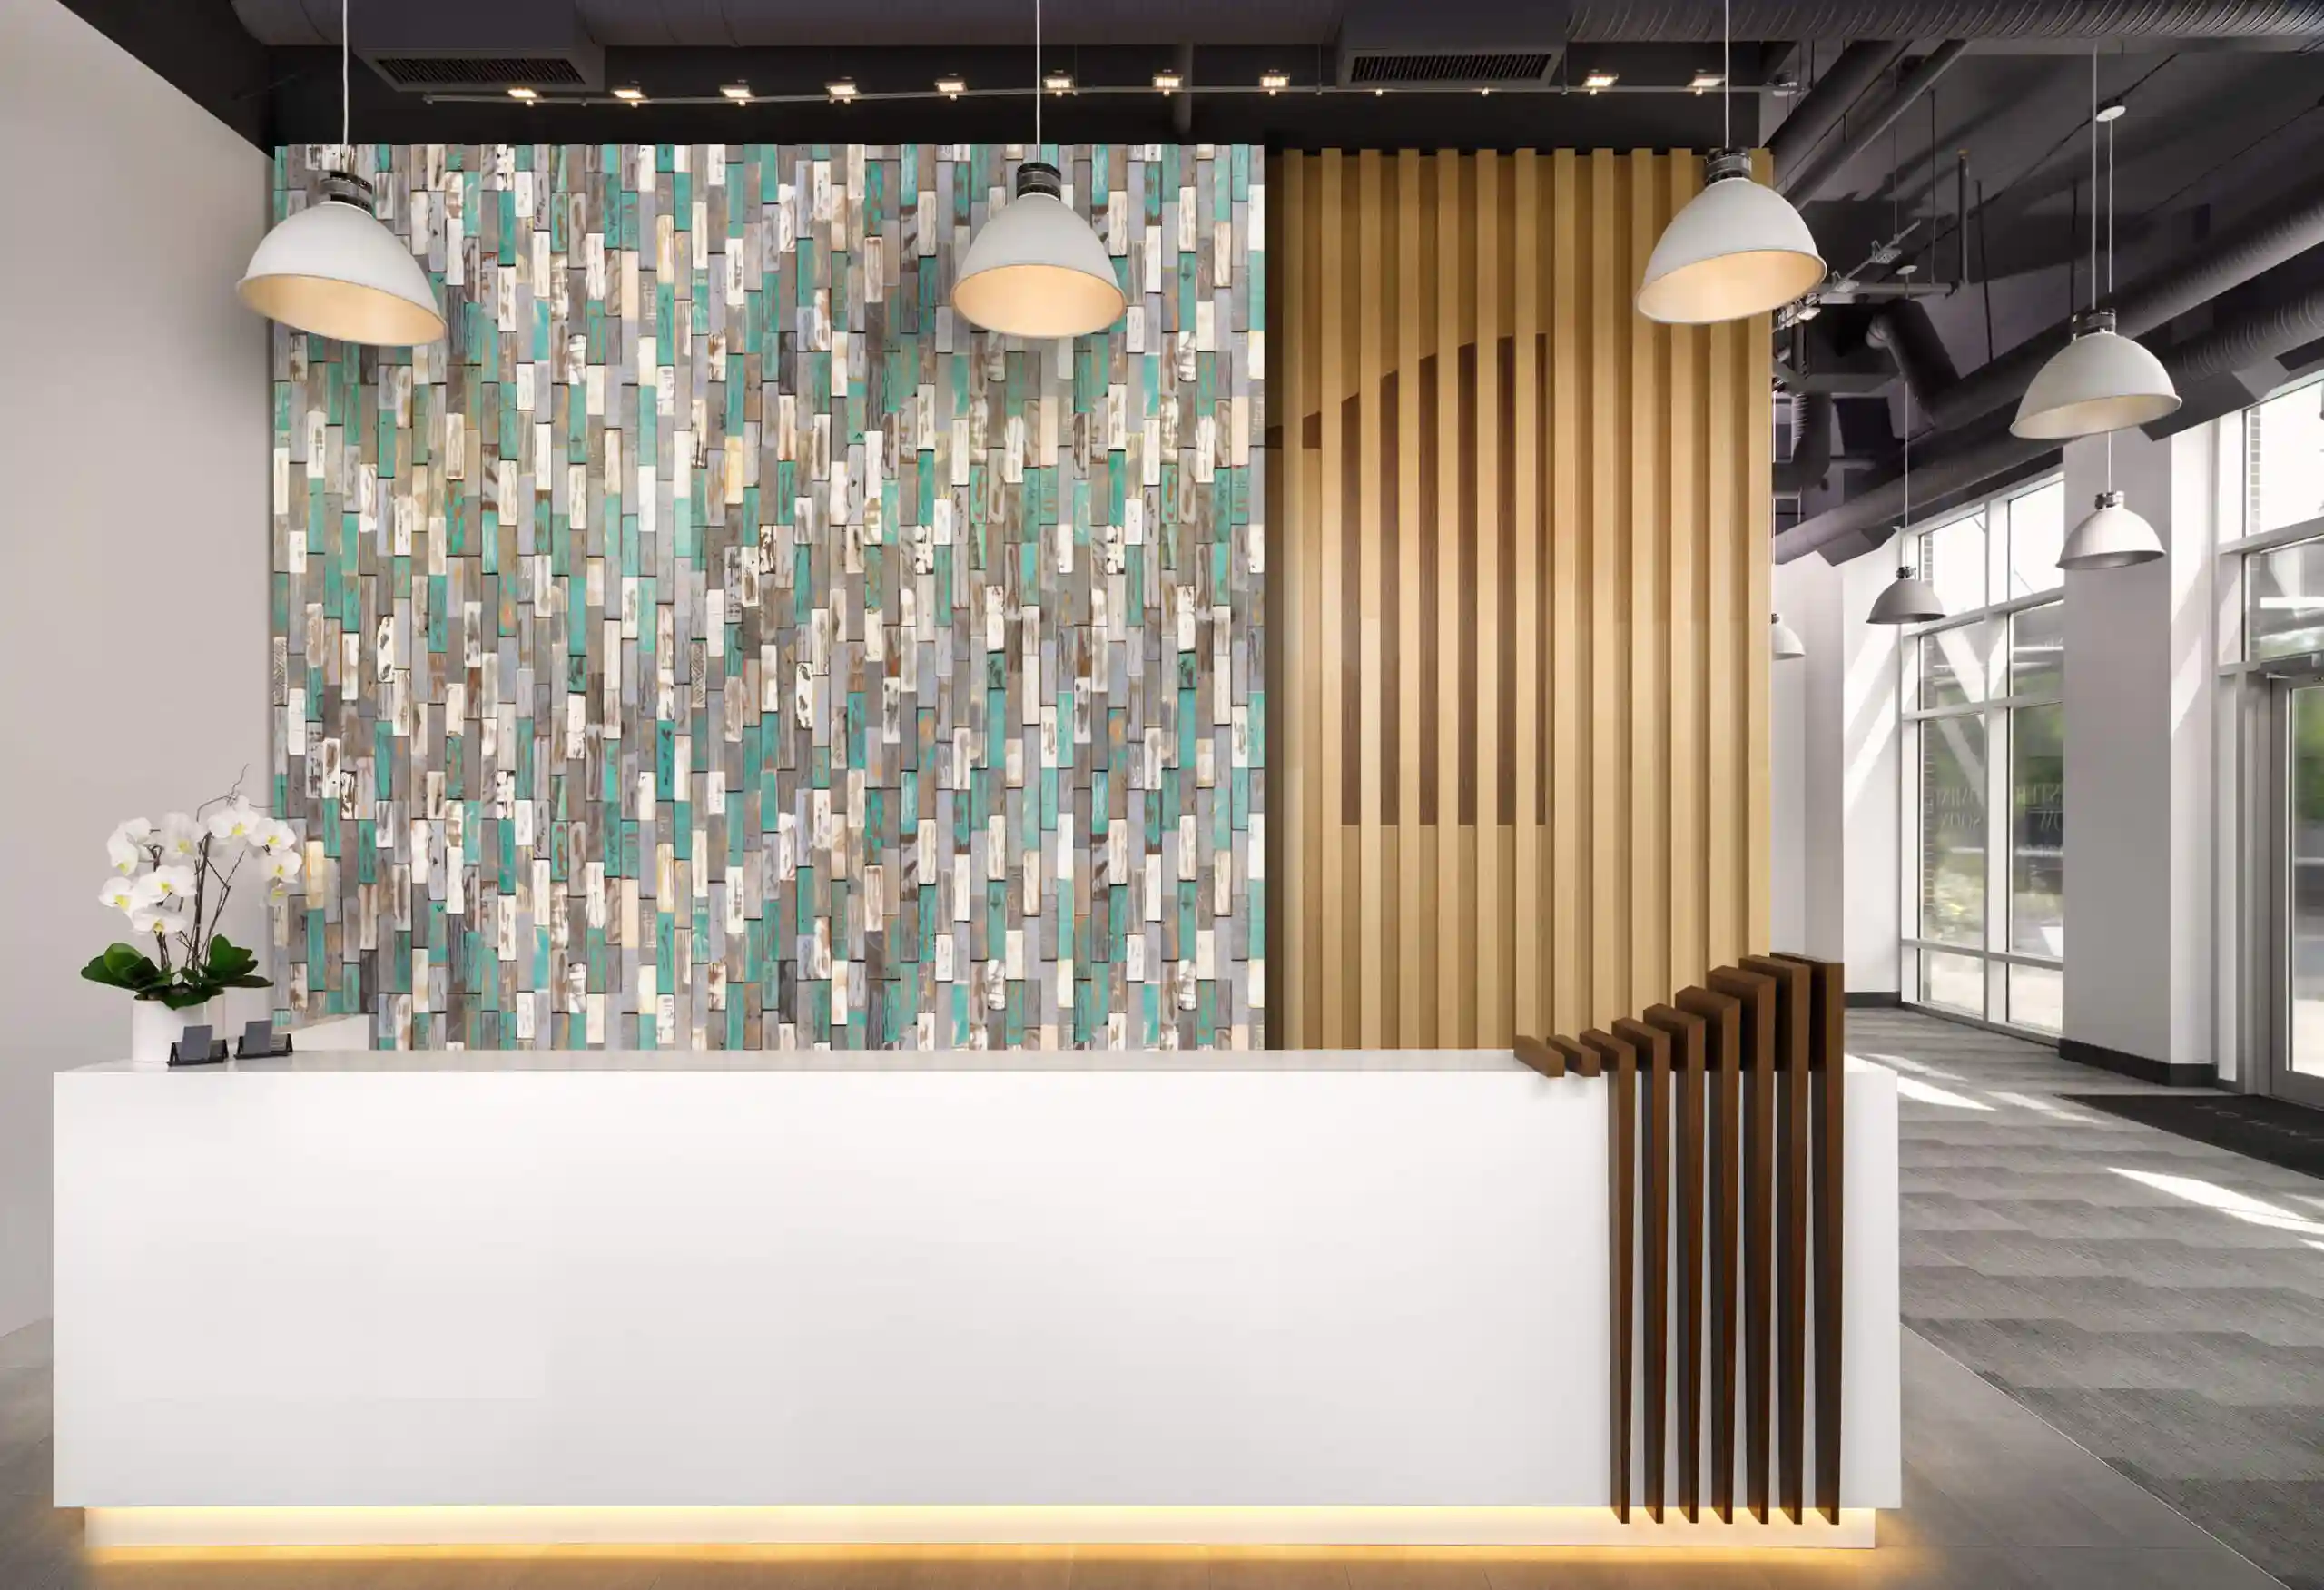
Montauk Blue 3D Wall Panels
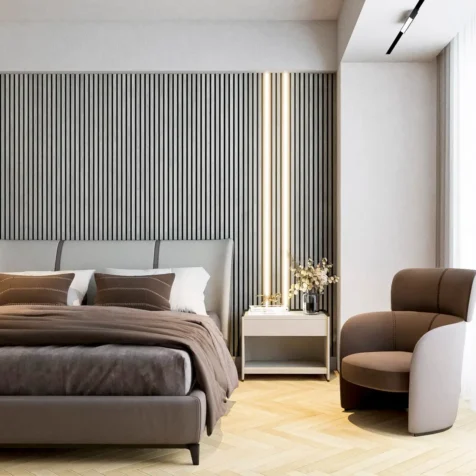
Fancy something a little different, a little daring, when it comes to creating a feature wood paneled wall? Montauk Blue 3D wall panels are the perfect solution and will always be a great way to make a statement or create a conversation point in your home.
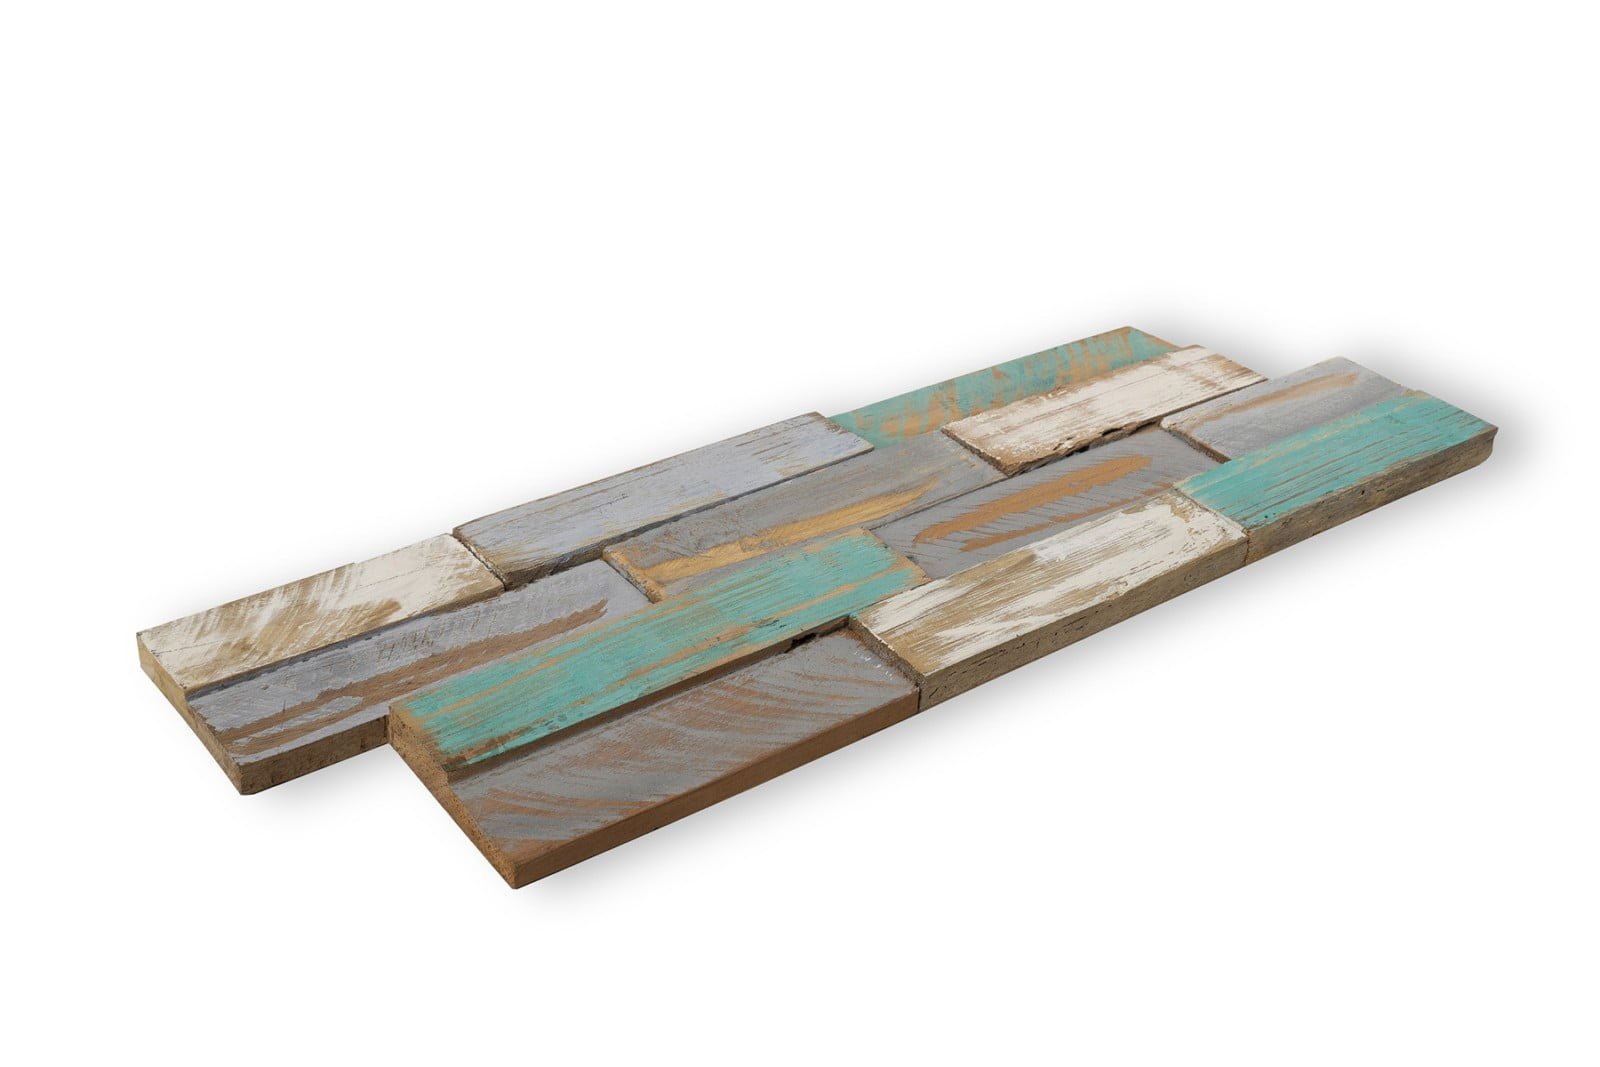
SPECIFICATIONS FOR DECORATIVE WOOD PANELS FOR WALLS
Each 3D wall panel is 19.5″ x 7″ with ten wood panels in every box. This will provide you with a total coverage area of 9.5 square feet. You will find these 3D barn wood wall panels will vary a little in thickness 0.3’’ and 0.75” and each and every panel is individually produced, so no two are identical in look.
BARN WOOD WALL PANELS ARE A SIMPLE DIY INSTALLATION PROJECT
Please do not be put off by what may appear to be a complex installation procedure. Nothing could be easier for a relatively straightforward DIY project. Check out our installation video and you will see that you only need a few tools to install these wood wall panels.
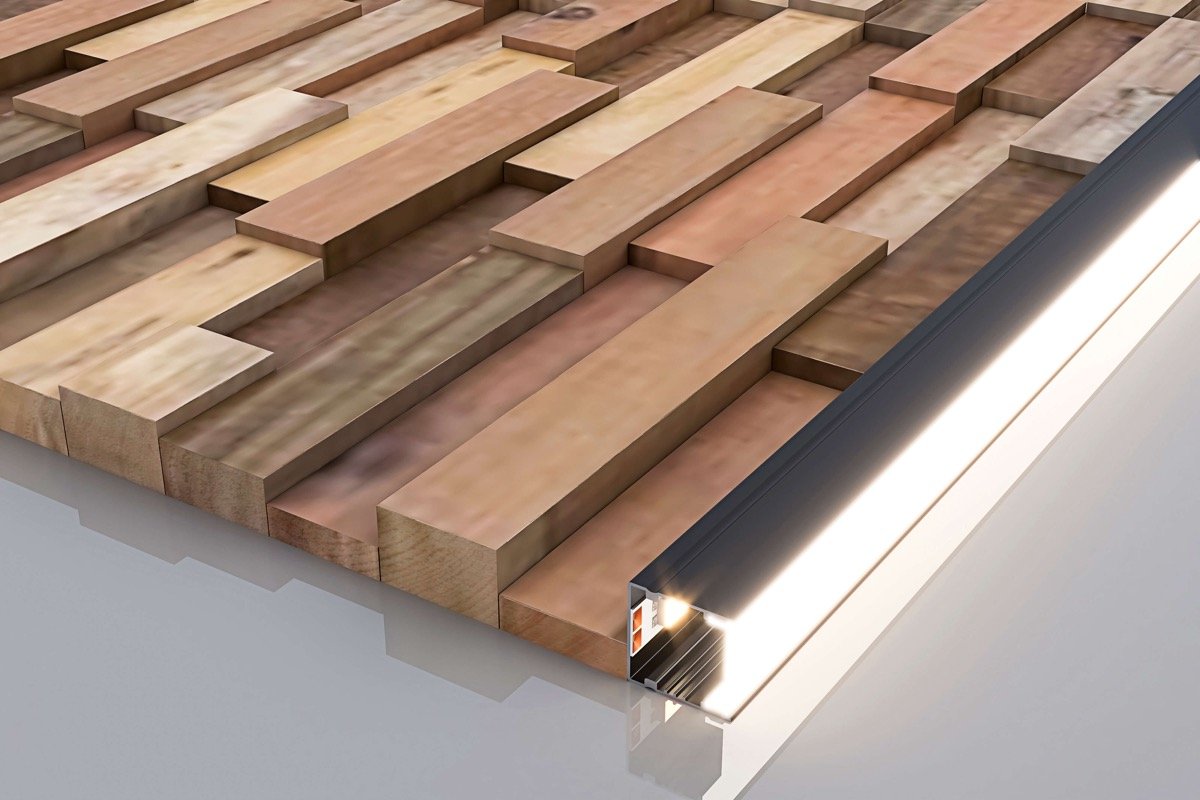
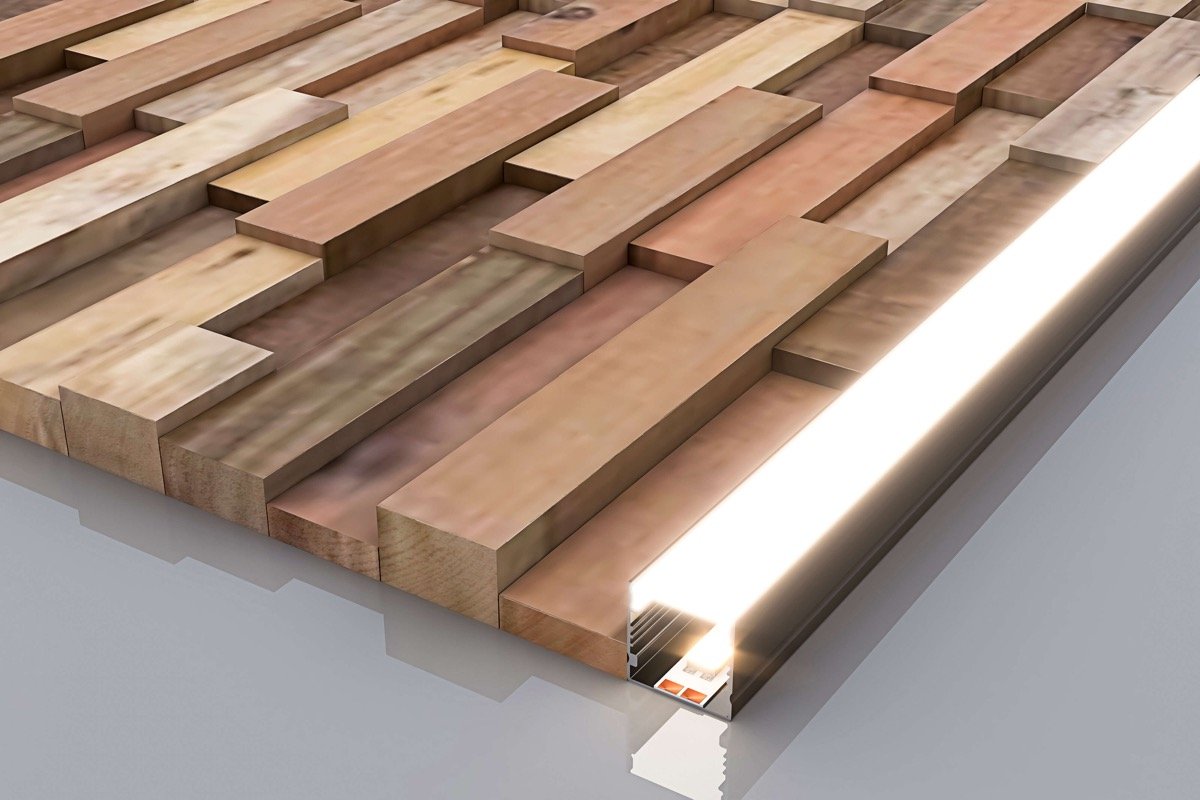
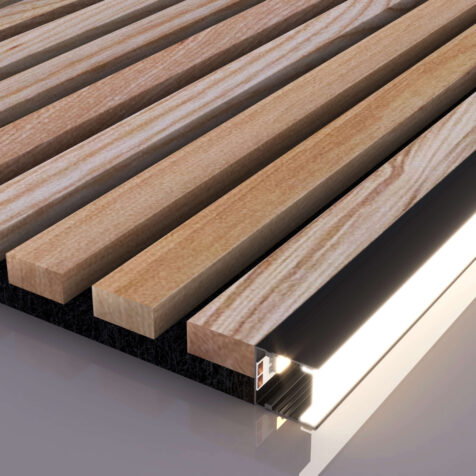
ELEVATE YOUR WOOD ACCENT WALL’s CHARM WITH OUR LED CHANNEL FOR WOOD WALL EDGING
Elevate the aesthetic appeal of Woody Walls 3D wood wall panels with our remarkable LED accent lighting. Designed exclusively for 3D wood walls, our lighting solutions will take your 3D wood wall panels to the next level. Our seamlessly integrated Edge Lighting Channels effortlessly complement our 3D wood wall panels, allowing you to effortlessly create captivating lighting effects that amplify the inherent beauty of your wood accent wall, while also adding a touch of elegance and sophistication.
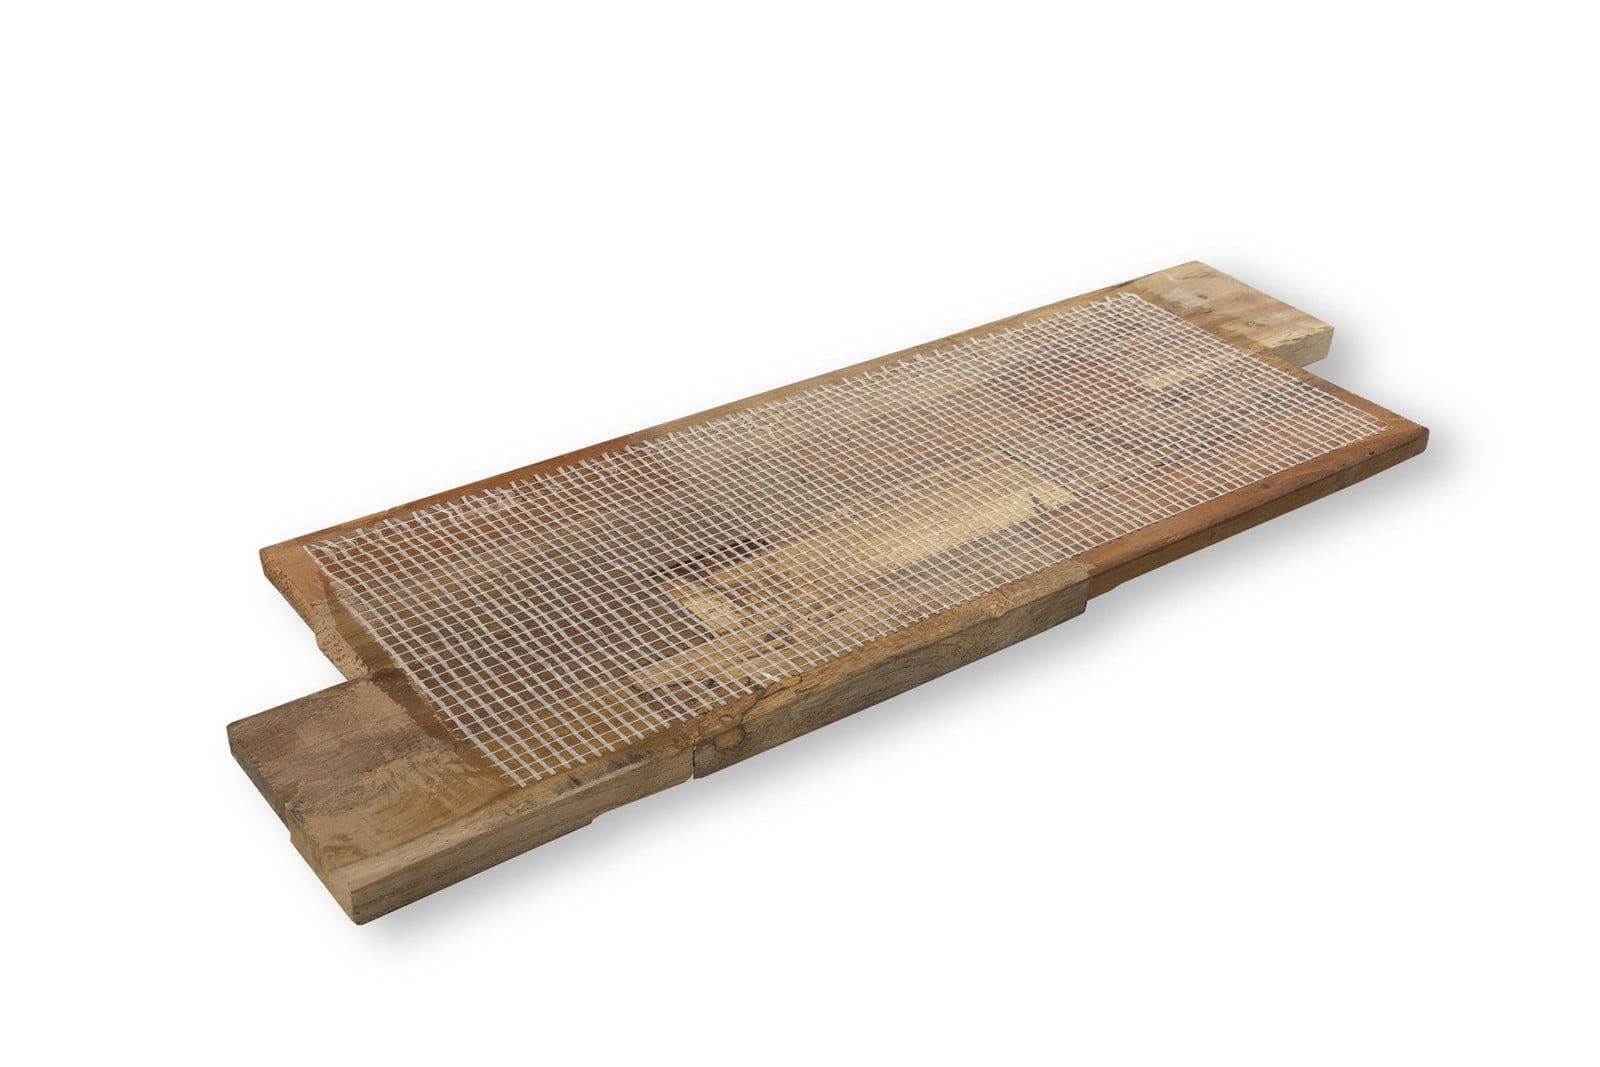
THIS WALL CLADDING CAN BE FITTED TO ANY SURFACE
What makes these barn wood panels so popular is the fact that they are perfect for covering up old and tired walls. All you need to do for preparation is make sure that the surface of the old wall is dry, clean and free from dust.
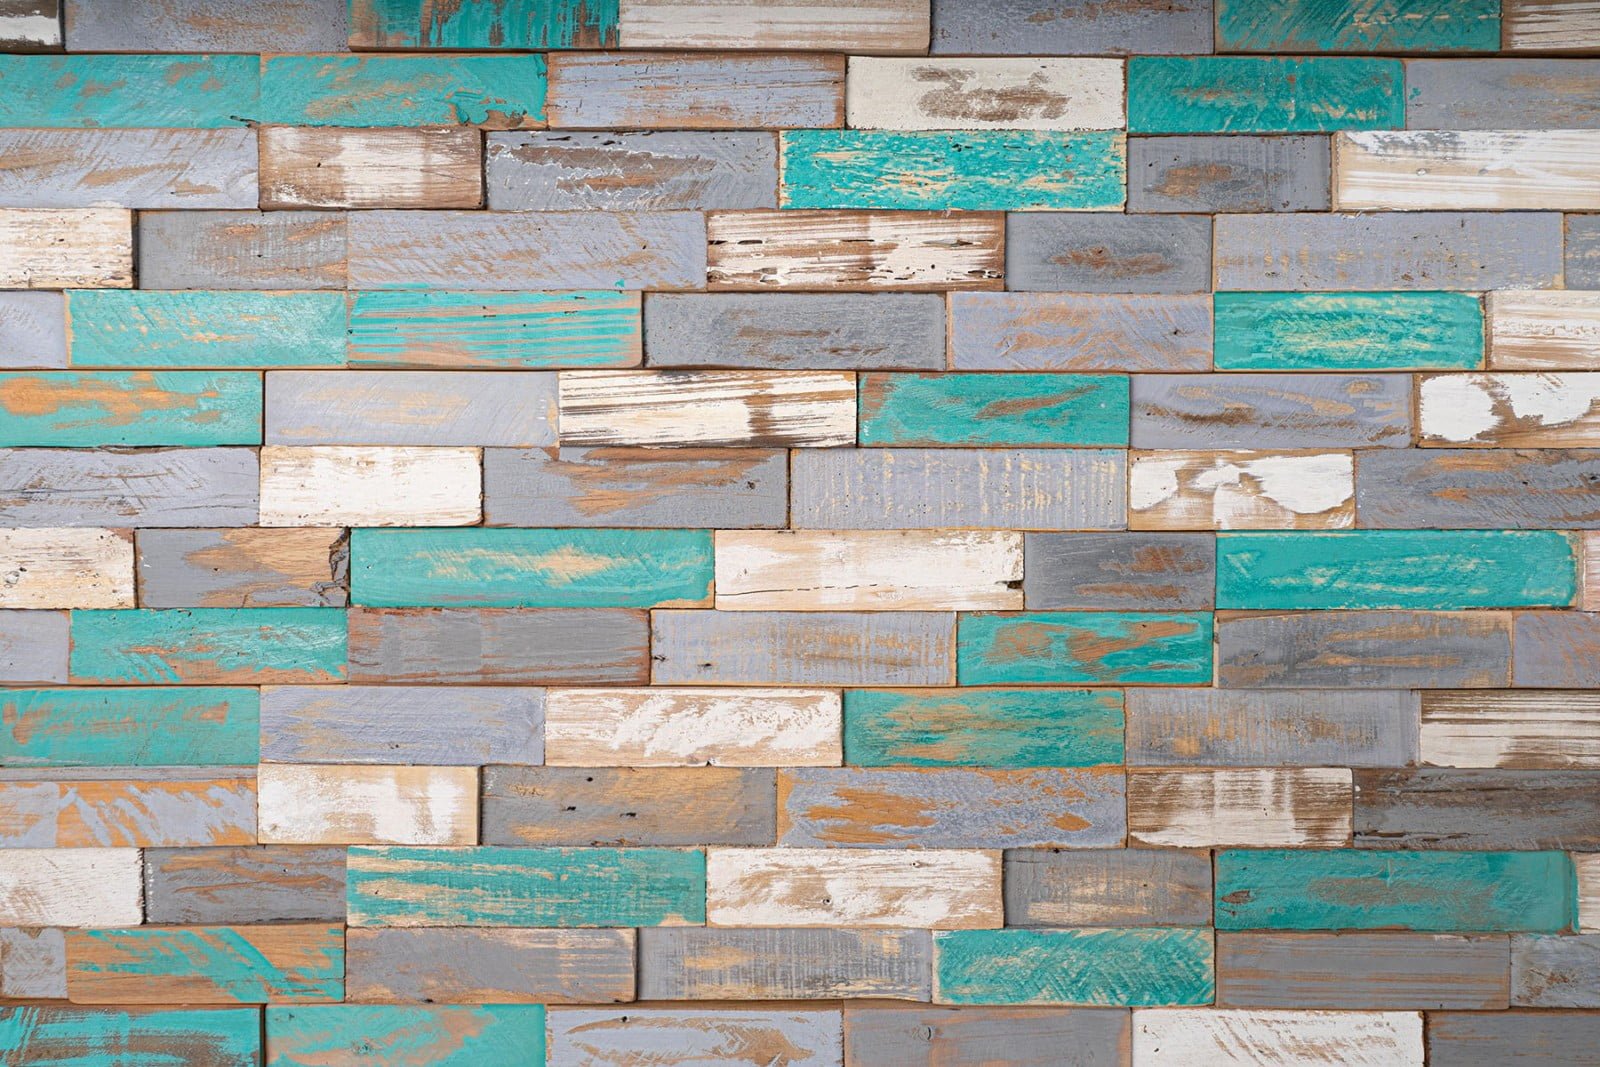
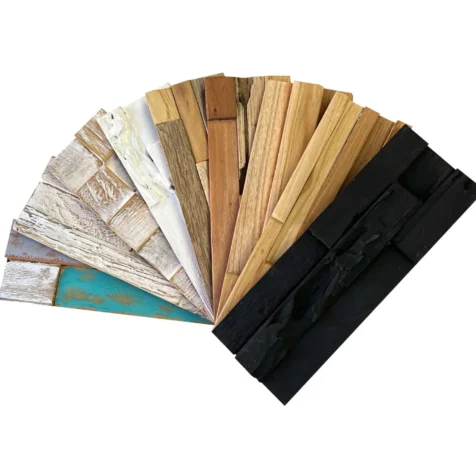
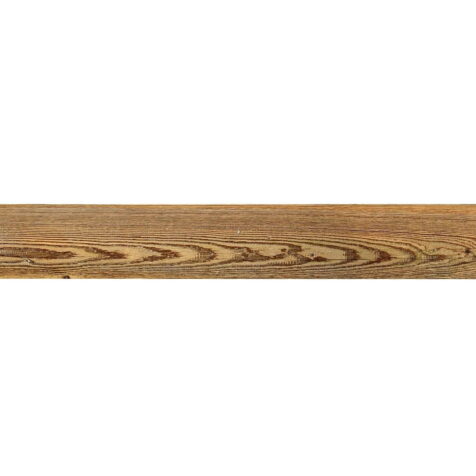
NATURAL RUSTIC FEEL TO OUR BARN WOOD WALL PANELS
On close inspection you will be able to see that all our barn wood wall panels have been naturally weathered over time by the elements and therefore you will spot some individual characteristics such as deeply weathered grooves and natural splits in the wood. Add the rich vibrancy of the Montauk Blue and the quality will shine.
GUARANTEED QUALITY OF ALL 3D WOOD WALL PANELS
All Woody Wood barn wood wall panels are responsibly sourced and are fully recyclable. We never use harmful pollutants or chemicals in any treatments. We only ever use only non-toxic adhesives and VOC-free paints. Our 3D wood wall panels also have a class B fire rating.
Reviews
You must be logged in to post a comment.


2 reviews for Montauk Blue 3D Wall Panels
Wanted to add a little flare to our toilet room. Mission accomplished! Easy to install. Love the product!! Wanted to add a little flare to our toilet room. Mission accomplished! Easy to install. Love the product!!
Brenda Wallace Verified Buyer
Visually and tactility attractive. Lay out pieces as suggested and plan your layout like a puzzle of colors Visually and tactility attractive. Lay out pieces as suggested and plan your layout like a puzzle of colors
CC Verified Buyer