


Description
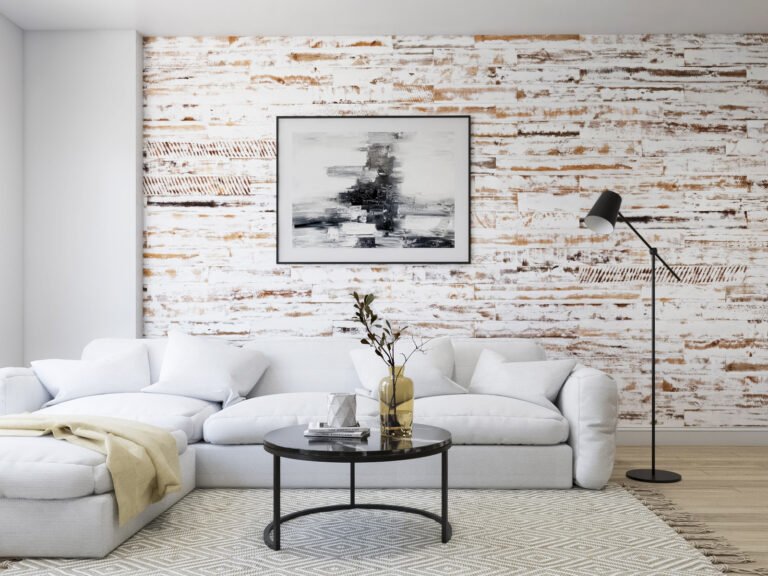
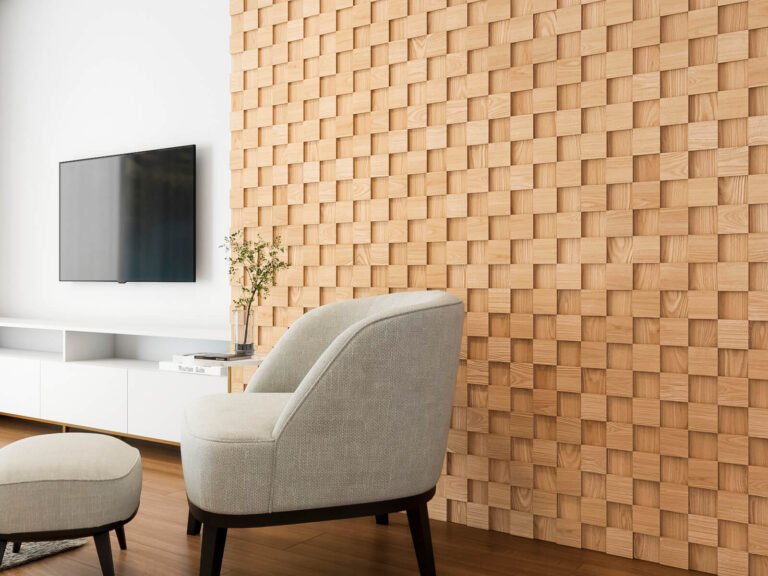
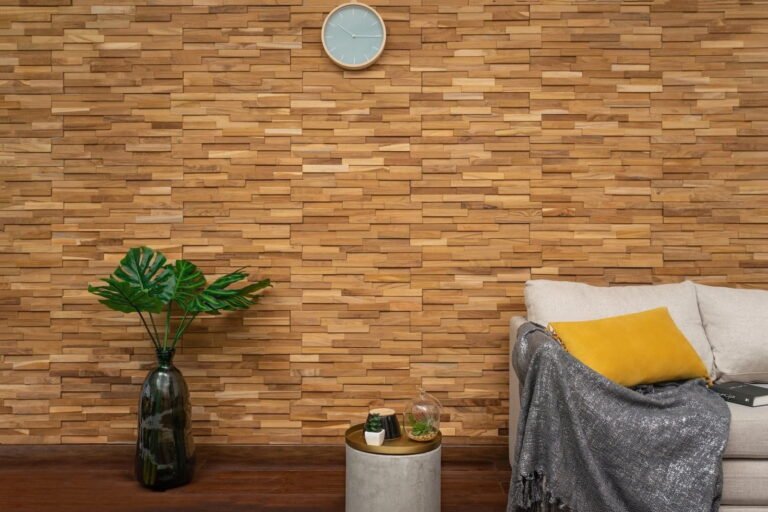
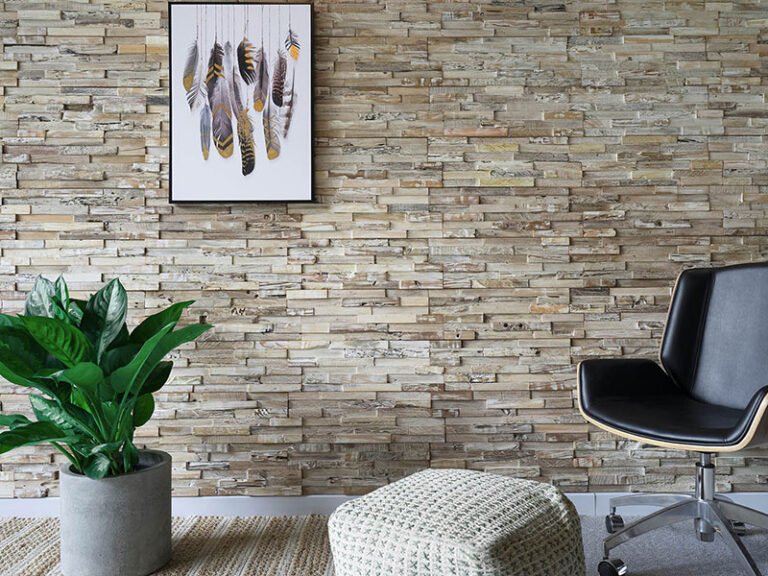
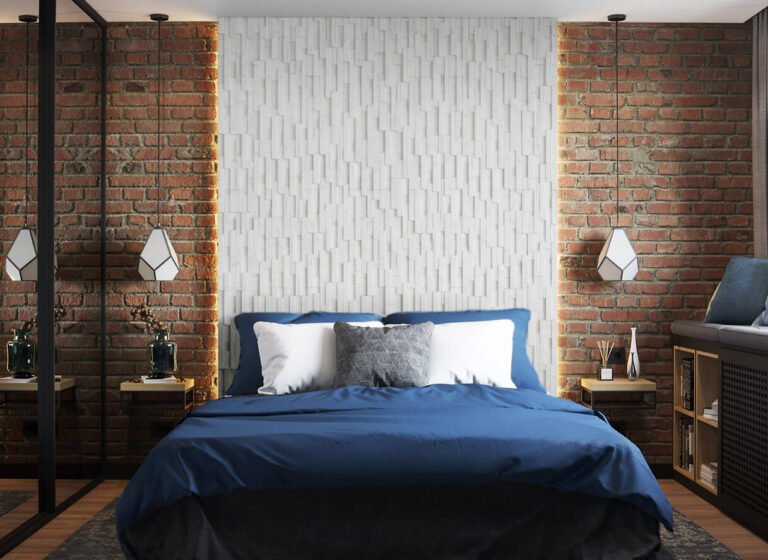
White Square 3D Wall Panels
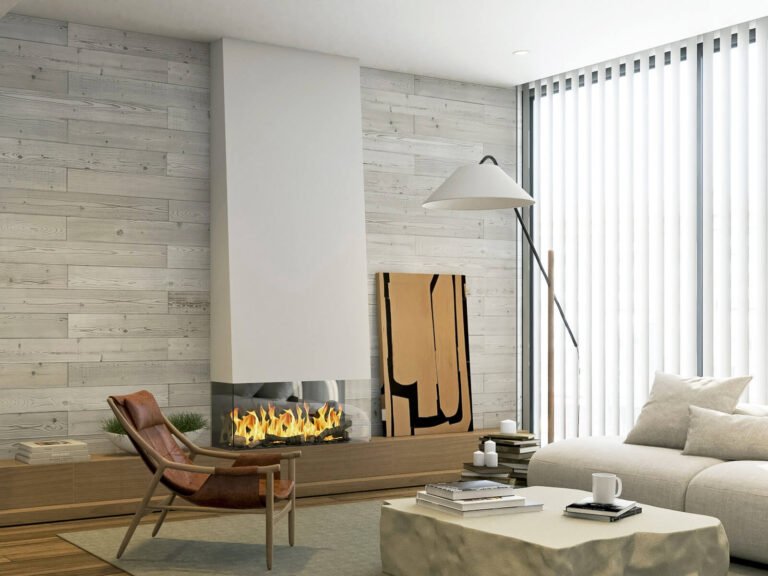
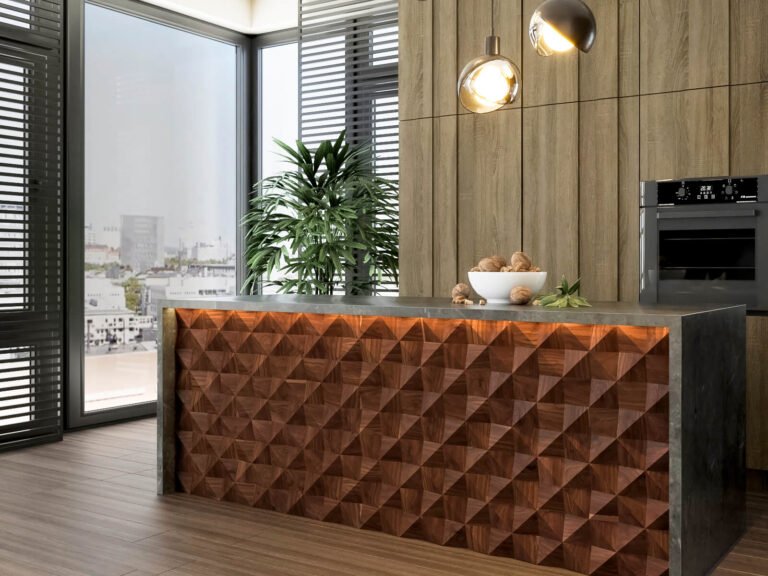
Fancy something a little bit different. Our White Square 3D Teak Wall Panels are certainly an eye-catching feature that is reminiscent of a work of art. The 3D effect of this wall cladding literally does add an extra dimension.
3D WHITE SQUARE TEAK WOOD PANEL SPECIFICATIONS
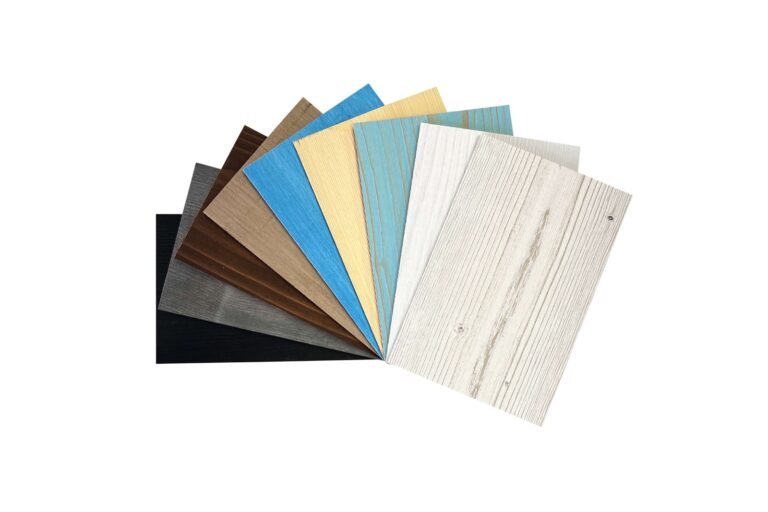
Each of the 3D teak wall panels measures 19.5” x 7” and in each pack there are ten wood panels giving a total coverage area of 9.5 square feet. You will find that our 3D wall panels vary in thickness and depths measuring between 0.3’’-0.75”. Our teak White Square 3D wood panels are made of solid wood, we never use laminates!
DO YOU ENJOY EASY DIY PROJECTS?
We know you’ll love our 3D wood wall panels as they are so easy to install. Forget expensive tradesmen, if you check out our useful installation video you will see how simple the installation process is. You just need a few tools, including a nail gun, adhesive, a spirit level and miter saw.
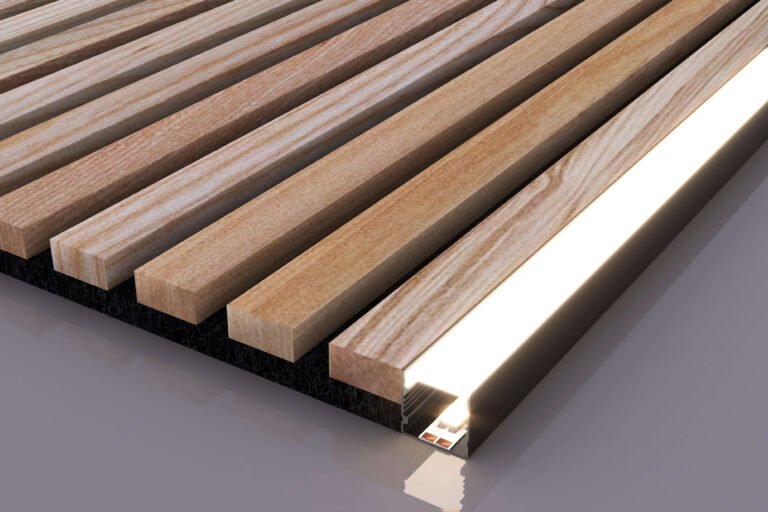
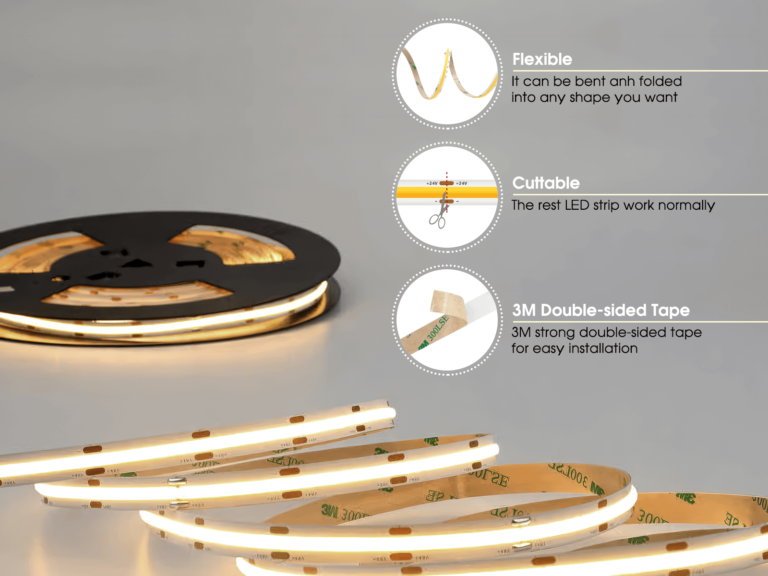
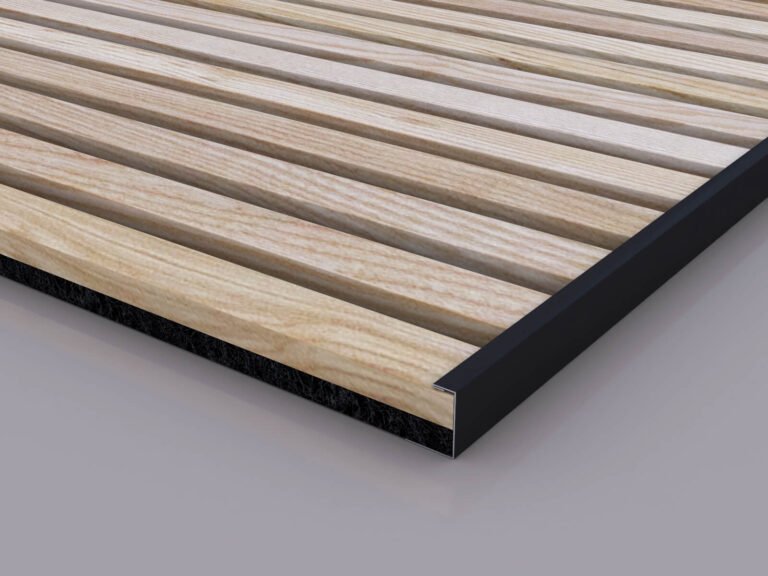
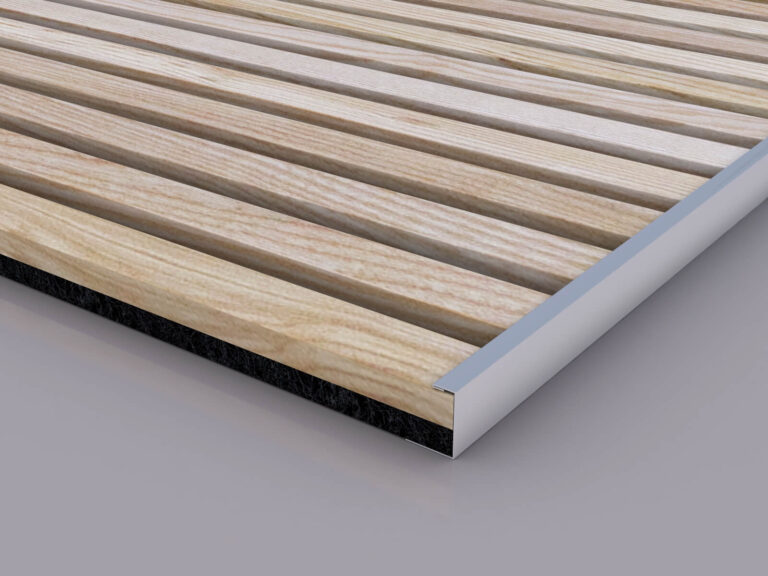
ELEVATE YOUR WOOD ACCENT WALL's CHARM WITH OUR LED CHANNEL FOR WOOD WALL EDGING
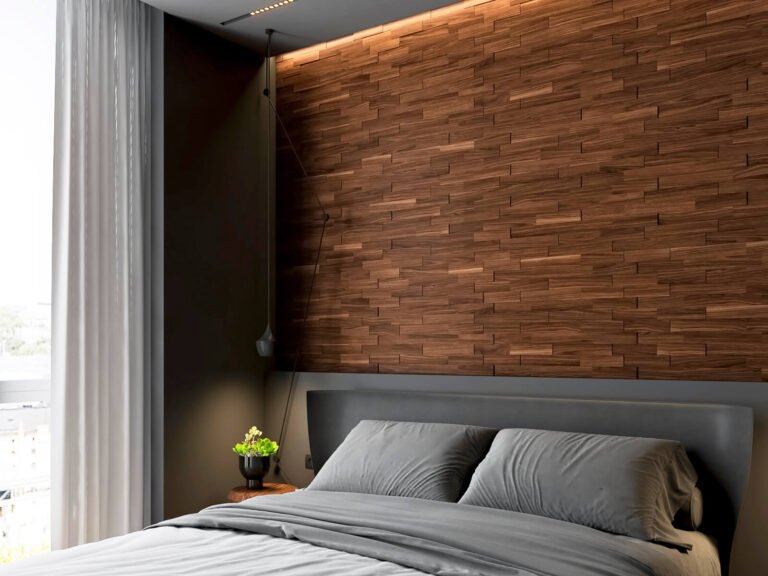
Elevate the aesthetic appeal of Woody Walls 3D wood wall panels with our remarkable LED accent lighting. Designed exclusively for 3D wood walls, our lighting solutions will take your 3D wood wall panels to the next level. Our seamlessly integrated Edge Lighting Channels effortlessly complement our 3D wood wall panels, allowing you to effortlessly create captivating lighting effects that amplify the inherent beauty of your wood accent wall, while also adding a touch of elegance and sophistication.
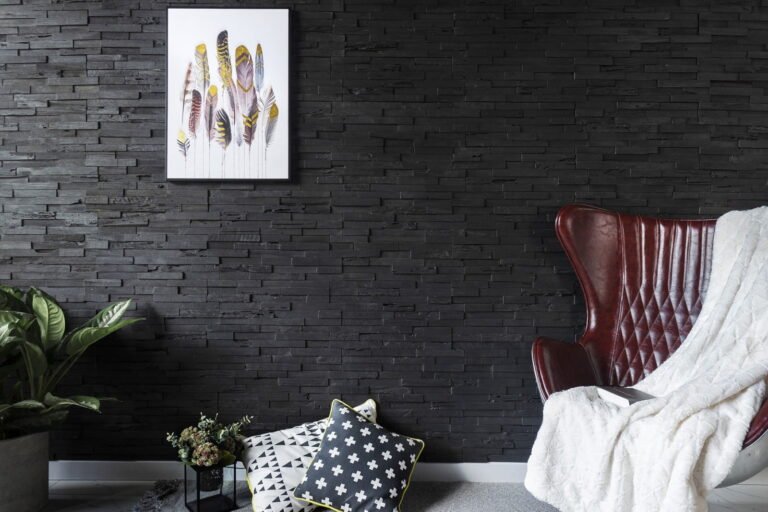
COVER ANY TYPE OF WALL IN A FEW HOURS, NOT DAYS WITH THESE TEAK 3D PANELS
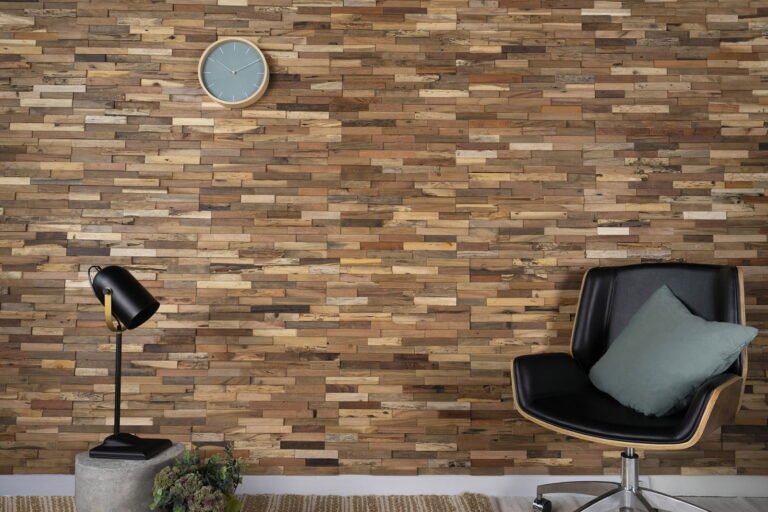
There are two huge advantages of our teak wall panels. First, you can apply them to any existing wall finish provided it is dry, free from dust, and stable. Second, you don’t have to spend hours preparing the surface of the wall you are going to cover.
UNMISTAKABLE LUXURY & CLASSIC APPEAL
All the benefits of authentic teak wall panels—durable and wear resistant, exquisite natural grain, high-end luxury look—in a sumptuous bleached tone. Wood square patterning creates a unique look that will take your space to a new level of elegance and appeal.


 <br>3D Wall Panels")

phoenixx –
First off these are not flimsy little pieces. I did have a couple panels that had separated...not unrepairable. I had thought these would be similar to other "sticky" type products for like backsplashes etc. these are FAR more substantial. They would be great for refacing cabinets, headboards in a kids room they are built for use. The ones I got were more white than the pic but as they are real wood you could adjust color with stain and some sandpaper.
Dimon –
Love this so much! I was very impressed with the quality of the wood! I would suggest starting at the bottom of the wall. The entire project took about five hours