


Installing 3D wall panels yourself with proper tools and easy-to-follow steps:
- Step 1: Measure in inches
- Step 2: Clean the surface
- Step 3: Lay out planks to create the desired pattern. Acclimate panels for 48-72 hours
- Step 4: Cut the excess tab of the panel
- Step 5: Apply glue to the back of the panel
- Step 6: Use a level to make sure the 1st row is aligned
- Step 7: Secure the panel with nails and construction adhesive
We’ll include detailed instructions on how to install 3D wall panels in a section below. However, before heading to it, let’s explore the necessary information about the benefits and materials needed for the installation process!
Why Should You Choose 3D Wall Panels for Your Space?
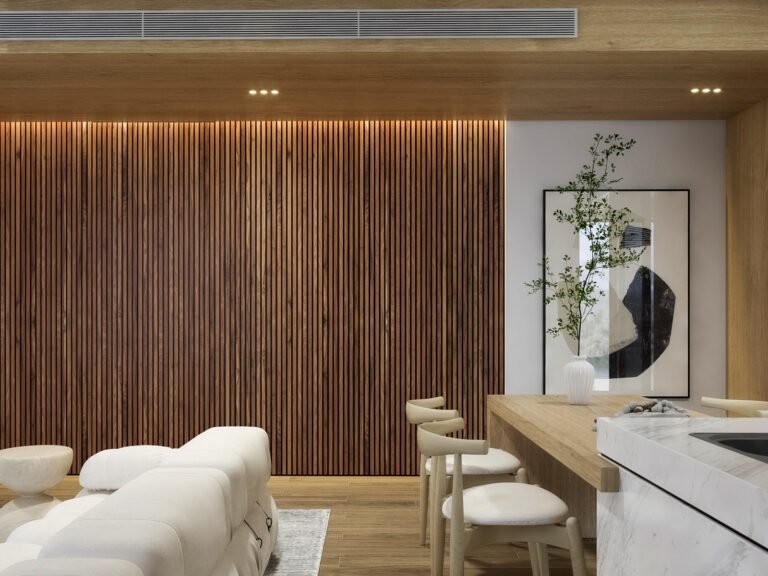
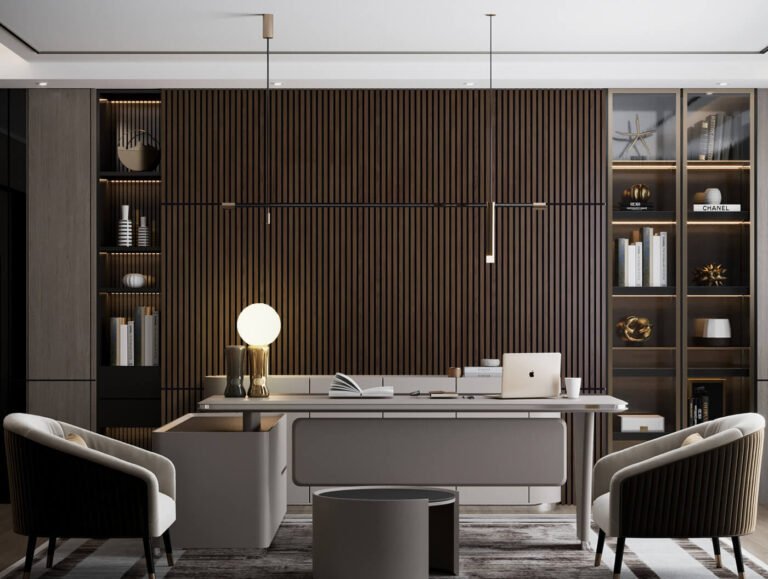
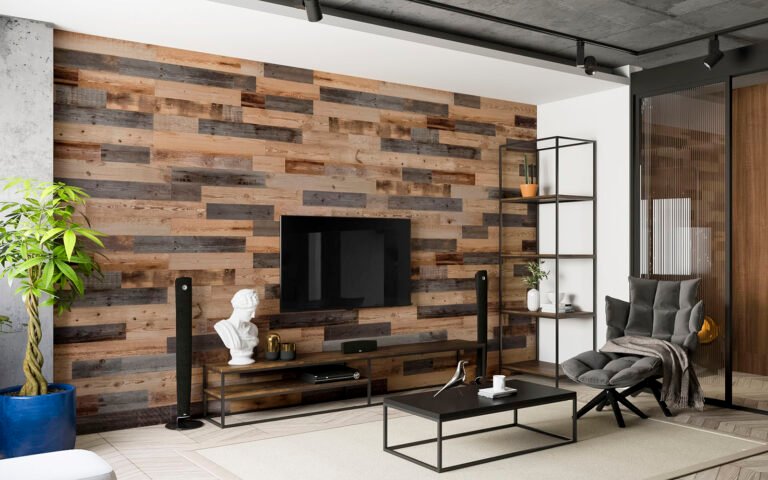
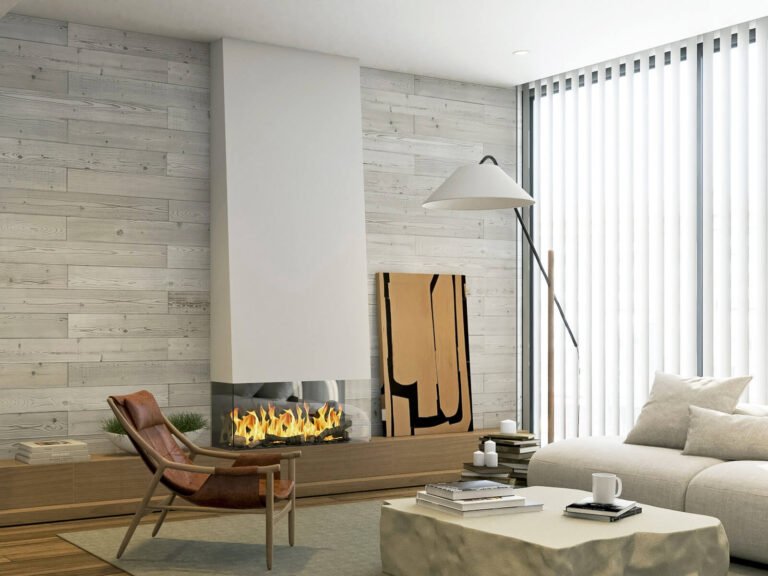
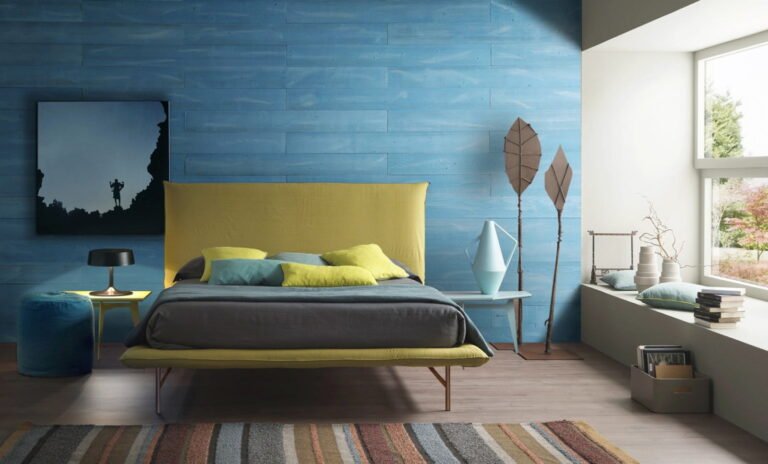
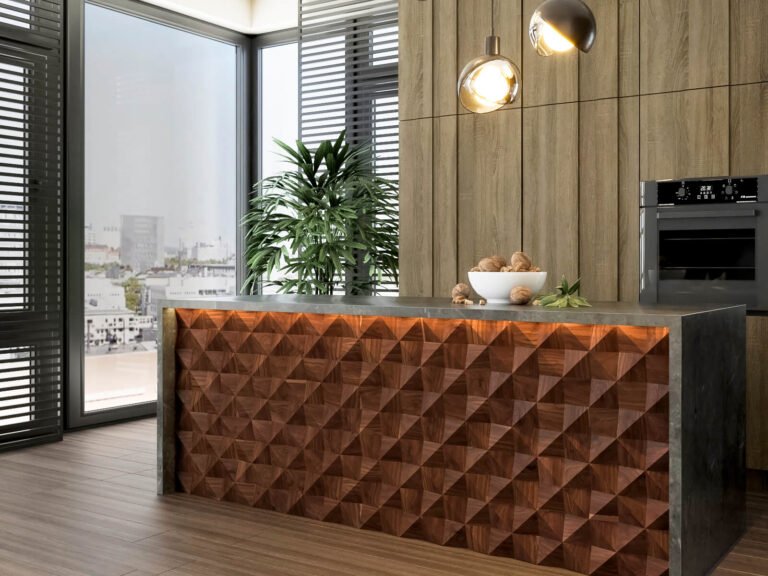
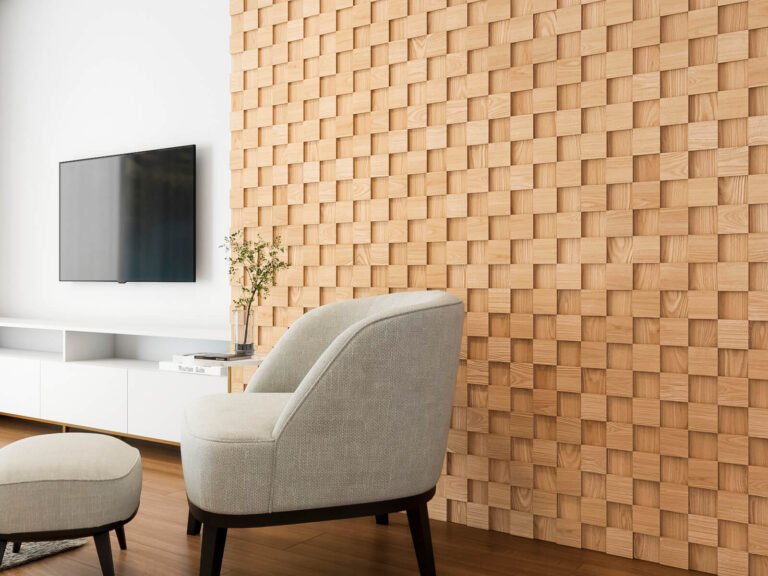
You can creatively use 3D wall panels to enhance the beauty of any location. They can be applied to, but are not limited to, the home, office, restaurants, hotels, casinos, bars, hospitals, auditoriums, cinemas, and museums.
These easy-to-install wall panels have many benefits, including the following:
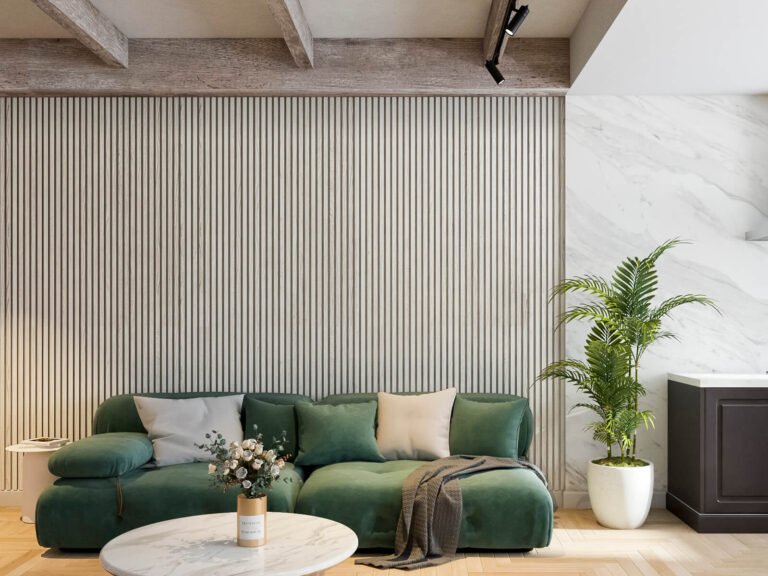
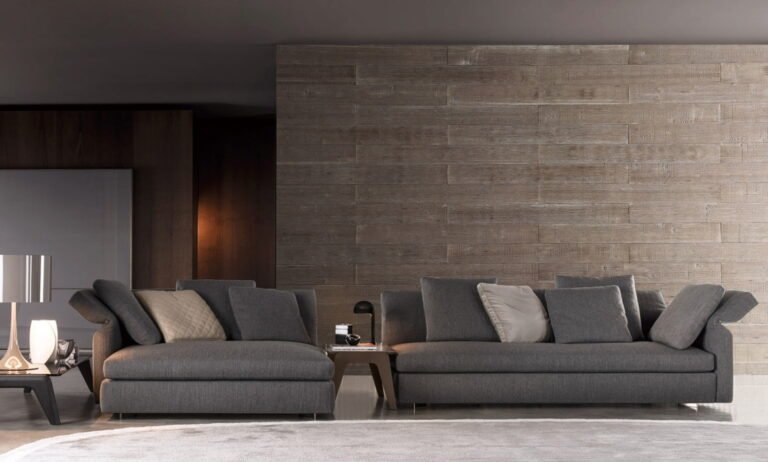
- Improve the sound for small spaces: 3D wall panels provide a satisfying acoustic experience with indistinguishable noise. You can avoid distractions when working and feel relaxed with your favorite music.
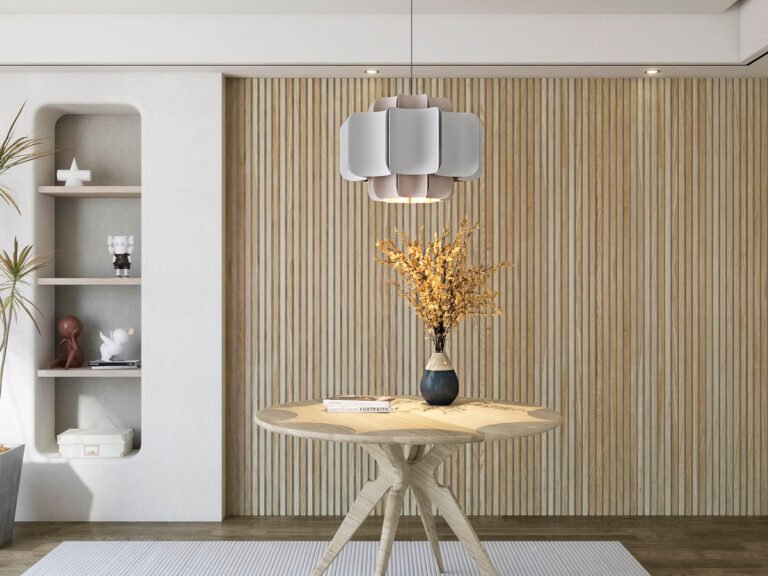
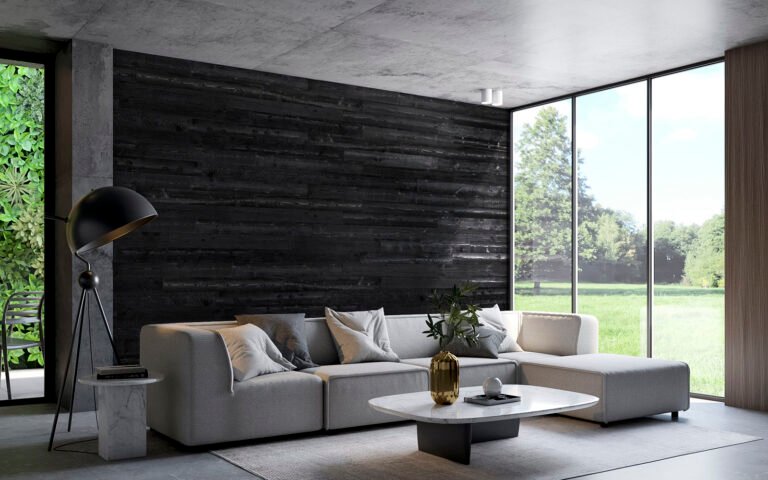
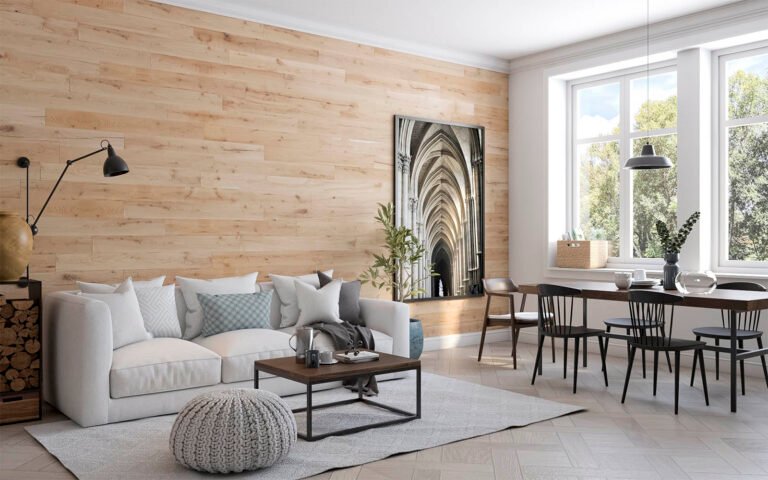
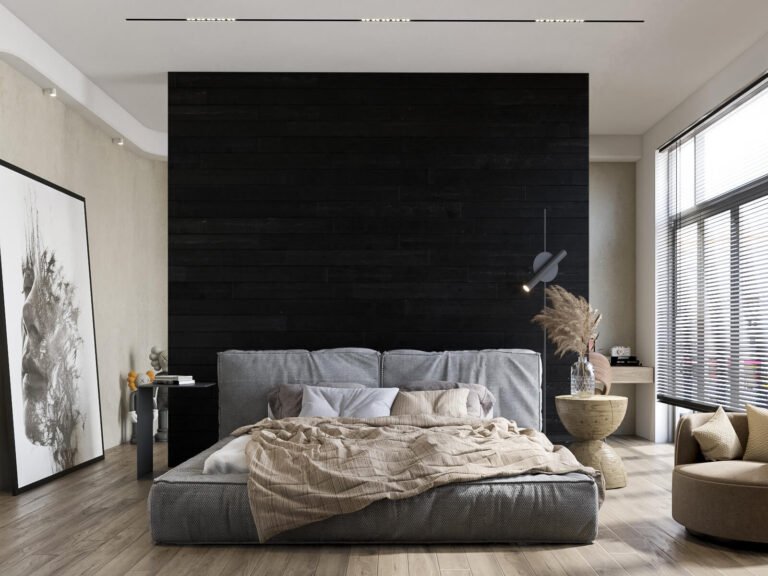
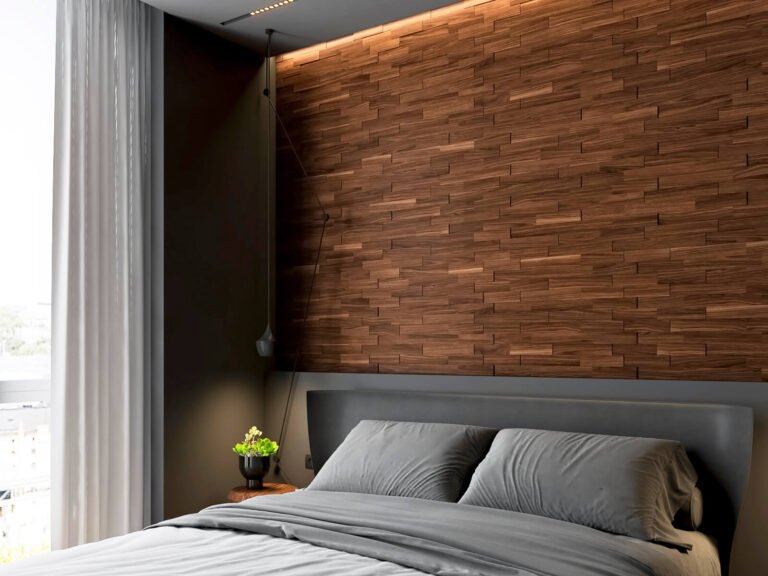
- Renew your space: If you feel bored with your home design, consider using these 3D wall panels. The 3D wall panel installation cost is much more affordable than expensive artwork.
- Eco-friendly product: Wall panel production uses biodegradable raw materials to manufacture eco-friendly products. To improve your living space, visit Woody Walls and explore various styles.
Needed Materials to Install 3D Wall Panels
Here is a list of things you'll need for your project:
- 3D wall panels
- Ruler
- Level
- Pencil
- Construction adhesive
- Clean cloth
- Saw (Miter saw, jigsaw, or fine tooth hand saw)
How to Install 3D Wall Panels for Your Space?
Below is the step-by-step guide on how to install 3D wall panels:
- Step 1: Measure in inches
Use a ruler to measure the length and width of the area you want to proceed.
- Step 2: Clean the surface
Ensure you clean the wall's surface, free it from dust and debris, and let it dry before starting.
- Step 3: Lay out planks to create the desired pattern. Acclimate panels for 48-72 hours
Laying out planks on the floor will help you visualize how they will be on the wall. To prevent future misshapen, let the panels stay in the room environment for 48-72 hours.
- Step 4: Apply glue to the back of the panel
Follow the instructions and apply an appropriate amount of adhesive to the back of the panels so they will not come off easily.
- Step 5: Use a level to make sure the 1st row is aligned
When you ideally place the first row, the rest will go perfectly. Thus, you should use a level to ensure the first panels are positioned straight and aligned.
- Step 6: Secure the panel with nails
Depending on your wall surface, use nails to enhance the strong bond between the panels and the wall.
- Step 7: When installing the top row, cut the planks lengthwise
When you reach the top row, use a saw to cut the planks lengthwise so they can fit perfectly.
5 Tips to Prepare Before Installing 3D Wall Panels
Here are some things to prepare before 3D wall installation that you should know.
- When installing panels in places with high humidity (e.g., bathrooms), make sure the application surface is completely dry and clear of dust/debris prior to installation to ensure proper adhesion.
- Remember to turn off the power if you work near wall switches or electrical outlets.
- If the area you want to install has electrical outlet covers, light switches, nails, and other accessories, remember to remove them before starting.
- Make sure to level the wall’s surface and sand down any elevated areas. If the drywall is poor, place ⅜" thick plywood over it.
- Use a painter's knife to remove any loose paint or texture.
Discover The 3D Wall Panels Collection of Woody Walls
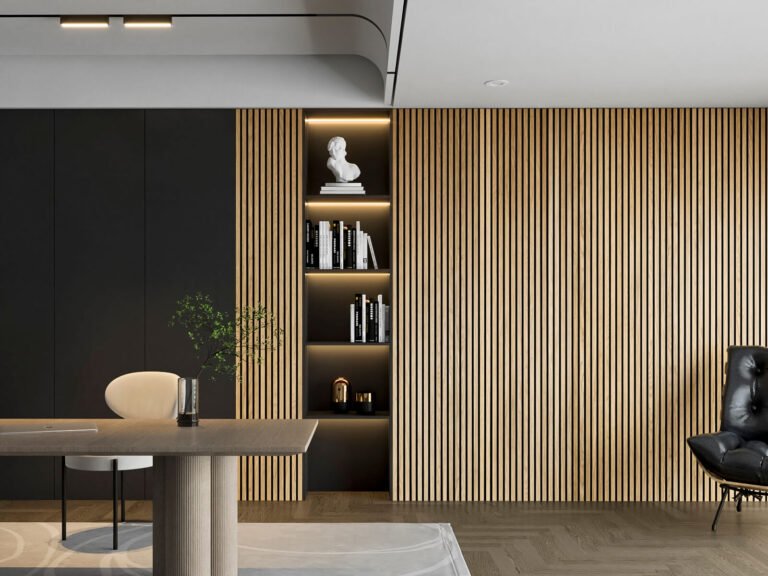
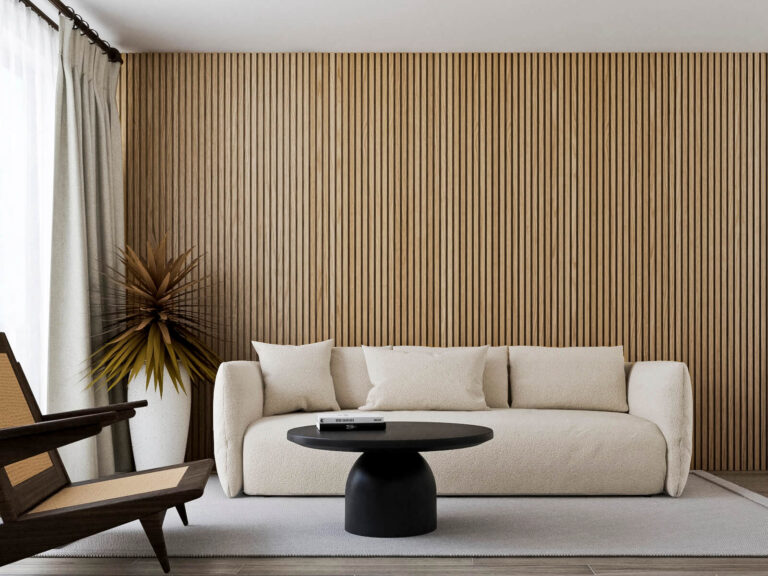
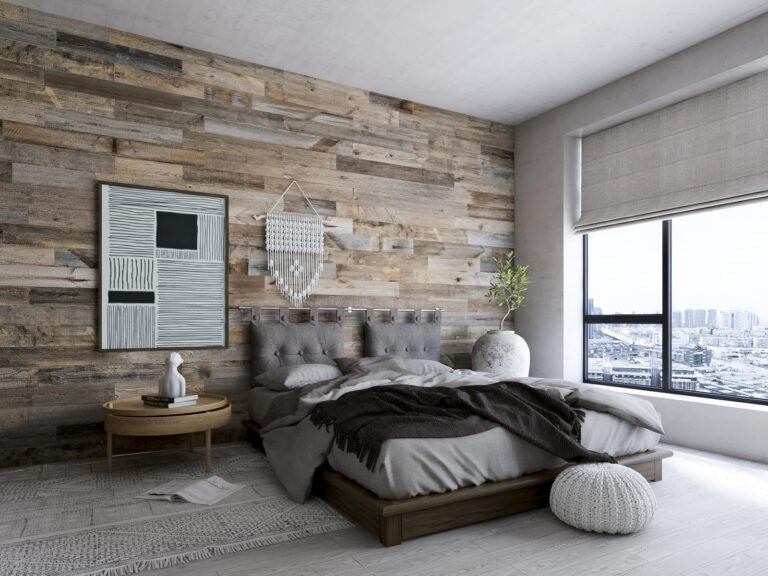
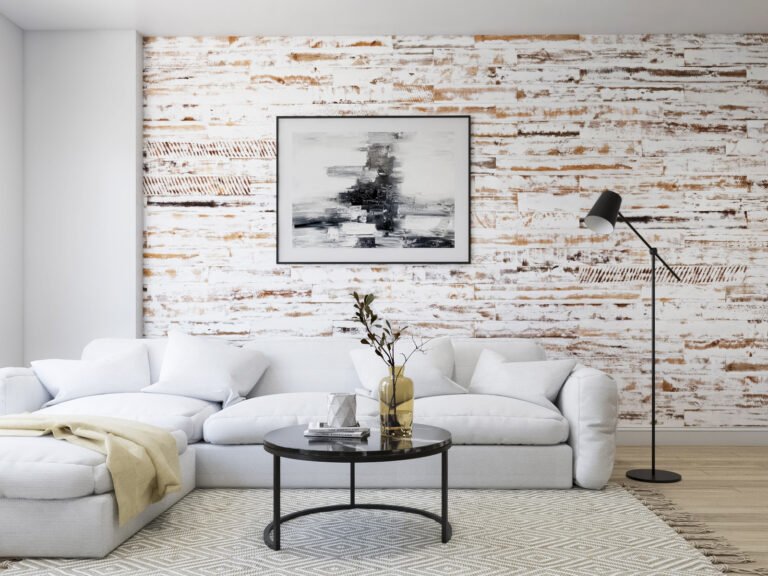
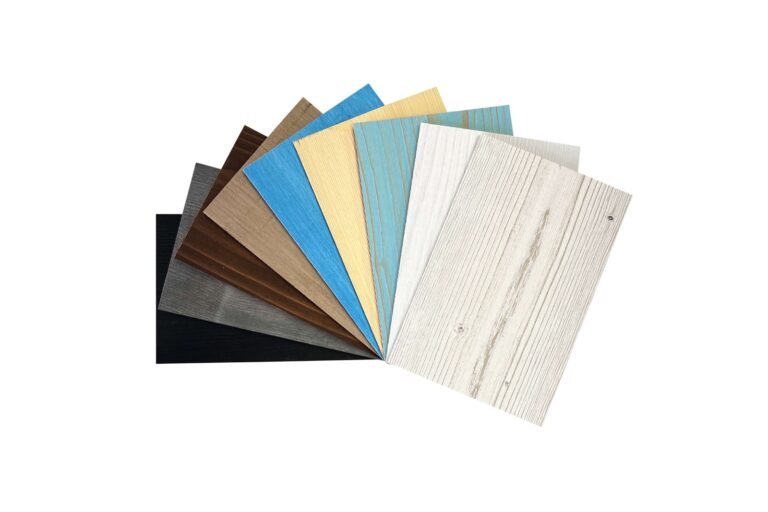
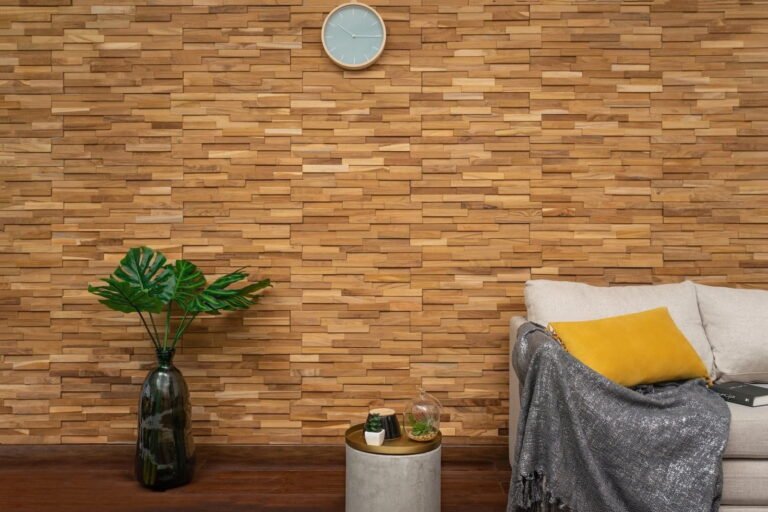
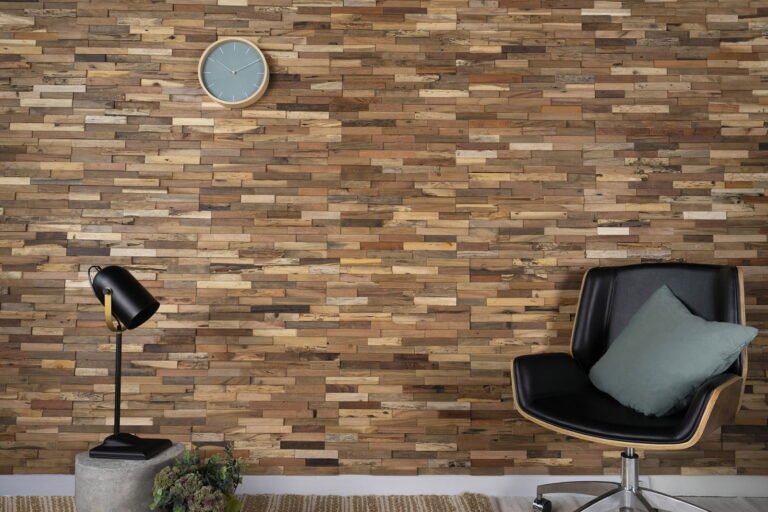
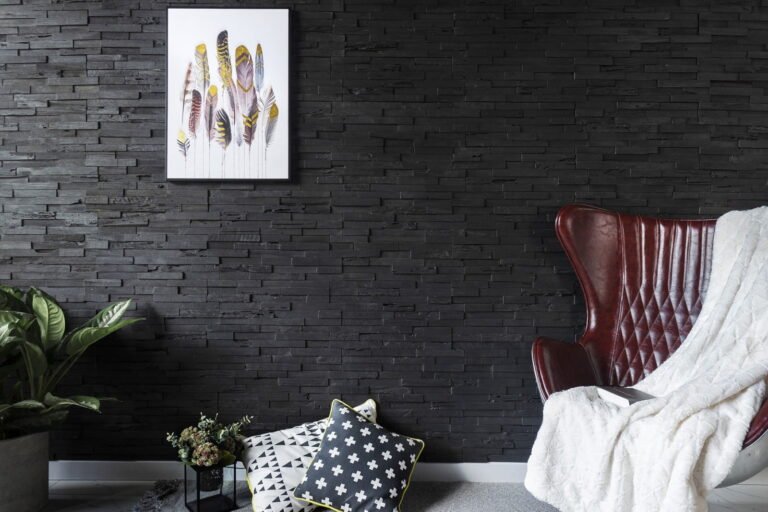
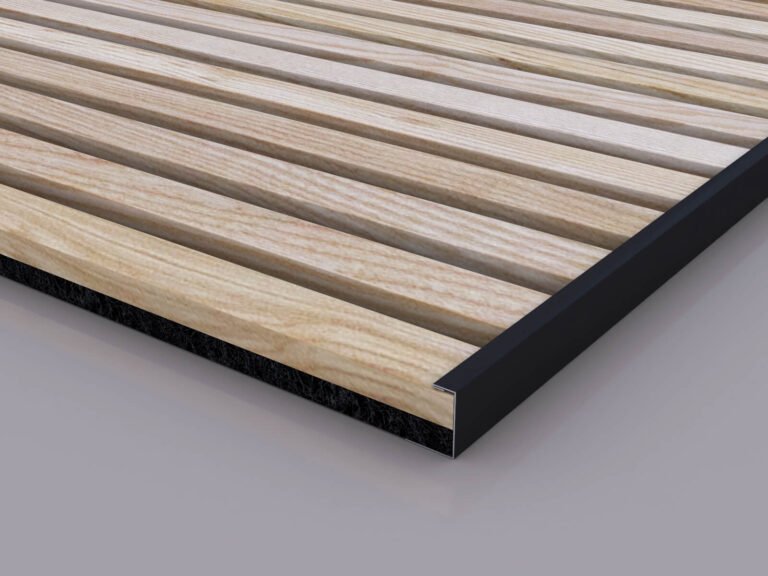
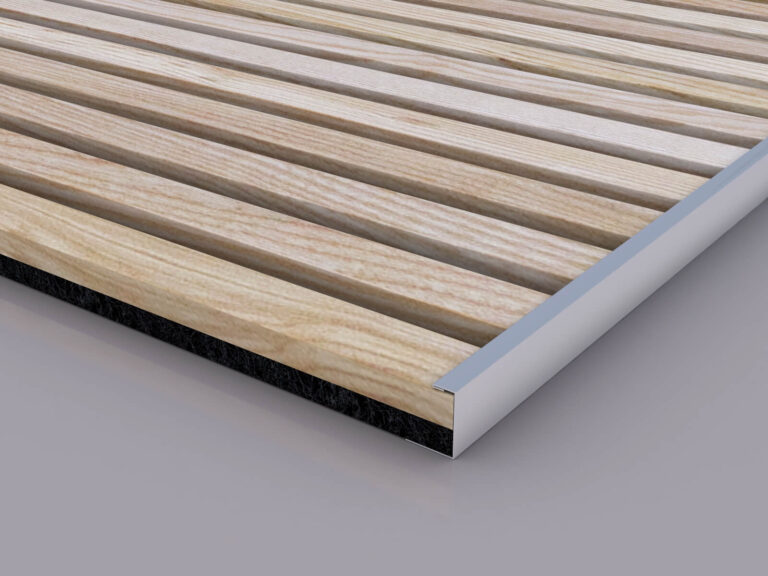
Woody Walls is a reliable business that provides easy-to-install wall panels to help you decorate your living and working space. Our 3D Wall Panels collection features rich grain patterns and unique appeal, guaranteeing an attractive focal point.
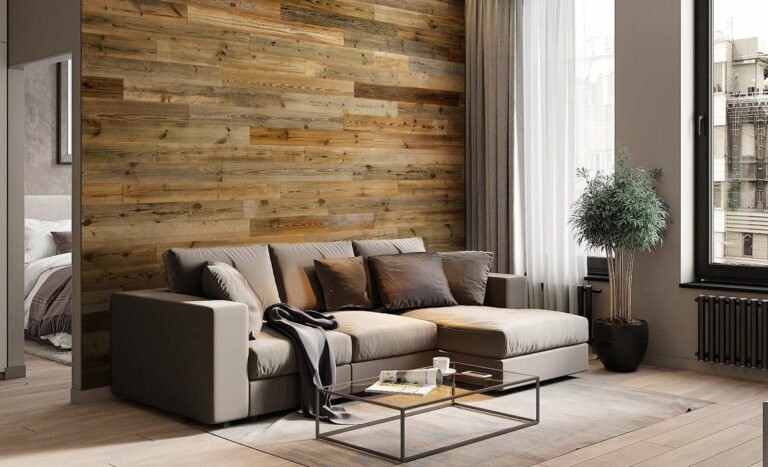
Plus, our 3D wall panels possess a class B fire rating. Our collection includes two types of wood: reclaimed wood and teak wood panels. Reclaimed wood panels are economical and come in a diverse range of natural colors and materials. Meanwhile, teak wood panels work well with different styles and breathe a luxury vibe into the space.
Contact Woody Walls right now if you want to enhance your space!
FAQs about Installing 3D Wall Panels
Here are some questions people may ask when dealing with 3D wall panels installation:
1. Can you install 3D wall panels without adhesive?
It could be risky to install wall panels without adhesive cause the panels are pretty heavy. You will need a hammer and nails to secure the panels to wood walls and screws to work with drywall. Before screwing or nailing panels, clean the walls and ensure you put on your safety gear.
2. Do you need power tools or experience to install Woody Wall's 3D wall panels?
Yes, you will need a quality saw to install Woody Wall's 3D wall panels. Your installation experience will be much simpler and fun with Woody Wall's panels.
3. How do you keep 3D wall panels clean after installation?
You only need a soft cloth to wipe away dust and a small amount of water to clean the surface. Then, they can last for a long time.
