


Description
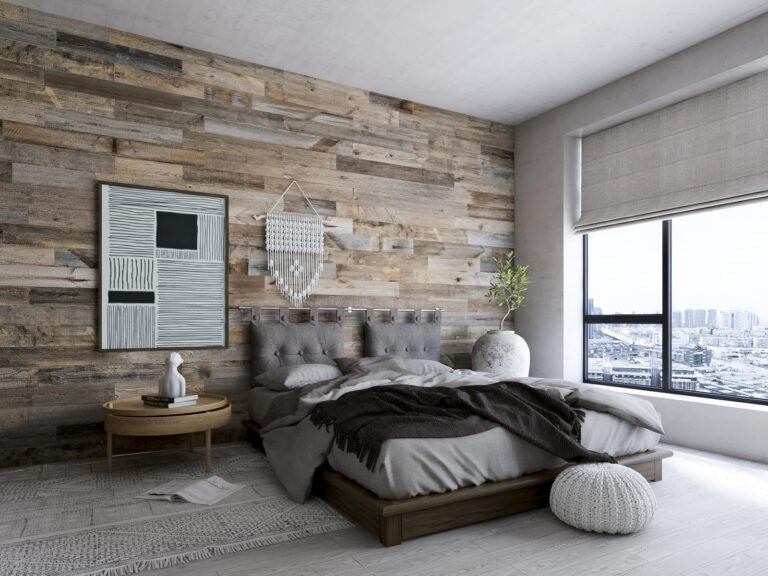
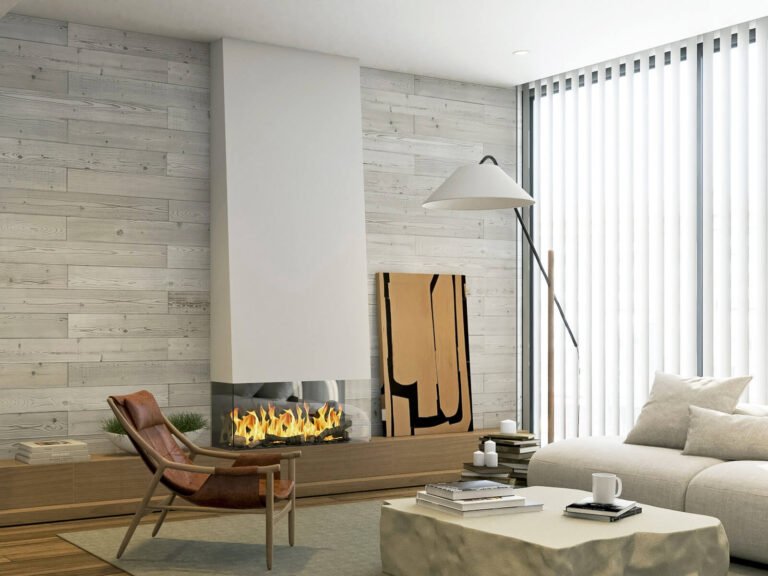
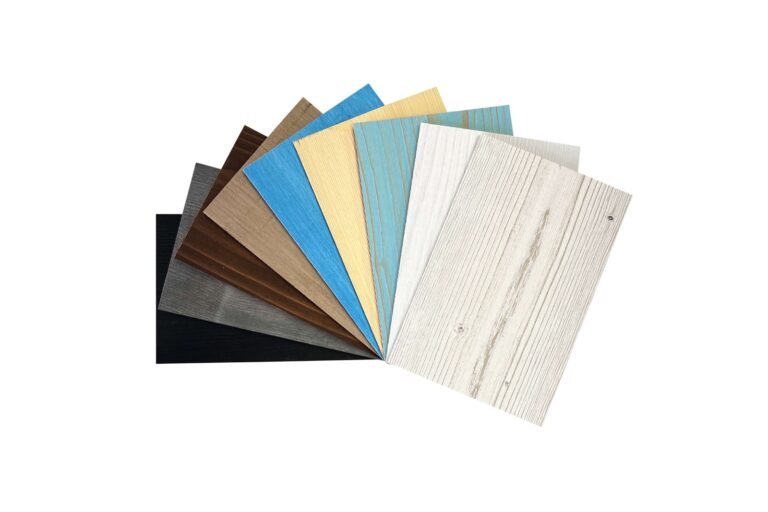
Grey Barnwood Paneling
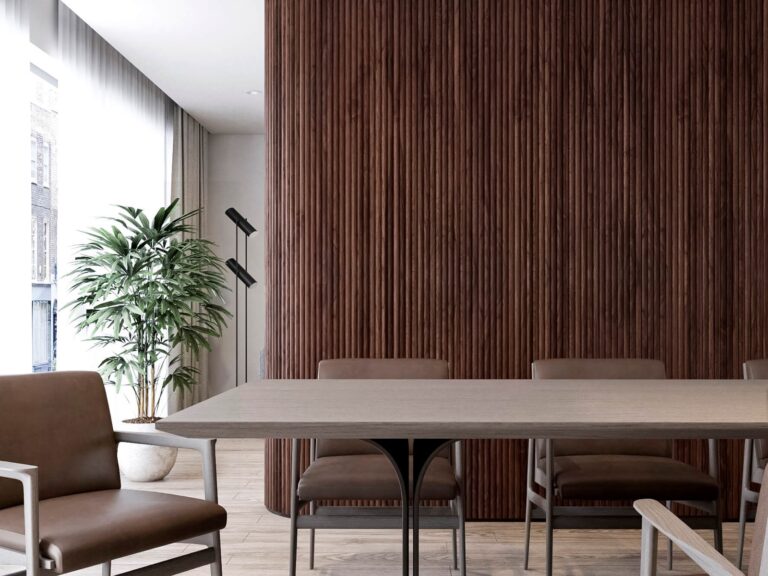
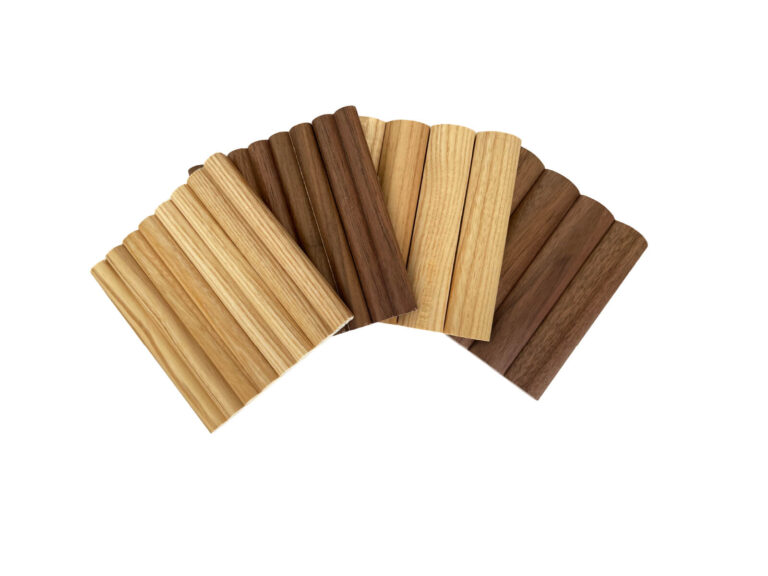
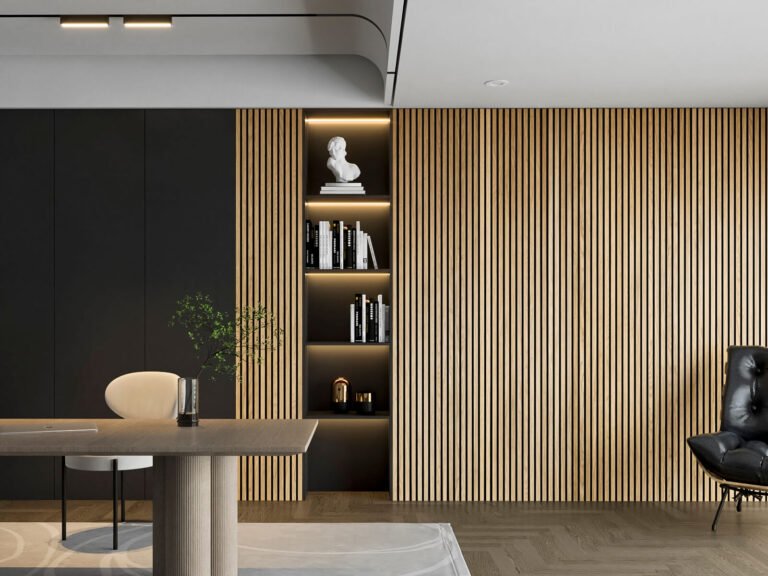
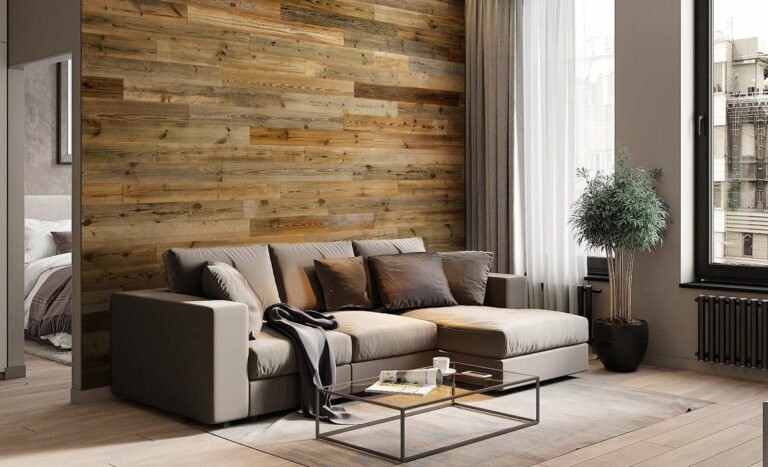
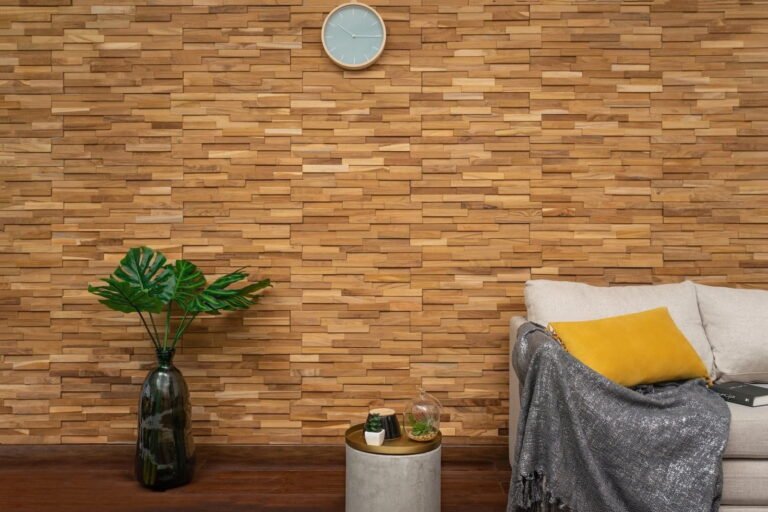
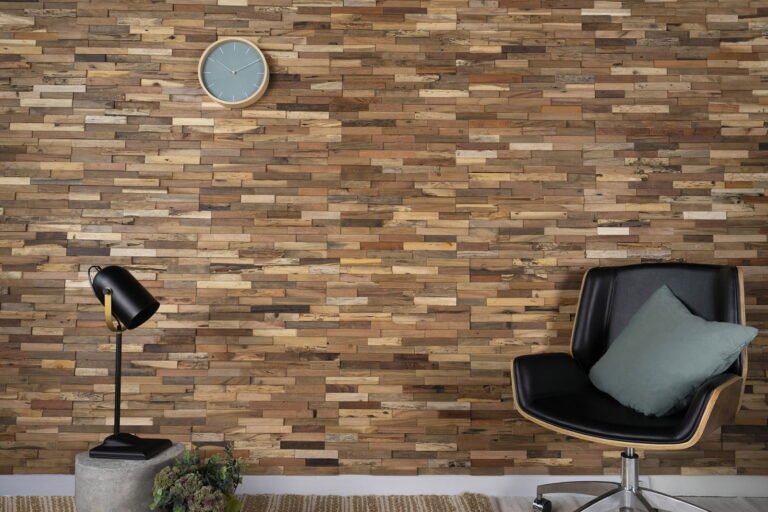
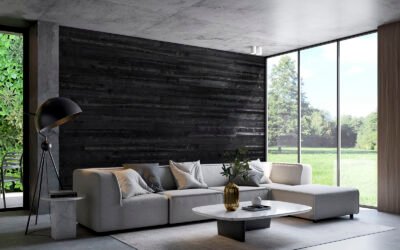
Our Grey barnwood planks, a standout in WoodyWalls' reclaimed wood wall panels collection, provide a slim and elegant solution for your design requirements. These wood panels have a rich history, having been sourced from aged barns that have stood the test of time for 30-50 years, each with its own captivating tale. The natural weathering and inherent cracks in the wood contribute to a rustic charm that is truly exceptional.
Specifications
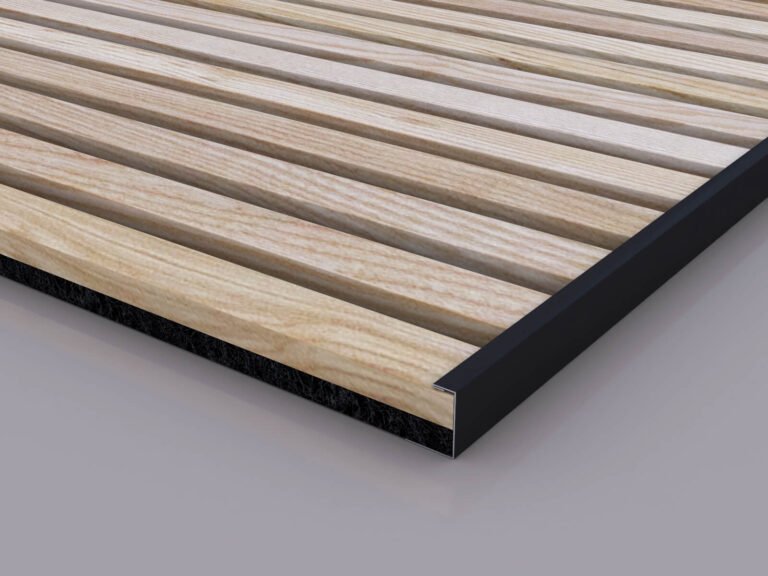
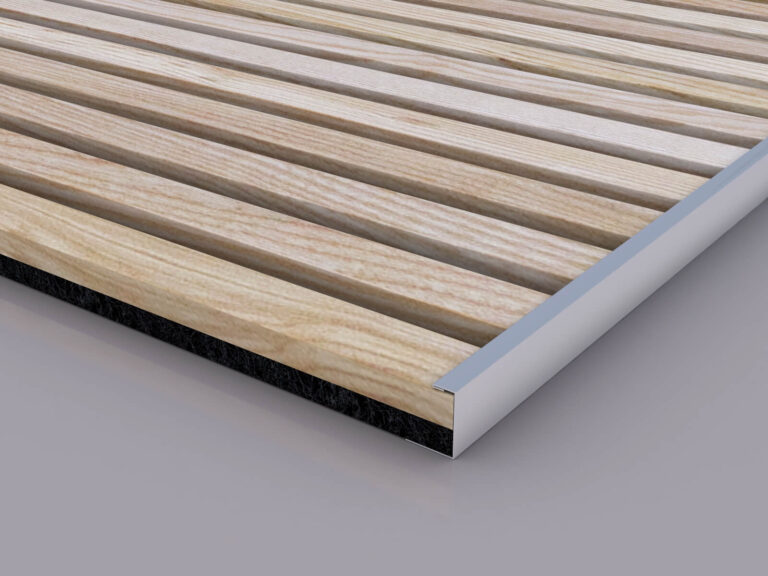
Our Grey Barnwood planks, measuring 5 inches in width, 0.25 inches in thickness, and varying in length from 46.3 to 17 inches, cover a total surface area of 19.5 sq. ft. They bring a sophisticated yet weathered wood look to any space, adding a rustic touch and a unique charm. Whether you want to create a timeless rustic ambiance or introduce a distinctive design element, these wood planks offer versatility and captivation in our collection.
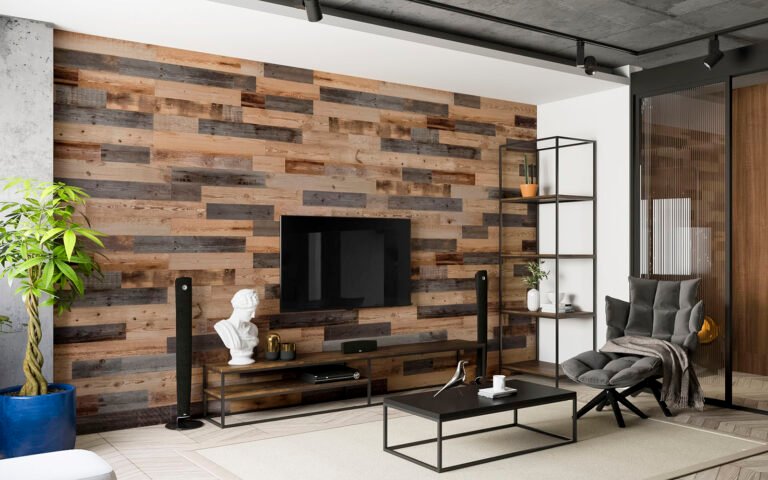
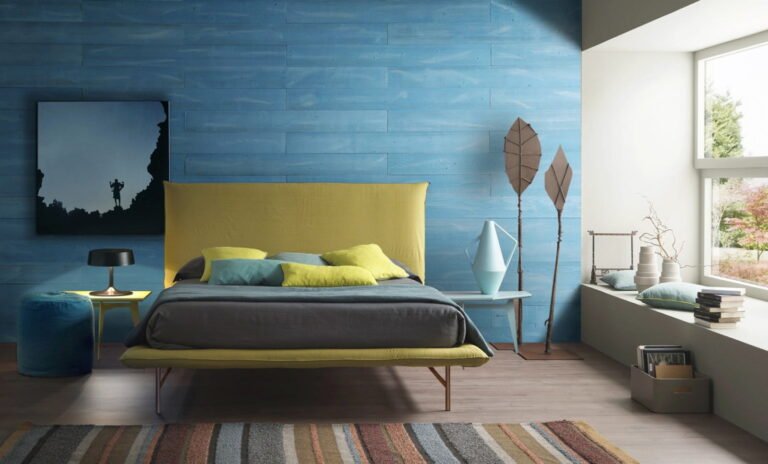
Barn wood wall paneling is cost-effective and easy to install
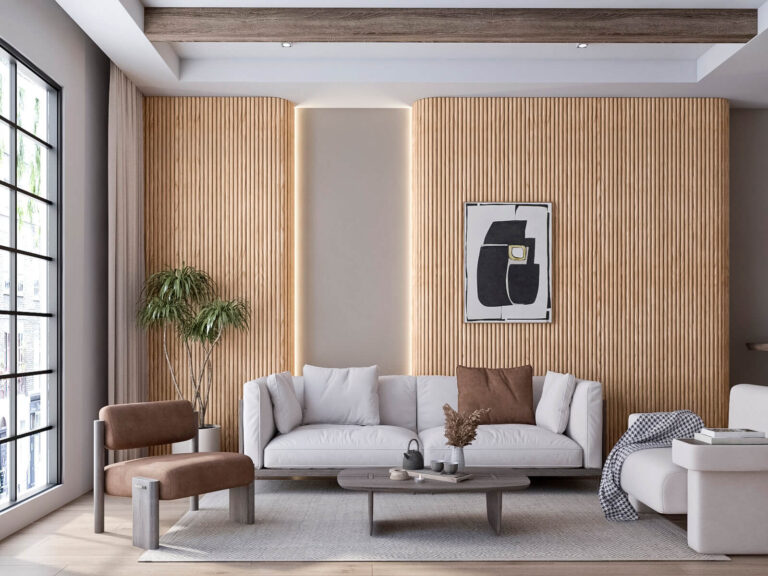
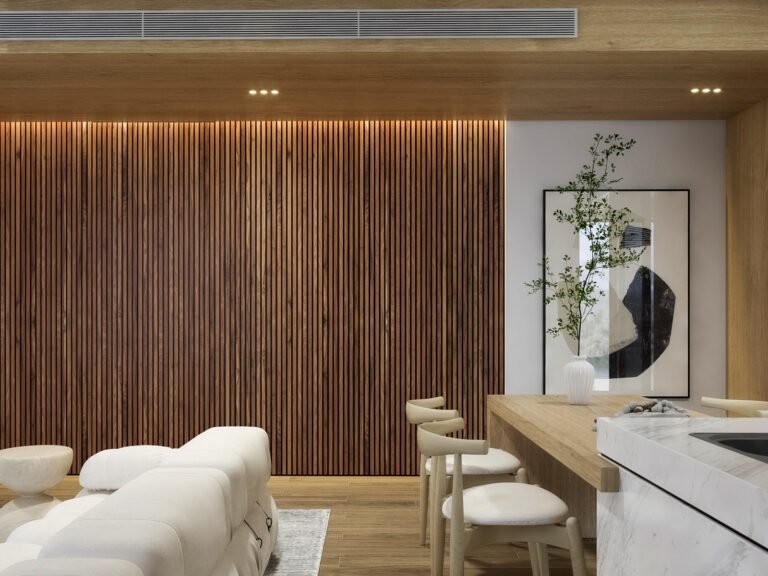
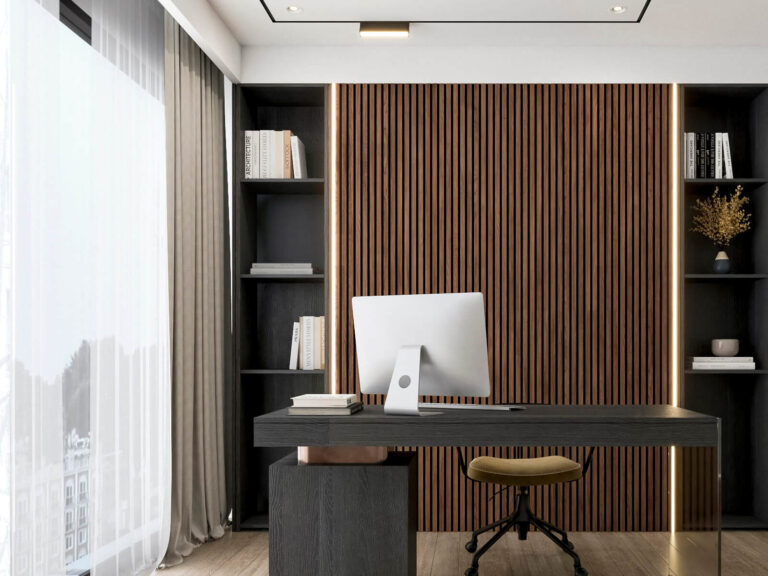
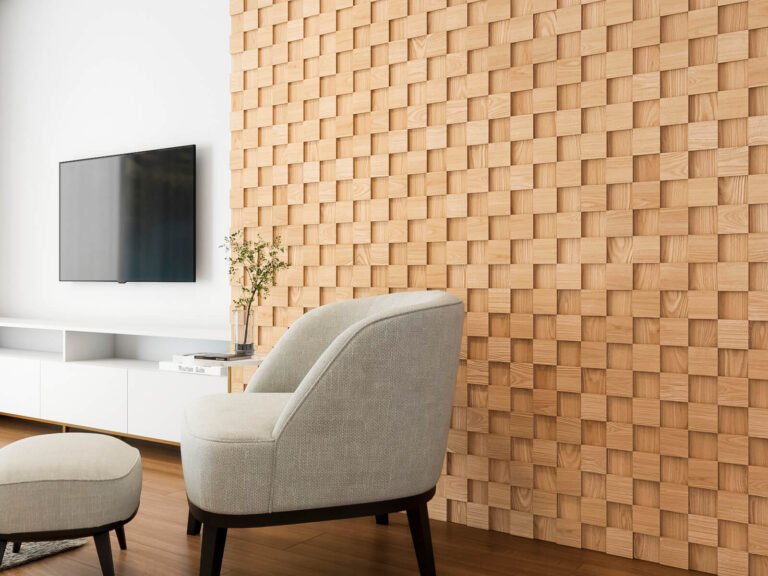
Here at Woody Walls we have developed a barnwood paneling system that is simple and easy to install, requiring just the most basic of DIY skills to achieve your desired result. Whether creating a wood accent wall or a grey reclaimed wood wall, all barn wood wall paneling orders come with a comprehensive installation guide, that will show you just how easy it is to install barn wood planks.
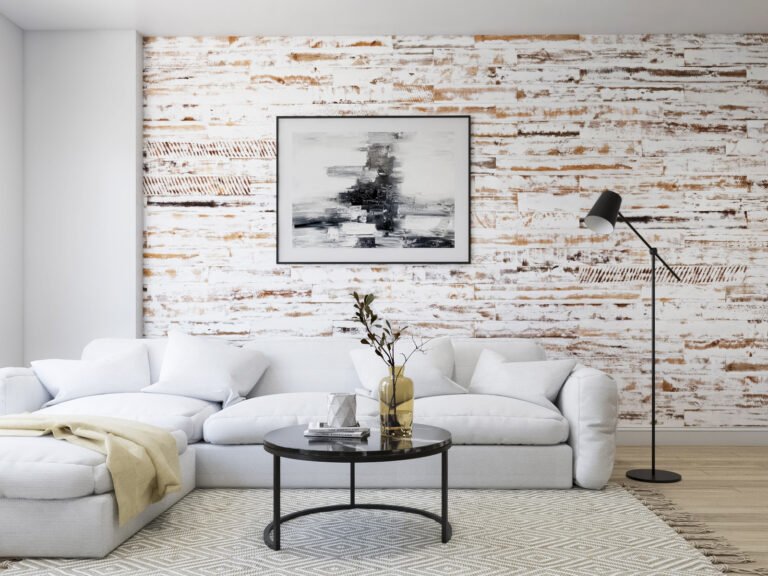
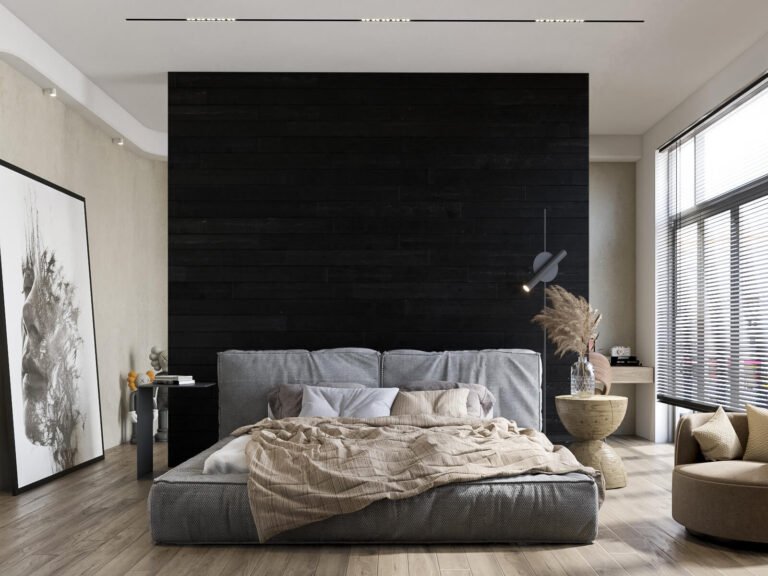
Theses superior wood wall paneling will cover any finish
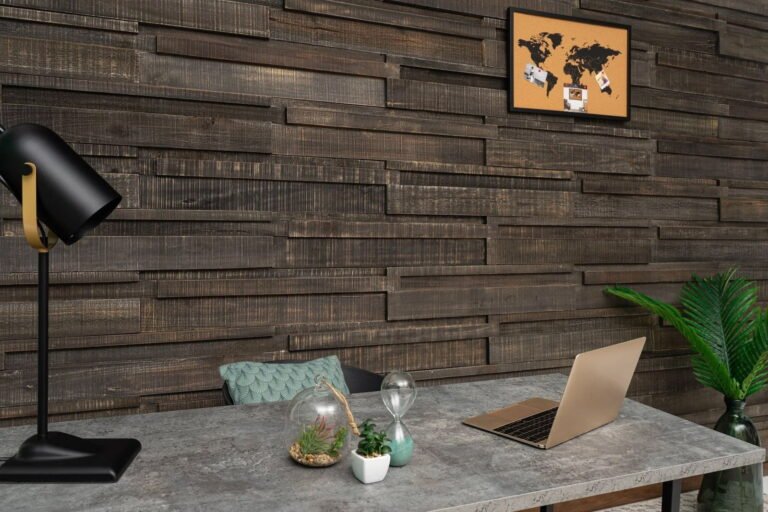
Sometimes upgrading your home or office involves the removal of existing wallpaper of textured paint, which can be tiresome and time consuming. Provided the wall surface is stable and clean, our wood wall panels can be quickly installed without having to do too much preparation work. If you are creating a wood accent wall, a reclaimed wood wall or you just want to add some wall cladding, our Grey barnwood planks are ideal.
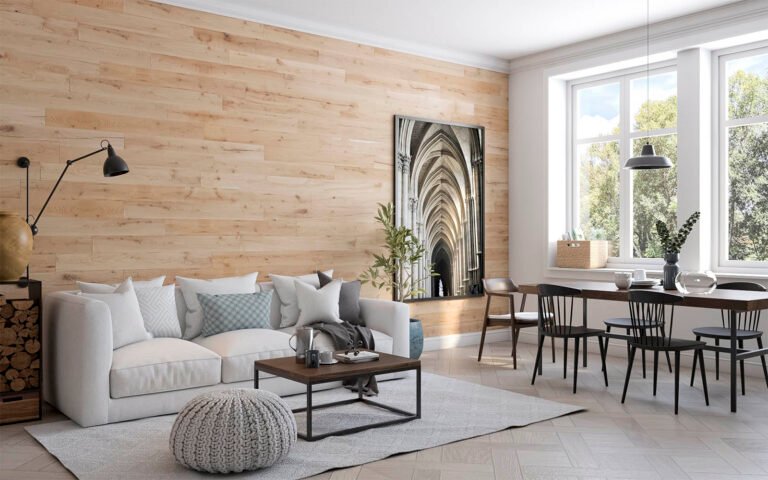
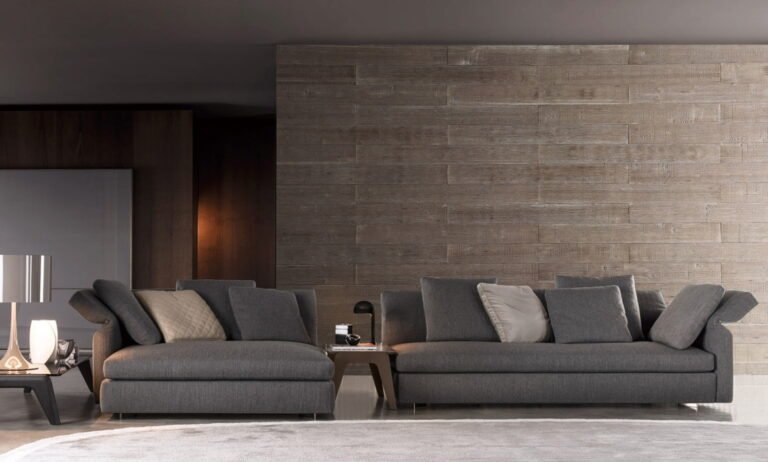
Sustainable sourced eco-friendly timber - perfect for a barn wood accent wall
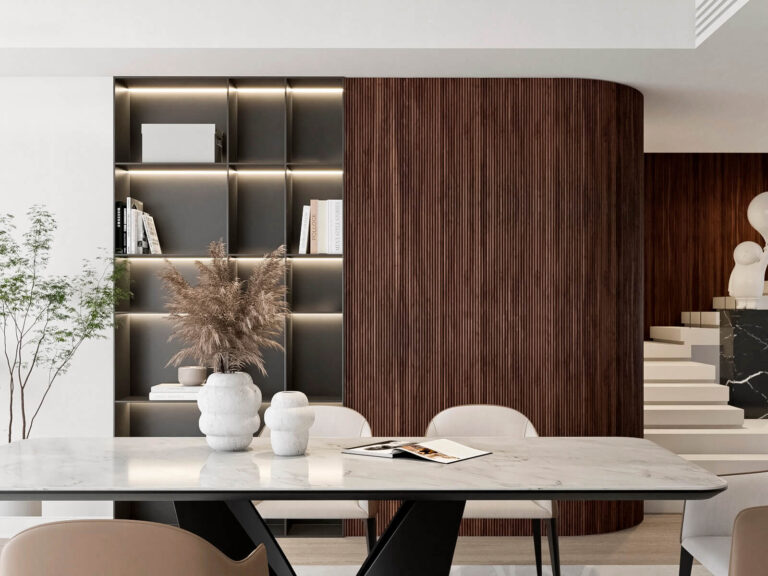
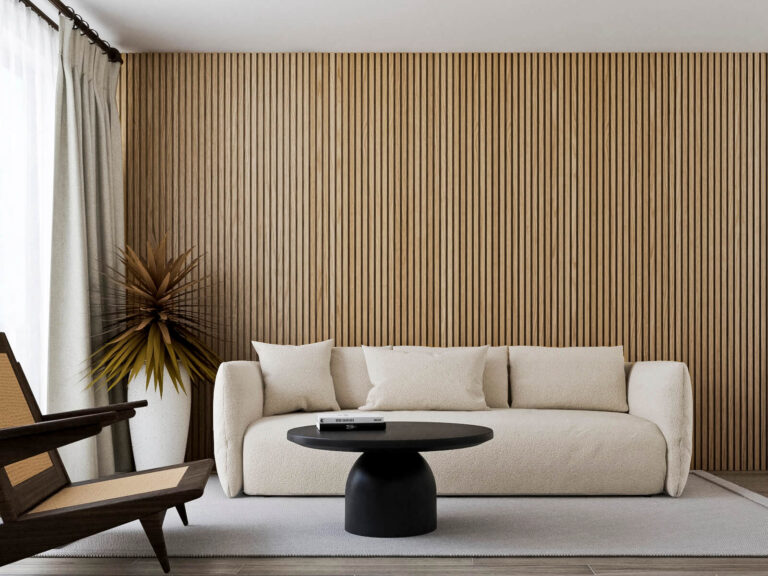
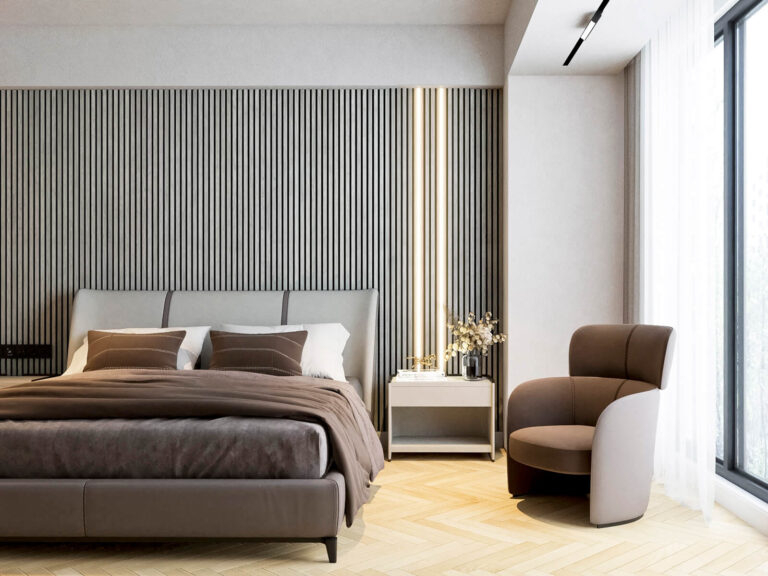
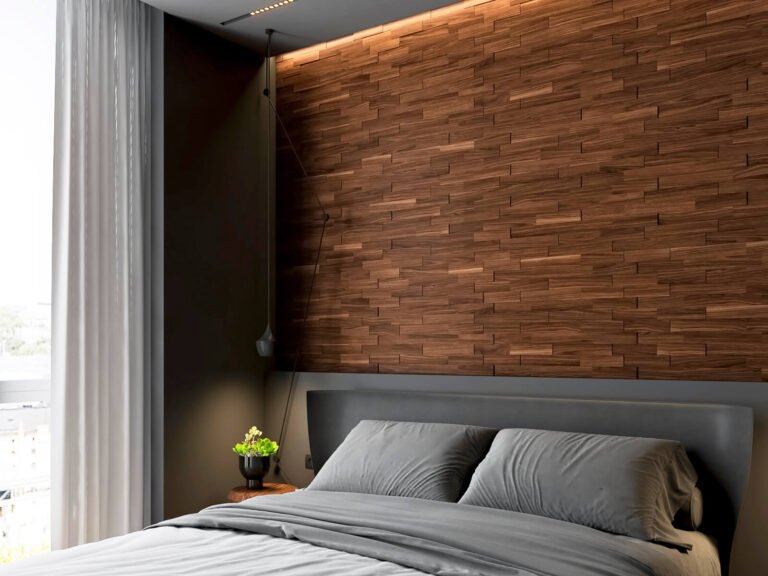
Our barnwood planks are not only sourced sustainably but are also 100% recyclable, free from toxic treatments, and crafted exclusively from old wood. These eco-friendly features make them the perfect choice for creating a barn wood accent wall. We take pride in our strong commitment to environmental responsibility and strive to minimize the environmental impact of all our products.


brian horn –
Perfect width! I didn’t have to remove my trim and went on easy as pie. Some liquid nails and Brad nails. Looks great and they even put black stickers on the backside of the knots so it looks right!
I'm really happy with my wood walls!
AllTold –
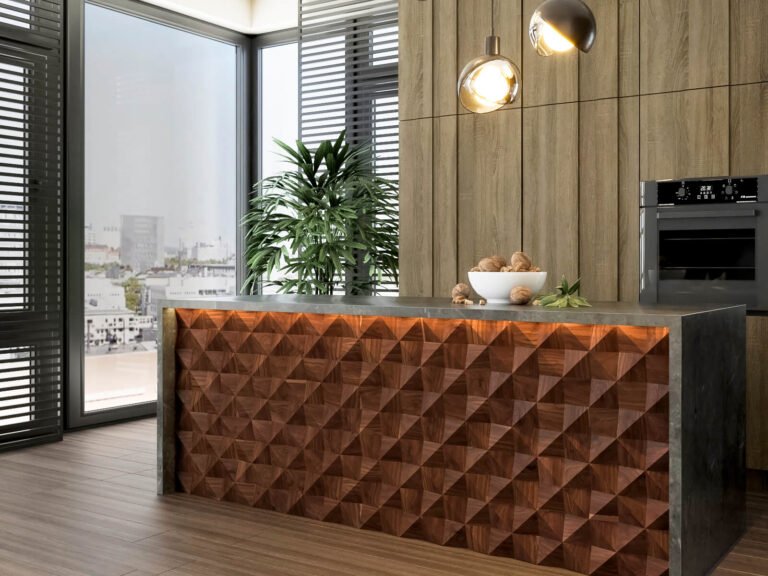
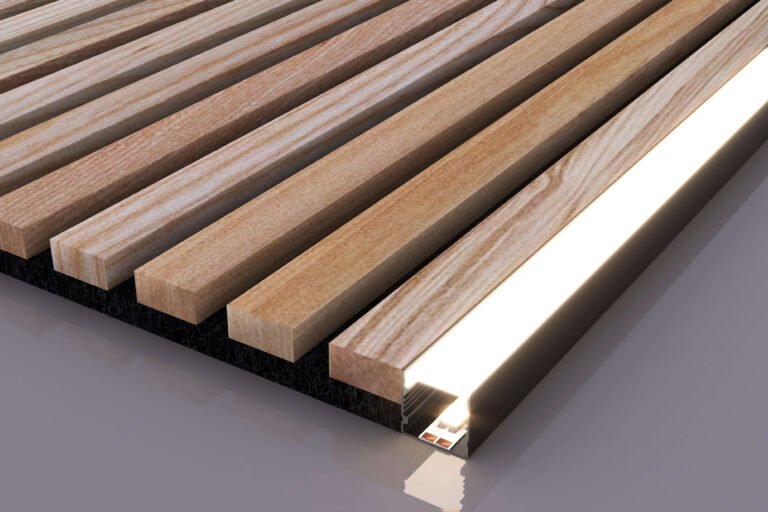
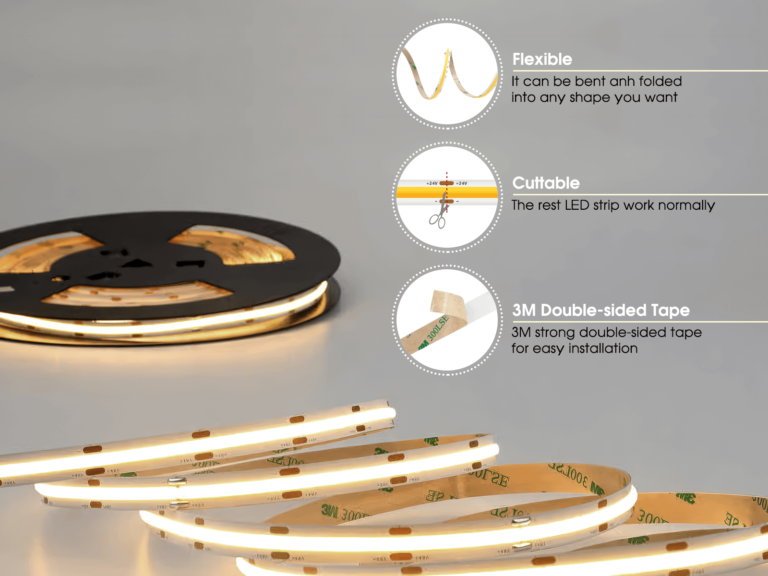
These Reclaimed Wood Planks are just perfect. The tones and textures are totally real, even including worn nail and screw holes once in a while. The engineered shape is very reliable, meaning that the wood planks fit together tightly and there is also some "forgiveness" that the surface texture provides. It is very easy to get a high quality install even with the Herringbone pattern I chose to use. I down lighted with COB LED lighting strip for added visual pop.
I was difficult to find a glue that worked best. Caulk tube panel adhesive was too slow to set and contact cement did not allow for placement/adjustment. I found that 5 minute epoxy was the best thing. I used a small blob (the size of a quarter) every 6 to 8 inches around the perimeter, staying well away from the edges to avoid squeeze out. Do watch out for glue squeeze through wherever there are knots, holes, or grain splits... just avoid putting glue near those areas. I used gallon cans of paint as weights to hold planks down for 20 mins while glue was setting.
It's worth mentioning that I used 2.7mm plywood as mounting surface and I did all the mounting before installing on the cabinets in the island. Trying to apply the product directly to the island would have been way too hard to do. I did use panel adhesive to mount the plywood to the cabinets.
A fresh blade in the chop/miter saw made good quality cuts. The product will fray a bit, but it never a problem that was visible. I did not experience any chip-outs or blow-outs.
These wood wall planks are extremely well made.
Denis Volkov –
Looks even better in person! The grey panels are so beautiful and go perfectly with cooler tones of my home. Also,they smell amazing, like fresh-cut wood! Pro-tip: make sure to dry-lay ALL of the planks prior to installation to figure out the pattern you want to apply them in. It makes the whole installation process super easy.
Leslie McAfee –
Vey nice actual wood wall planks. Easy to install and make a perfect backdrop for our mud room