


Installing peel and stick wood planks yourself with proper tools and easy-to-follow steps:
- Step 1: Remove all debris, dust, grease, cover plates, and protruding nails.
- Step 2: Use planks from different bundles to ensure even mix of colors.
- Step 3: Dry-lay planks before permanently installing.
- Step 4: Draw a line across the installation surface to create your reference line.
- Step 5: Peel the paper off and press the reference line.
- Step 6: Apply firm steady pressure along the entire row of planks.
- Step 7: Use a dust mask to protect yourself.
- Step 8: Mark the locations of light switches, electrical outlets, and air vents before removing the paper liner.
- Step 9: Cut the planks lengthwise by using a jigsaw or Fine Tooth Hand Saw.
- Step 10: Use sandpaper to smooth the cut surface
Delve into our detailed step-by-step guide on how to install peel and stick wood planks. But first, we'll cover what peel and stick planks are, why they're beneficial, and the materials you'll need for a successful installation. Let’s get started!
In this guide, we'll walk you through each step of the installation process and provide a helpful video tutorial to ensure the success of your project.
What are Peel and Stick Wood Planks?
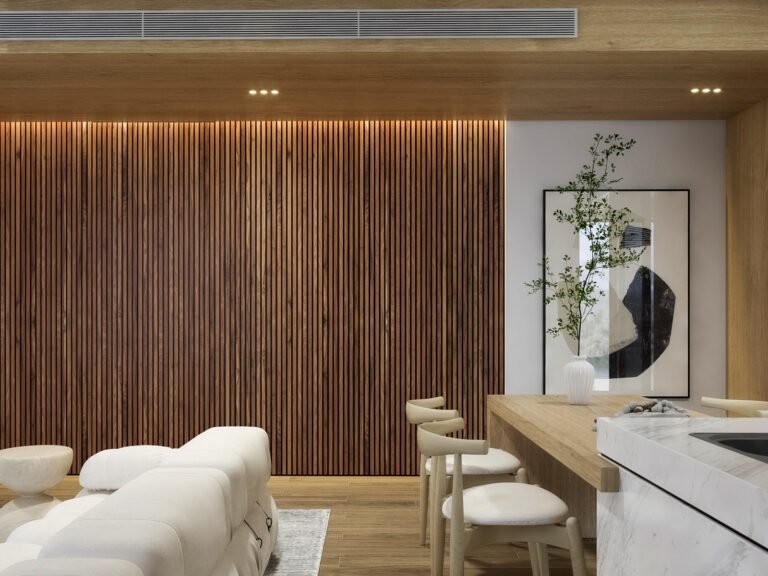
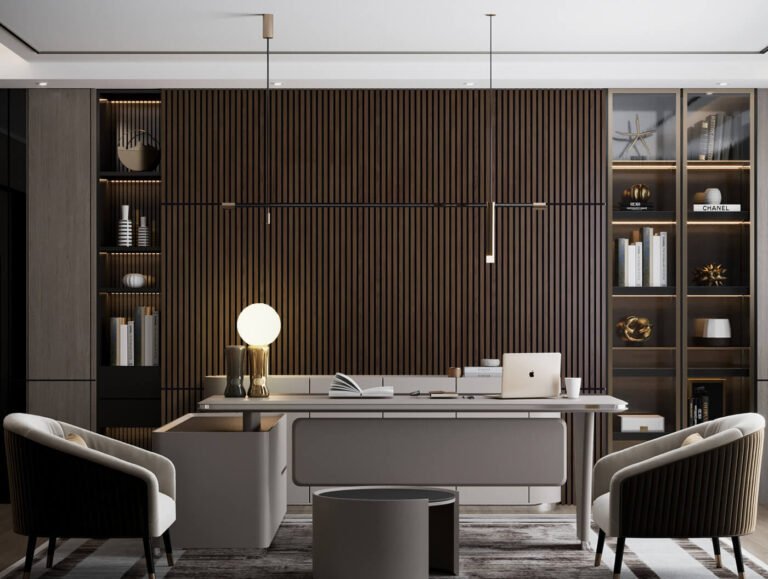
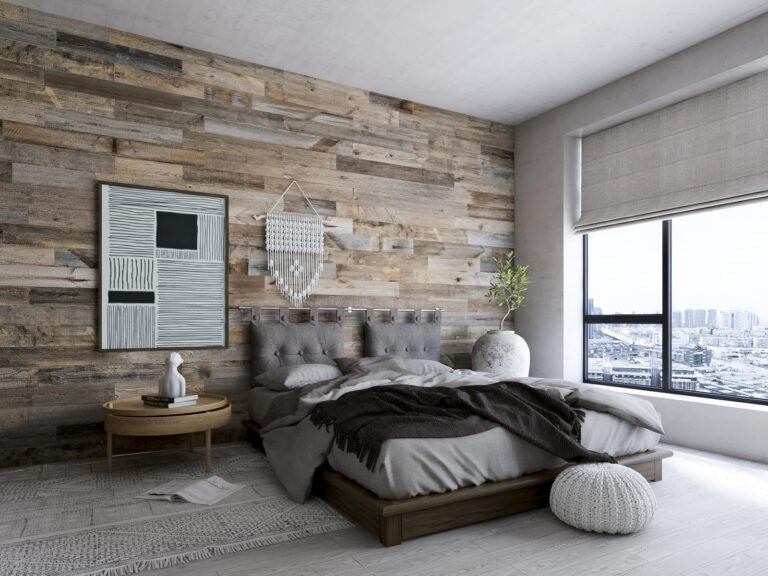
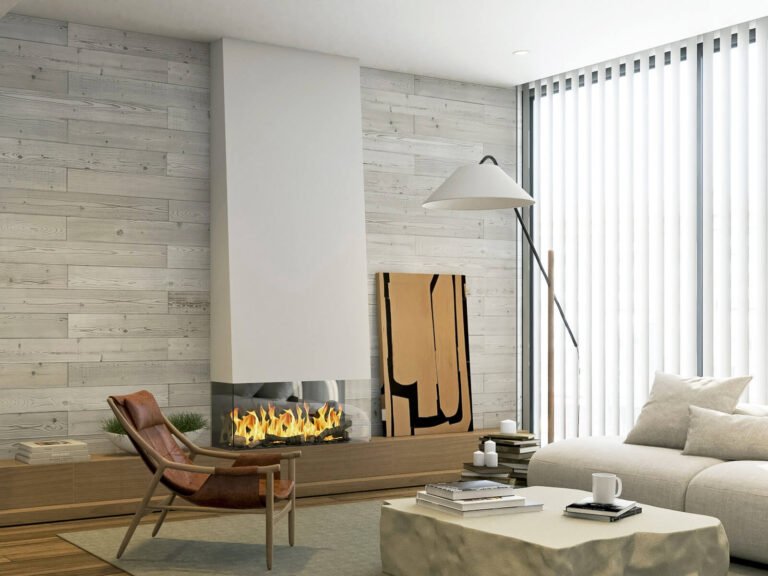
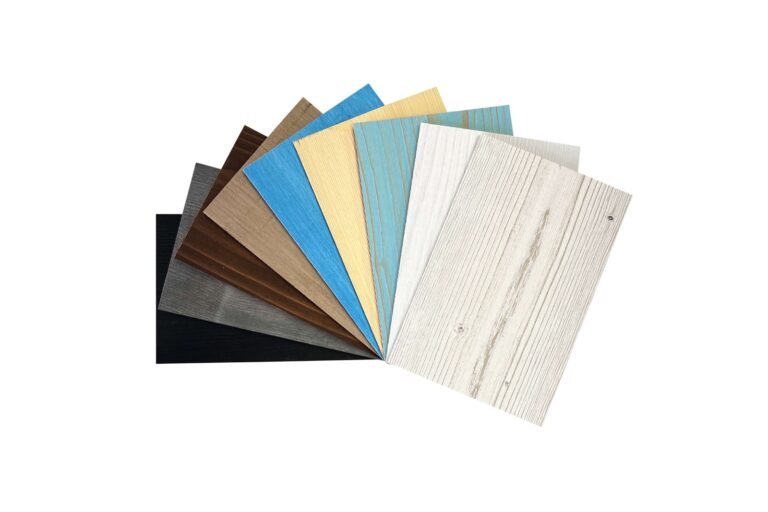
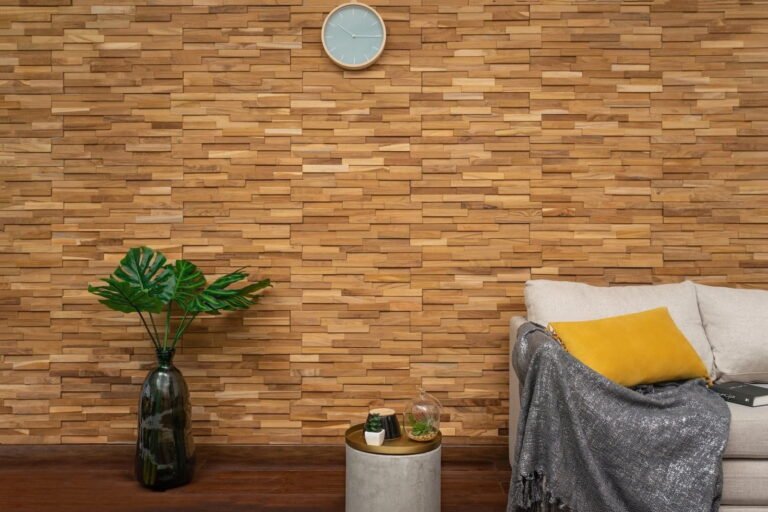
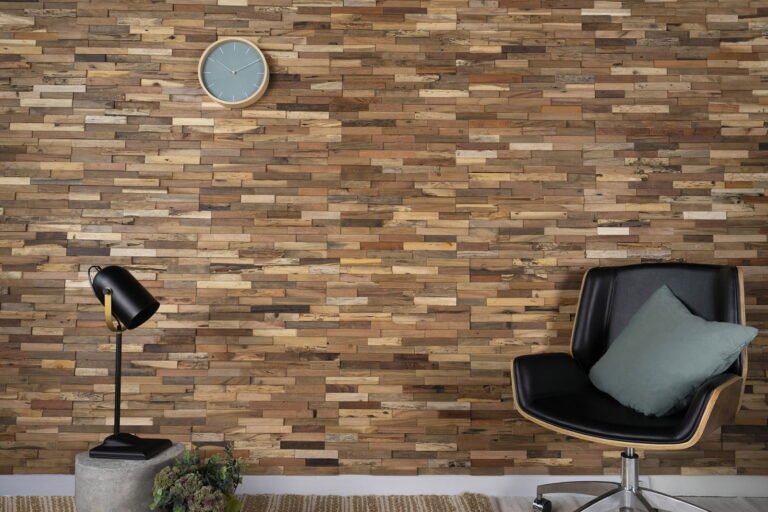
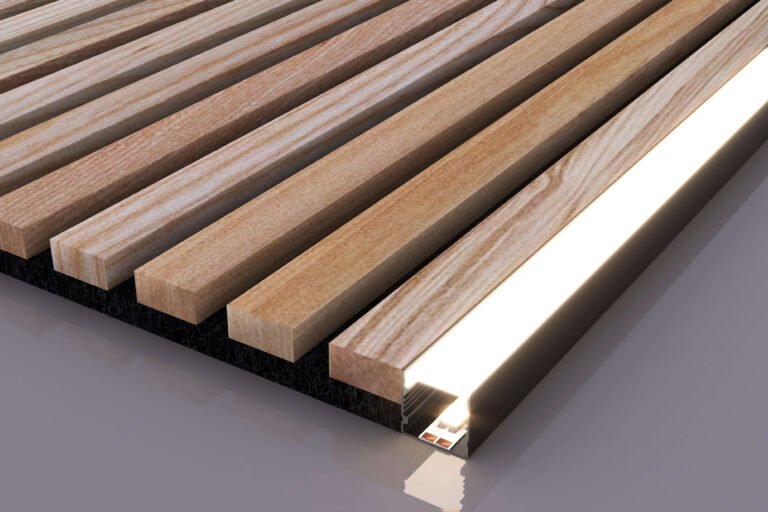
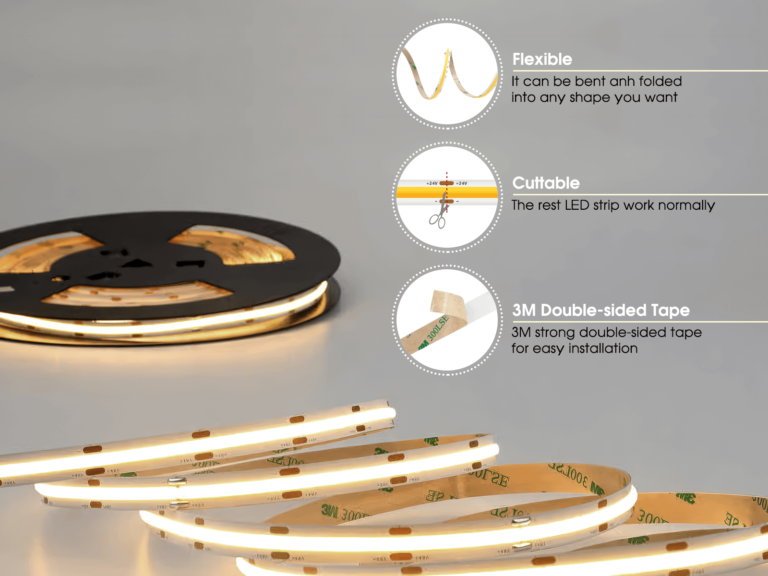
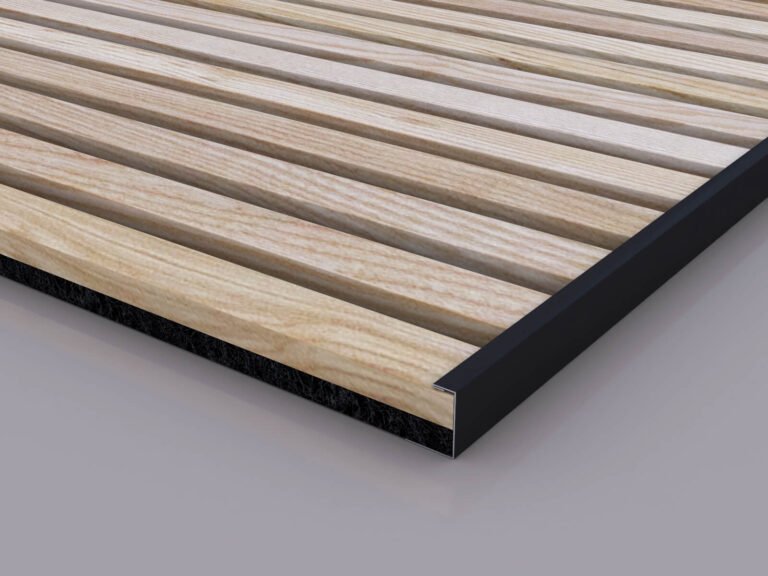
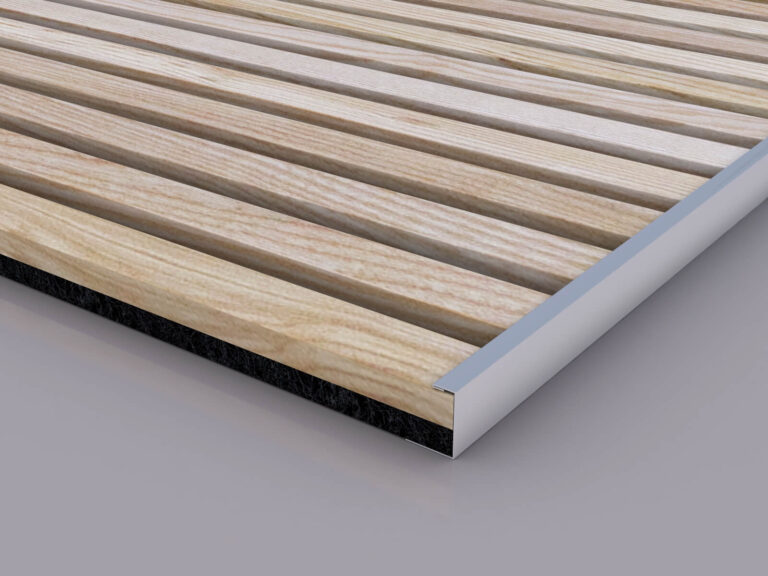
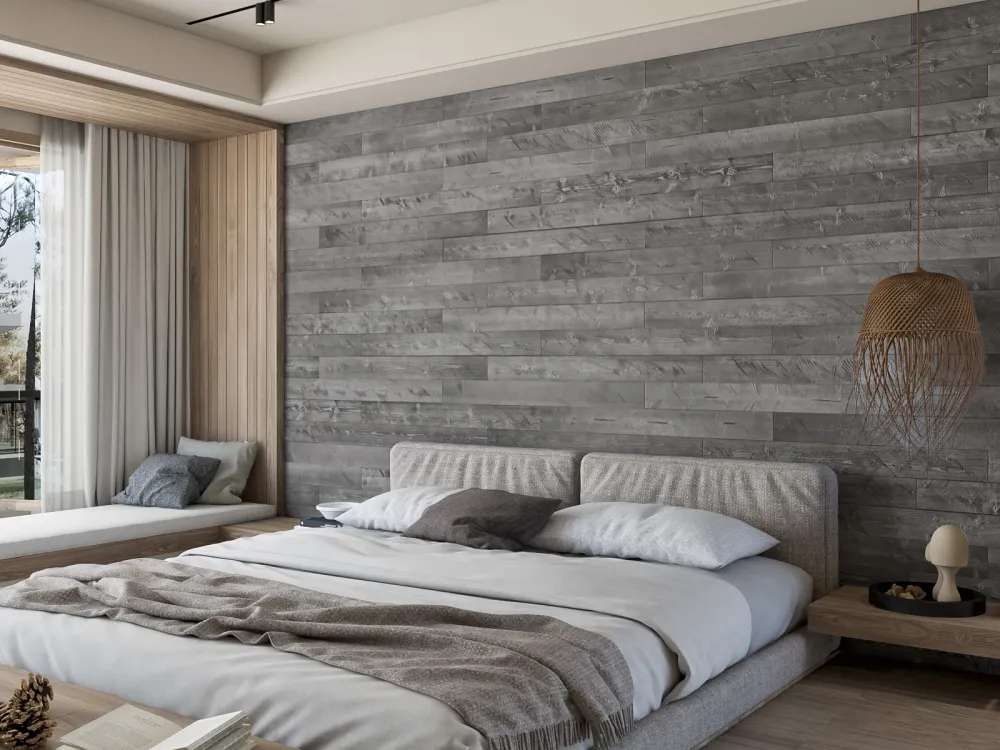
Peel and stick wood planks are a modern and popular option for home decor. They feature a natural pine wood with 3M tape strips on the back.
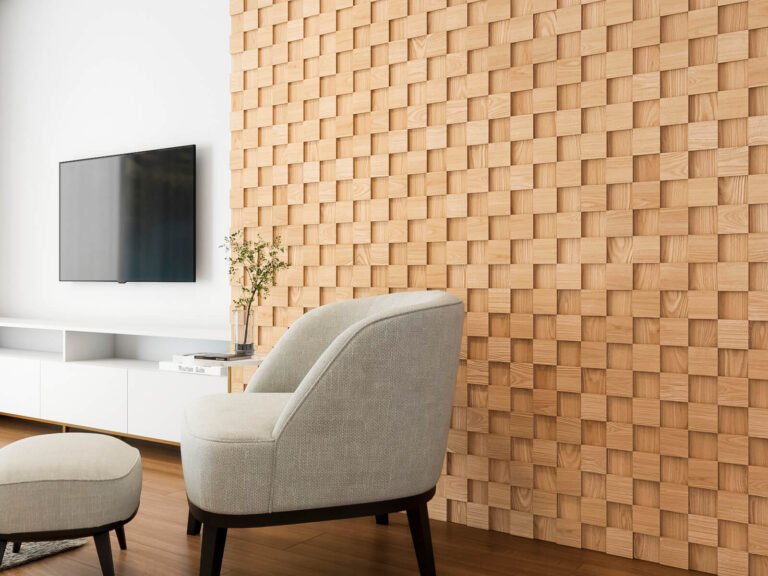
These wood planks offer an easy and stylish way to update any space, eliminating the need for extensive tools or professional installation. They are perfect for DIY enthusiasts looking to add a personal touch to your homes.
Why Should You Choose Woody Walls Peel and Stick Planks?
Here are 5 compelling reasons why you should choose these wood planks for your next project:
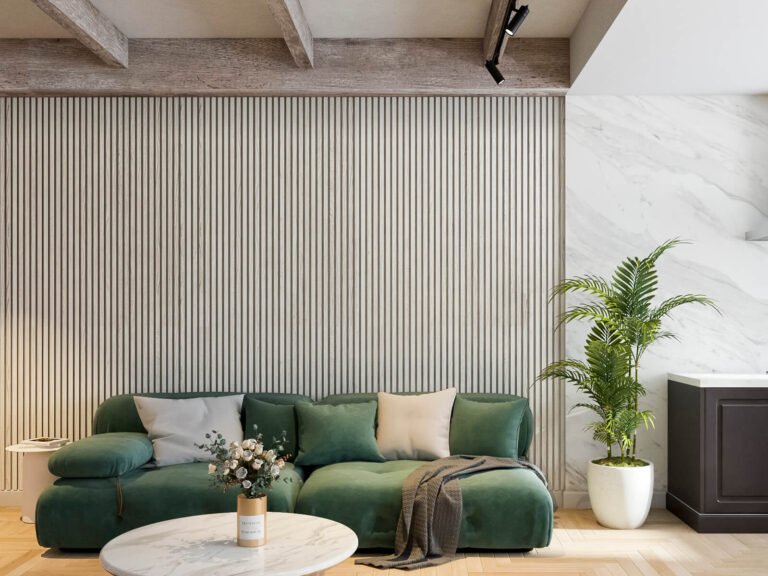
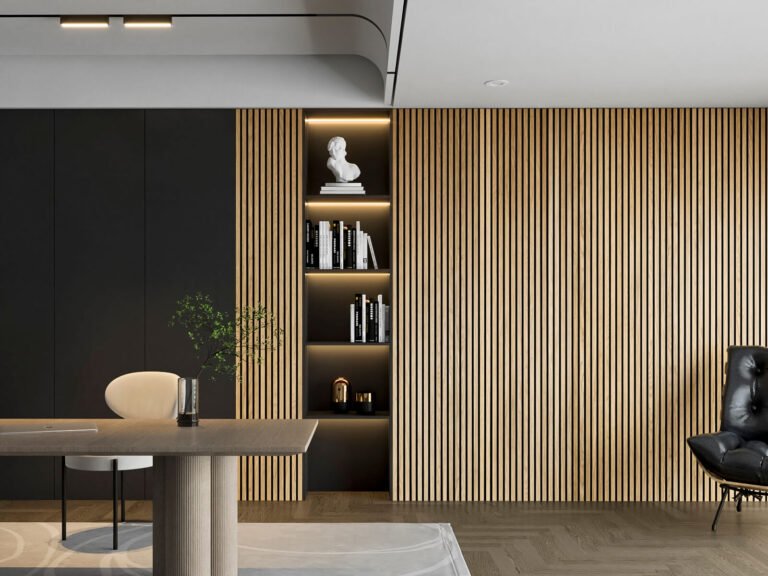
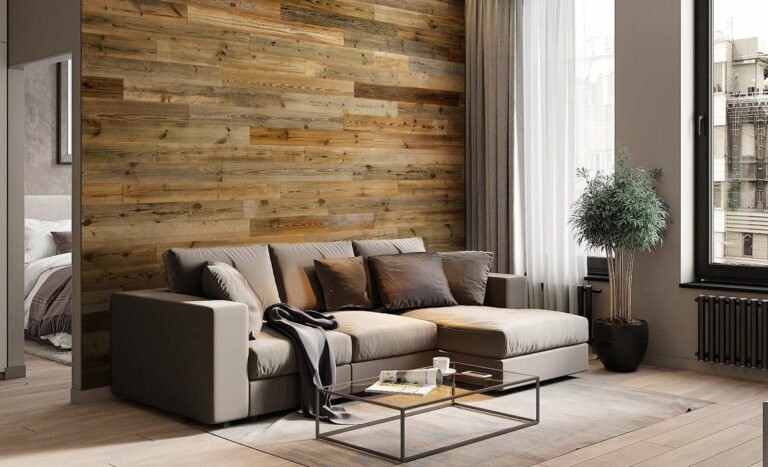
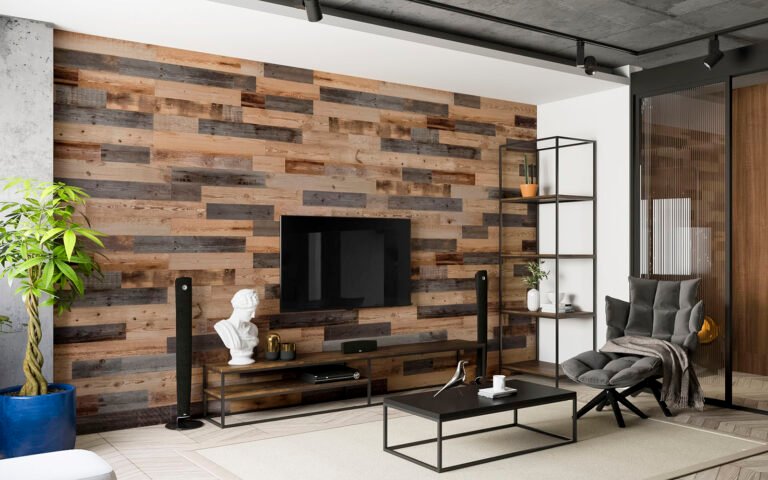
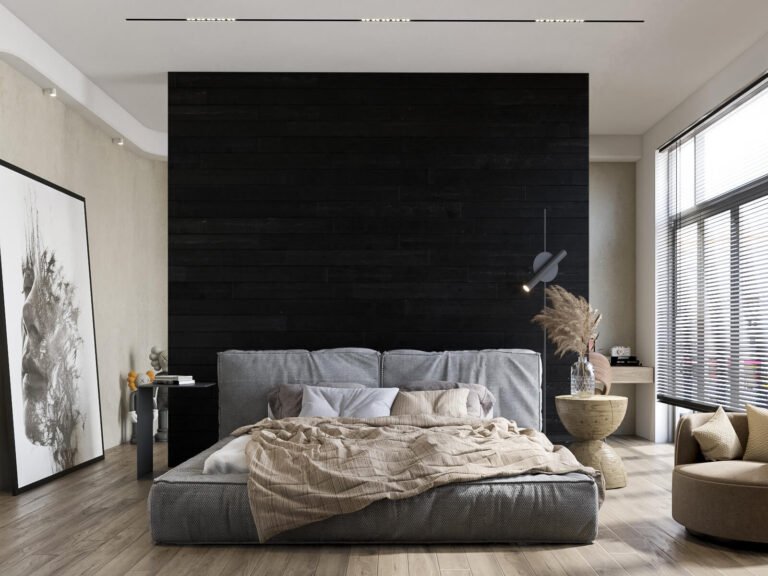
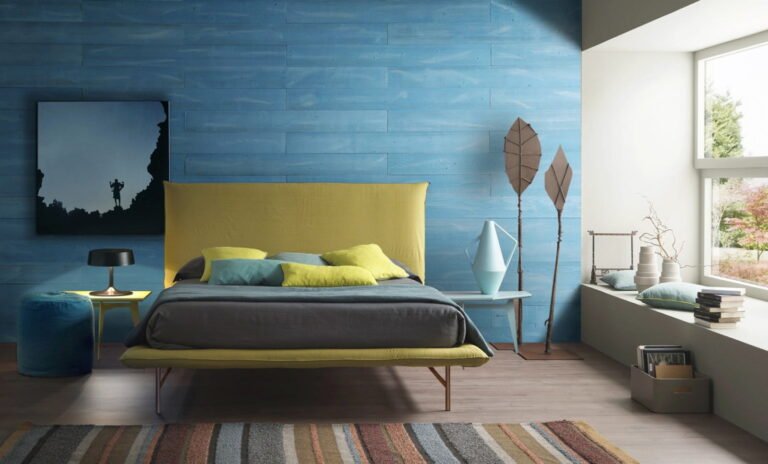
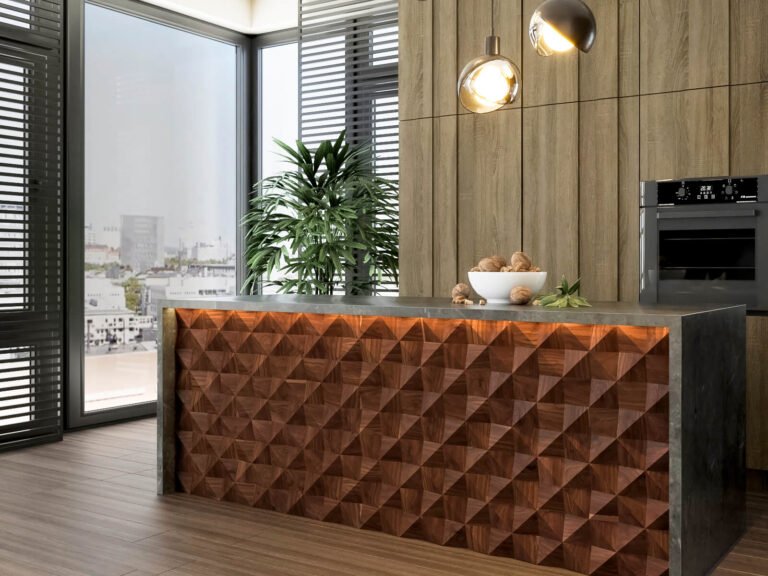
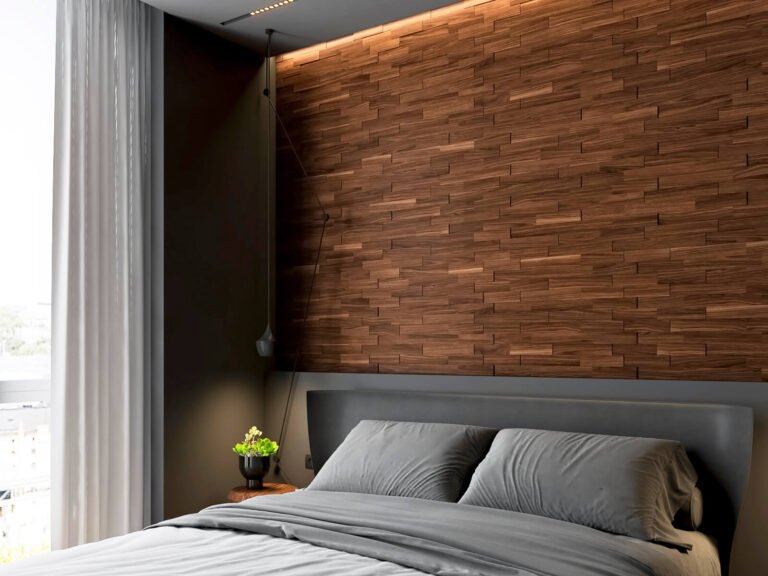
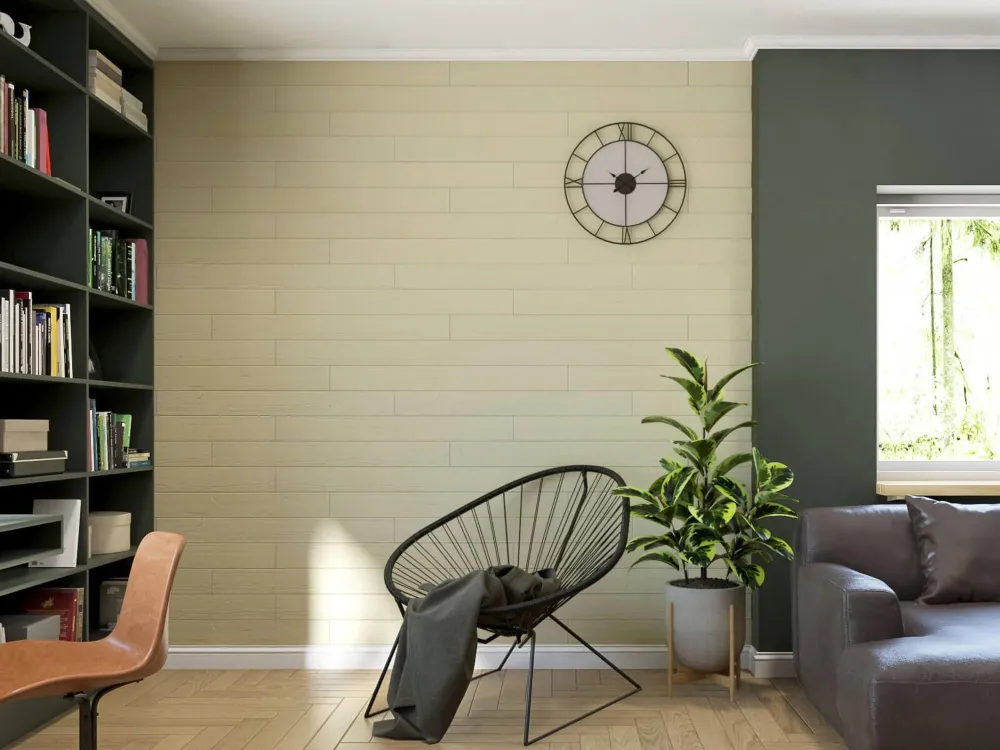
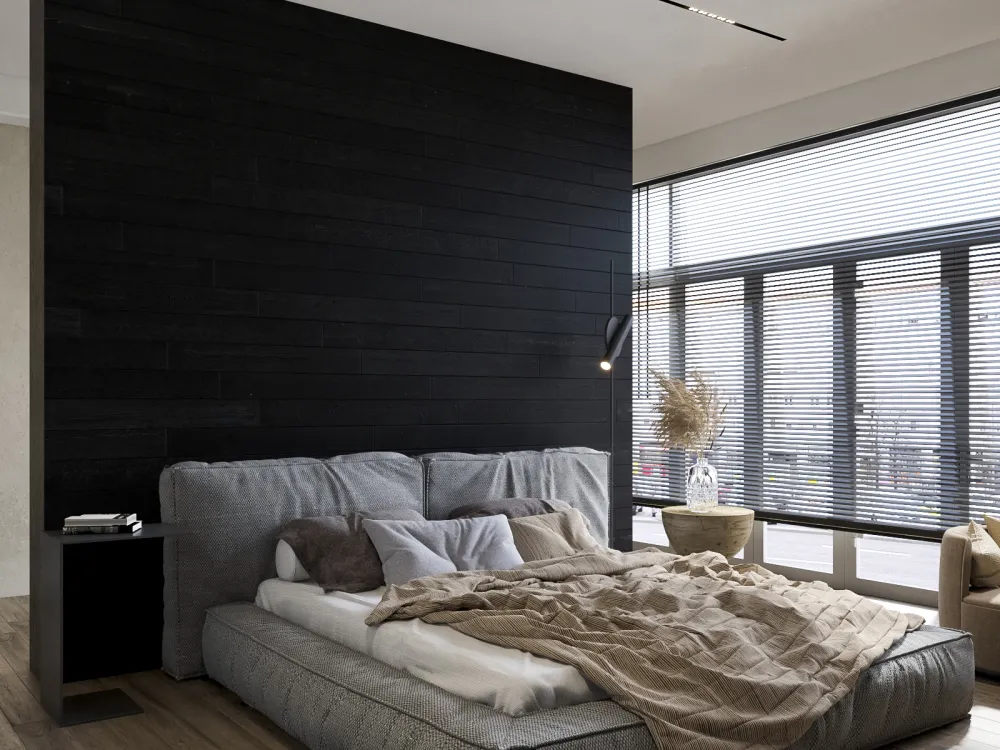
- Use Anywhere: These planks can be used on walls, doors, cabinets, ceilings, backsplashes, headboards, and more. They can be installed over standard or textured surfaces, including popcorn ceilings and mirrors.
- Simple & Fast Installation: No power tools, nails, or glue are needed, and no special skills are required. Anyone can install Woody Walls Peel and Stick Wood Planks and create a genuine wood interior surface that looks professional.
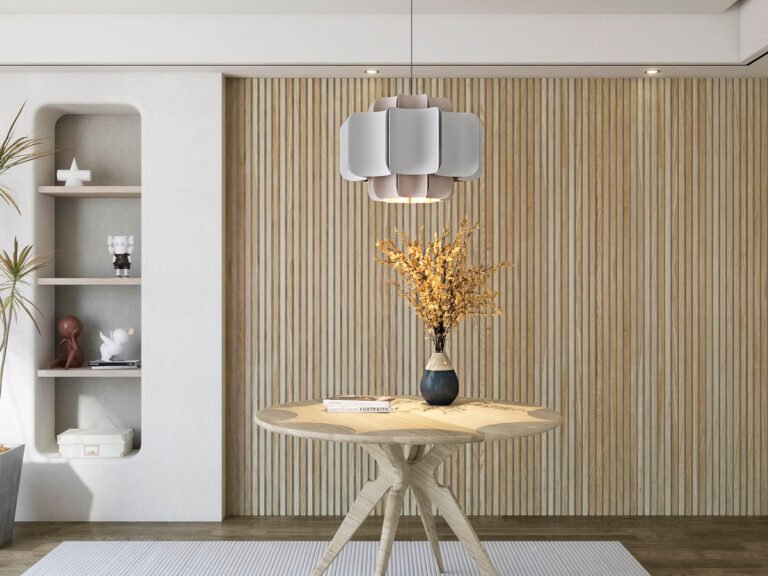
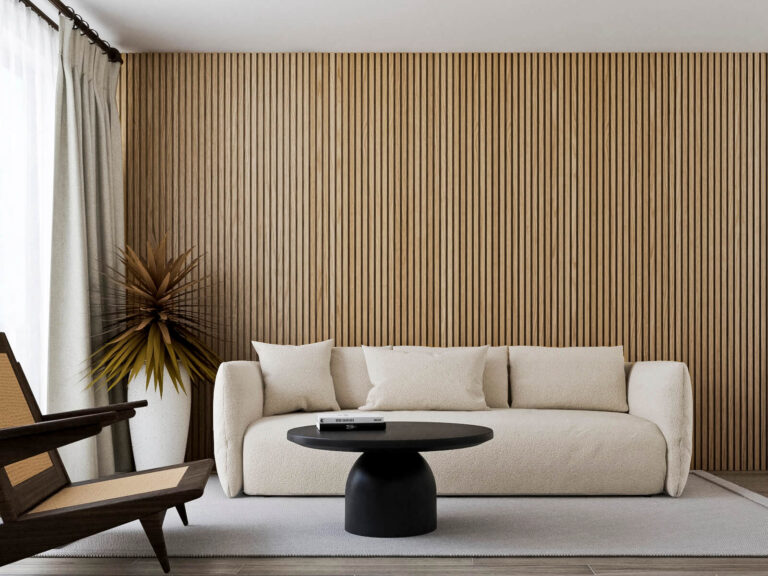
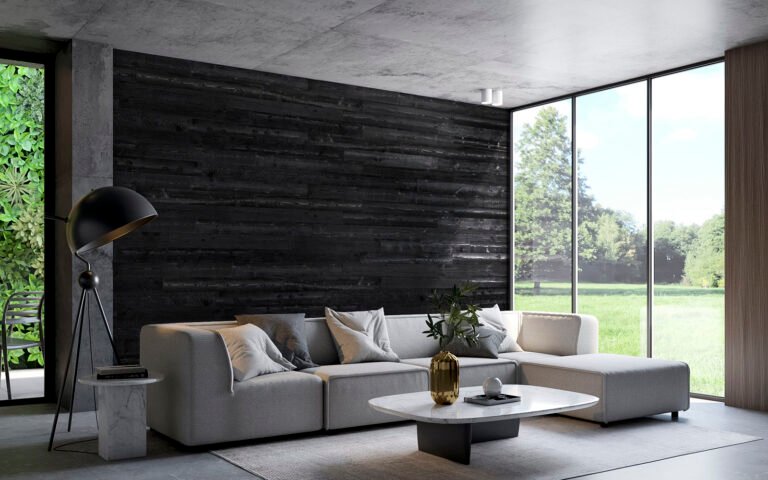
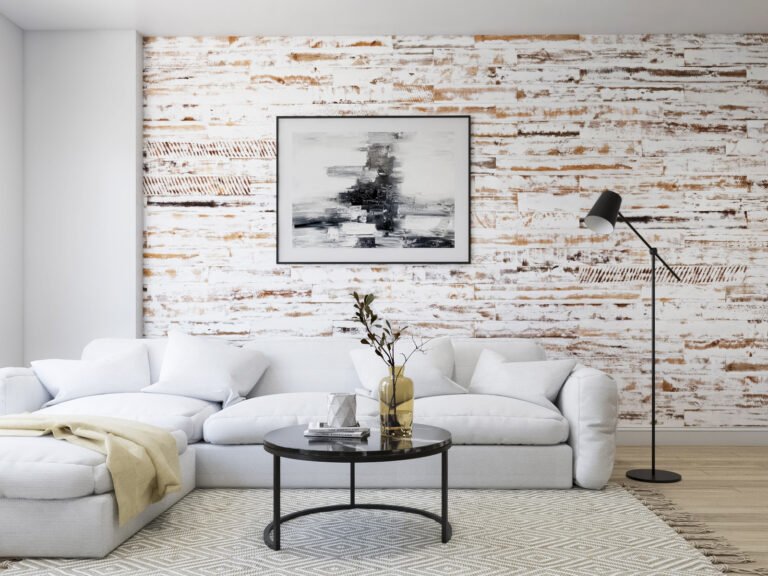
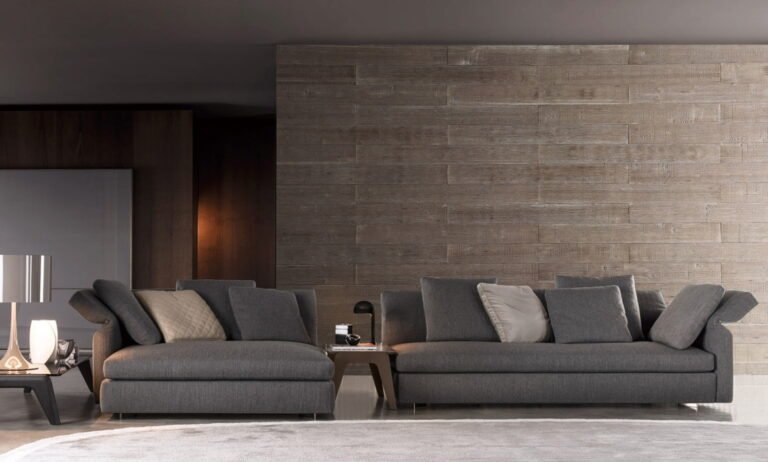
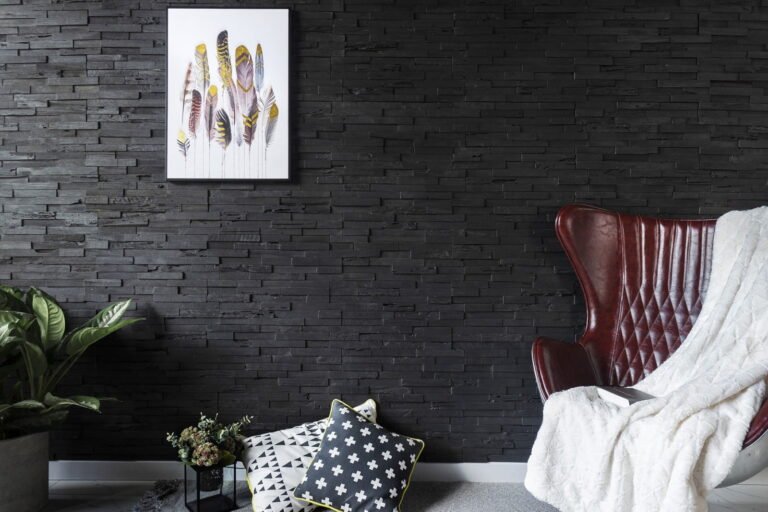
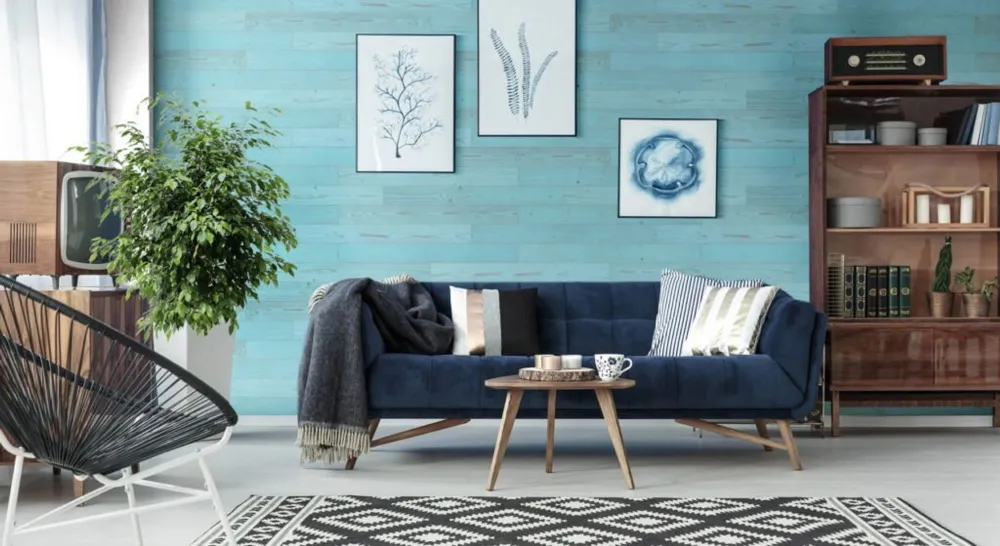
- Dozens of Designs & Looks to Choose From: Woody Walls offers a wide range of colors to create a look precisely suited to your ideas. You can choose from vintage whites, rustic greys, dramatic charcoals, tranquil blues, and more.
- Designed to Last: High-quality materials are key to a product that will age well with your home. The wood panels are treated to resist wear and fading, and the 3M adhesive tape is rated to last over 10 years under normal use.
- Customer Satisfaction Guaranteed: If you are not completely satisfied with your purchase, you can return unused planks in their original packaging within 30 days of delivery. Woody Walls offers a straightforward return policy to ensure customer satisfaction.
By choosing Woody Walls Peel and Stick Wood Planks, you're opting for a high-quality, versatile, easy-to-install solution that transforms your space with beautiful, lasting results.
Materials and Tools Needed Before Installing Peel and Stick Wood Planks
Before diving into your installation, gather these essentials:
- 4’ Level: Ensures straight, level planks for a pro finish.
- Saw (miter saw, jigsaw, hand saw, or utility knife): Cut planks to fit corners and edges.
- Pencil: Mark cut lines and measure accurately.
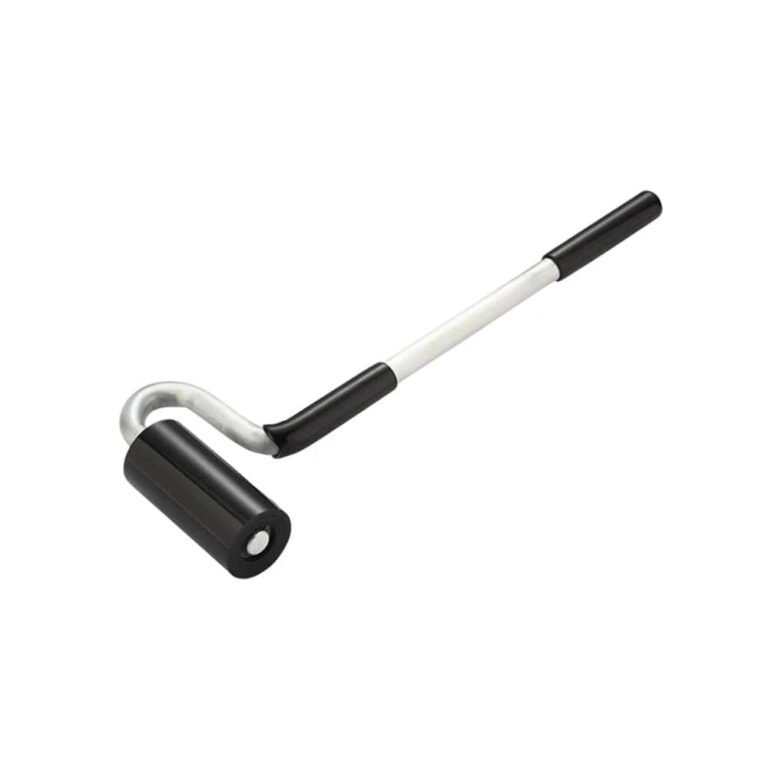
- J-Roller: Press planks firmly, aiding adhesion and minimizing air bubbles.
- Dust Mask: Protects against sawdust and airborne particles during cutting.
How to Install Peel and Stick Wood Planks?
Installing peel and stick wood planks is a straightforward process that can elevate the look of any room in your home.
Here’s how to install peel and stick wood planks on wall in 10 simple steps:
- Step 1 - Clean the Wall Surface: Start by thoroughly cleaning the wall surface. Remove all debris, dust, grease, cover plates, and protruding nails to ensure proper adhesion.
- Step 2 - Mix Planks from Different Bundles: To achieve an even mix of colors, use planks from different bundles.
- Step 3 - Dry-Lay Planks: Before permanently installing the planks, dry-lay them on the floor to create your desired pattern, especially if you're working with multicolored boards.
- Step 4 - Draw a Reference Line: Use a pencil and a 4-foot level to draw a line across the installation surface. This line will serve as your reference point for installing the planks.
- Step 5 - Position Starter Row: Peel the paper off the 3M adhesive and position the starter row of planks groove side up along your reference line. Press them firmly into place.
- Step 6 - Apply Firm Pressure: After placing the starter row, apply firm, steady pressure along the entire row of planks. Use a J-roller to ensure even pressure across the surface, as the adhesive is pressure-sensitive.
- Step 7 - Use a Dust Mask: Always wear a dust mask to protect yourself from inhaling debris while cutting wood planks.
- Step 8 - Mark Locations: Before removing the paper liner from the adhesive tape, mark the locations of light switches, electrical outlets, and air vents on the planks.
- Step 9 - Cut Planks for Top and Bottom Rows: When installing the top and bottom rows, cut the planks lengthwise using a jigsaw or table saw to fit the space properly.
- Step 10 - Smooth Cut Edges: If necessary, use a sanding block to smooth the planks' cut edges for a finished look.
By following these steps for installing peel-and-stick wood planks on a wall, you can achieve a professional-looking installation that will enhance the aesthetic appeal of your space.
What Factors Affect Peel and Stick Wood Planks Durability?
The durability of peel and stick wood planks depends on various factors that influence their longevity and performance. Consider these key elements to ensure your installation stands the test of time:
- Quality of Material: Opt for reputable brands to ensure superior quality North American pine wood that withstands warping, cracking, and fading. High-quality materials offer a long-lasting and visually appealing finish.
- Installation Process: Follow the manufacturer's instructions meticulously, including surface preparation and using suitable tools. Proper wood plank alignment and spacing prevent premature wear or damage.
- Surface Preparation: The condition of the surface affects adhesion. Ensure it's clean, dry, and free from dust, grease, or debris. Compromised surfaces risk losing adhesion over time.
- Environmental Factors: Environmental conditions impact stability. Excessive moisture, temperature fluctuations, and sunlight can affect the material. Avoid high-moisture areas when installing peel and stick wood planks.
- Maintenance: Regular maintenance prolongs lifespan. Clean the surface with non-abrasive cleaners, avoiding excessive water. Harsh chemicals or abrasive tools can damage the finish.

Discover The Peel and Stick Wood Planks Collections of Woody Walls
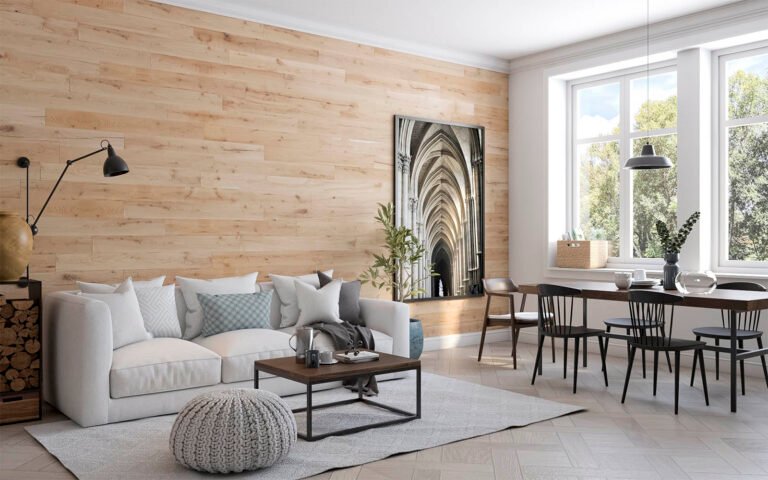
Transform your space effortlessly with Woody Walls Peel and Stick Wood Planks collections. Experience the ease of DIY home improvement with stunning results. Our wood wall panels offer a genuine new home look, elevating any familiar space with beauty and style.
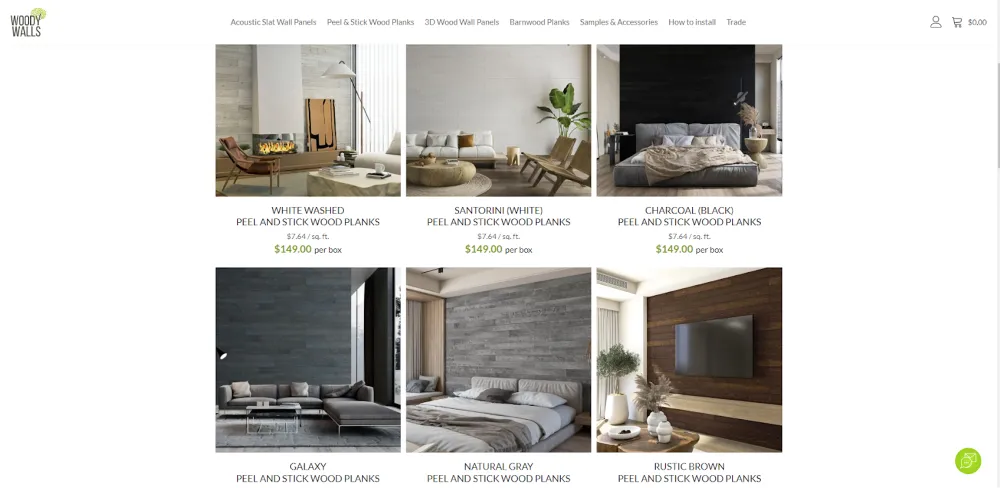
Choose from various colors and styles, from vintage whites to weathered looks. Contact Woody Walls and explore our collections today to transform your home into a stylish living space!
FAQs about Peel and Stick Wood Planks
Let's explore some common questions and expert advice on how to install peel and stick wood planks.
1. How long does peel and stick wood last?
With proper maintenance, peel-and-stick wood panels can last for 10 years. In fact, the longevity of peel-and-stick wood varies based on surface conditions. Clean, dry surfaces free of debris ensure optimal adhesion.
2. What should you not do when installing peel and stick wood planks?
When installing peel and stick wood planks, avoid:
- Spaces with excessive moisture: Install only in rooms with 30-65% relative humidity and on dry, primed surfaces with less than 8% moisture.
- Relying on baseboards or ceilings for levelness: Use a 24-inch level to ensure accuracy. If floors or ceilings aren't level, measure down from the ceiling and create a level line for reference.
3. In what cases should you choose peel and stick wood planks?
Due to their adhesive backing, peel-and-stick wood planks are ideal for surfaces where traditional paneling isn't feasible, such as mirrors, tile, or concrete walls. They're perfect for projects where nails can't be used. The adhesive will adhere securely if the surface is smooth and clean.
