


Installing reclaimed wood accent wall yourself with proper tools and easy-to-follow steps:
- Step 1: Remove debris and protruding nails from the surface.
- Step 2: Measure the length and width of the application area.
- Step 3: Allow panels to acclimate for 48h-72h.
- Step 4: Inspect planks for any damage.
- Step 5: Dry-lay planks before the installation to create your desired pattern. Use panels from different bundles for an even mix of colors.
- Step 6: Draw a reference line. Apply adhesive to the back of the panels and install the first row along the reference line.
- Step 7: Secure panels with finishing nails.
- Step 8: Use a miter-saw or fine-toothed handsaw to cut the excess panels.
- Step 9: For top and bottom raw-cup planks lengthwise, use jigsaw or fine-toothed handsaw.
Explore the detailed steps on how to install reclaimed wood wall in the following section.
Before jumping into the “how to” part, we’ll go through definitions, benefits, and materials needed for the installing process.
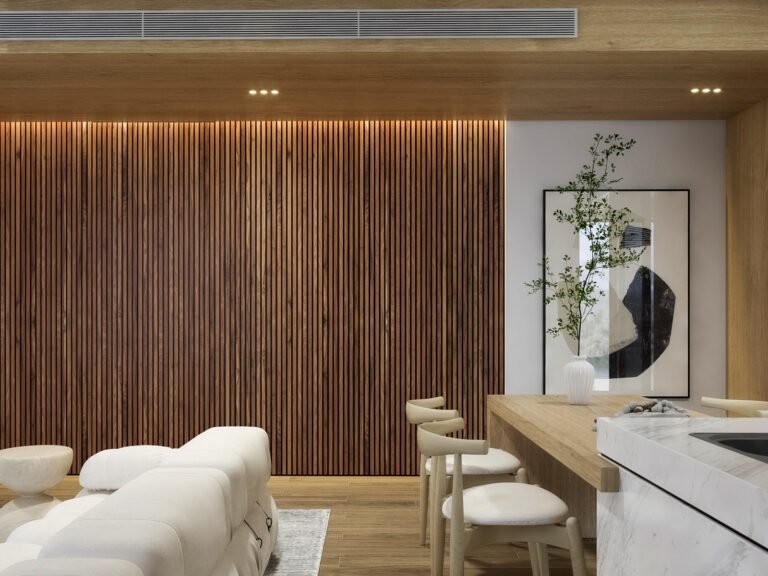
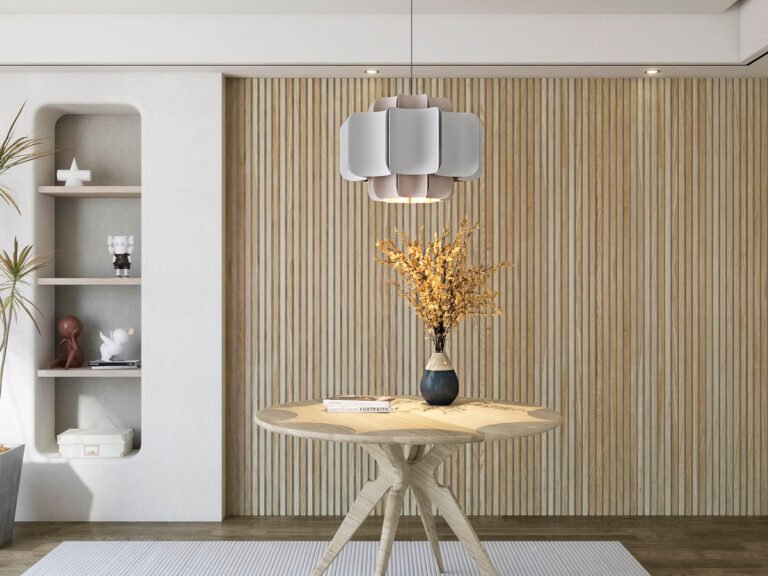
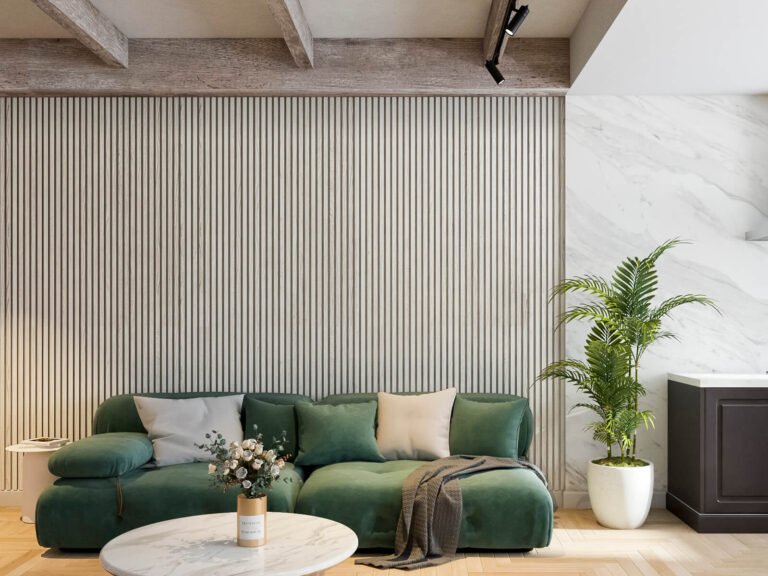
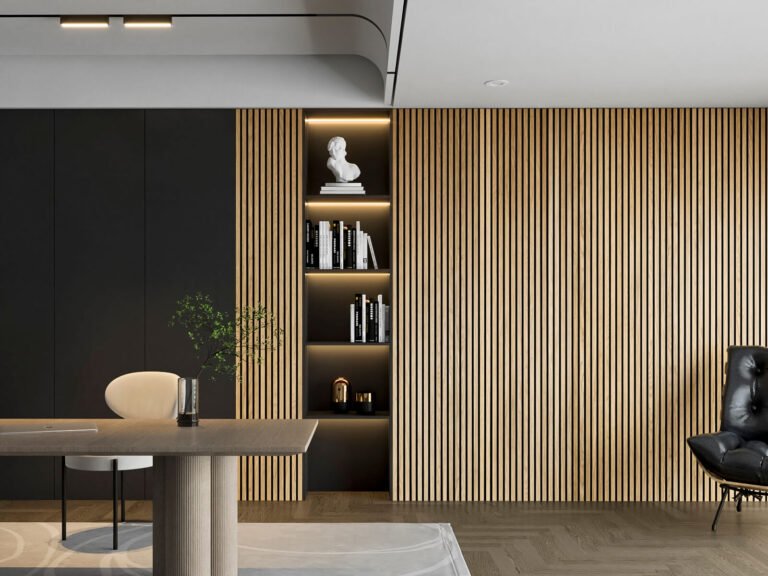
What is a Reclaimed Wood Wall?
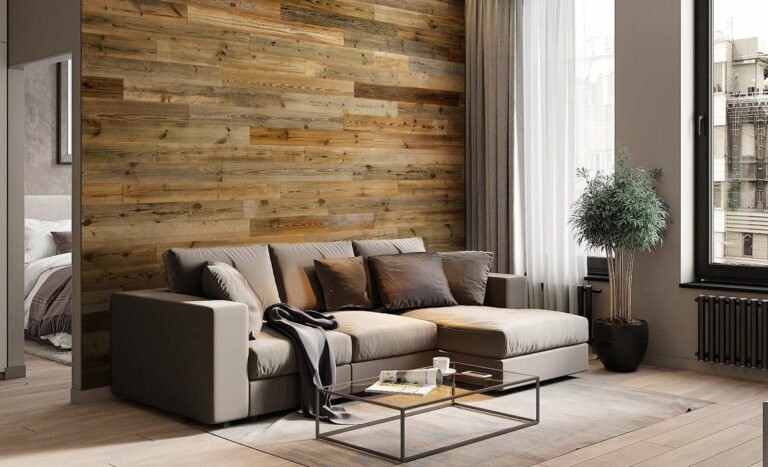
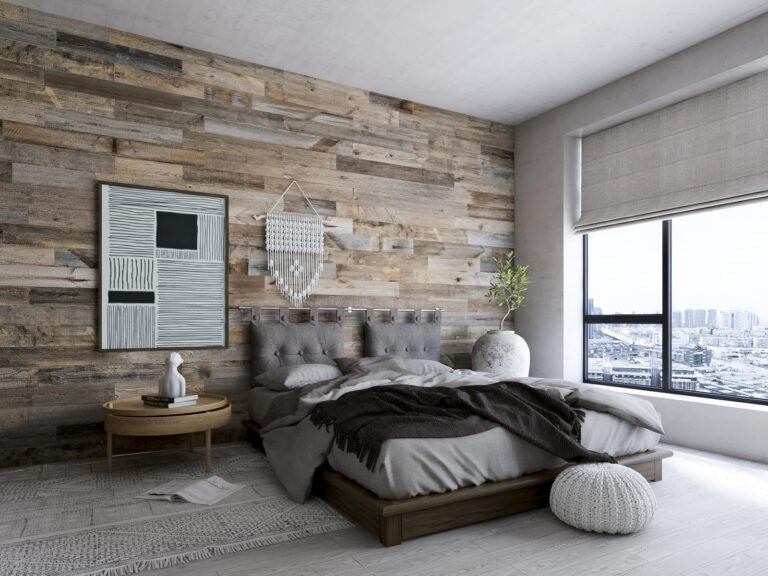
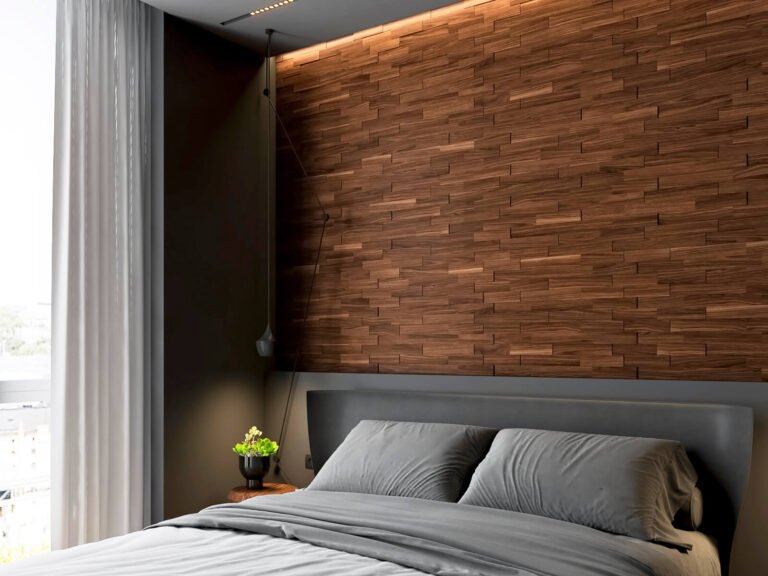
Reclaimed wood panels are a sustainable alternative to traditional wood walls. They are derived from old barns and structures and are given a distinctive patina after years of natural aging. Installing reclaimed wood wall is a way to support the environment.
Benefits Of Choosing Reclaimed Wood Wall
Installing reclaimed wood accent wall brings lots of benefits to users, including:
- A sustainable and environmentally-friendly option: Reclaimed wood boards are eco-friendly since they retain carbon throughout their lifetime. Non-toxic, insect-free sources like recycled fences eliminate heat treatment, making them a cost-effective choice.
- Minimized potential indoor air pollution: Reclaimed wood from reliable sources reduces indoor air pollution in interior design projects. High-quality reclaimed wood panels need to undergo rigorous testing, ensuring safe and reliable materials in interior design projects.
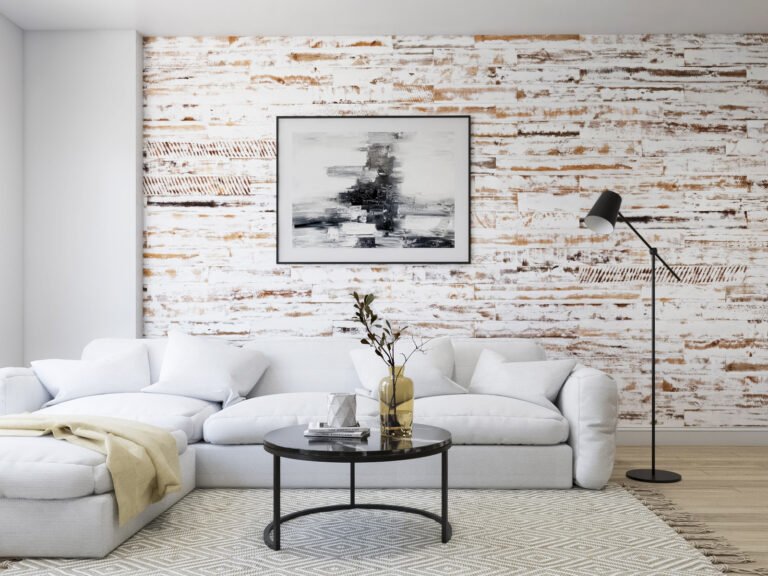
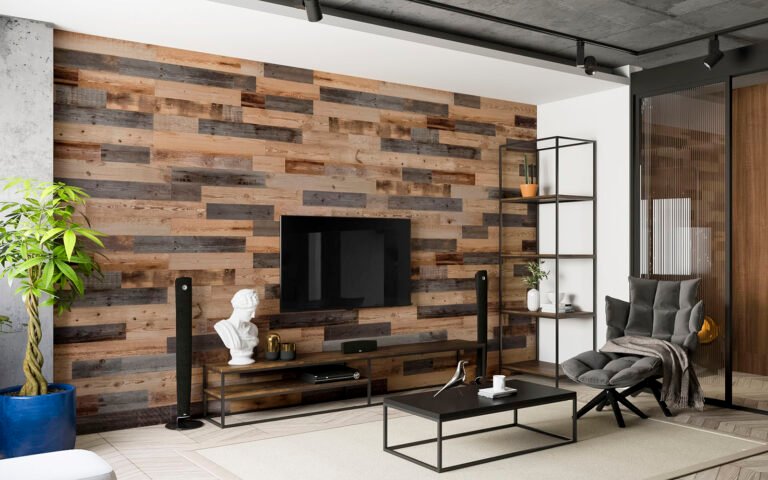
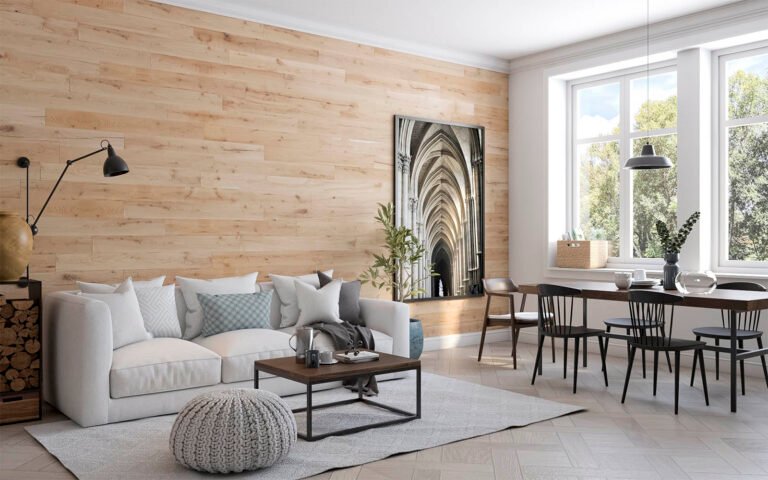
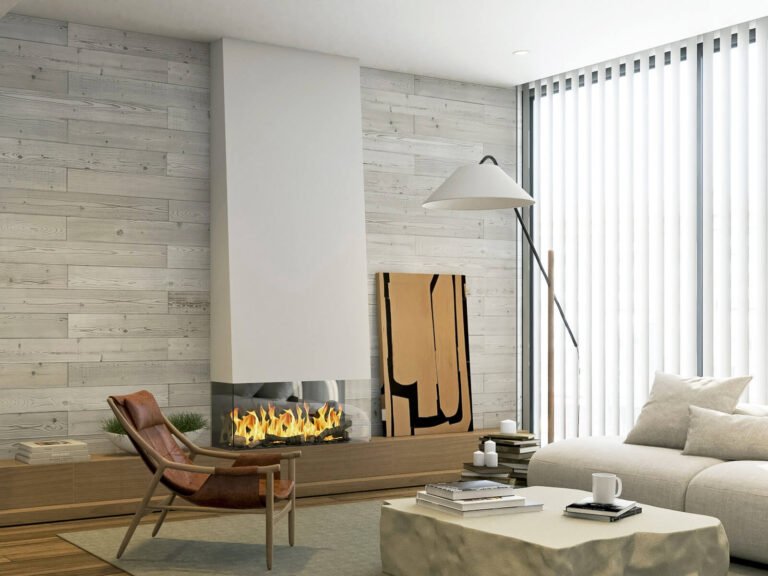
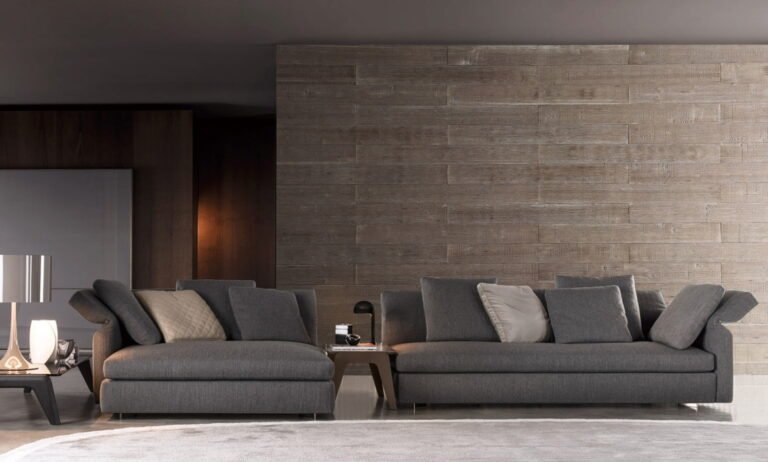
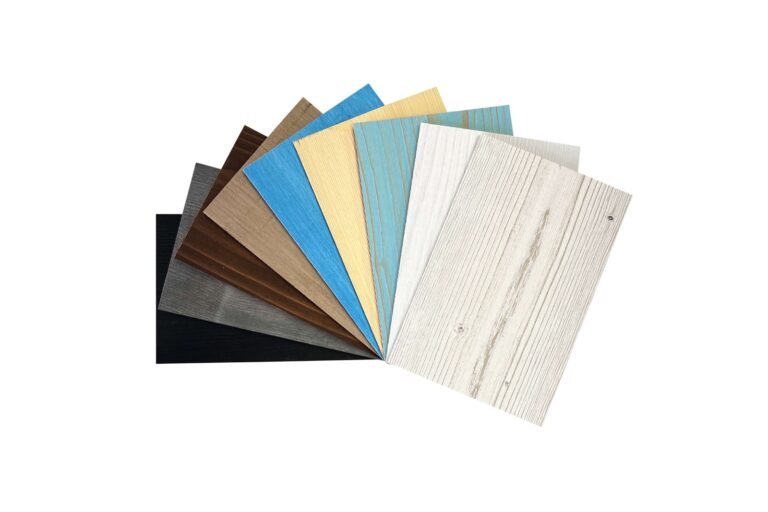
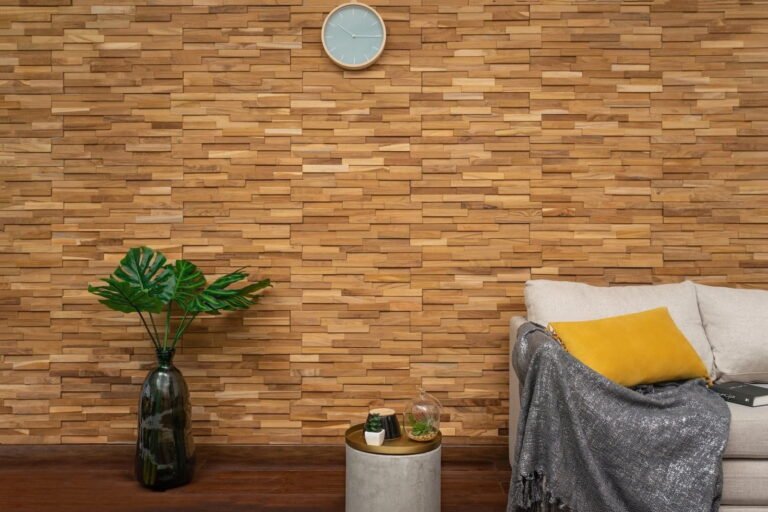
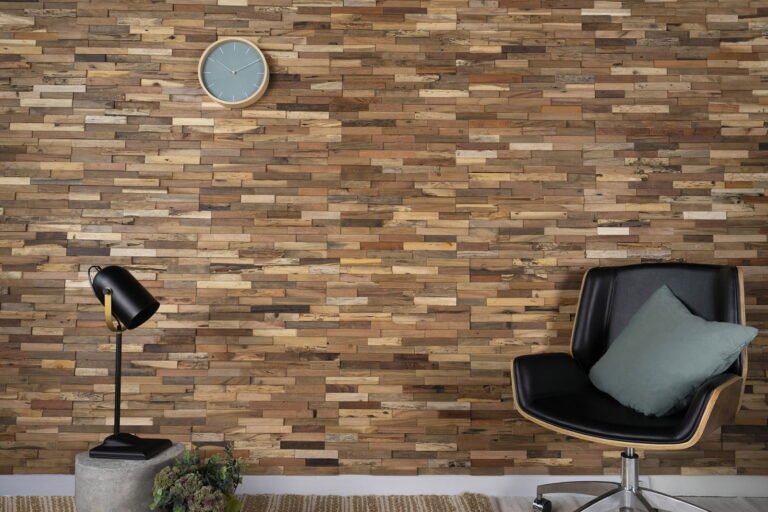
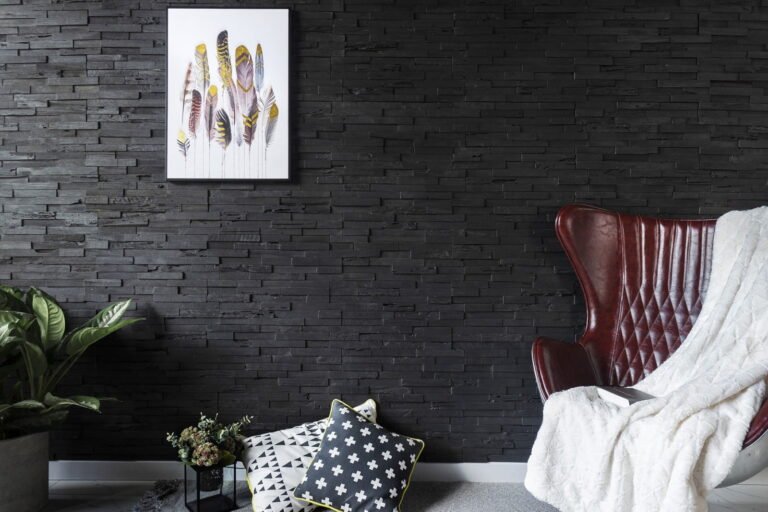
- Variations in natural colors: Tones of blonde, brown, cinnamon, and gray are examples of color variations. Diverse color tones create a vintage vibe harmonized with nature for the living space.
- Biophilic design element: As a biophilic design feature, reclaimed wood walls may amplify biophilia or the desire to be in nature. Wood is a great material for interior design while improving air quality and producing a tranquil atmosphere.
- Long life span: Installing reclaimed wood wall is a long-lasting method due to the material's sturdiness. Though it usually comes with imperfections, such as bruises or bumps, users understand that these are just some elements adding to the wood's unique character.
- Economical choice: Because plywood and timber prices have risen significantly recently, reclaimed wood is an affordable alternative. It is especially true if you're attaching reclaimed wood planks straight to studs as part of your project.
Materials and Tools Needed to Install Reclaimed Wood Wall
Before installing reclaimed wood wall, you need to prepare the following tools:
Essential gears:
- Saw (Fine tooth hand saw, miter saw, or jigsaw)
- Nail gun
- 18 gauge brad nails
- Tape measure
- Level
- Pencil
- Construction adhesive (Liquid nails, Glue gun)
Safety Gear:
- Gloves
- Safety goggles
- Ear plugs
- Dust mask
How to Install Reclaimed Wood Wall?
Step 1: Remove debris and protruding nails from the surface
Before starting, make sure the installation surface is completely free of dust, debris, and dirt. You can use a putty knife or a scraper to remove any protruding nails or staples to ensure nothing bothers the process.
Step 2: Measure the length and width of the application area
You need to measure the size of the area you want to use reclaimed wood panels since it helps you decide how many panels you'll need and where to put them for the best visual appeal.
Step 3: Allow panels to acclimate for 48h-72h
Let the panels acclimate to the room's temperature and humidity for 48-72 hours before installation. This will ensure that the wood doesn't shrink or warp.
Step 4: Inspect planks for any damage
If you want to achieve a smooth appearance, it's highly advised to check each plank carefully.
Step 5: Dry-lay planks before the installation to create your desired pattern. Use panels from different bundles for an even mix of colors.
Next, you need to place the panels on the floor according to your preferred pattern before mounting them to the wall. Combine planks from several packages to achieve a uniform combination of colors and textures, creating a cohesive look.
Step 6: Draw a reference line. Apply adhesive to the back of the panels and install the first raw along the reference line.
The next step is to use a level and a pencil to draw a reference line on the wall. And then, coat the back of the first row of panels with construction glue and firmly push them into place.
Step 7: Secure panels with finishing nails
Hit the finishing nails through the planks and into the wall to secure the first row of reclaimed wood into place. This process needs to be repeated for all following rows.
Step 8: Use a miter-saw or fine-toothed handsaw to cut the excess panels
Trim at the end of each row by using a miter saw or fine-toothed handsaw. And remember to use your safety gear while working with the wood.
Step 9: For top and bottom row-cup planks lengthwise, use jigsaw or fine-toothed handsaw
To ensure panels fit the area correctly, trim the top and bottom rows lengthwise. Make sure you measure precisely and use a jigsaw or fine-toothed handsaw to make precise cuts for a neat finish.
Watch this video to see the steps with more details on how to install reclaimed wood wall.
What Should You Avoid When Installing The Reclaimed Wood Wall?
Now, you are clear about how to install reclaimed wood on a wall. However, you should avoid the following mistakes during the process to ensure a successful outcome.
- Thinking too much while installing: To prevent interruptions, you'd better thoroughly research the process before starting. Establishing an installation strategy before the process will help the job be done faster.
- Distributing color variations unevenly: Since there is a wide variation of color, evenly distributing the reclaimed wood panels is necessary for a cohesive look. Before installing, lay down one or two packs of planks to see how the board will look and ensure everything blends together nicely.
- Not using the level line: It's always a wise strategy to draw a level reference line as a starting point before installing reclaimed wood accent wall. Starting at the top or bottom of the wall will work best.
- Making unaesthetic seams: Planks should be spaced apart during installation to prevent overlapping ends and seal seams. To avoid seam alignment, stagger the plank edges from row to row by at least 8 inches.
- Not applying nails and glue: In traditional installation methods, you need to apply both nails and glue to ensure secured planks. Nails prevent warping or cupping of reclaimed wood. For adhesive, use a continuous "S" pattern and avoid placing it near plank edges to prevent oozing out during installation.
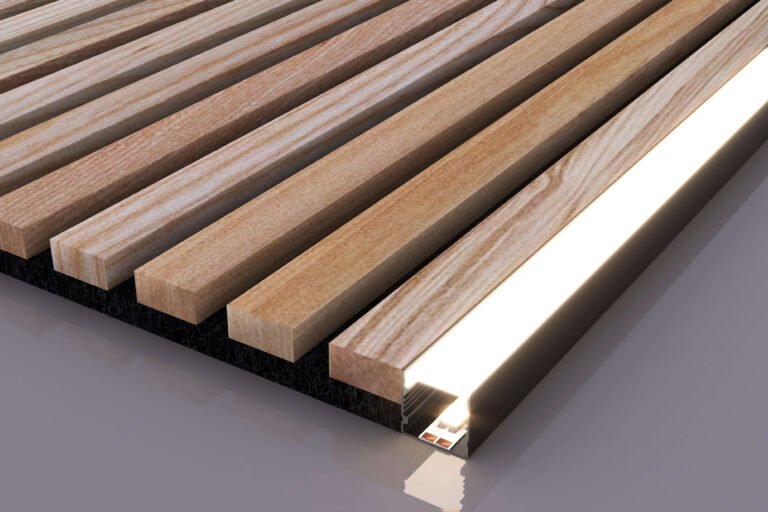
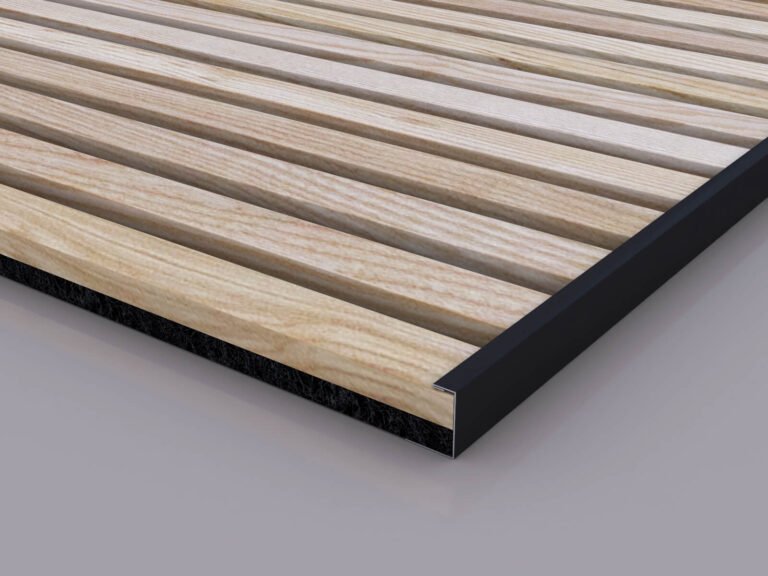
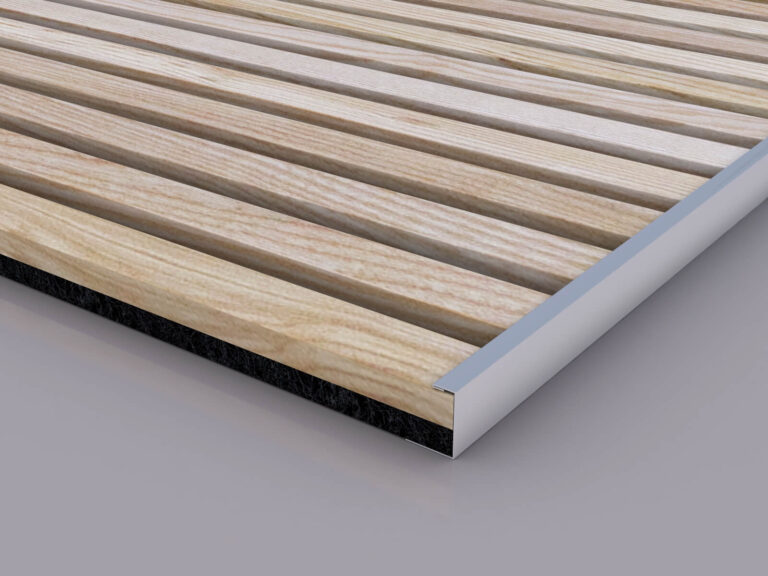
Discover The Barn Wood Planks Collections of Woody Walls
Installing reclaimed wood wall will be easier with barn wood plank collection from Woody Walls.
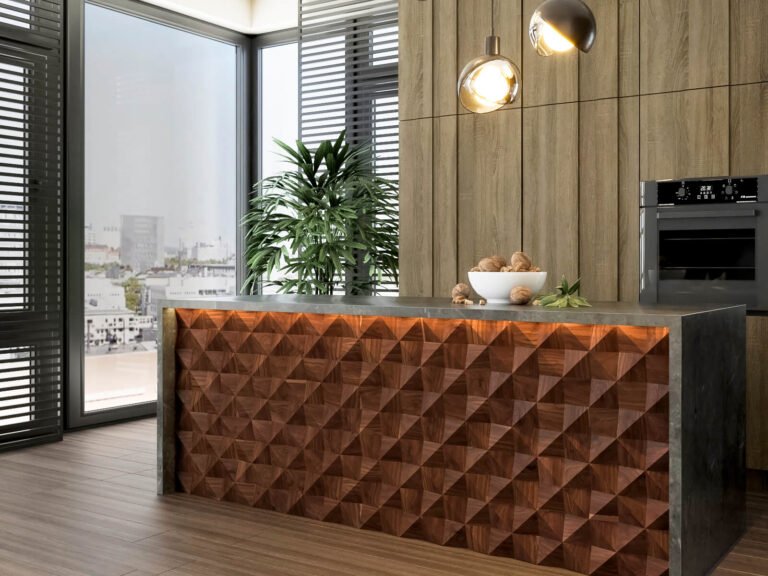
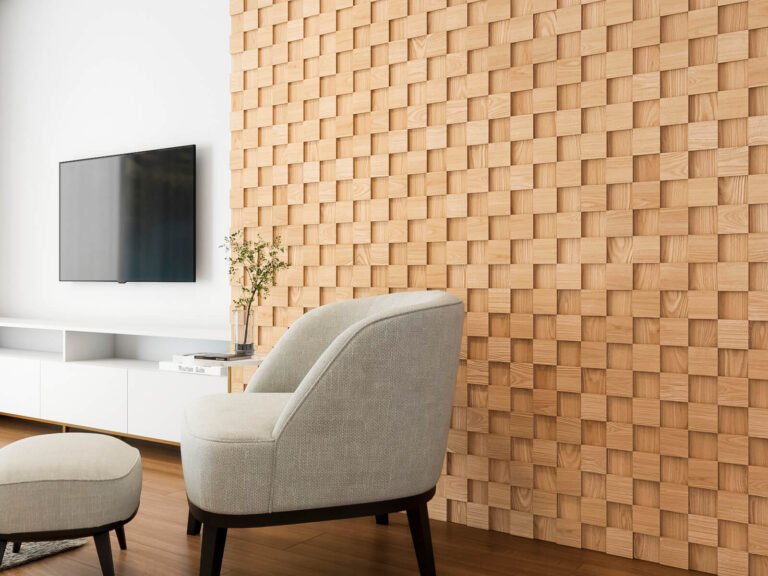
These natural-looking barn wood planks capture rustic warmth, making them perfect for modern rustic designs. They can be installed on various surfaces, including backsplashes, textured walls, and ceiling, for both residential and commercial uses. You can use them for both commercial and DIY projects.
Don’t hesitate to contact Woody Walls for more details about how to install reclaimed wood wall!
FAQs about Installing Reclaimed Wood Wall
Installing reclaimed wood accent wall is a possible DIY project. Following the guidelines above will help you create an aesthetic result. Here are some frequently asked questions after installing:
1. Do reclaimed wood walls need much maintenance?
If you purchase the reclaimed wood from a reliable supplier, it doesn't need much more maintenance than new wood. Nevertheless, depending on the project, you may need to consider preventative maintenance before installation.
2. How to clean reclaimed wood walls?
A solution of white vinegar, and water is effective for cleaning untreated reclaimed wood. For treated wood, a damp cleaning rag and gentle soap will help. You can also use a soft brush for stubborn crumbs or buildup.
3. Why should you buy reclaimed wood at Woody Walls?
Wood planks from Woody Walls are hand-chosen, quality-checked, and suitable for domestic and commercial environments. We provide easy DIY installation (with a comprehensive DIY instruction manual and YouTube video for installation assistance) and free shipping for all wood panels. Free shipping is available throughout the USA (excluding Alaska and Hawaii).
