Free USA shipping available in 48 hours

Call us

+1 (786) 615-4148
$0.00
SubscribeSubscribe_Mob
Grey Barnwood PlanksGrey Barnwood Planks 2Grey Barnwood Planks 3Grey Barnwood Planks 4Grey Barnwood Planks 5
  • Grey Barnwood Planks 6
  • Grey Barnwood Planks 7
  • Grey Barnwood Planks 8
  • Grey Barnwood Planks 9
  • Grey Barnwood Planks 10
video

Grey Barnwood Planks

(4 customer reviews)

$199.00

per box
Square per box:
19.5 sq. ft.
Installation:
Glue & Nails
Size per plank:
17"- 46.3” x 5” x 0.25”
Square feet p/box:
19.5 sq. ft.
Installation:
Glue & Nails
Thickness:
0.25"
Wood:
Pine
Width:
5"
Random lengths:
17" - 46.3"

Out of stock

Visa Mastercard American Express PayPal Diners Club Discover
video
Recyclable
Recyclable
Glue and nails installation
Reclaimed wood
Reclaimed wood

Description

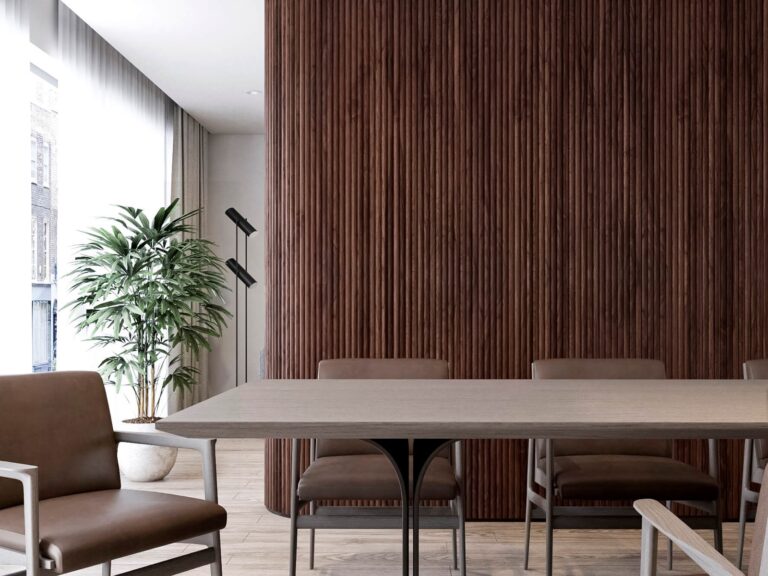
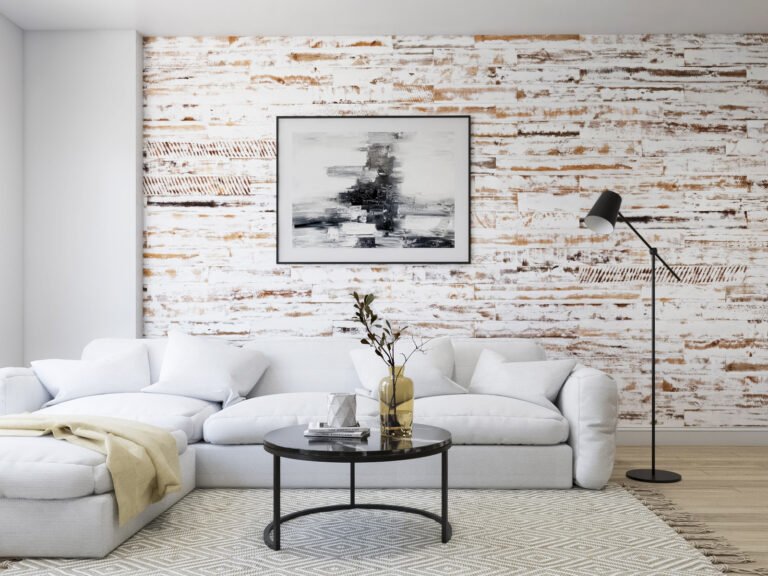
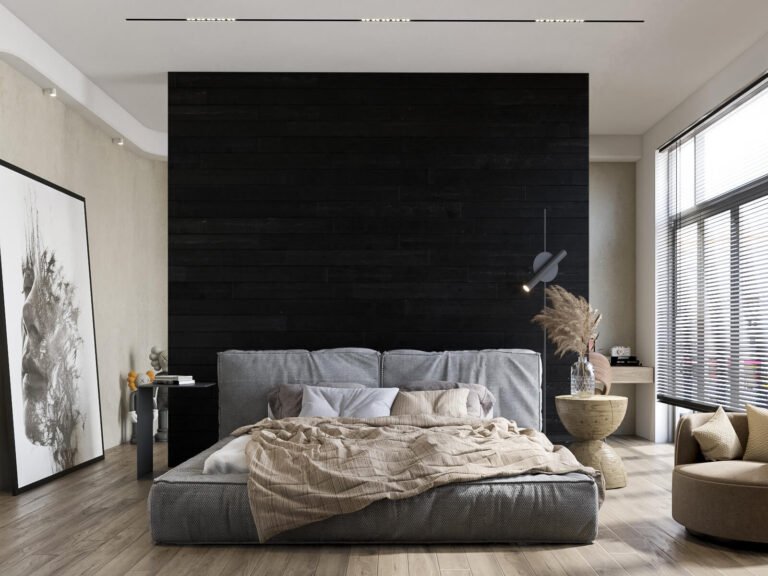
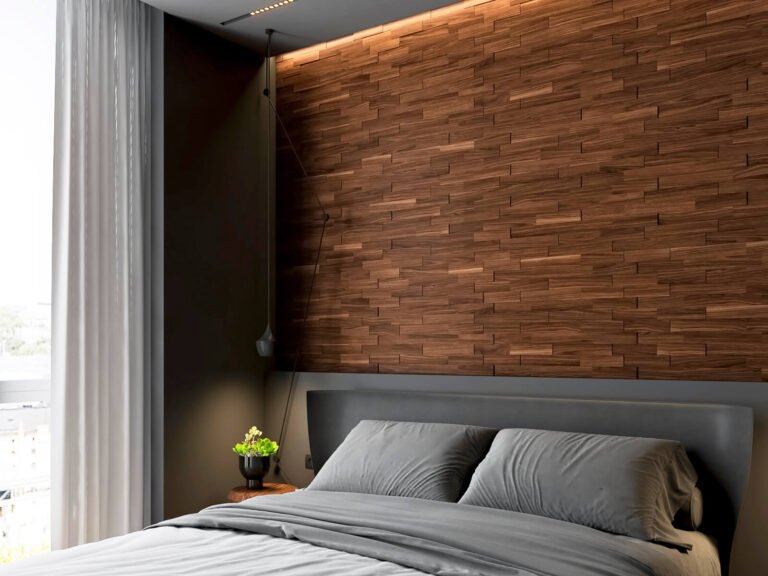
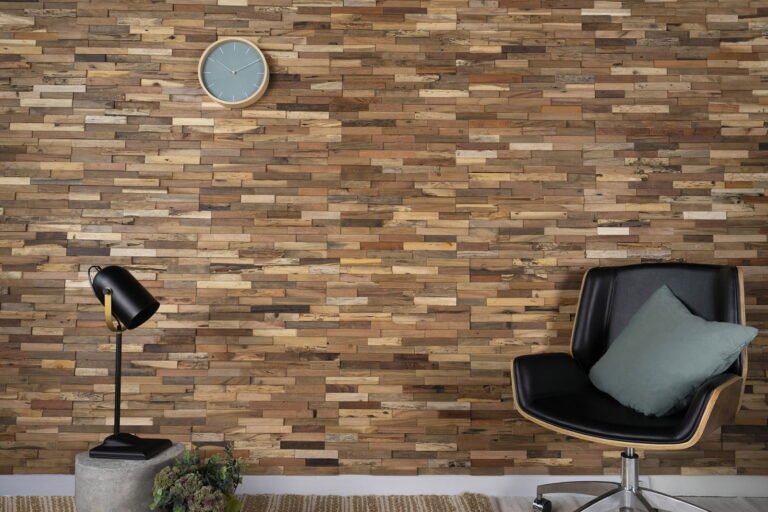
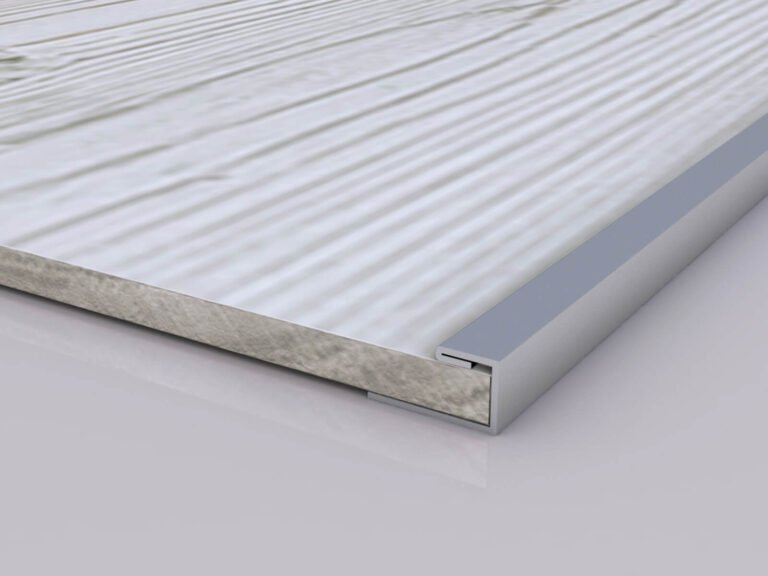
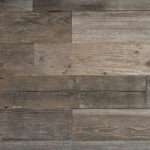
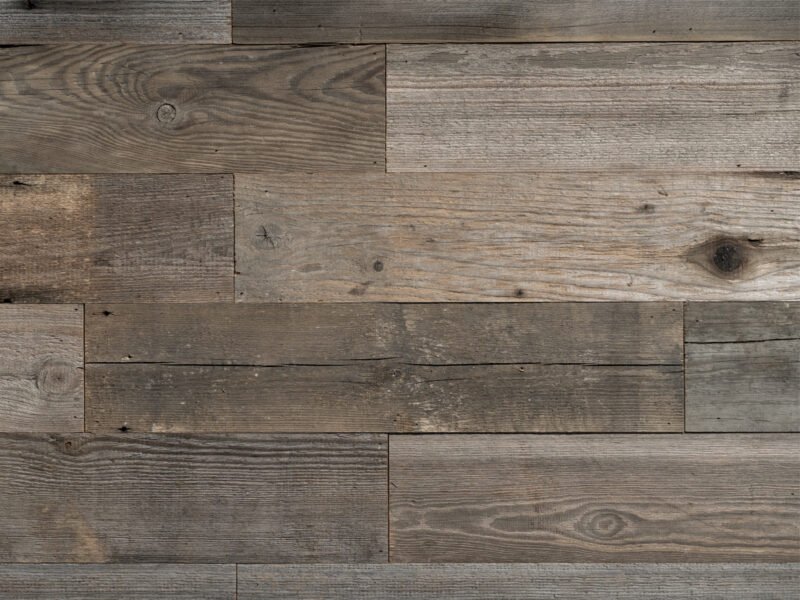
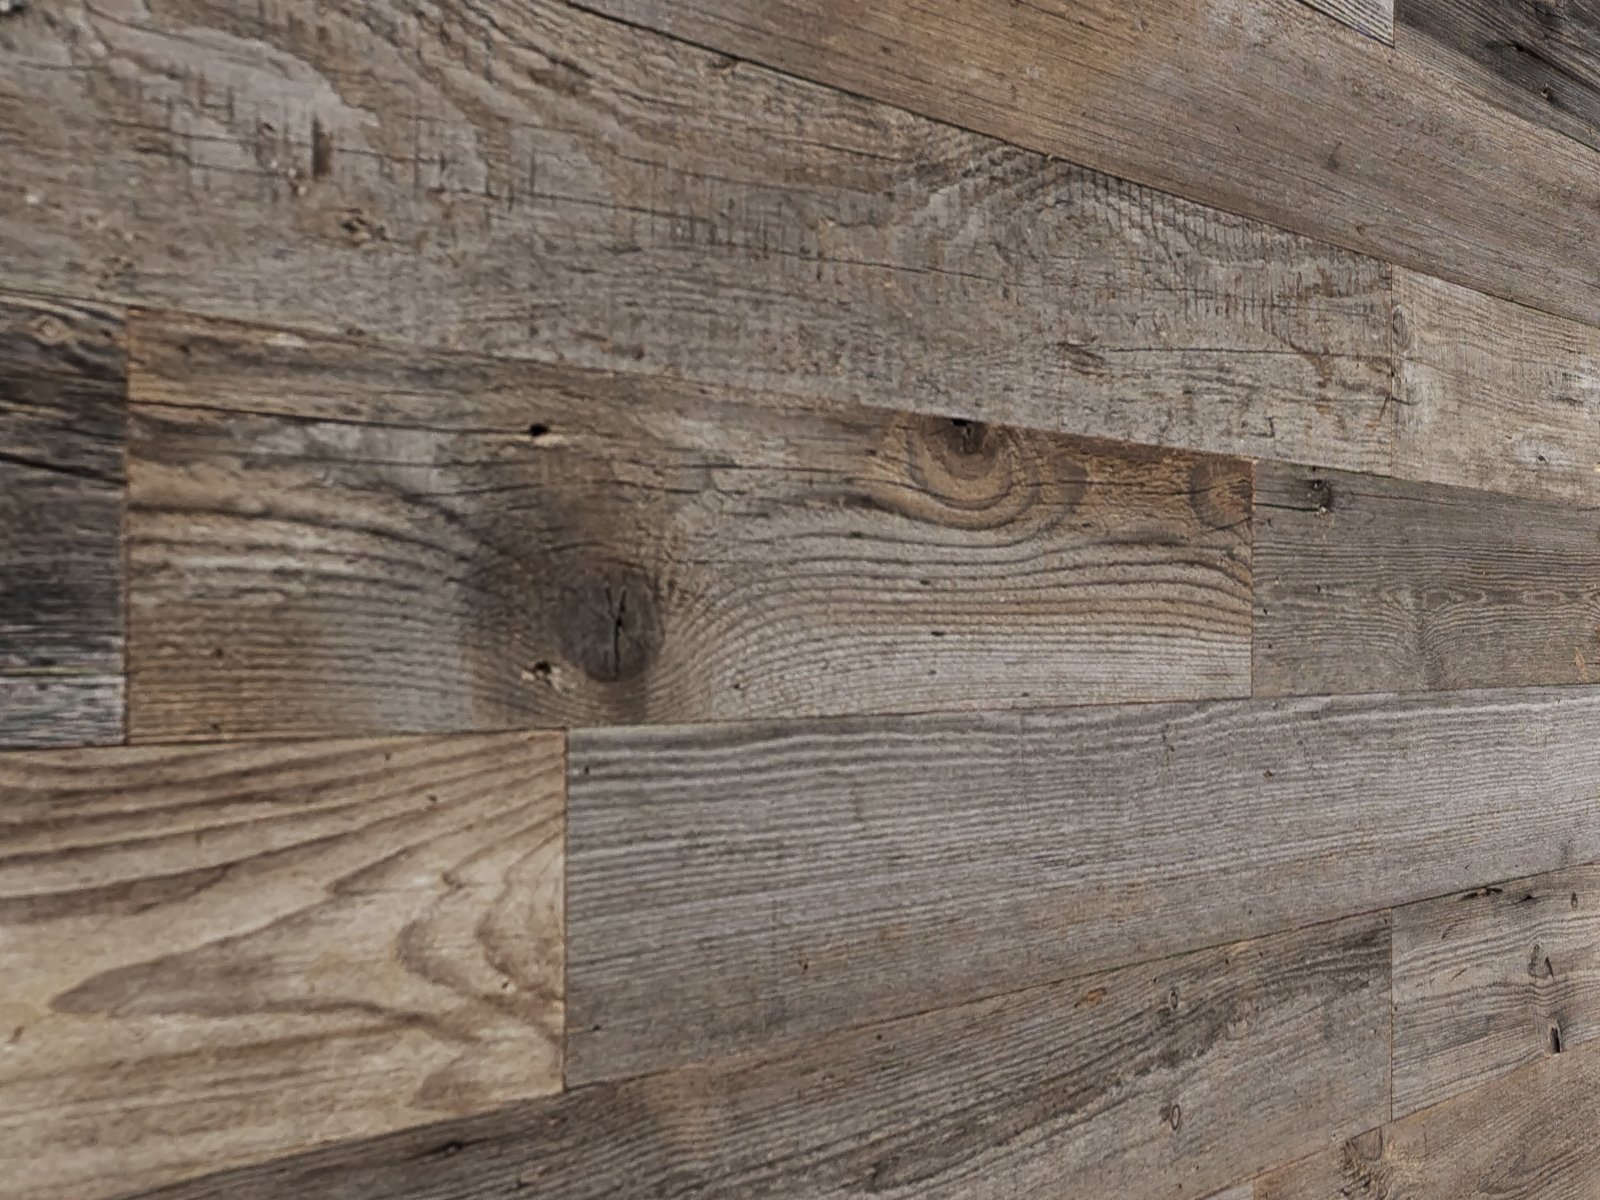
Grey Barnwood Paneling

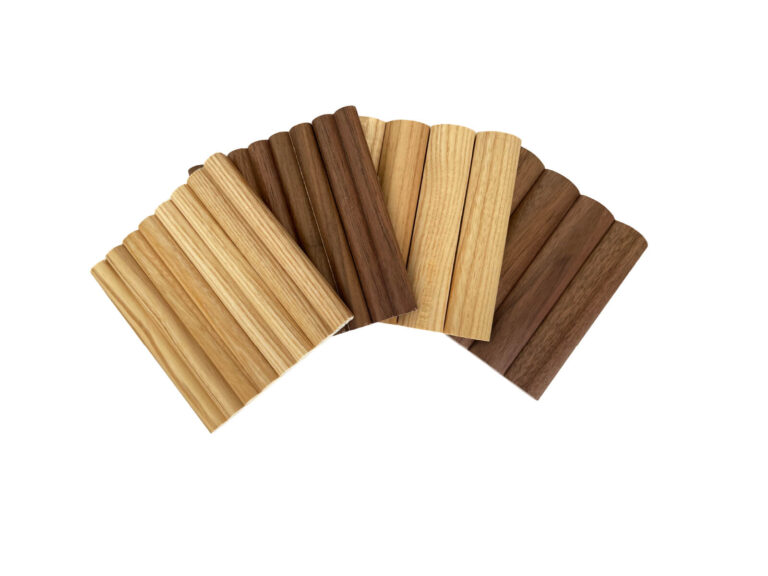
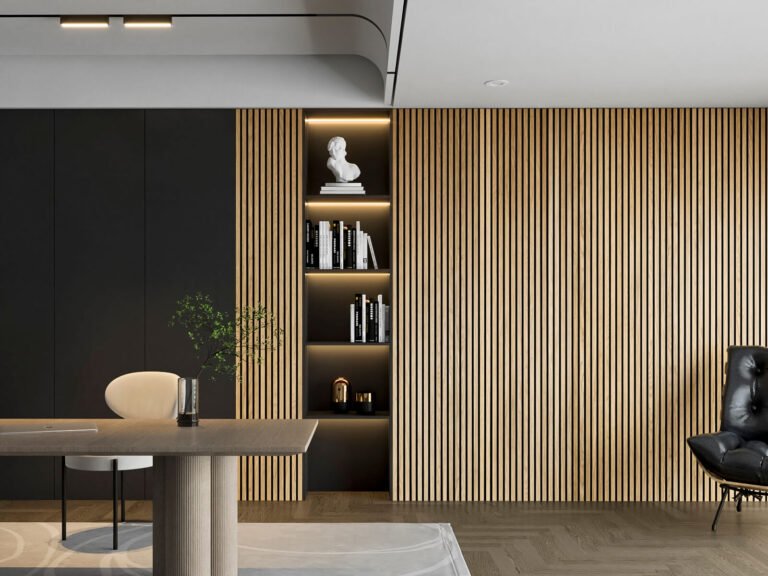
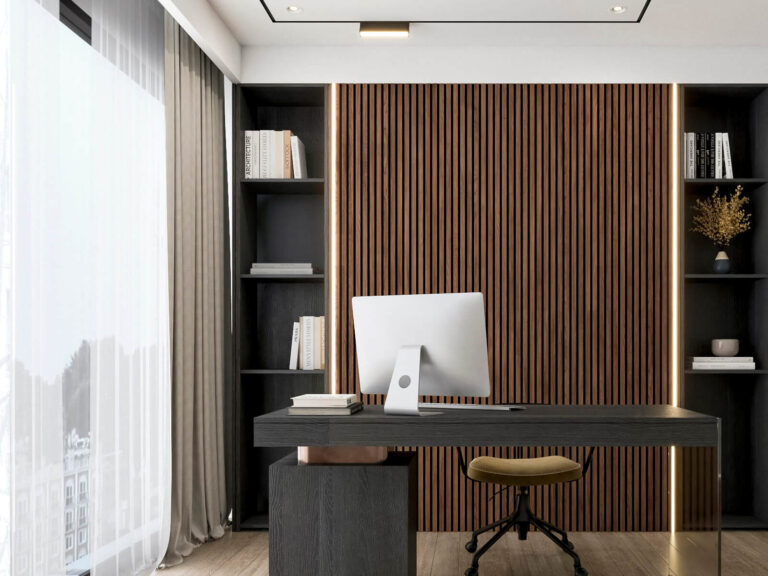
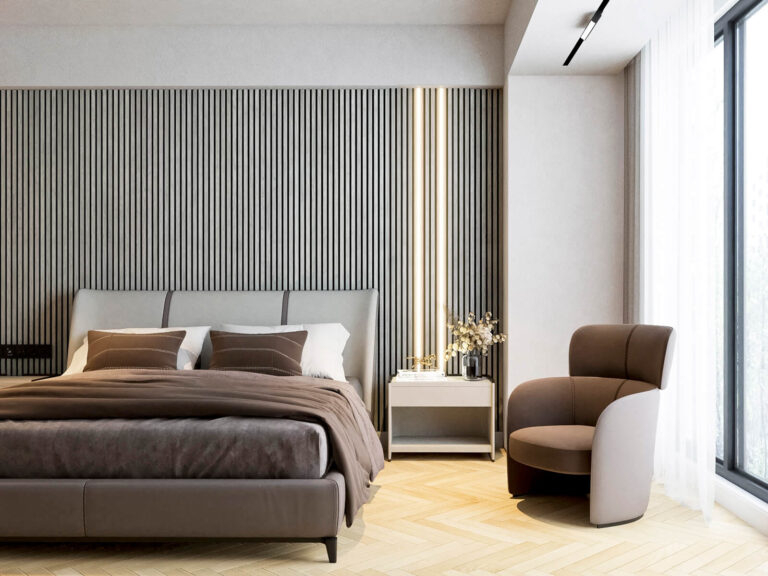
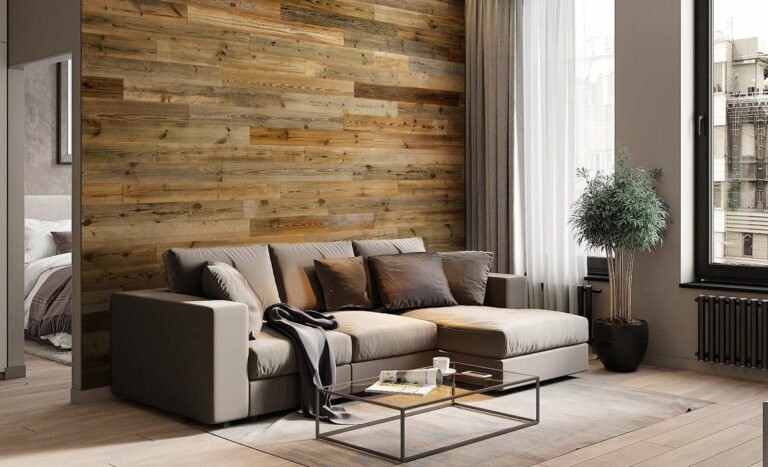
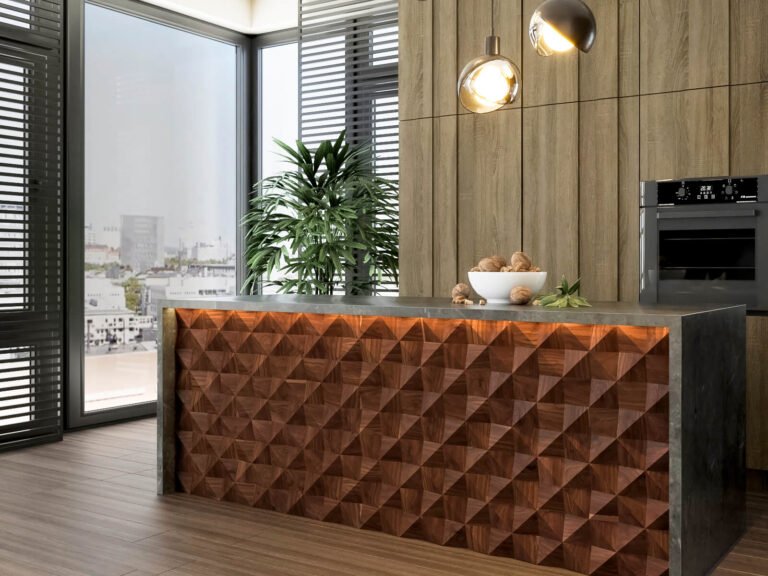
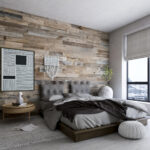
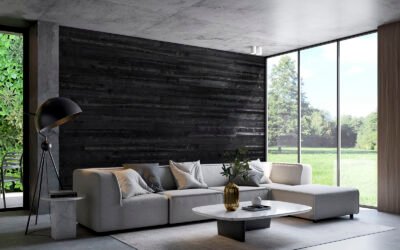
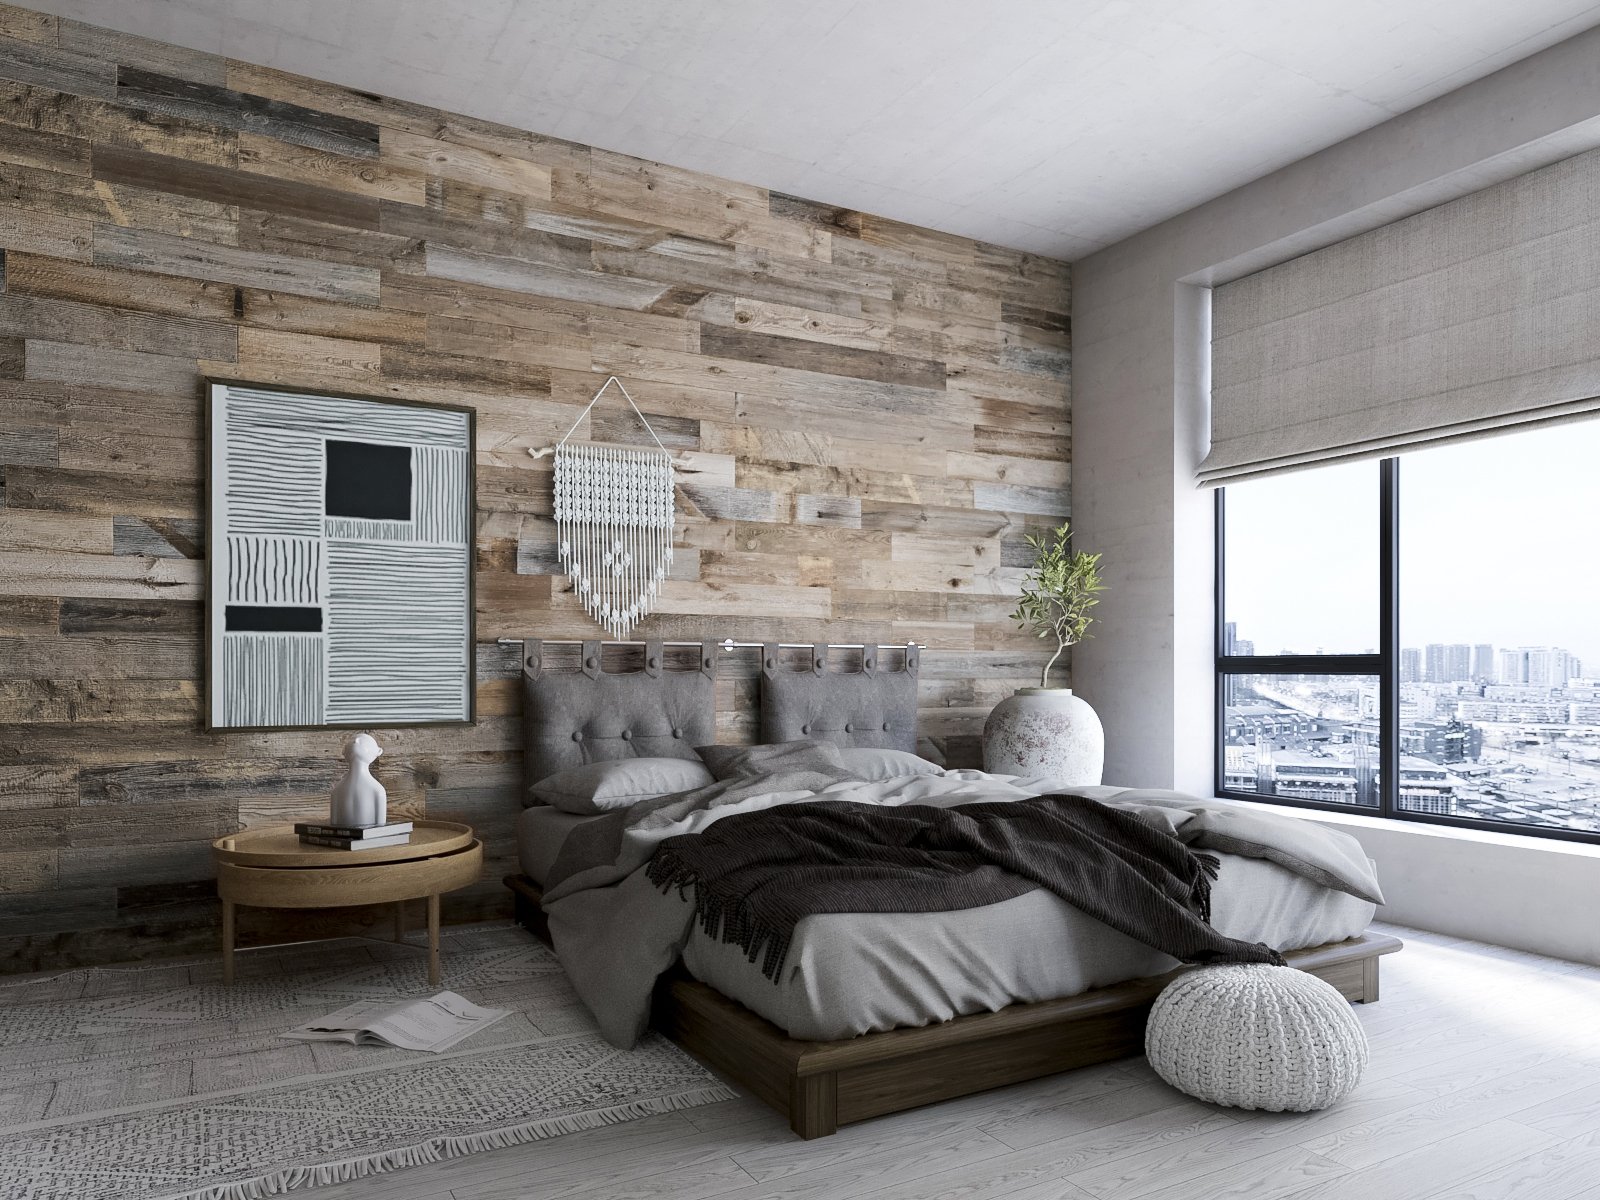
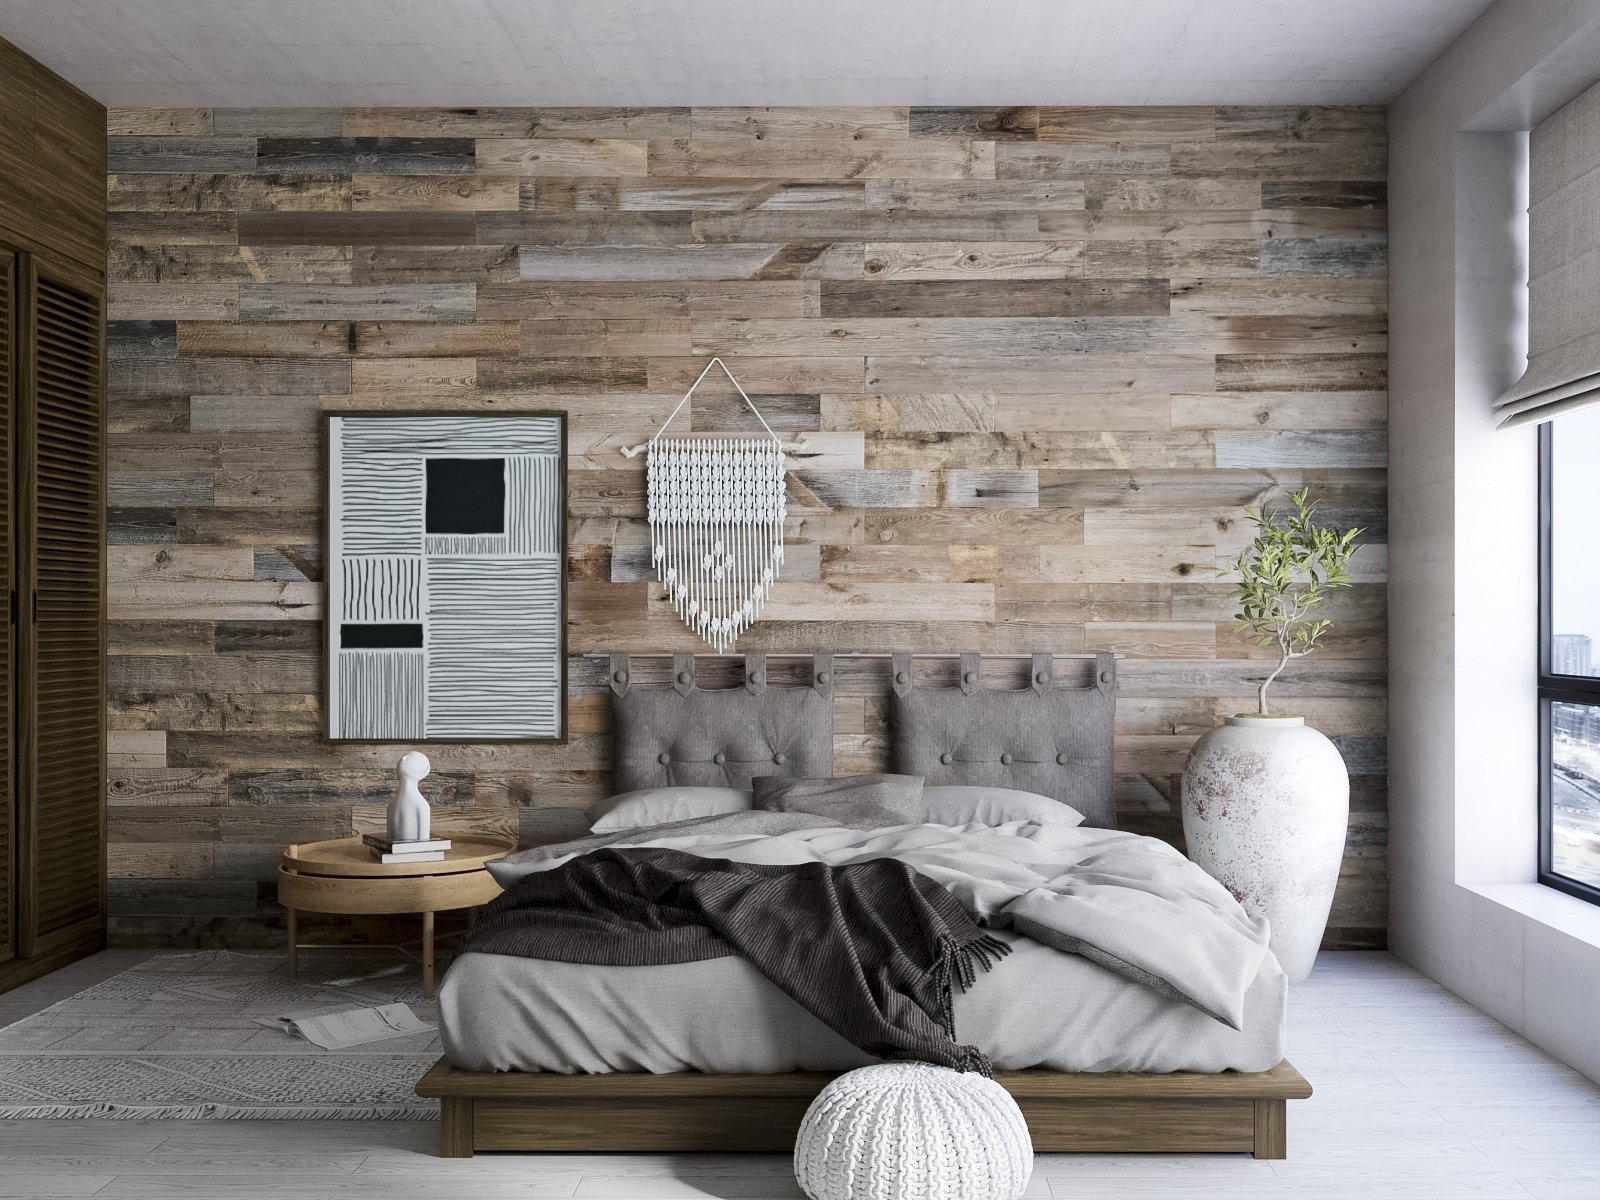
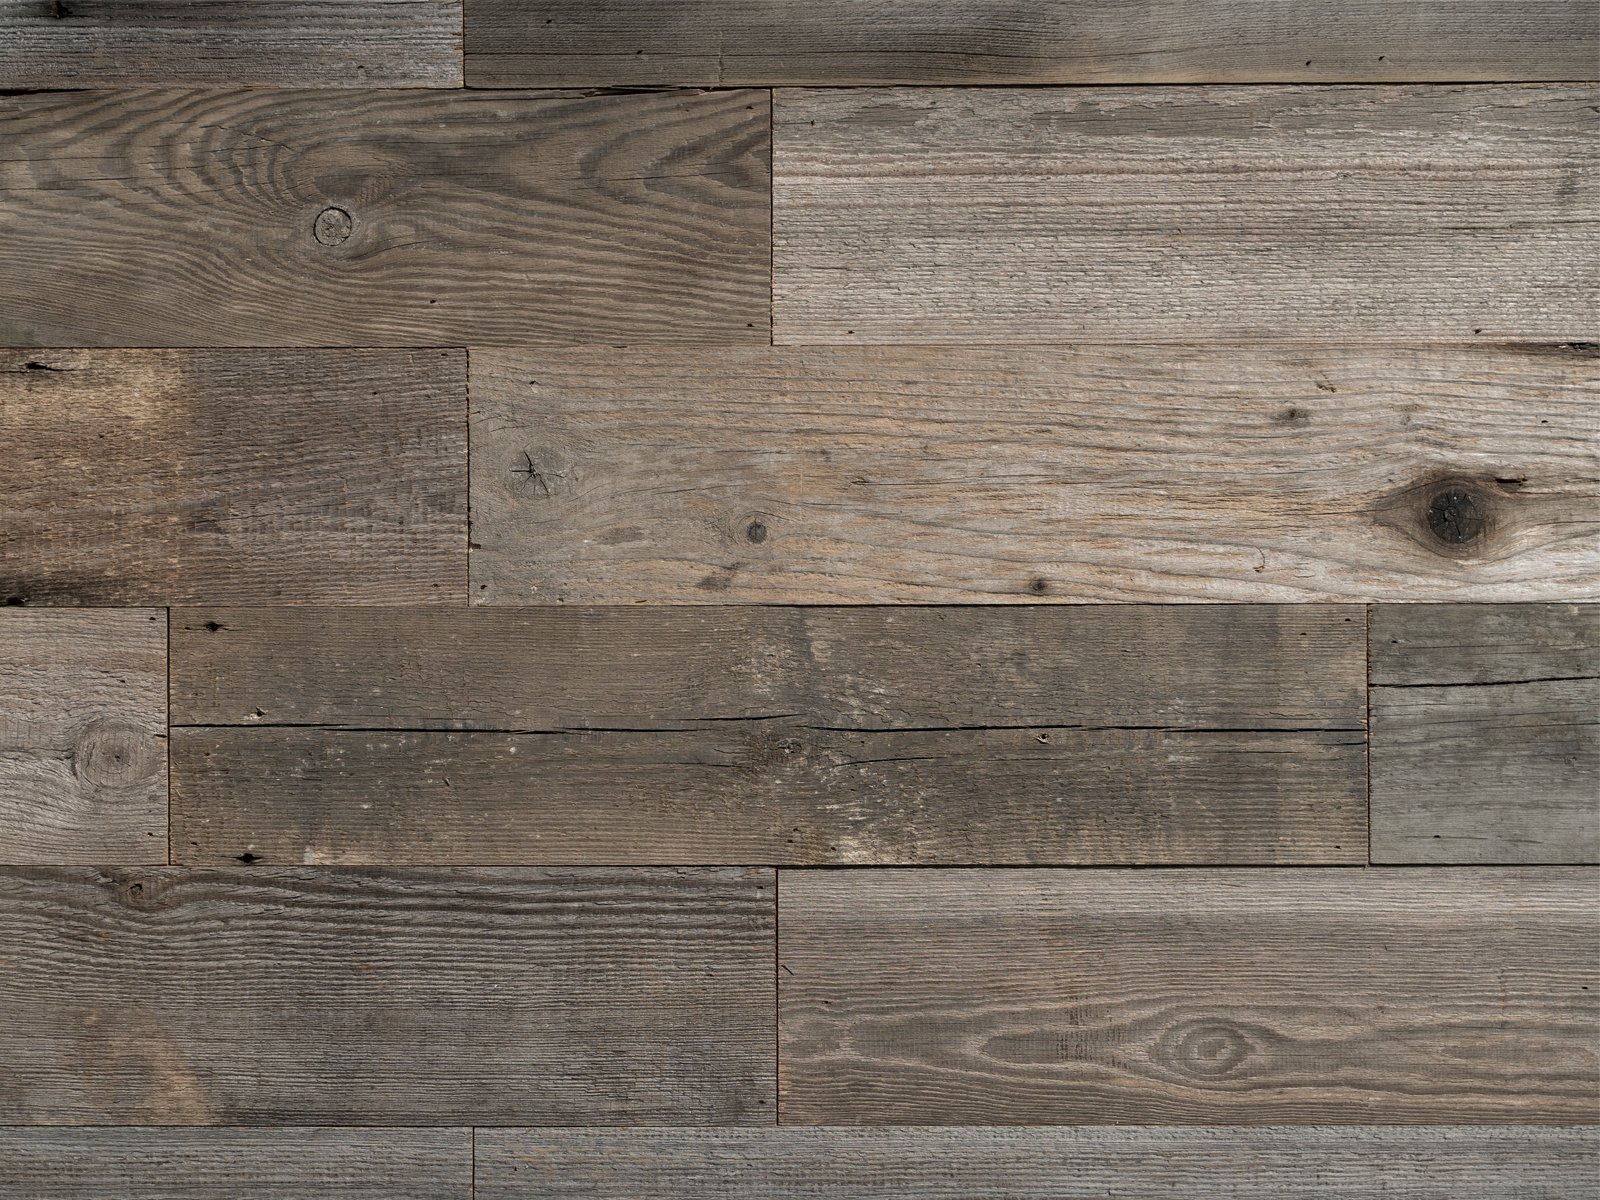
Our Grey barnwood planks, a standout in WoodyWalls' reclaimed wood wall panels collection, provide a slim and elegant solution for your design requirements. These wood panels have a rich history, having been sourced from aged barns that have stood the test of time for 30-50 years, each with its own captivating tale. The natural weathering and inherent cracks in the wood contribute to a rustic charm that is truly exceptional.
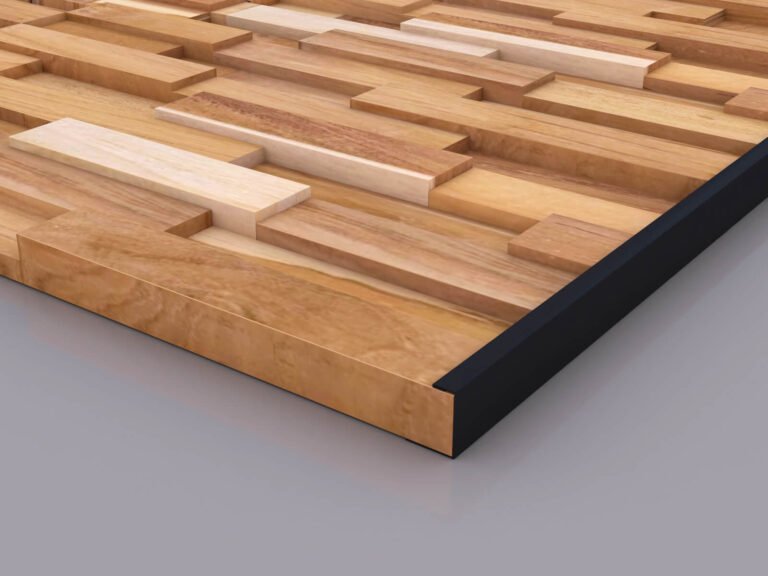
Specifications

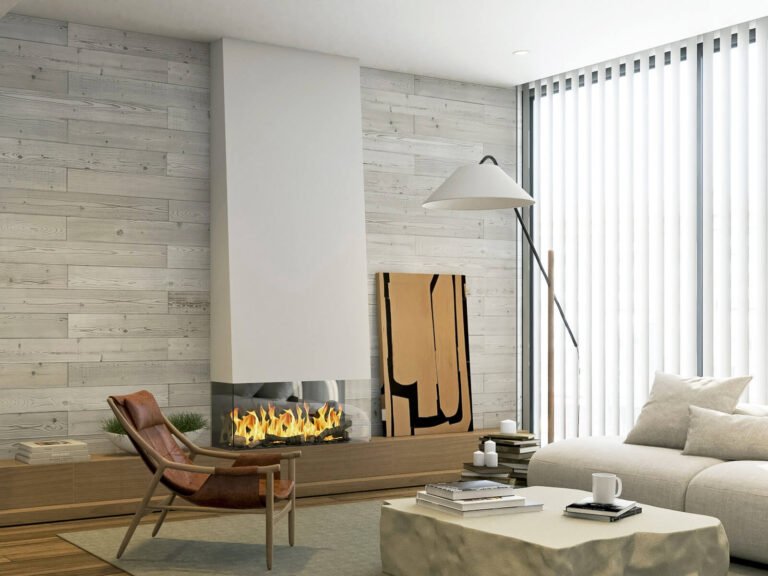
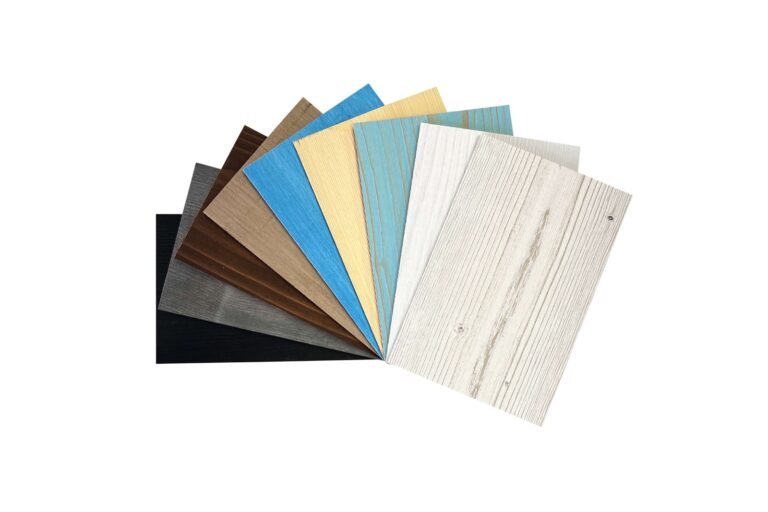
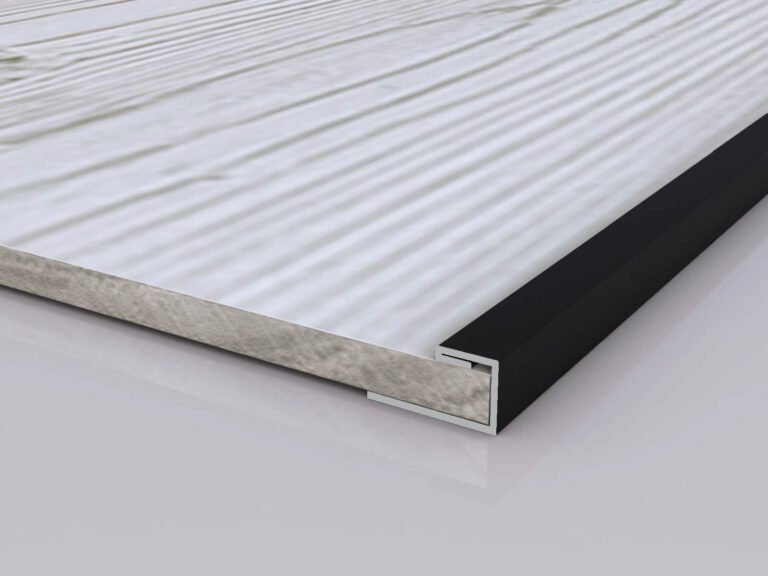
Our Grey Barnwood planks, measuring 5 inches in width, 0.25 inches in thickness, and varying in length from 46.3 to 17 inches, cover a total surface area of 19.5 sq. ft. They bring a sophisticated yet weathered wood look to any space, adding a rustic touch and a unique charm. Whether you want to create a timeless rustic ambiance or introduce a distinctive design element, these wood planks offer versatility and captivation in our collection.

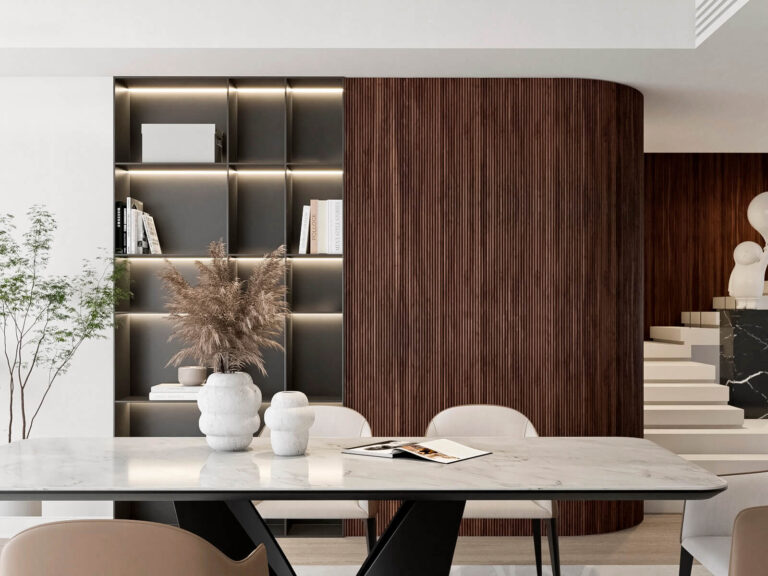
Barn wood wall paneling is cost-effective and easy to install

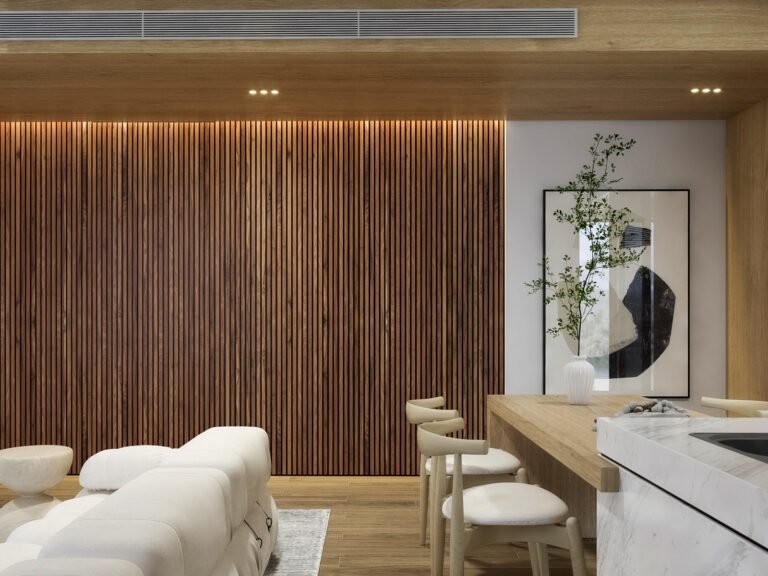
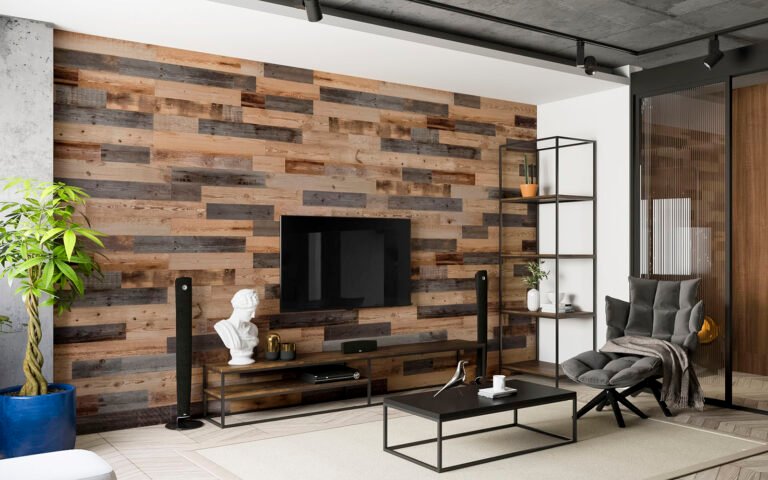
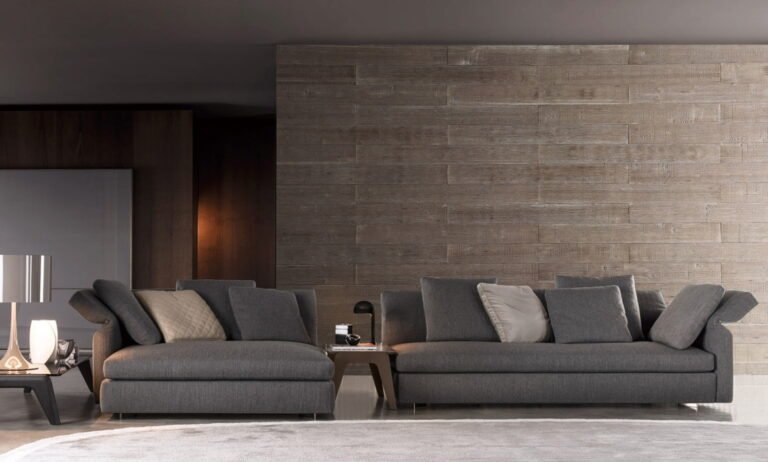
Here at Woody Walls we have developed a barnwood paneling system that is simple and easy to install, requiring just the most basic of DIY skills to achieve your desired result. Whether creating a wood accent wall or a grey reclaimed wood wall, all barn wood wall paneling orders come with a comprehensive installation guide, that will show you just how easy it is to install barn wood planks.

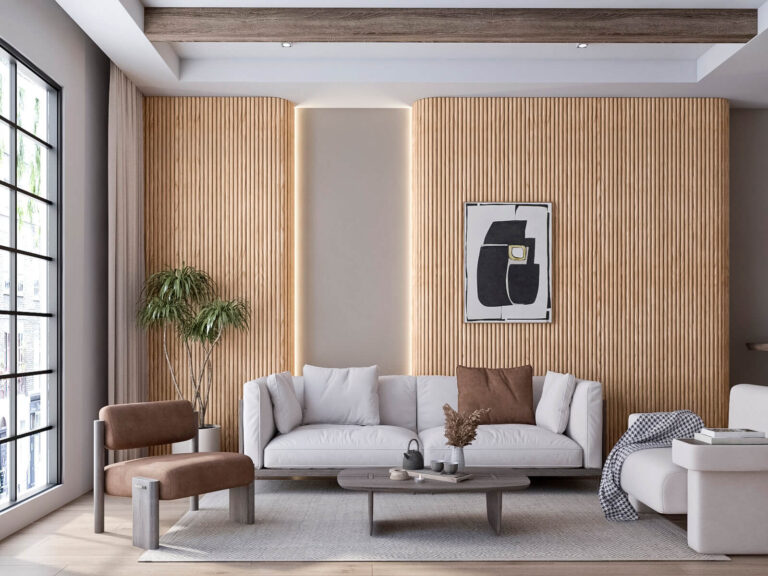
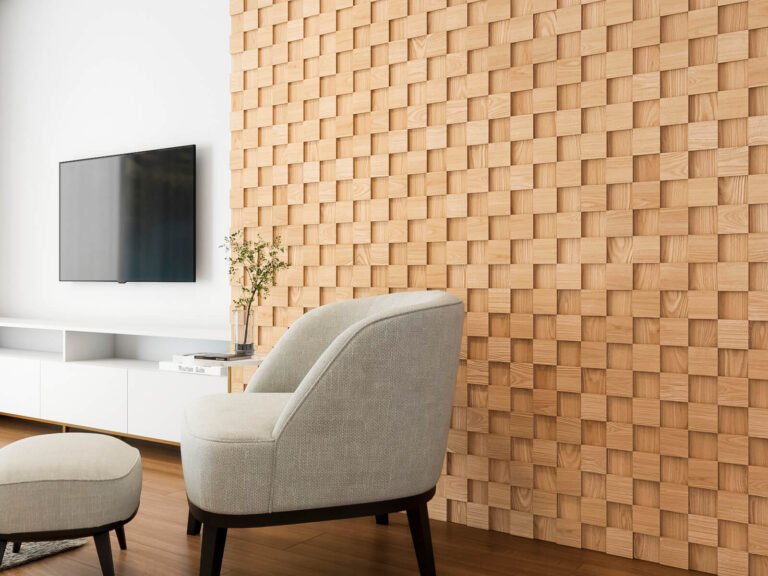
Theses superior wood wall paneling will cover any finish

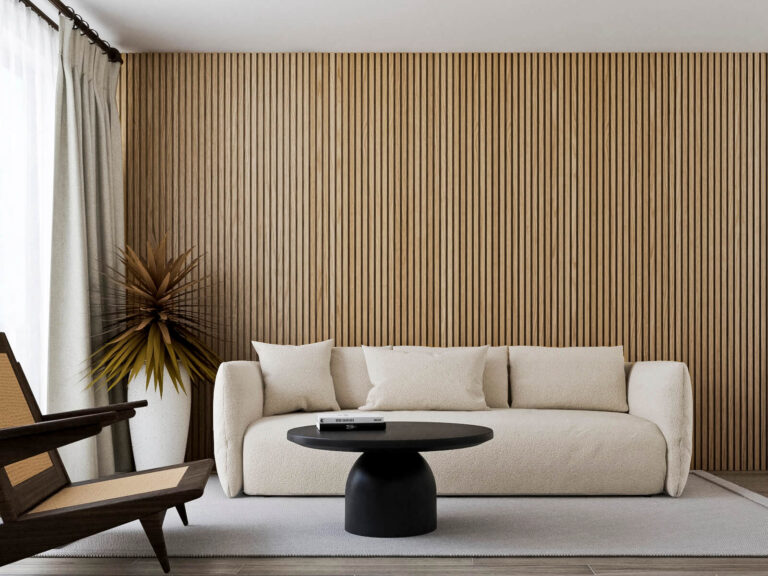
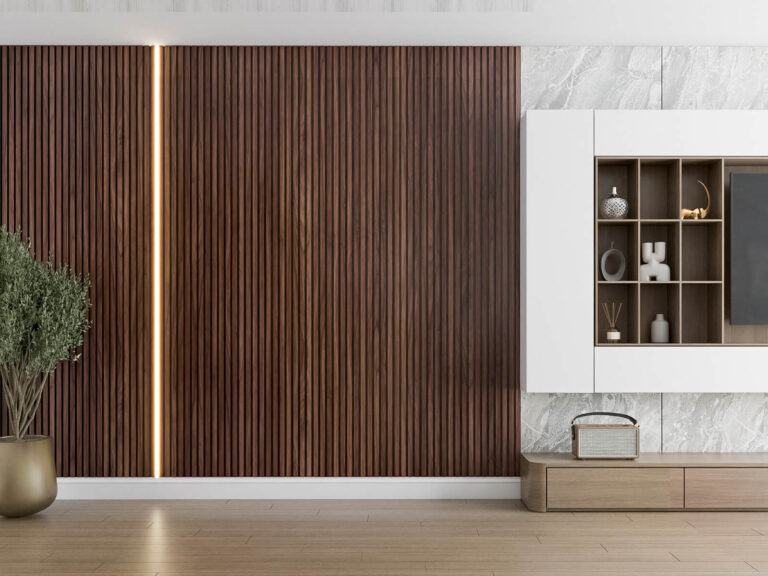
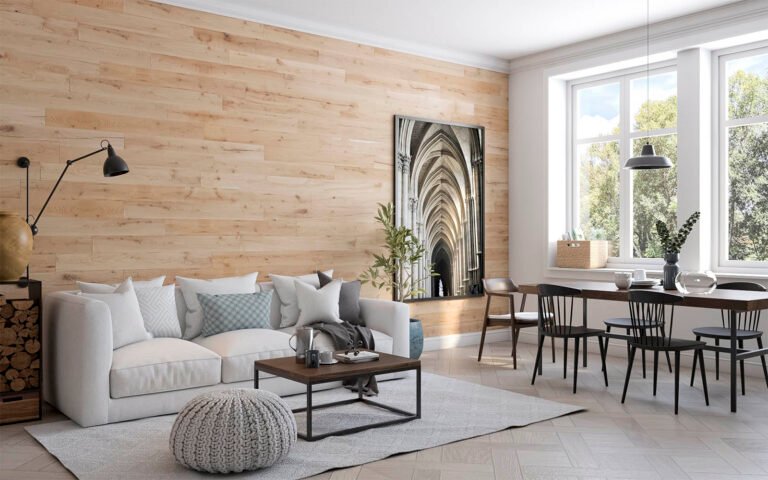
Sometimes upgrading your home or office involves the removal of existing wallpaper of textured paint, which can be tiresome and time consuming. Provided the wall surface is stable and clean, our wood wall panels can be quickly installed without having to do too much preparation work. If you are creating a wood accent wall, a reclaimed wood wall or you just want to add some wall cladding, our Grey barnwood planks are ideal.

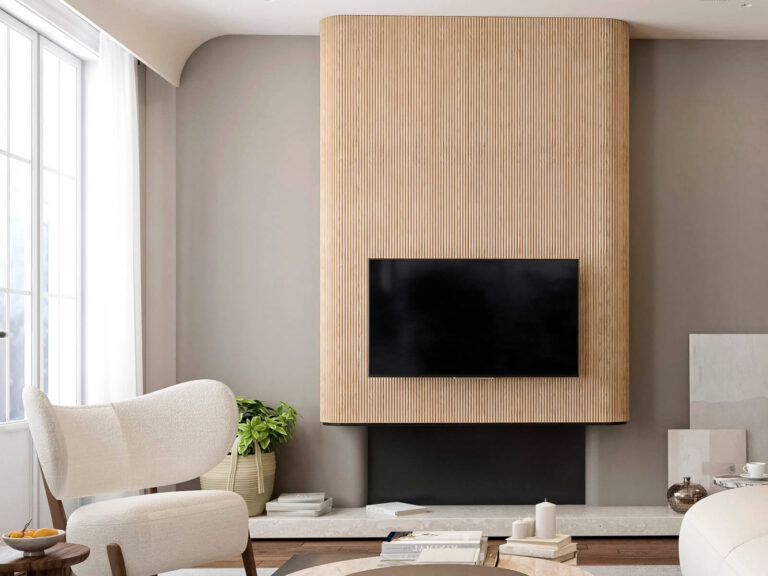
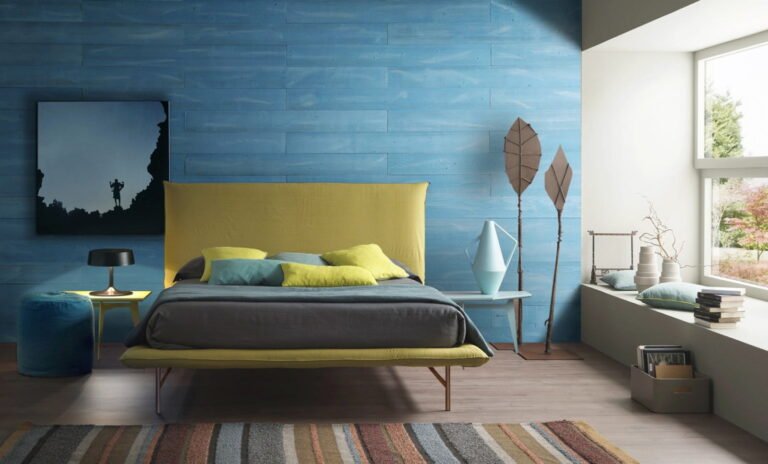
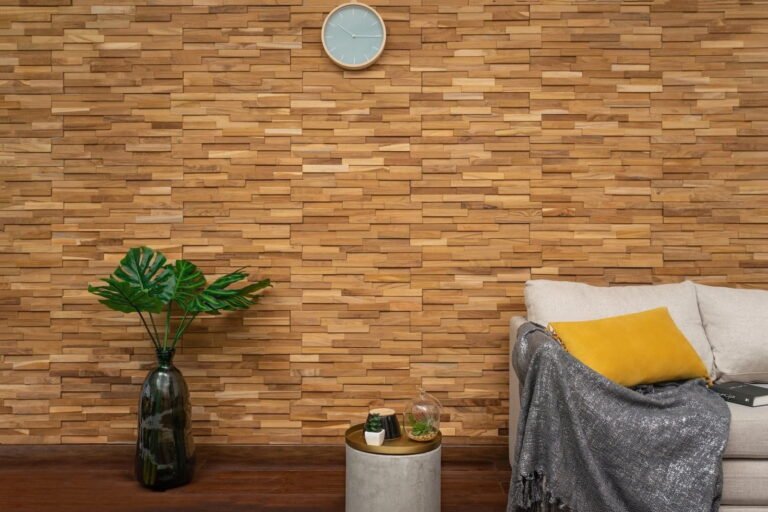
Sustainable sourced eco-friendly timber - perfect for a barn wood accent wall

Our barnwood planks are not only sourced sustainably but are also 100% recyclable, free from toxic treatments, and crafted exclusively from old wood. These eco-friendly features make them the perfect choice for creating a barn wood accent wall. We take pride in our strong commitment to environmental responsibility and strive to minimize the environmental impact of all our products.

[custom_review_form]

Reviews

Star Star Star Star Star

Perfect width! I didn’t have to remove my trim and went on easy as pie. Some liquid nails and Brad nails. Looks great and they even put black stickers on the backside of ... Perfect width! I didn’t have to remove my trim and went on easy as pie. Some liquid nails and Brad nails. Looks great and they even put black stickers on the backside of the knots so it looks right! I'm really happy with my wood walls!

brian horn Verified Buyer

Star Star Star Star Star

These Reclaimed Wood Planks are just perfect. The tones and textures are totally real, even including worn nail and screw holes once in a while. The engineered shape is v ... These Reclaimed Wood Planks are just perfect. The tones and textures are totally real, even including worn nail and screw holes once in a while. The engineered shape is very reliable, meaning that the wood planks fit together tightly and there is also some "forgiveness" that the surface texture provides. It is very easy to get a high quality install even with the Herringbone pattern I chose to use. I down lighted with COB LED lighting strip for added visual pop. I was difficult to find a glue that worked best. Caulk tube panel adhesive was too slow to set and contact cement did not allow for placement/adjustment. I found that 5 minute epoxy was the best thing. I used a small blob (the size of a quarter) every 6 to 8 inches around the perimeter, staying well away from the edges to avoid squeeze out. Do watch out for glue squeeze through wherever there are knots, holes, or grain splits... just avoid putting glue near those areas. I used gallon cans of paint as weights to hold planks down for 20 mins while glue was setting. It's worth mentioning that I used 2.7mm plywood as mounting surface and I did all the mounting before installing on the cabinets in the island. Trying to apply the product directly to the island would have been way too hard to do. I did use panel adhesive to mount the plywood to the cabinets. A fresh blade in the chop/miter saw made good quality cuts. The product will fray a bit, but it never a problem that was visible. I did not experience any chip-outs or blow-outs. These wood wall planks are extremely well made.

AllTold Verified Buyer

Star Star Star Star Star

Looks even better in person! The grey panels are so beautiful and go perfectly with cooler tones of my home. Also,they smell amazing, like fresh-cut wood! Pro-tip: make s ... Looks even better in person! The grey panels are so beautiful and go perfectly with cooler tones of my home. Also,they smell amazing, like fresh-cut wood! Pro-tip: make sure to dry-lay ALL of the planks prior to installation to figure out the pattern you want to apply them in. It makes the whole installation process super easy.

Denis Volkov Verified Buyer

Star Star Star Star Star

Vey nice actual wood wall planks. Easy to install and make a perfect backdrop for our mud room Vey nice actual wood wall planks. Easy to install and make a perfect backdrop for our mud room

Leslie McAfee Verified Buyer

Frequently Asked Questions

You can install WoodyWalls peel & stick wood wall planks around a code-approved fireplace, as long as they don't touch any combustible materials.

Avoid installing panels right behind the stove. Ensure adequate space between the wooden planks and the stove or fire to prevent damage or fire hazards.

Here’s why you can’t miss peel & stick wood wall paneling:

  • Flexible: Peel and stick wood wall planks provide adaptability for a range of layouts and may be used in any size space.
  • Easy DIY Installation: Peel and stick wood wall paneling installation is super easy. Just take measurements, lay out your design, take off the backing, and stick them to the wall. That's as simple as it gets!
  • Trendy: Their stunning quality and simplicity of installation are drawing in more homeowners who want to update their homes.

Peel and stick wood wall panels normally last around ten years. However, their longevity largely depends on several factors:

  • Material Quality: Choosing high-quality brands, like WoodyWalls, ensures durability.
  • Proper Installation: When installing peel and stick wood wall planks, it’s crucial to adhere to the instructions supplied by the manufacturer. Wear and tear may be prevented by carefully cleaning the surface and making sure it is aligned correctly.
  • Surface Condition: The surface has to be dry, clean, and free of any debris or dirt for the adhesive to adhere well.
  • Environmental Factors: Areas with high moisture content may be less able to cling to the panels. However, there are options for places like kitchens that could see occasional moisture.
  • Maintenance: To keep the peel and stick wood planks looking nice and lasting a long time, use gentle cleaning agents for regular care.

Installing peel and stick wood planks is a straightforward process. Here’s how to do it:

  • Step 1: Clean the wall surface to ensure the wall is free of dust, grease, and debris.
  • Step 2: Mix planks from different bundles to create a balanced look.
  • Step 3: Arrange the planks on the floor to visualize your design before installation.
  • Step 4: Draw a reference line with a level to guide your first row.
  • Step 5: Peel off the backing and position the first row along the reference line, groove side up.
  • Step 6: Use a J-roller to press down firmly for a secure bond.
  • Step 7: Mark the positions of light switches and outlets on the planks before removing the adhesive liner.
  • Step 8: Cut planks for the top and bottom rows with a jigsaw or table saw for accurate fits. Use a dust mask to protect yourself while cutting.
  • Step 9: Sand to smooth cut edges for a polished look.

For a visual guide, check out this video: DIY WoodyWalls Peel and Stick Wood Wall Planks.

Peel and stick wood wall planks are usually made from high-quality materials like American spruce, pine, fir, or reclaimed wood to add character and authenticity to your area. Notably, WoodyWalls uses 100% real pine wood, ensuring a natural and beautiful finish.

Most peel and stick wood wall panels are very thin. For example, peel and stick wood wall panels from WoodyWalls are around 3/16 inches. This slim profile allows for easy installation without adding bulk to your walls.

Removing peel and stick wood wall planks could potentially damage your wall as the strong 3M adhesive may take off some paint or harm the drywall underneath.

We advise covering the surface you wish to cover with plywood before putting the peel and stick boards to facilitate removal. This will ensure that you just have to fix the plywood and not the entire wall when you remove the panels.

You can use peel and stick wood planks in various areas of your home, but avoid damp spaces like bathrooms or saunas. They work well on smooth surfaces where traditional paneling isn't feasible, such as mirrors, tile, or concrete walls. Just ensure the area has a relative humidity of 30-65% and is dry for optimal adhesion.

Absolutely! The easiest way to cut WoodyWalls peel and stick wood wall planks is with a miter saw, but you can also use a utility knife, jigsaw, or fine-toothed hand saw. Follow these steps:

  • Step 1. Choose Your Saw: A jigsaw or table saw is recommended for clean cuts.
  • Step 2. Mark Where to Cut: Clearly mark your cut lines.
  • Step 3. Make the Cut: Carefully cut along your marked lines for precise results.

Yes, you can install peel and stick wood planks over existing tile!

Clean the tile well with your favorite cleaner and make sure it's dry before you start. As long as the tile is dust-free and level, the glue will adhere well. This is a simple and reasonably priced method of updating your area without removing the tiles. Simply avoid places that receive a lot of moisture, such as shower walls.

usercartphone-handset