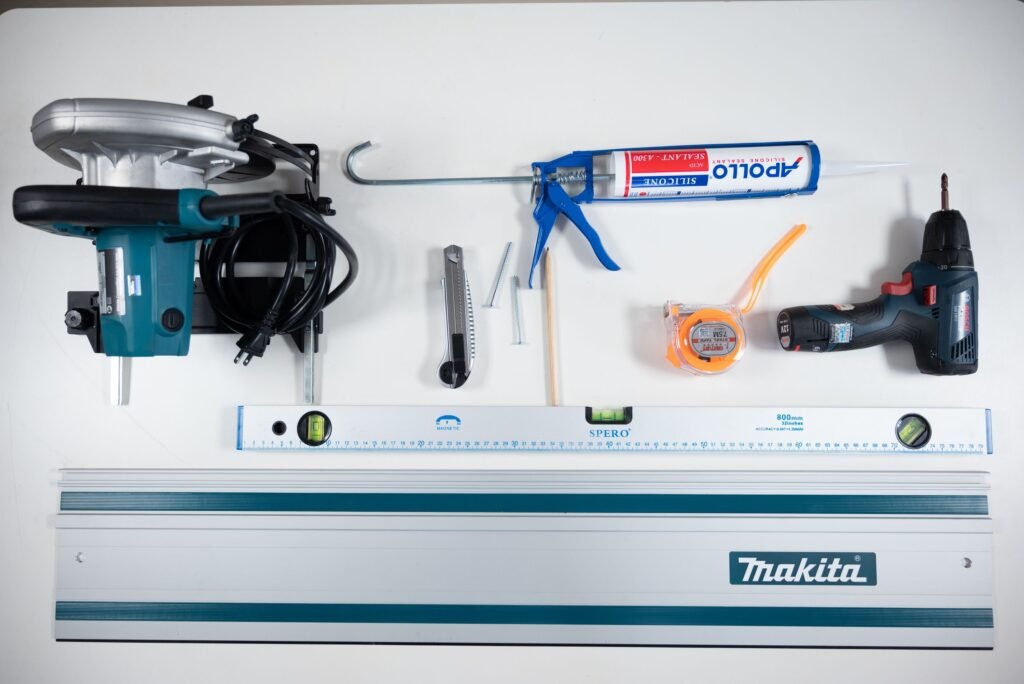
The installation process of the wood slat panels is simple and straightforward, and we are here to assist every step of the way. This guide will provide all the information you need to ensure a seamless installation experience. Whether you are a seasoned DIY enthusiast or a first-time installer, we are confident that our guide will ensure that your installation is a success. With the right tools and materials, you can have your new wood slat panels installed in no time and enjoy the timeless beauty they bring to your space.

Properly measuring and preparing the wall is a key factor in achieving a successful installation of wooden slat panels. Start by measuring the height of the wall to determine the required number of panels and the width of the wall to ensure a proper fit. Next, draw a reference line on the wall as a guide for hanging the panels. Finally, measure the reference line height on each wood slat panel to ensure it aligns with the line on the wall. These measures will result in a polished and professional-looking installation of the panels.
The second step in the installation process involves the precise cutting of the wood itself. A variety of saws may be utilized for this task, ideally circular saws and fine-tooth jigsaws. In order to guarantee the highest level of precision, it is recommended to utilize techniques specifically designed for accurate cuts. Moreover, it is crucial to prioritize safety and wear protective equipment when cutting the panels.

The third step in the installation process involves adhering to and attaching each panel. This is accomplished through the application of construction adhesive to the back of each panel, followed by the secure attachment of the panel to the wall. To ensure stability, each acoustic wood slat panel should then be firmly fixed in place using screws.
In finalizing the installation of the wood slat panels, it is crucial to first determine the width between the last panel and the end of the work surface by measuring. To ensure precision in cutting, a utility knife should be utilized. Afterward, it is important to check the level of the panels and make necessary adjustments. To achieve a successful installation, several essential tips should be followed, including conducting a thorough level test and making the necessary corrections.
With a successful installation of WoodyWalls wood slat panels, you will be able to enjoy the beauty of your newly-renovated space to the fullest. Our wood slat panels offer a stunning and cost-effective way to add style and character to any room in your home. Whether you're looking to update a single wall or an entire space, we have a range of options to suit your needs and budget.

Our extensive collection of wood slat panels features a variety of shades, textures, and designs to choose from, so you can easily find the perfect match for your interior decor. From neutral tones to bold statement colors, we have something to suit every taste and style. With a huge selection of colors to choose from, you can feel confident that you'll be able to find the perfect shade to match your existing décor or create an entirely new look.
So, if you're ready to bring your interior design vision to life, visit us at https://woodywalls.com to start your next project today! With WoodyWalls wood slat panels, you can transform any room in your home into a beautiful and inviting space that you'll love for years to come.