
![How to Install Wood Slat Wall Panels? [7 Steps Included]](https://woodywalls.com/wp-content/uploads/2024/05/how-to-install-reclaimed-wood-wall-woody-walls-1-1.webp)
How to Install Wood Slat Wall Panels? [7 Steps Included]
Installing wood slat wall panels yourself with proper tools and easy-to-follow steps:
- Step 1: Remove debris and protruding nails from the surface.
- Step 2: Use your level to draw a reference line to ensure level mounting
- Step 3: Draw a line on your panel to ensure a precise cut and fit
- Step 4: Use a circular saw, jigsaw or fine-tooth hand saw for neat, clean cuts
- Step 5: Apply construction adhesive for the initial installation, using a narrow line across the felt backing surface
- Step 6: Mount the panel to fit your reference lines
- Step 7: Use screws to secure the panel to the wall
Explore the detailed steps on how to install wood slat wall panels in our article below. But before diving into the installation process, we’ll go through the definition of wood slat wall panels, their benefits, and materials for a successful installation. Let’s get started!
What are Wood Slat Wall Panels?
Wood slat wall panels feature a straightforward yet elegant design: wooden ribs secured to an acoustic felt. This combination of wood and textile offers flexibility, enabling their use on curved walls or ceilings, provided the curvature isn’t too sharp.
With their adaptability and timeless appeal, wood slat wall panels are popular for adding aesthetic charm and acoustic benefits to any space.
What are Benefits of Installing Wood Slat Wall Panels?
Wood slat wall panels offer numerous advantages, making them a popular interior design choice. Here are their awesome benefits:
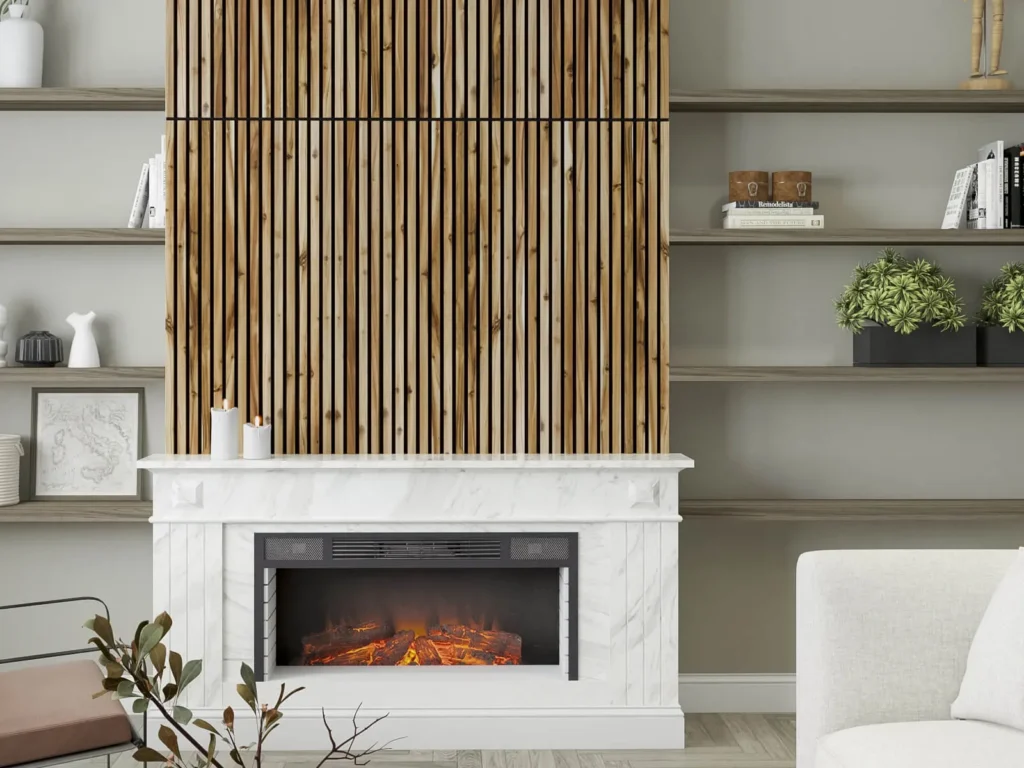
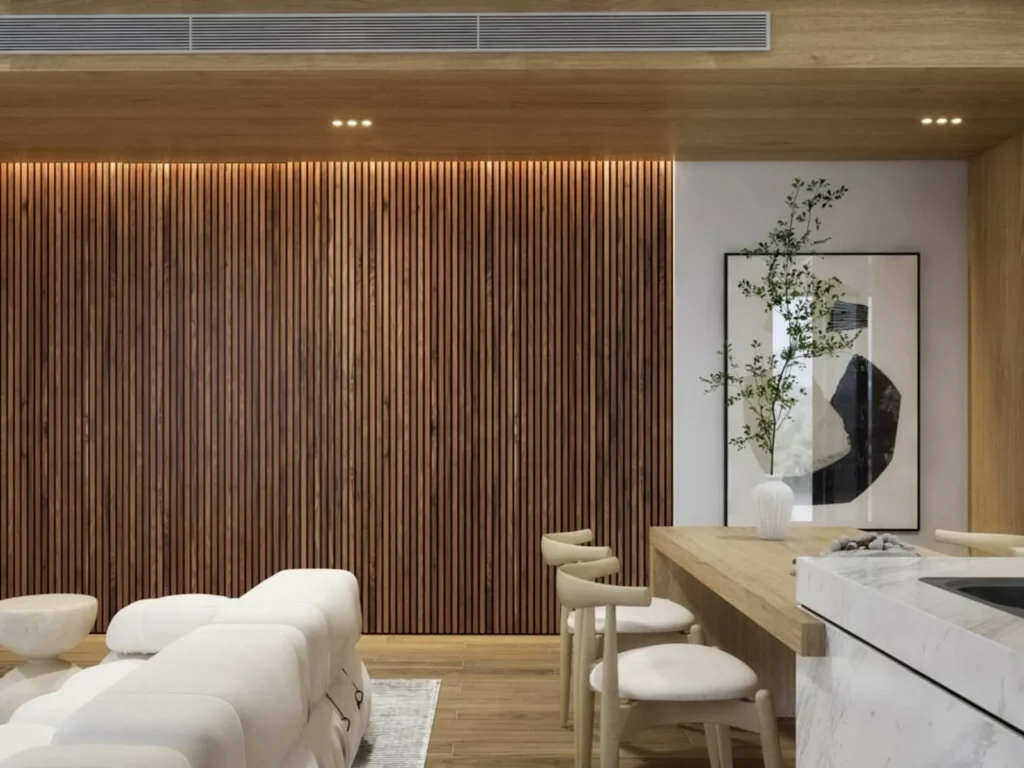
- Enhance aesthetical beauty: Featuring various decorative designs and colors, wood slat wall panels add splendid texture and depth to any surface. The added grooves create visually stunning three-dimensional effects.
- Ensure insulation: Wood’s superior heat capacity compared to other materials enhances insulation, maintaining comfortable indoor temperatures year-round.
- Be friendly with the environment: Many wood species are used in panel production, such as white ash, walnut, white oak, and acacia. Opting for wood slat panels further reduces environmental impact by repurposing materials and minimizing waste.
- Maintain easily: Wood slat wall panels are ideal for busy people because they require little upkeep once installed. Thus, homeowners can enjoy their aesthetic benefits without constant attention.
- Provide acoustic properties: Wood slat wall panels offer excellent sound absorption properties, effectively reducing echoes and unwanted noise. Whether used in home theaters or residential spaces, these wall panels help create acoustically optimized environments, enhancing the overall auditory experience.
Materials and Tools Needed For Installing Wood Slat Wall Panels
Before diving into how to install wood slat wall panels, ensure you have the necessary materials and tools. Here’s what you’ll need:
- Level: To ensure the panels are installed evenly and straight.
- Screwdriver: For securing the panels in place with screws.
- Screws: Choose appropriate screws for attaching the panels to the wall securely.
- Saw (circular saw, jigsaw, or fine tooth hand saw): For cutting the panels to the desired size and shape.
- Tape Measure: To accurately measure the dimensions of the wall and panels.
- Utility Knife: For precise cutting and trimming during installation.
How to Install Wood Slat Wall Panels
Transforming your space with wood slat wall panels is a rewarding project that can elevate the aesthetic appeal of any room.
Here is how to install wood slat wall panels in 7 simple steps:
- Step 1: Organize and Prepare Your Panels. Before starting, ensure you have all your panels organized and ready for installation. Check for any defects or damages and arrange them in the order you plan to install them.
- Step 2: Use Your Level to Draw a Reference Line. To ensure your panels are mounted level, use a level to draw a reference line on the surface where you’ll be installing them. This line will serve as a guide throughout the installation process.
- Step 3: Draw a Line on Your Panel. Measure and mark your panel according to the dimensions needed for the area you’re covering. Draw a line on the panel to ensure a precise cut and fit against the surface.
- Step 4: Use a Circular Saw or Jigsaw for Clean Cuts. Use a circular, jigsaw, or fine-tooth hand saw to make neat and clean cuts along the marked line. Take your time to ensure accuracy, as precise cuts will result in a seamless installation.
- Step 5: Apply Construction Adhesive. Apply construction adhesive to the back of the panel, using a narrow line across the felt backing surface. This adhesive will provide initial stability and ensure a strong bond between the panel and the wall.
- Step 6: Mount the Panel to Fit Your Reference Lines. Carefully position the panel against the surface, aligning it with the reference line you drew earlier. Press firmly to ensure good adhesion, and use a level to double-check that the panel is mounted straight and level.
- Step 7: Secure the Panel with Screws. Once the panel is in place, use screws to secure it to the surface. Place screws evenly along the panel, making sure to drive them into wall studs for maximum support. Ensure to secure screws on the felt without touching wood slats.
Before installing, make sure your surface is damage-free. If you’re dealing with old walls, you may need to patch imperfections – here’s a helpful guide on how to fix holes in wood paneling before mounting the panels.
What Should You Avoid When Installing Wood Slat Wall Panels?
Achieving a flawless wood slat wall panel installation requires careful attention to detail and avoiding common pitfalls. Here are 5 mistakes to avoid:
- Failing to Prepare the Wall Surface Properly: Remove any wallpaper or loose paint, smooth the surface, and address any moisture issues. Fill holes and cracks, and sand the wall to create a smooth, even surface.
- Apply the Wrong Adhesive or Fasteners: Choose adhesives or fasteners specifically designed for the felt and suitable for the room’s environmental conditions. Apply adhesive evenly and space fasteners appropriately to provide adequate support.
- Neglect Acclimation of the Wood Panels: Stack the panels horizontally in the room for at least 48 hours before installation to allow them to adjust to temperature and humidity levels.

Discover The Wood Slat Wall Panel Collections of Woody Walls
Transform your space with the exquisite acoustic slat wall panels from Woody Walls. Our Solid Wood Slat Panels and Oak Veneer Acoustic Wood Panels combine modern design with superior sound absorption, enhancing any room’s look and feel.
Made from 100% genuine wood or innovative MDF material, they are designed for easy and fast installation and ensure superior durability and a flawless finish.
Experience the quality firsthand with our sample options and enjoy peace of mind with our satisfaction guarantee. Contact Woody Walls to upgrade your home with a stylish touch!


