How To Hide Paneling Seams: 3 Easy Tricks
Paneling seams may ruin your wall’s charm. But don’t worry! We’ve got you covered! Just a few simple tricks can cover those seams and keep your wall looking sharp. This article suggests three ways on how to hide paneling seams. You can also learn some common mistakes and tips to avoid. Let’s get started!
Why Should You Hide Paneling Seams?
Seams in paneling seem like a minor detail. However, they can make a big difference in both the look and longevity of your walls. Here is why you should learn how to fill gaps in wall panels:
- Reduce Shifting Over Time: Seams can expand or shift over time, especially in humid and hot conditions. Thus, you should cover them to keep everything in place.
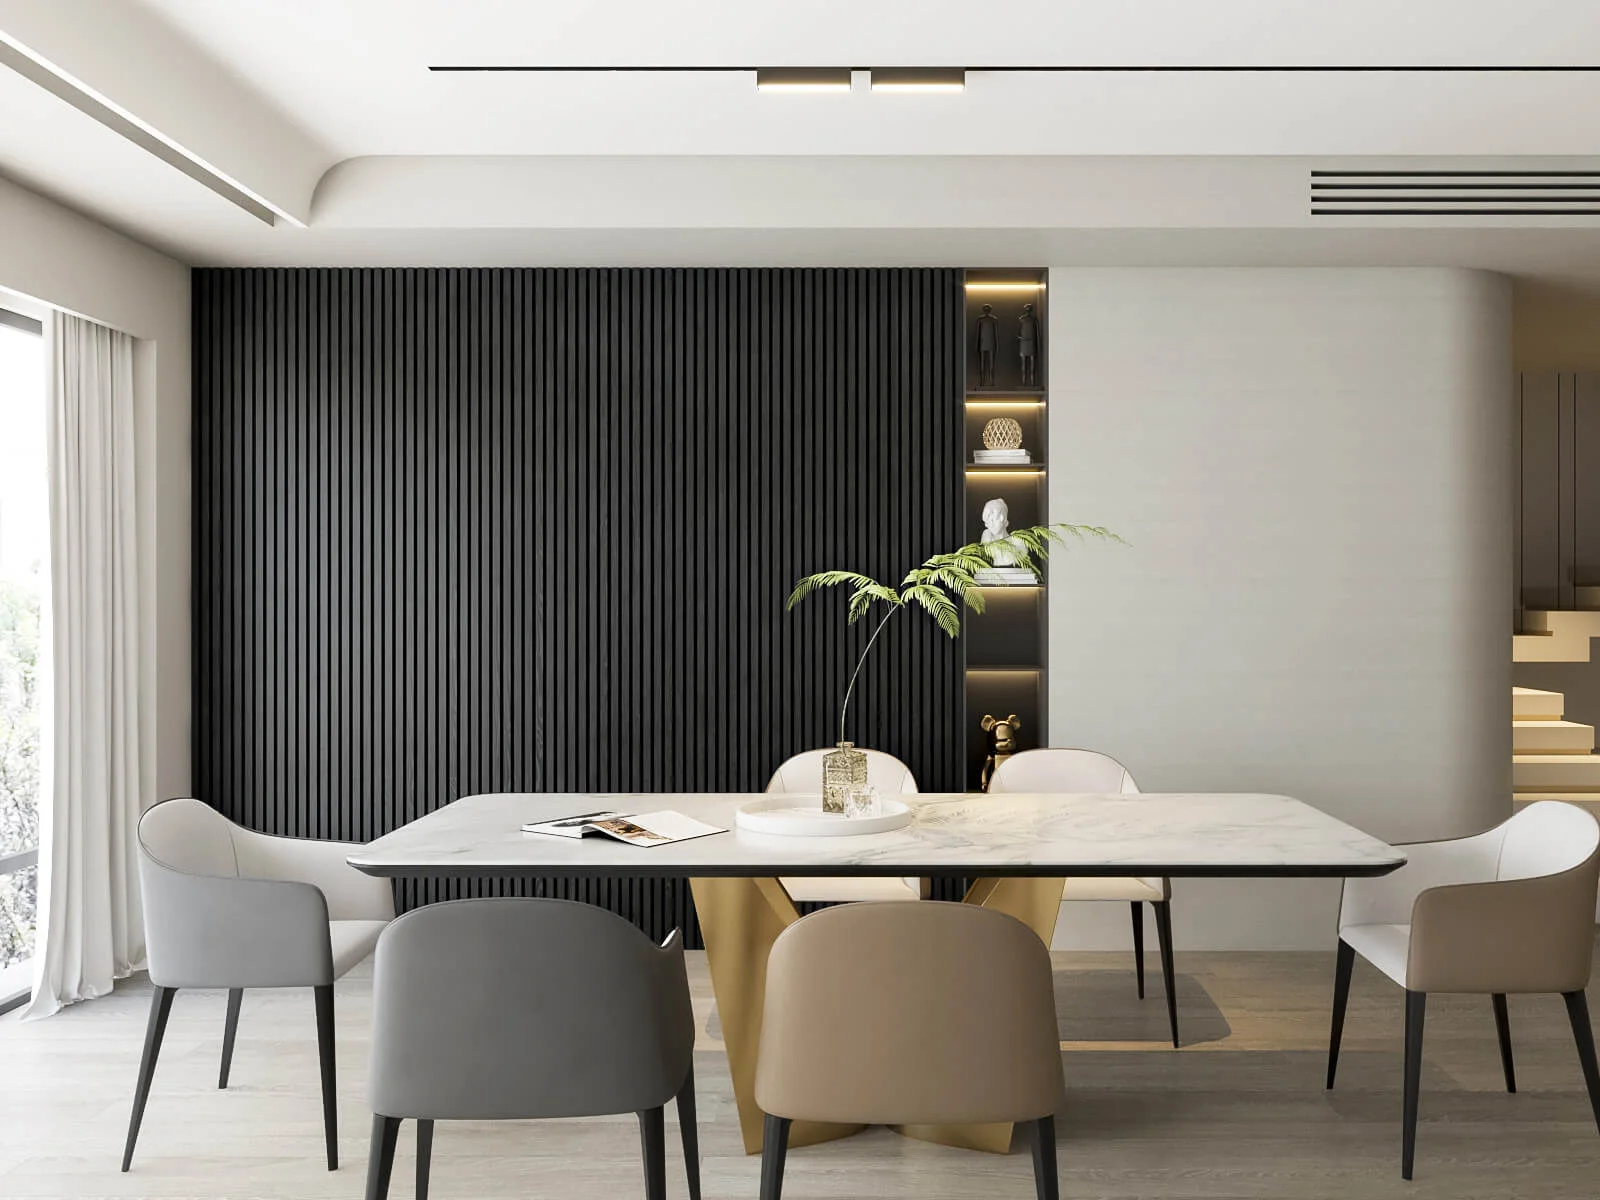
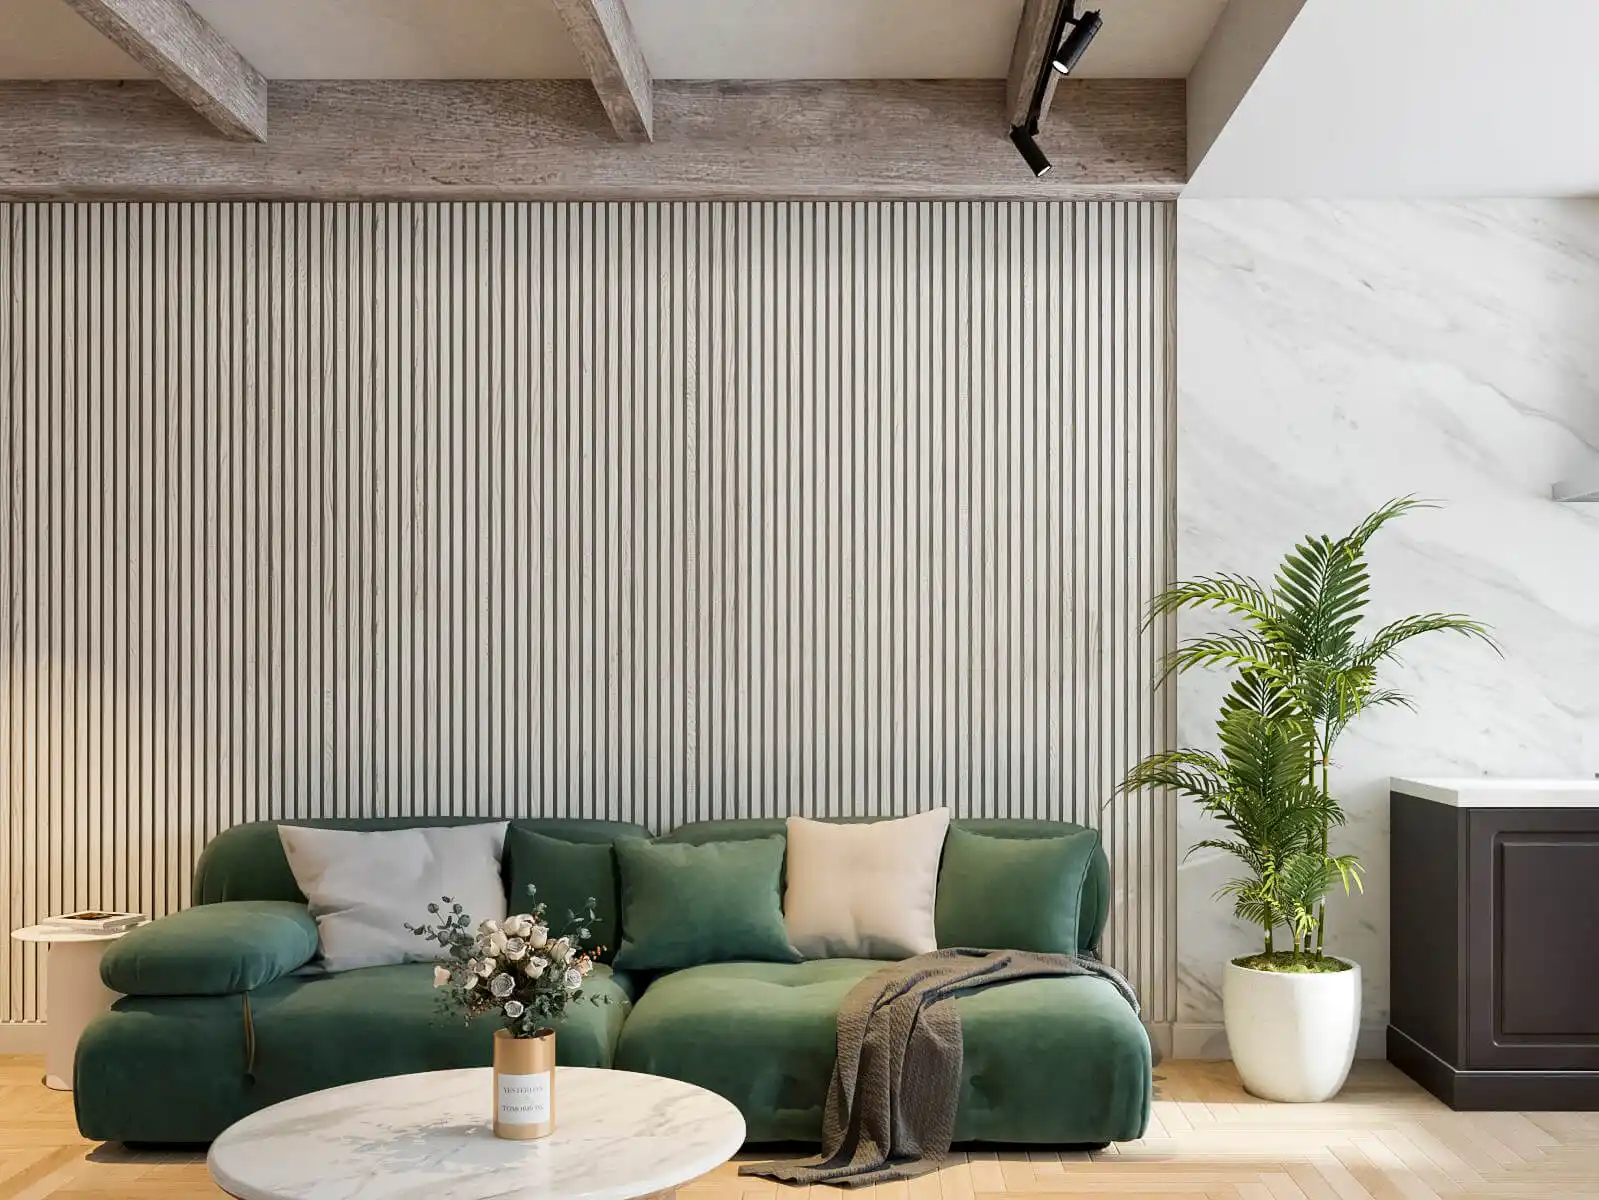
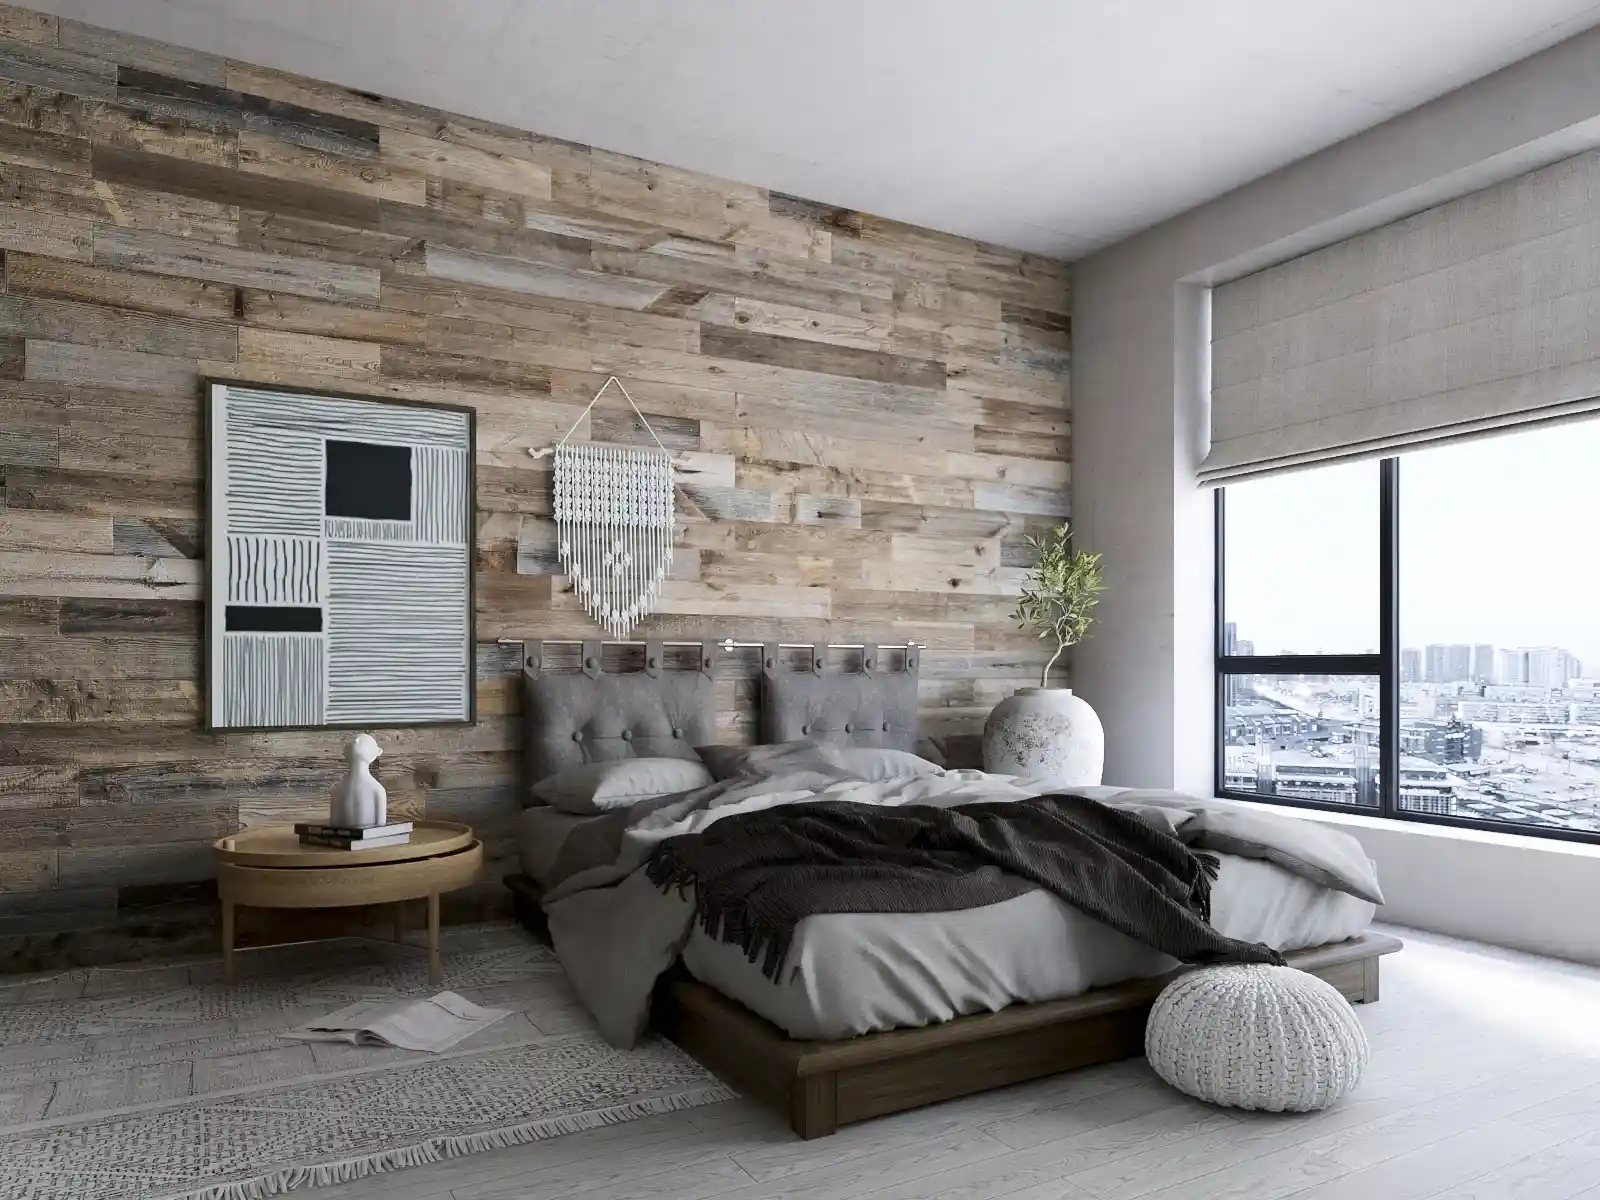
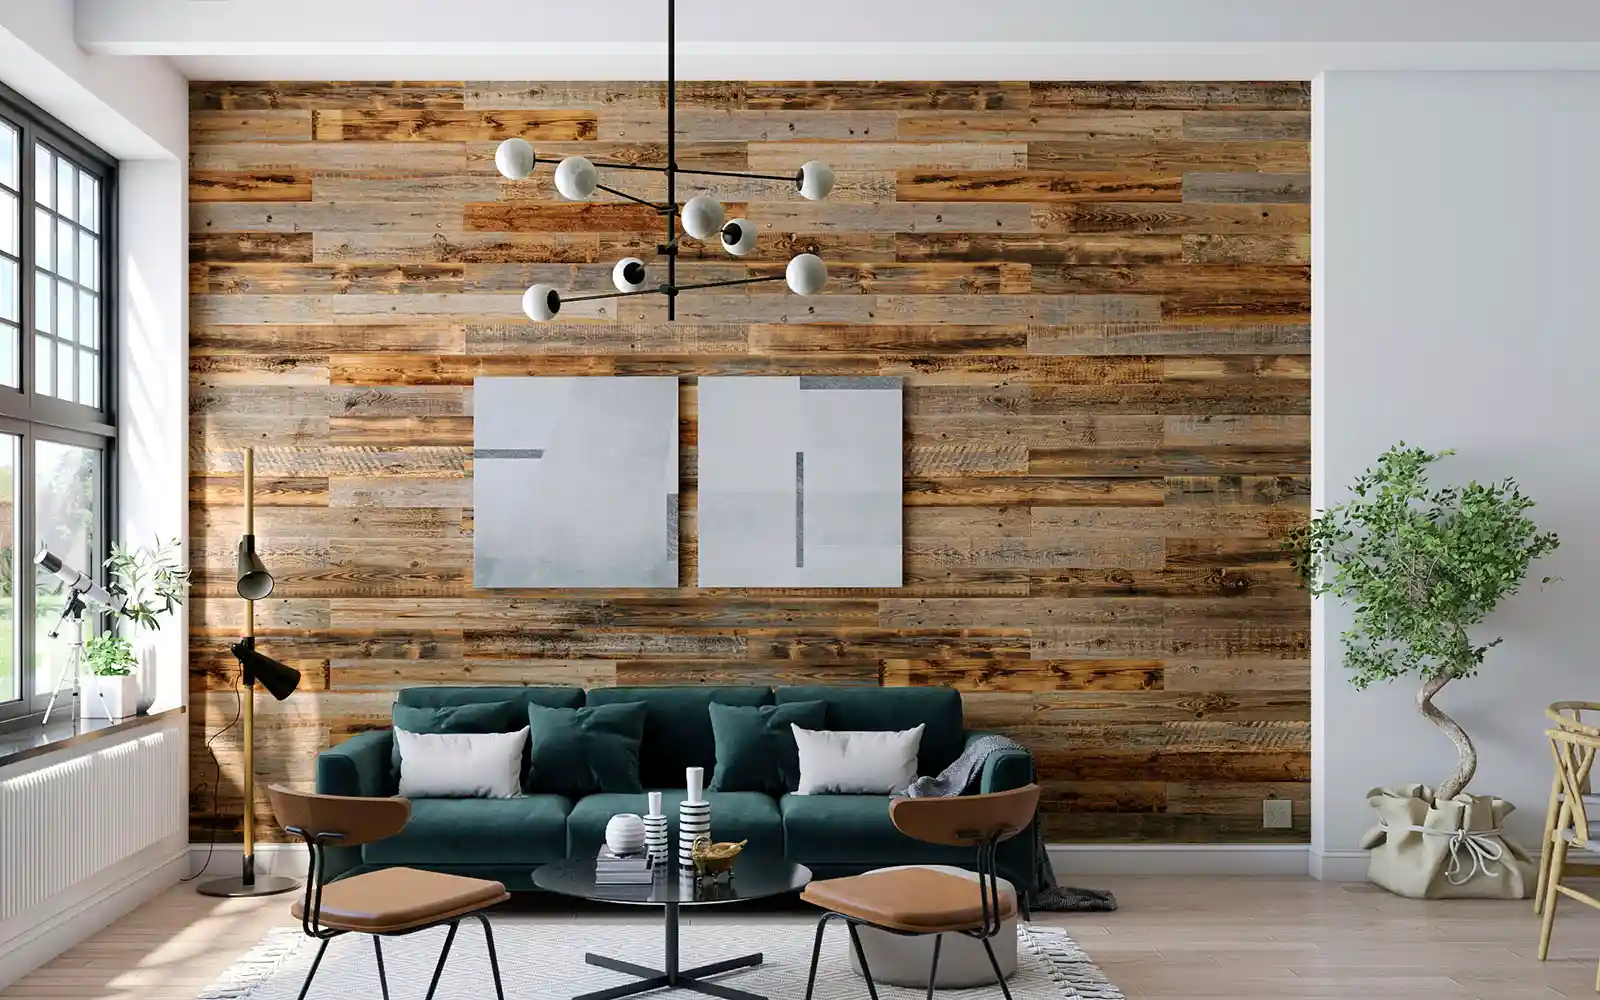
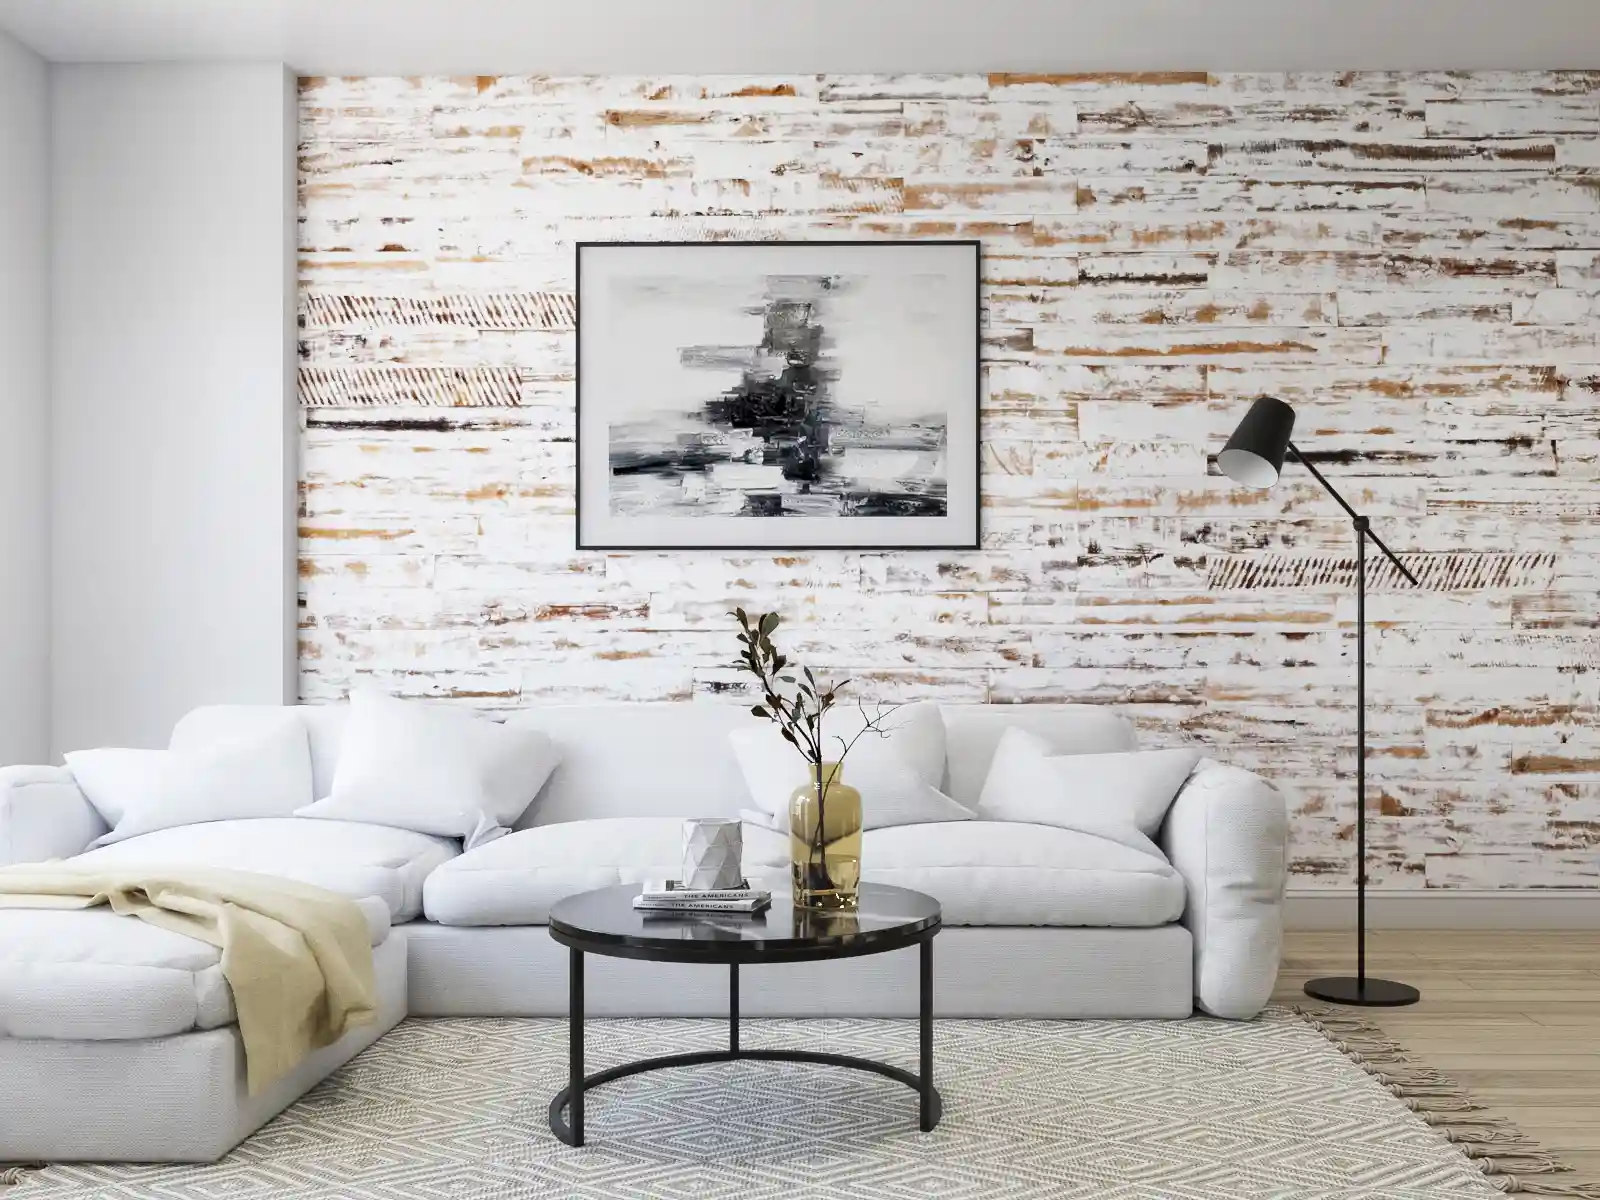
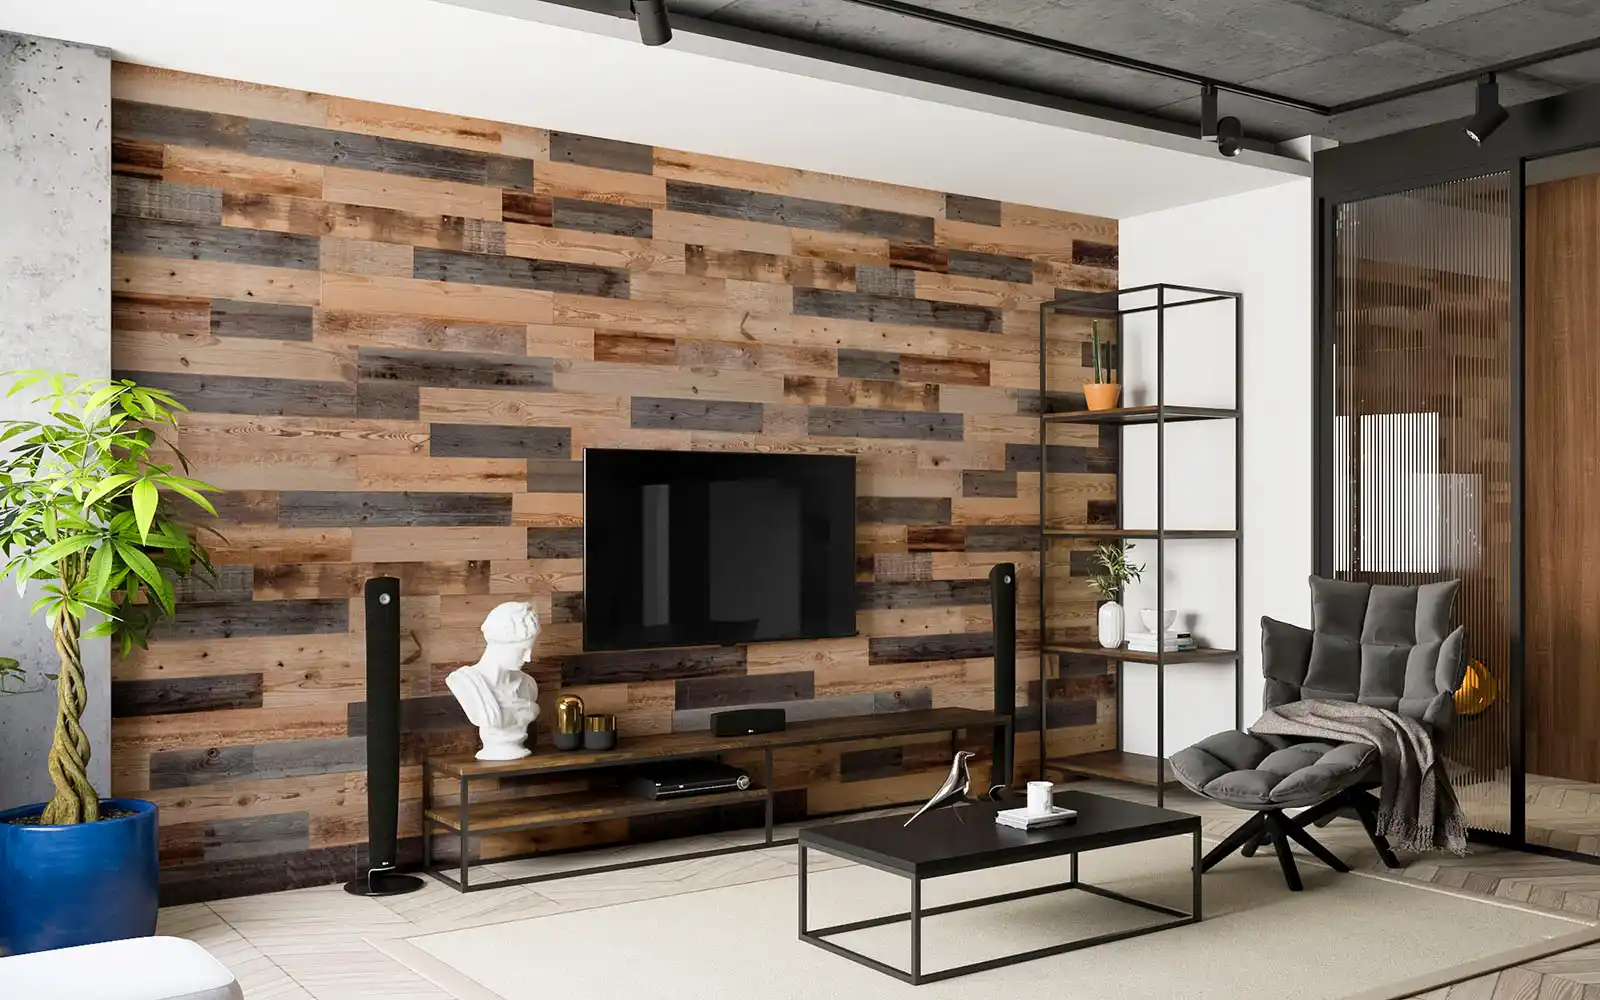
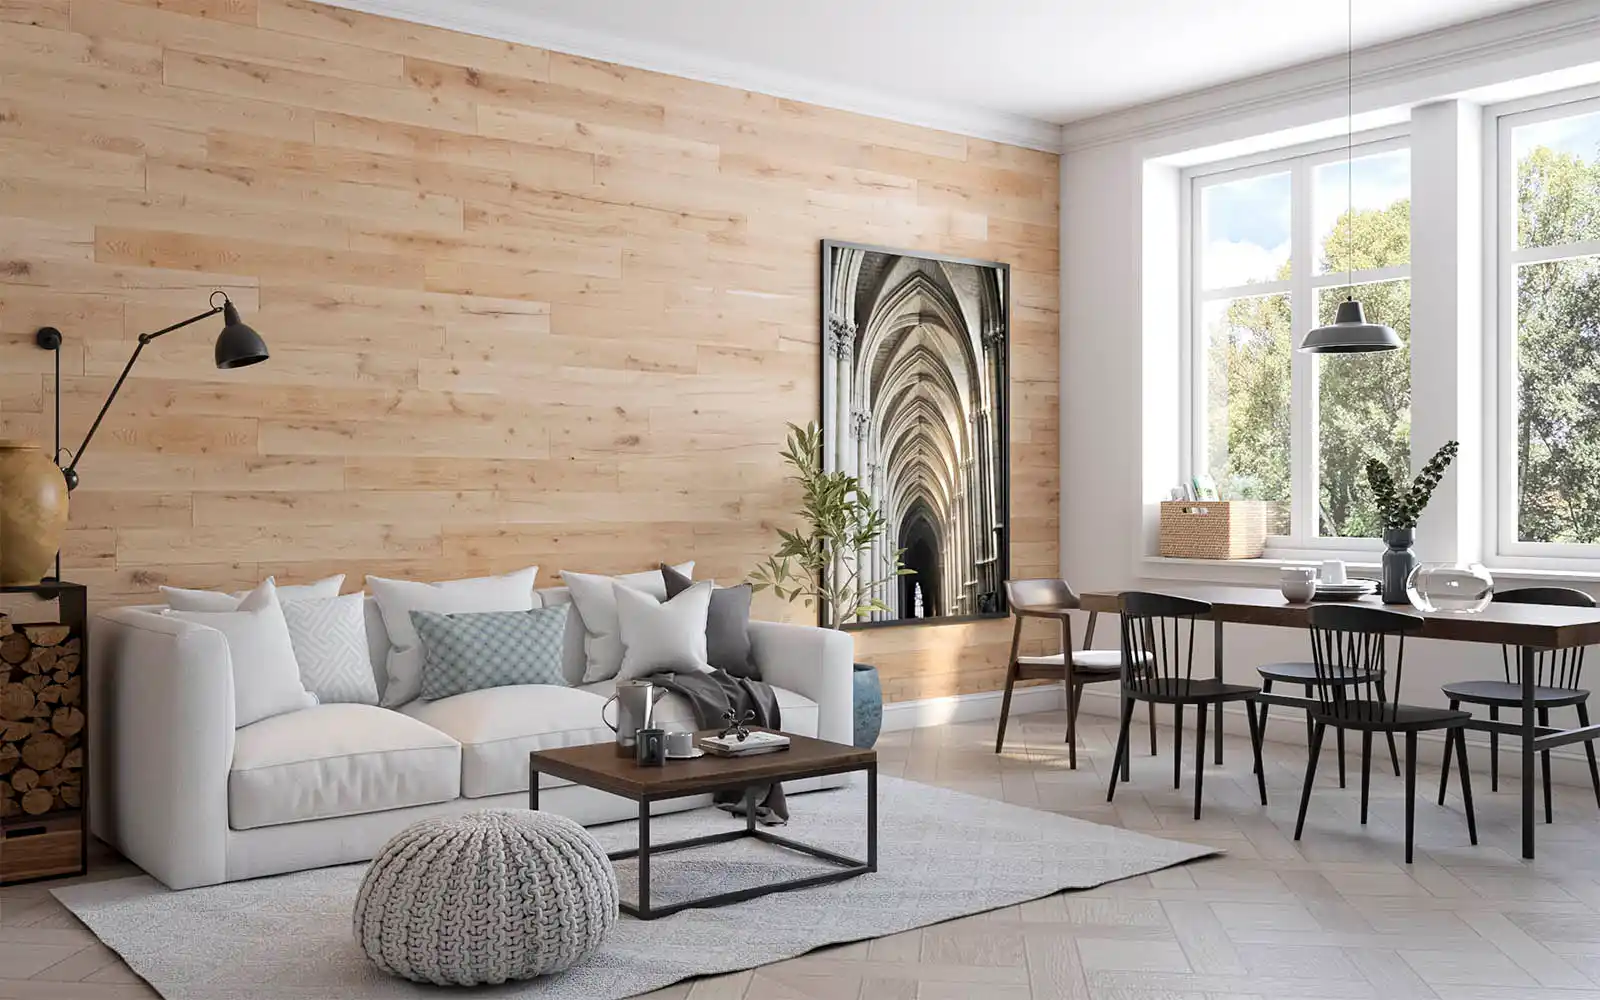
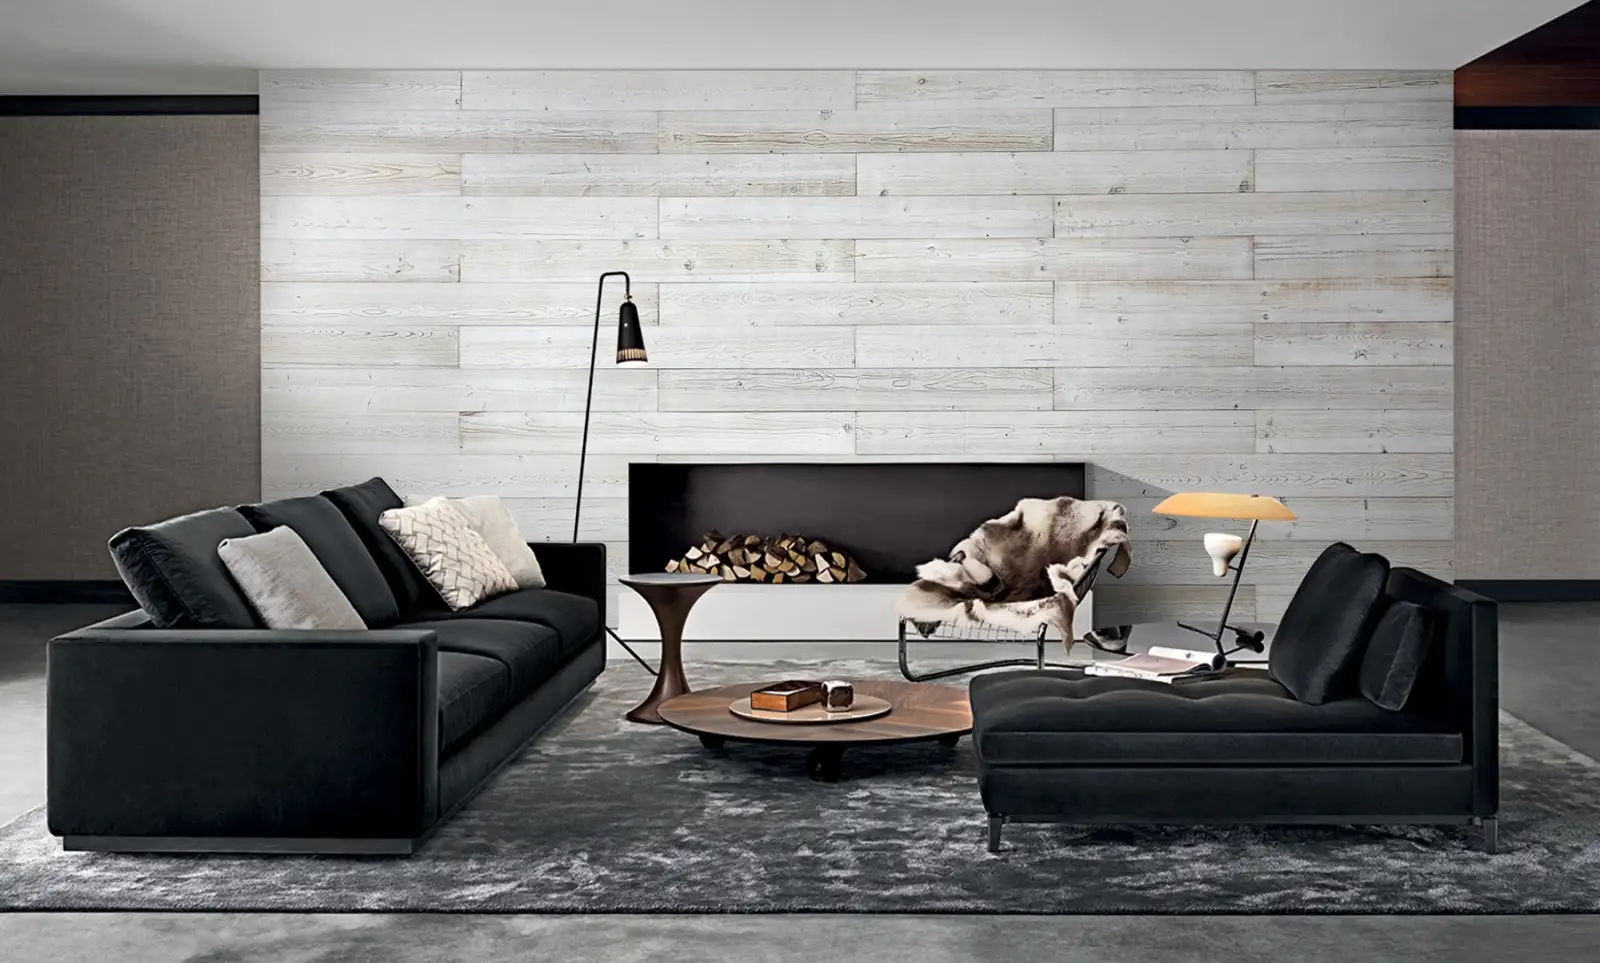
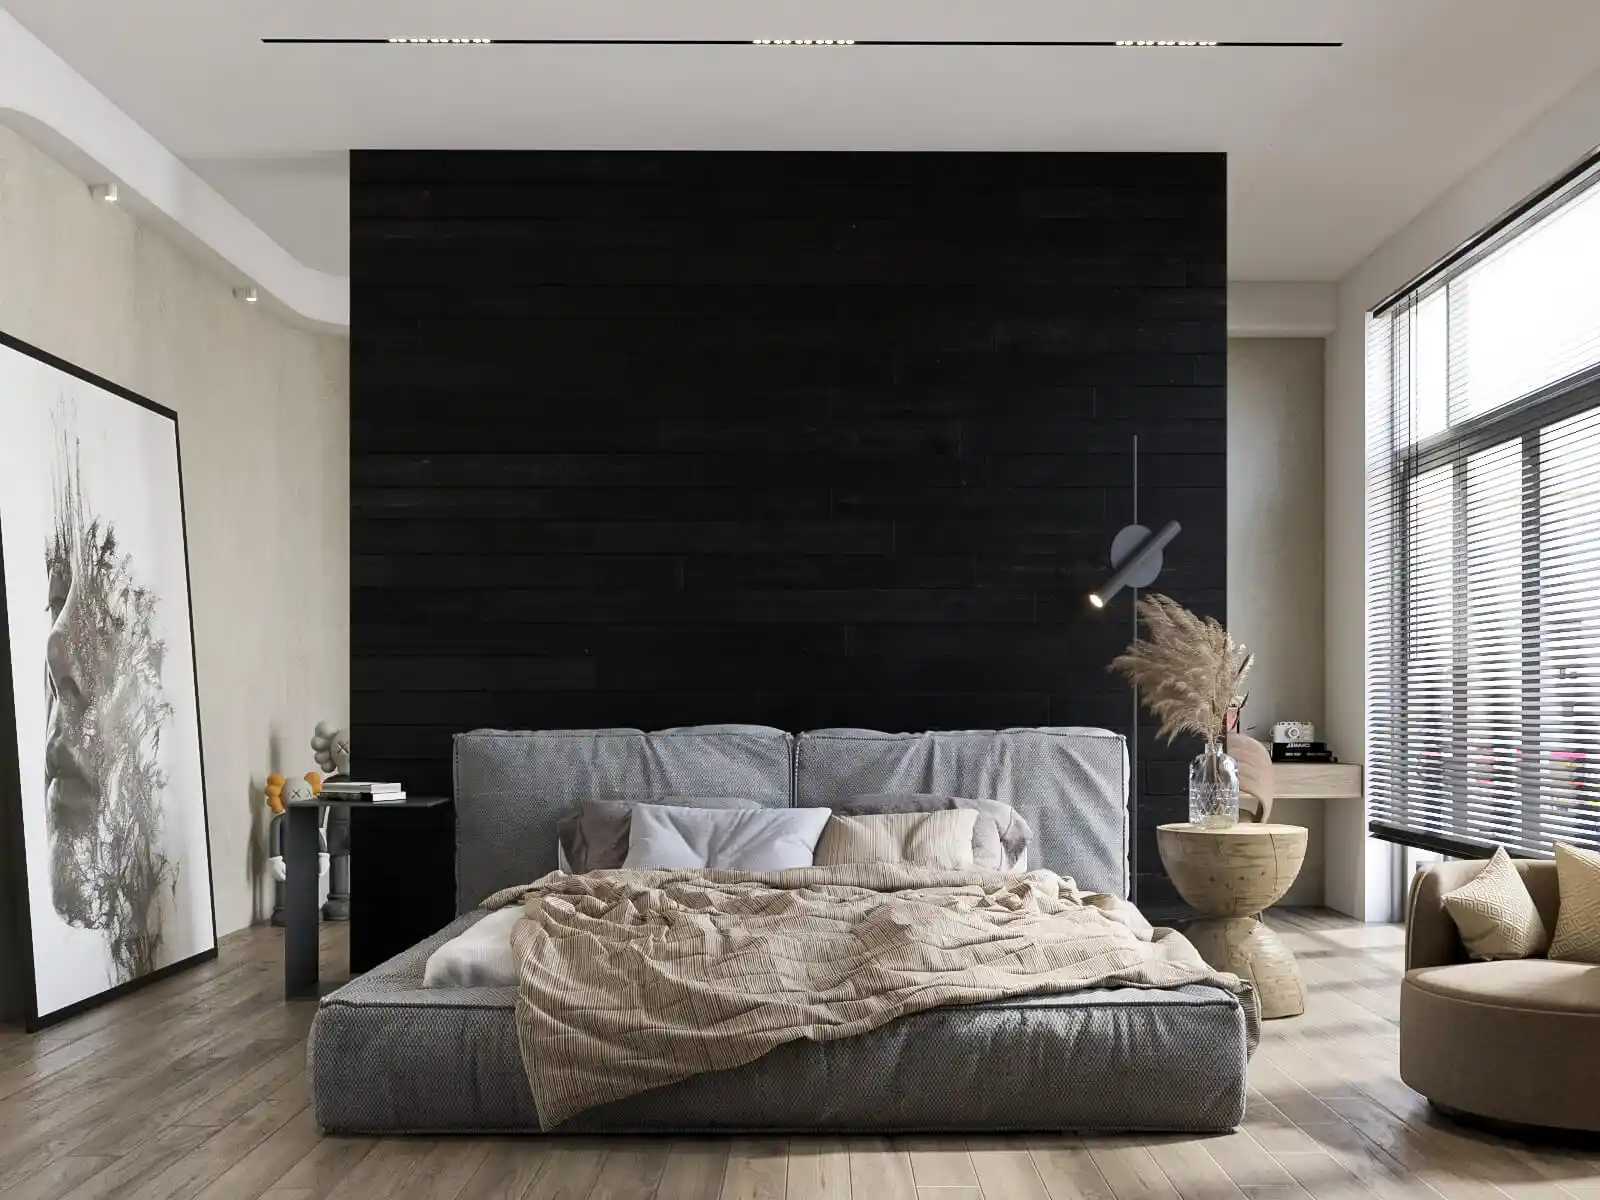
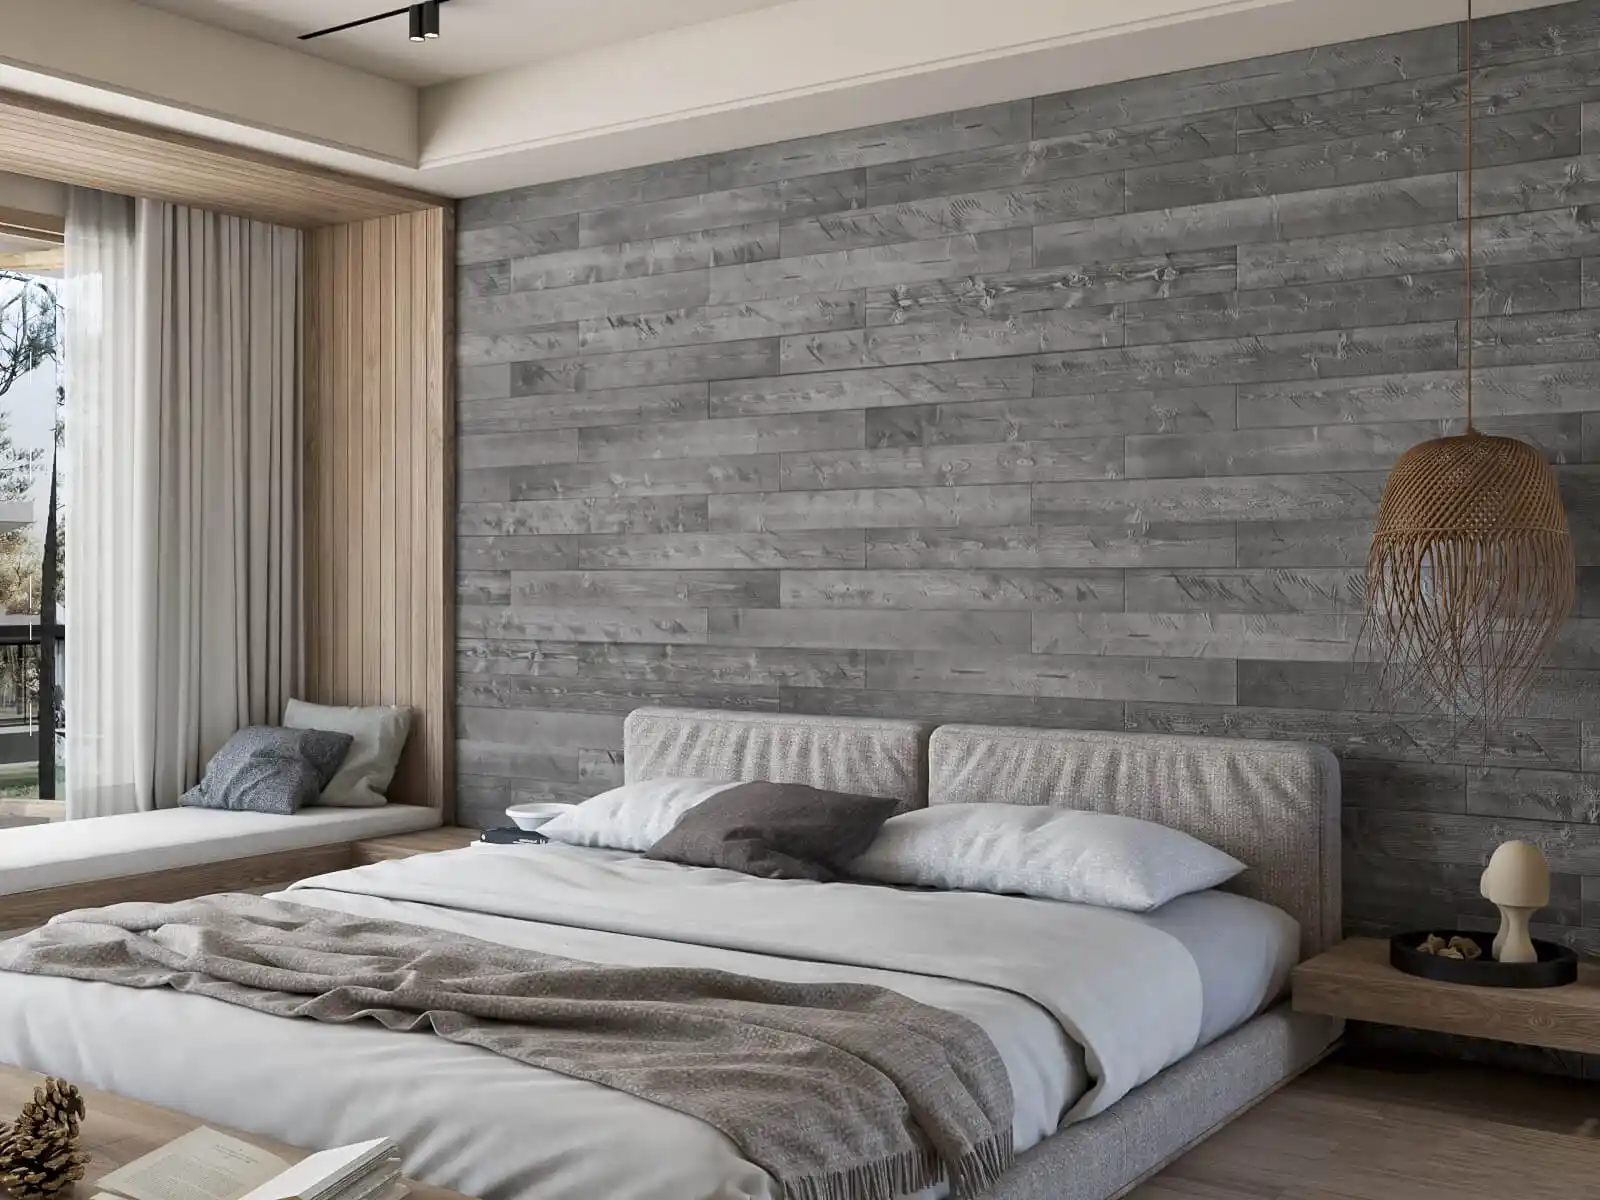
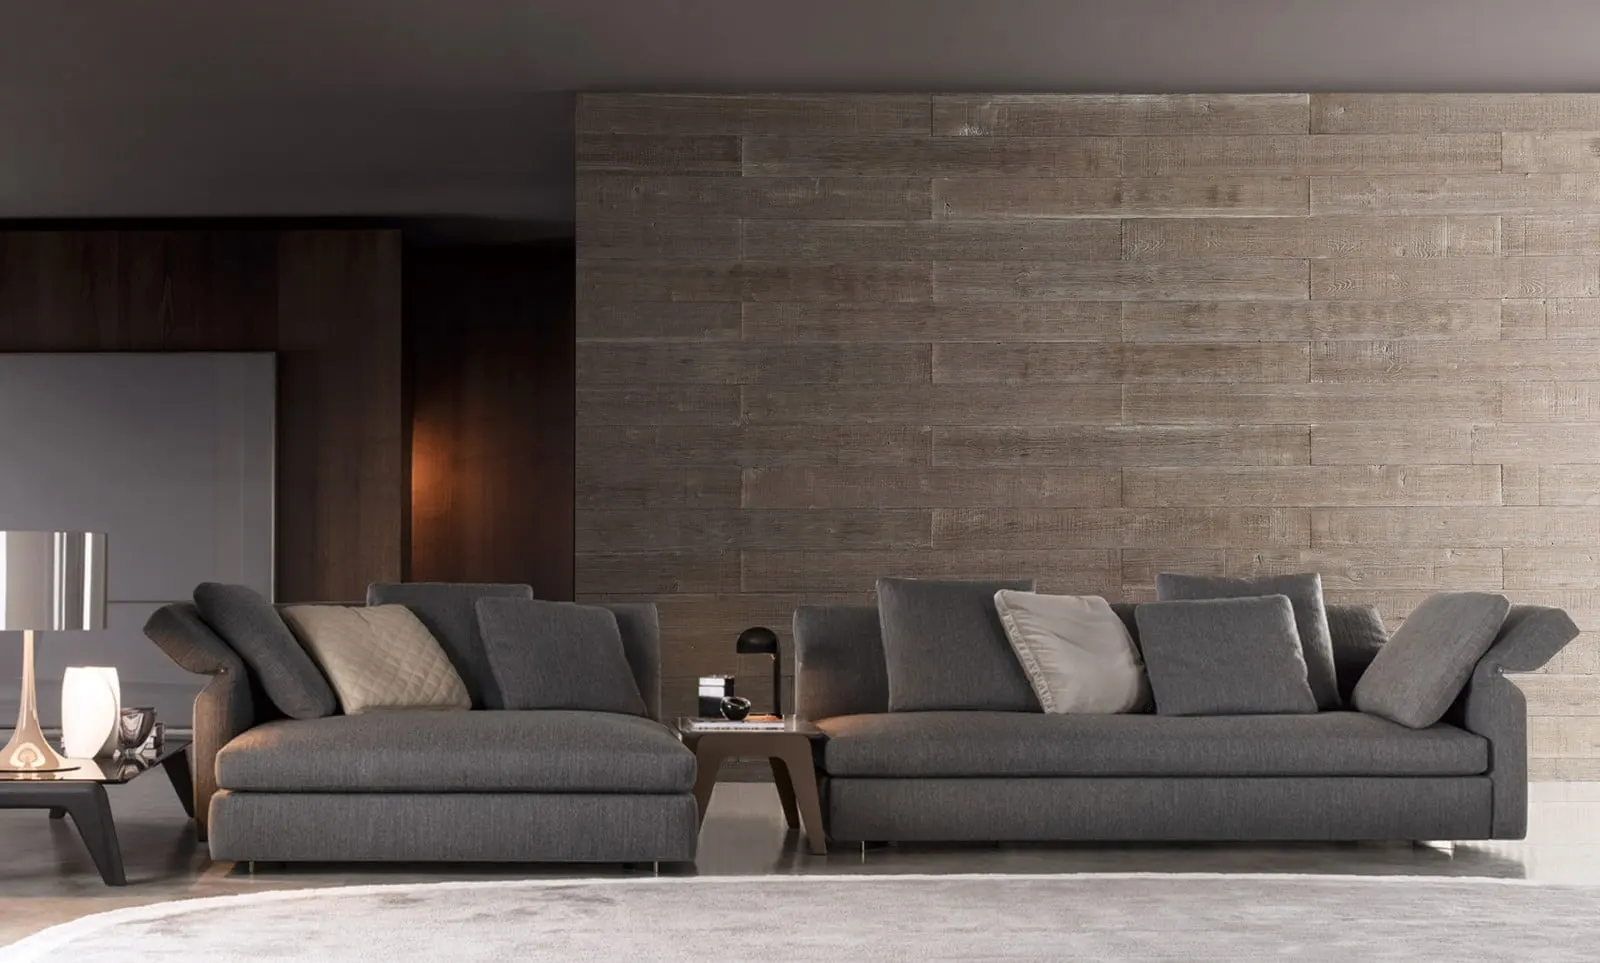
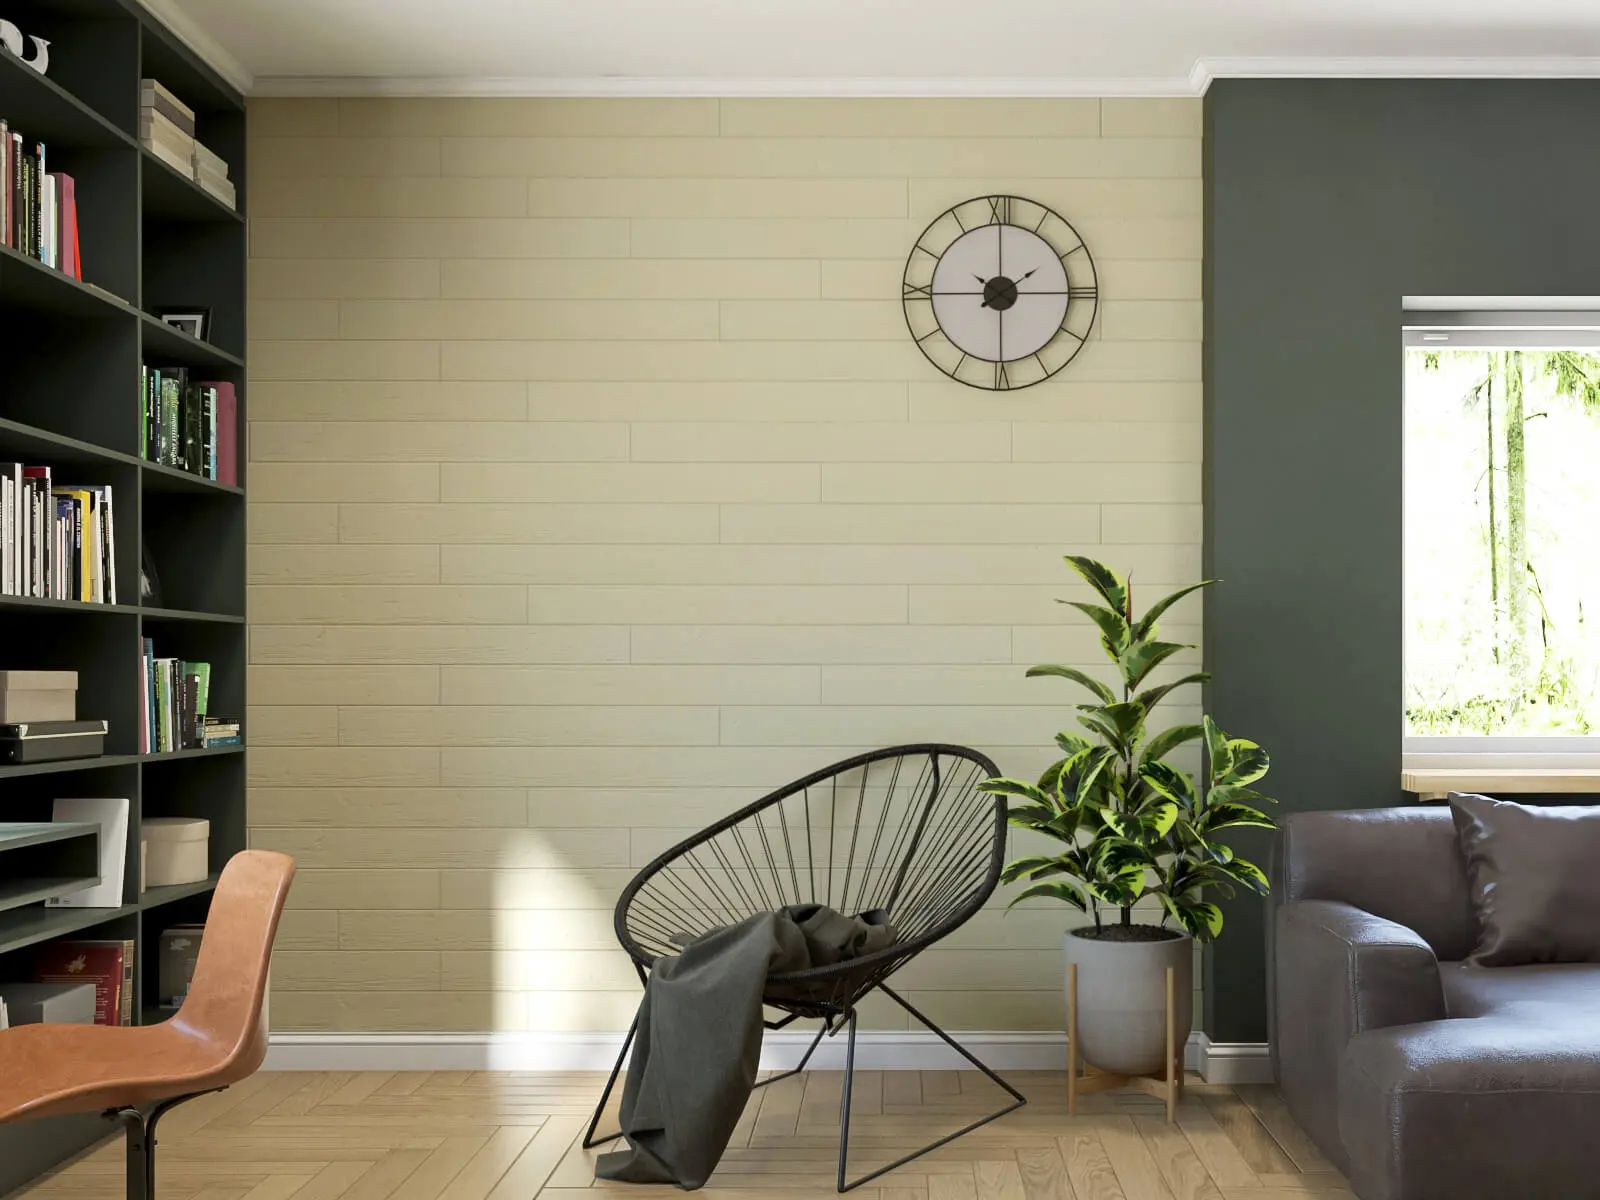
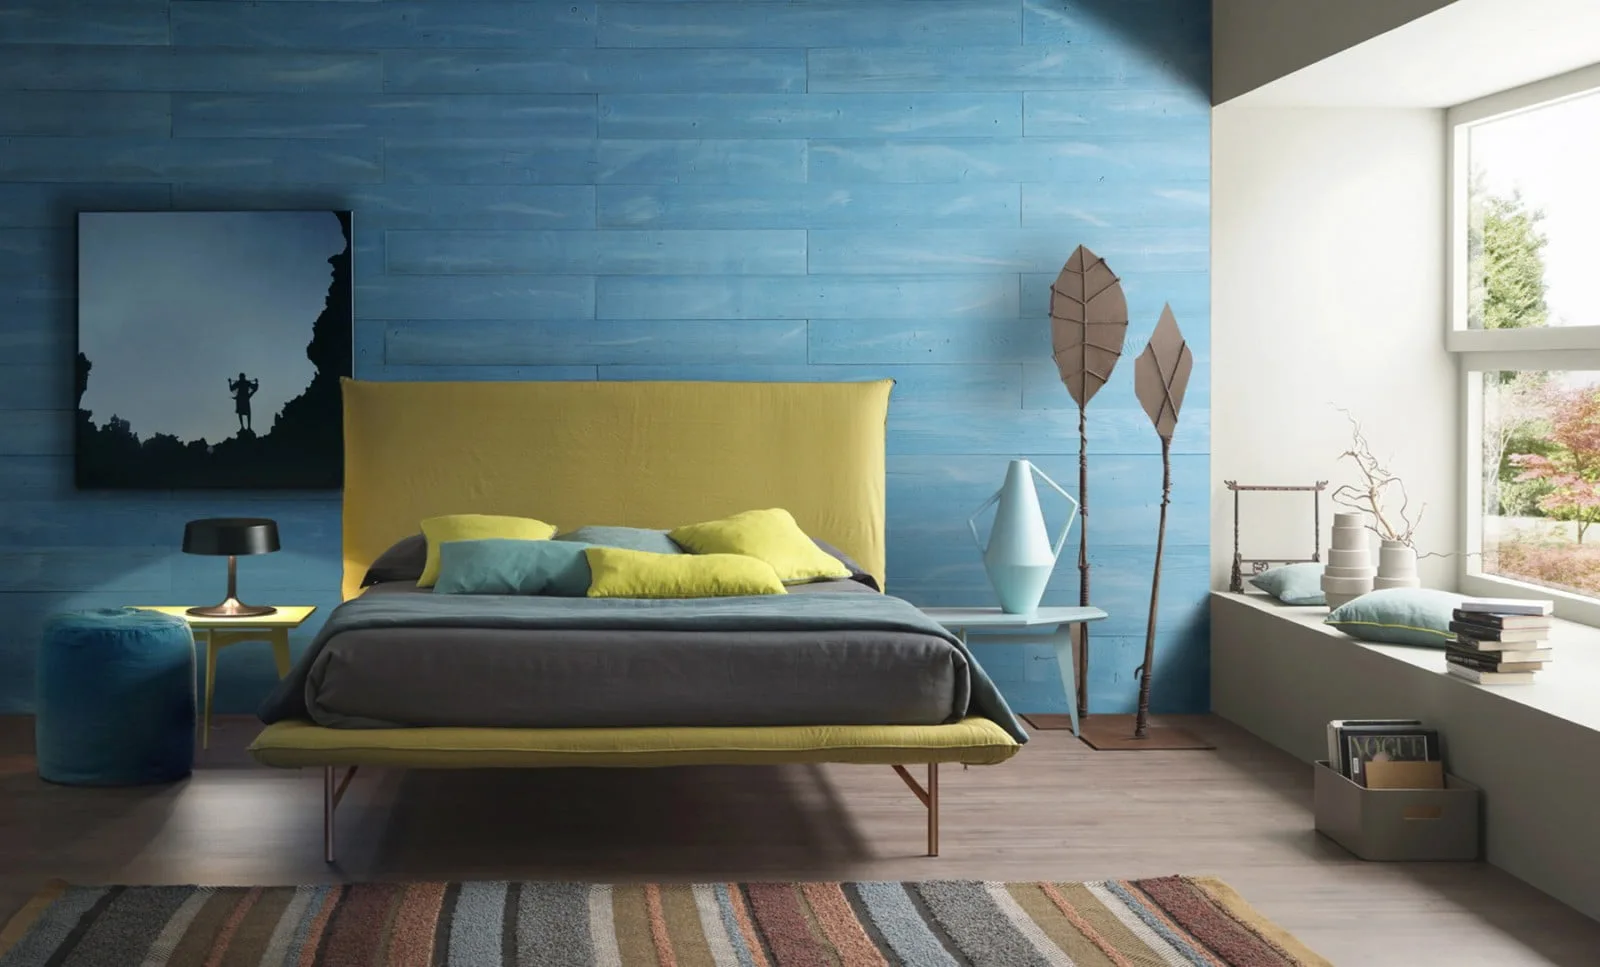
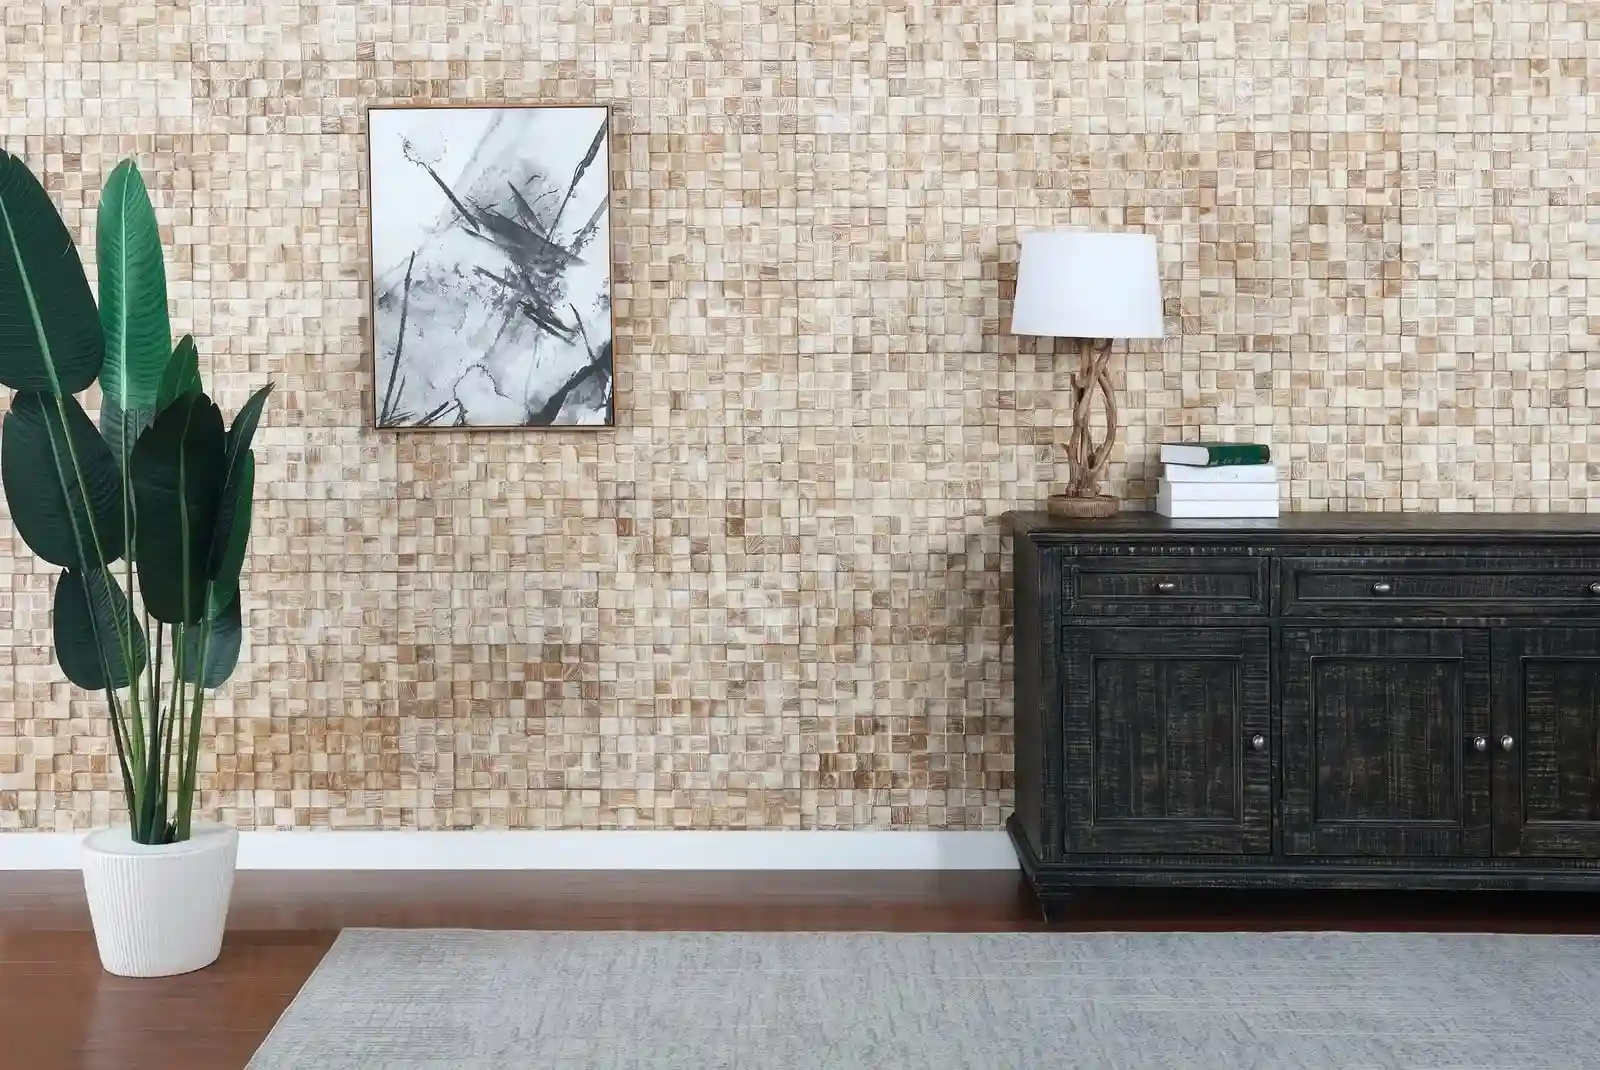
- Enhance Aesthetic Appeal: Seamless walls look cleaner and more polished. By hiding the seams, you get a smoother finish. It’s a quick way to upgrade your room.
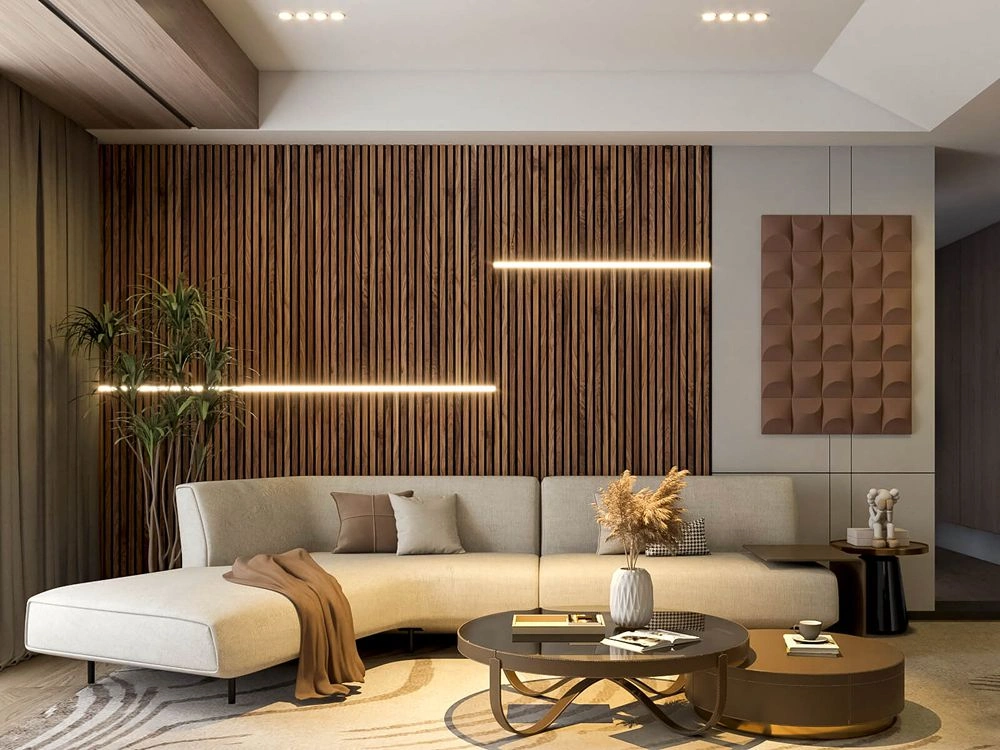
How To Hide Paneling Seams: 3 Easy Ways for a Polished Finish
Wondering how to cover seams in paneling without tearing down your walls or hiring a contractor? Good news — with the right tools and a bit of creativity, you can easily transform those visible lines into seamless design elements. Below are three stylish and practical methods that make hiding seams both simple and satisfying.
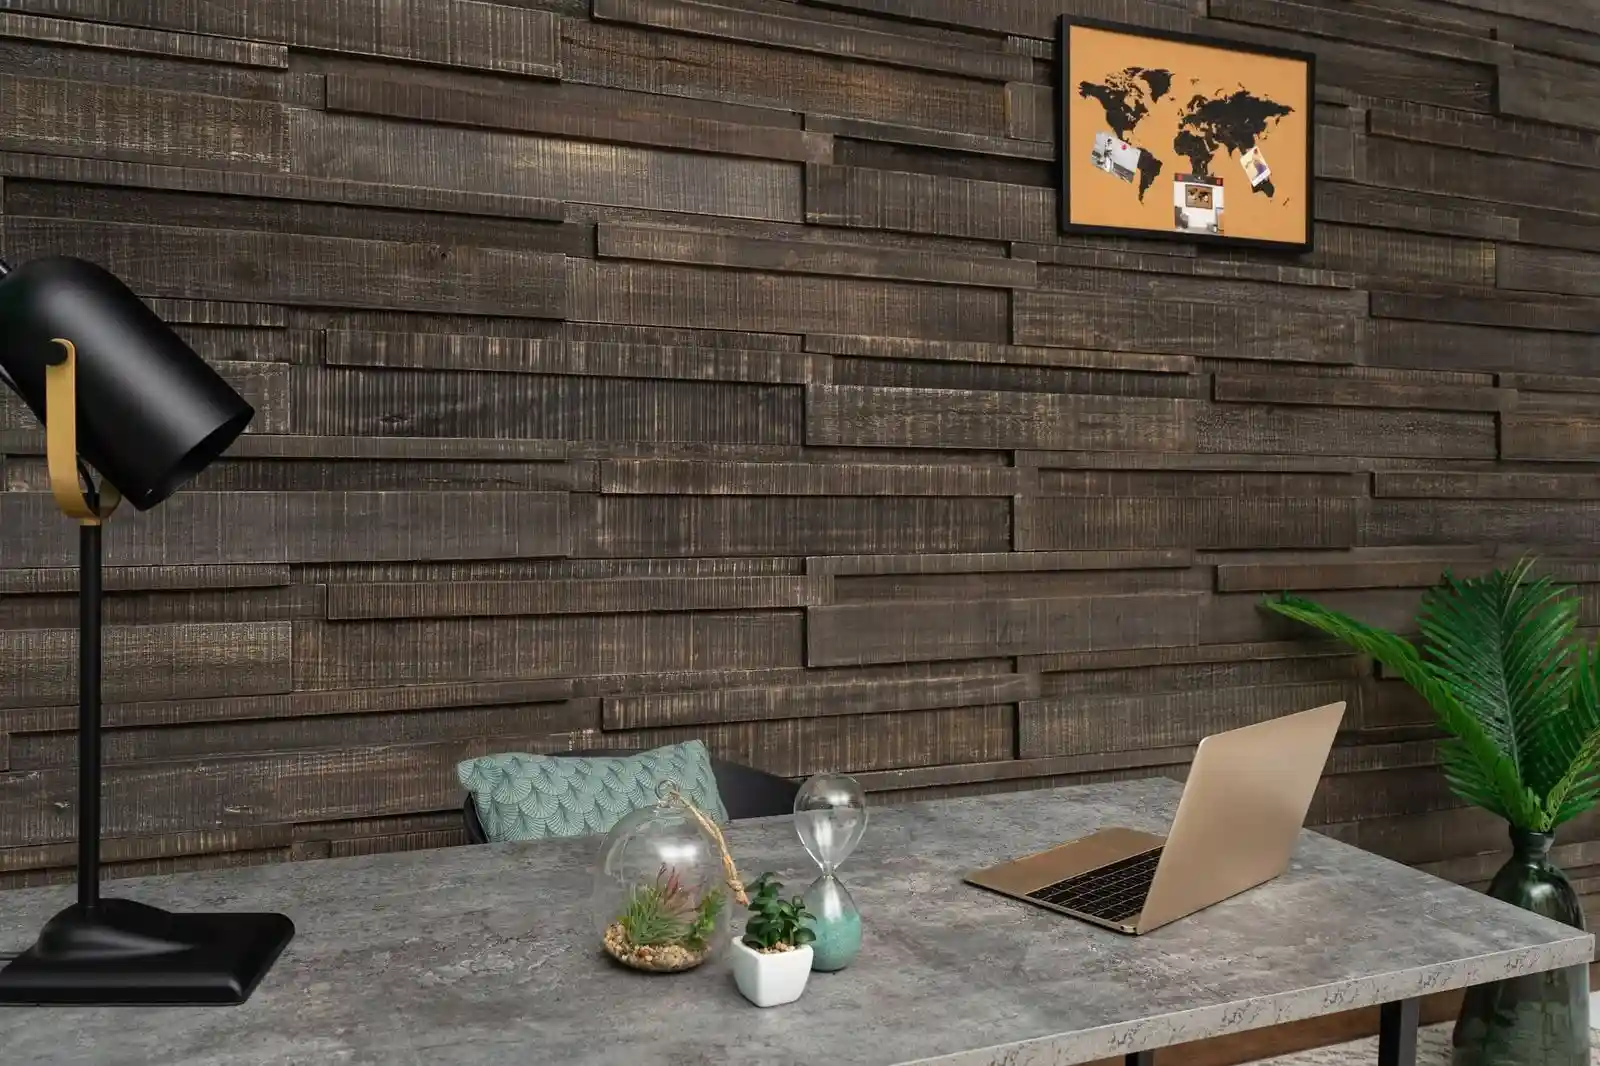
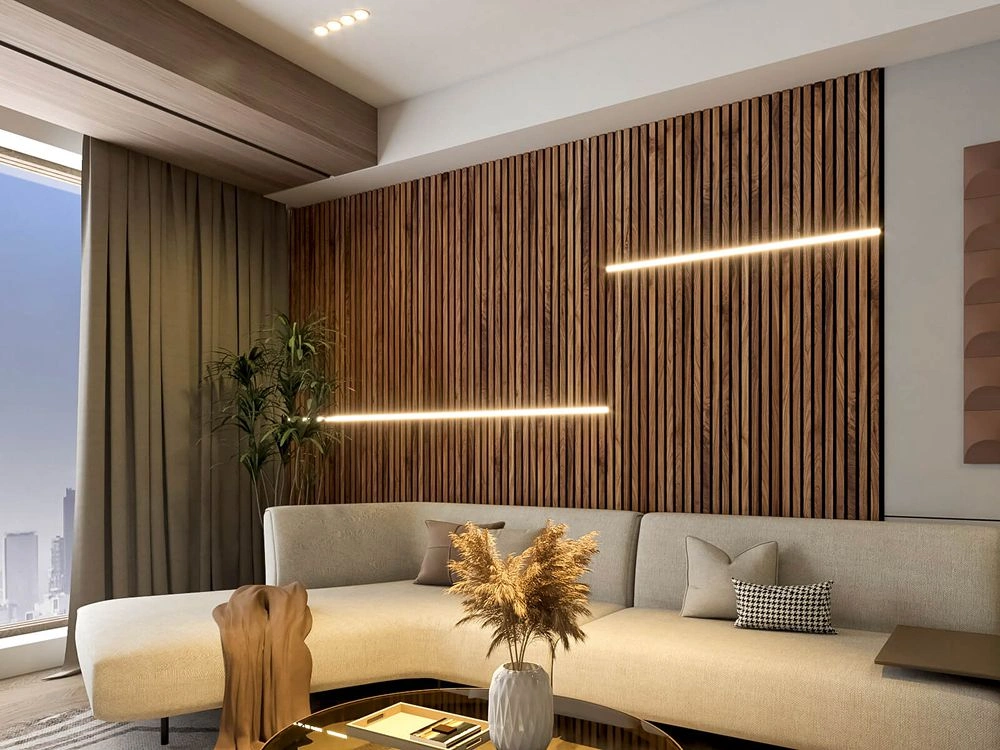
Add LED Channels
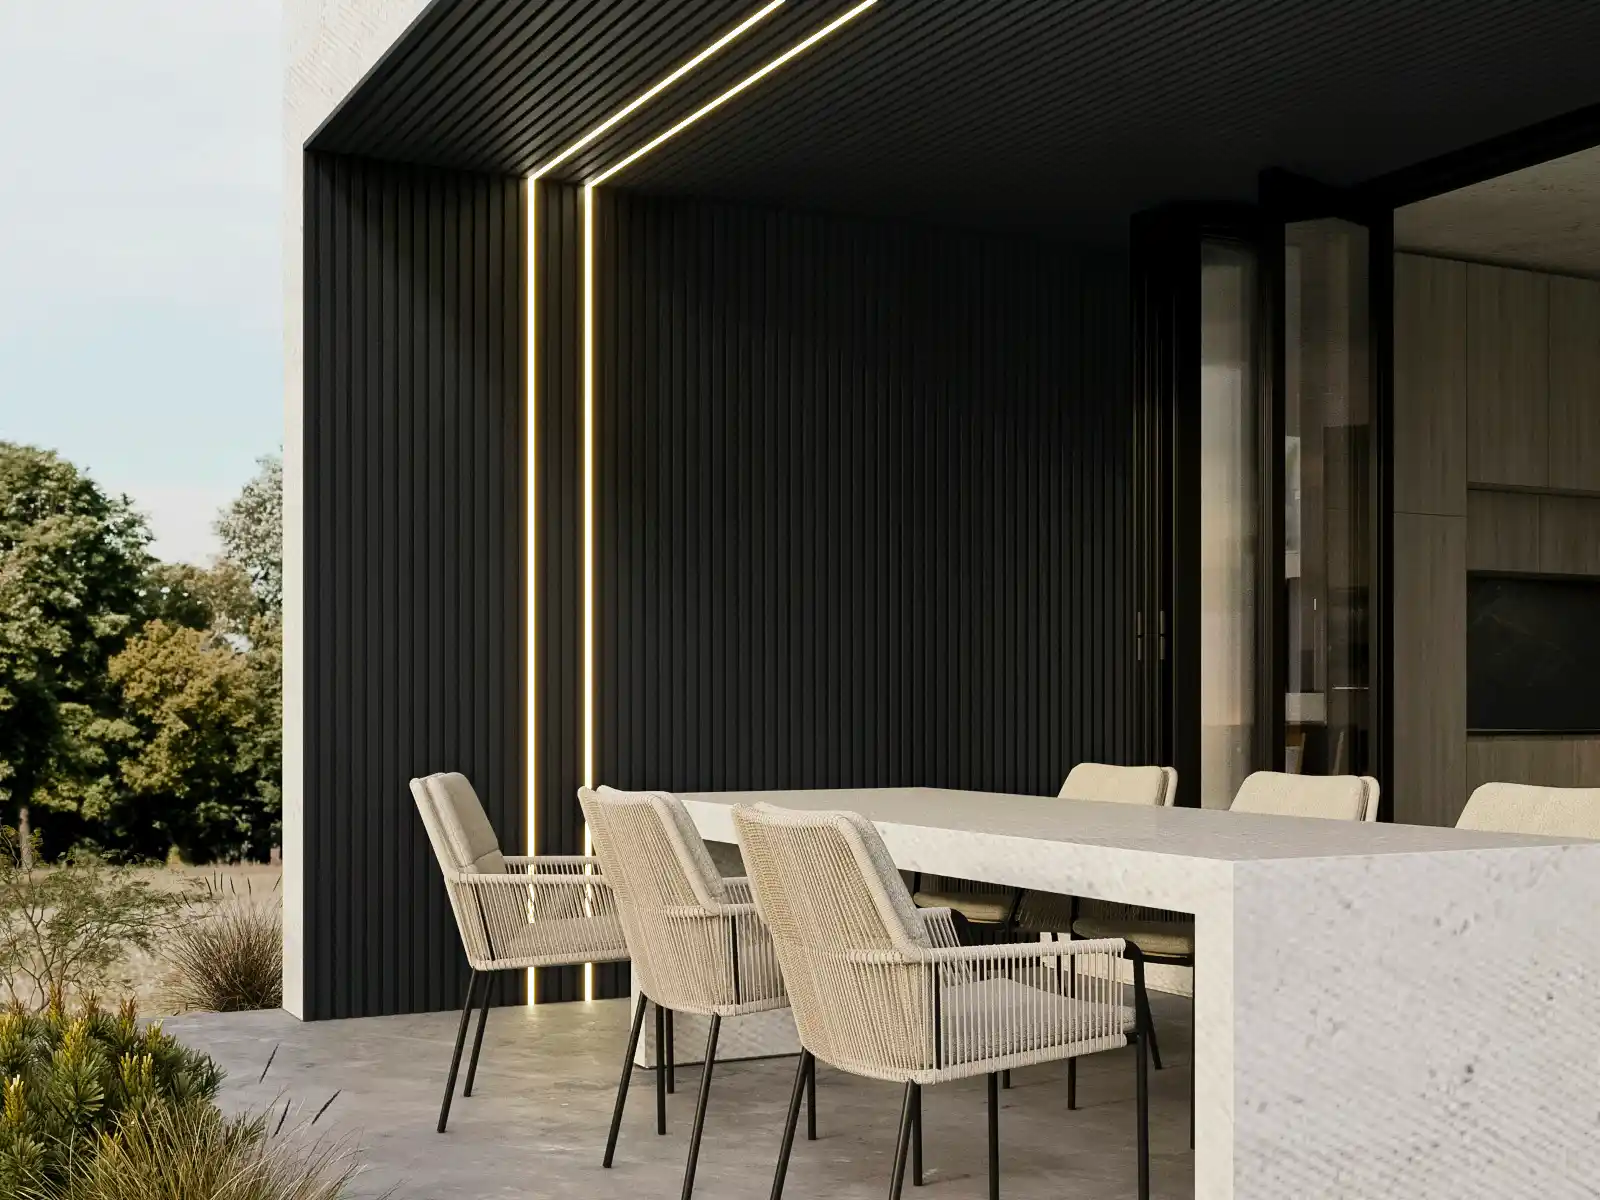
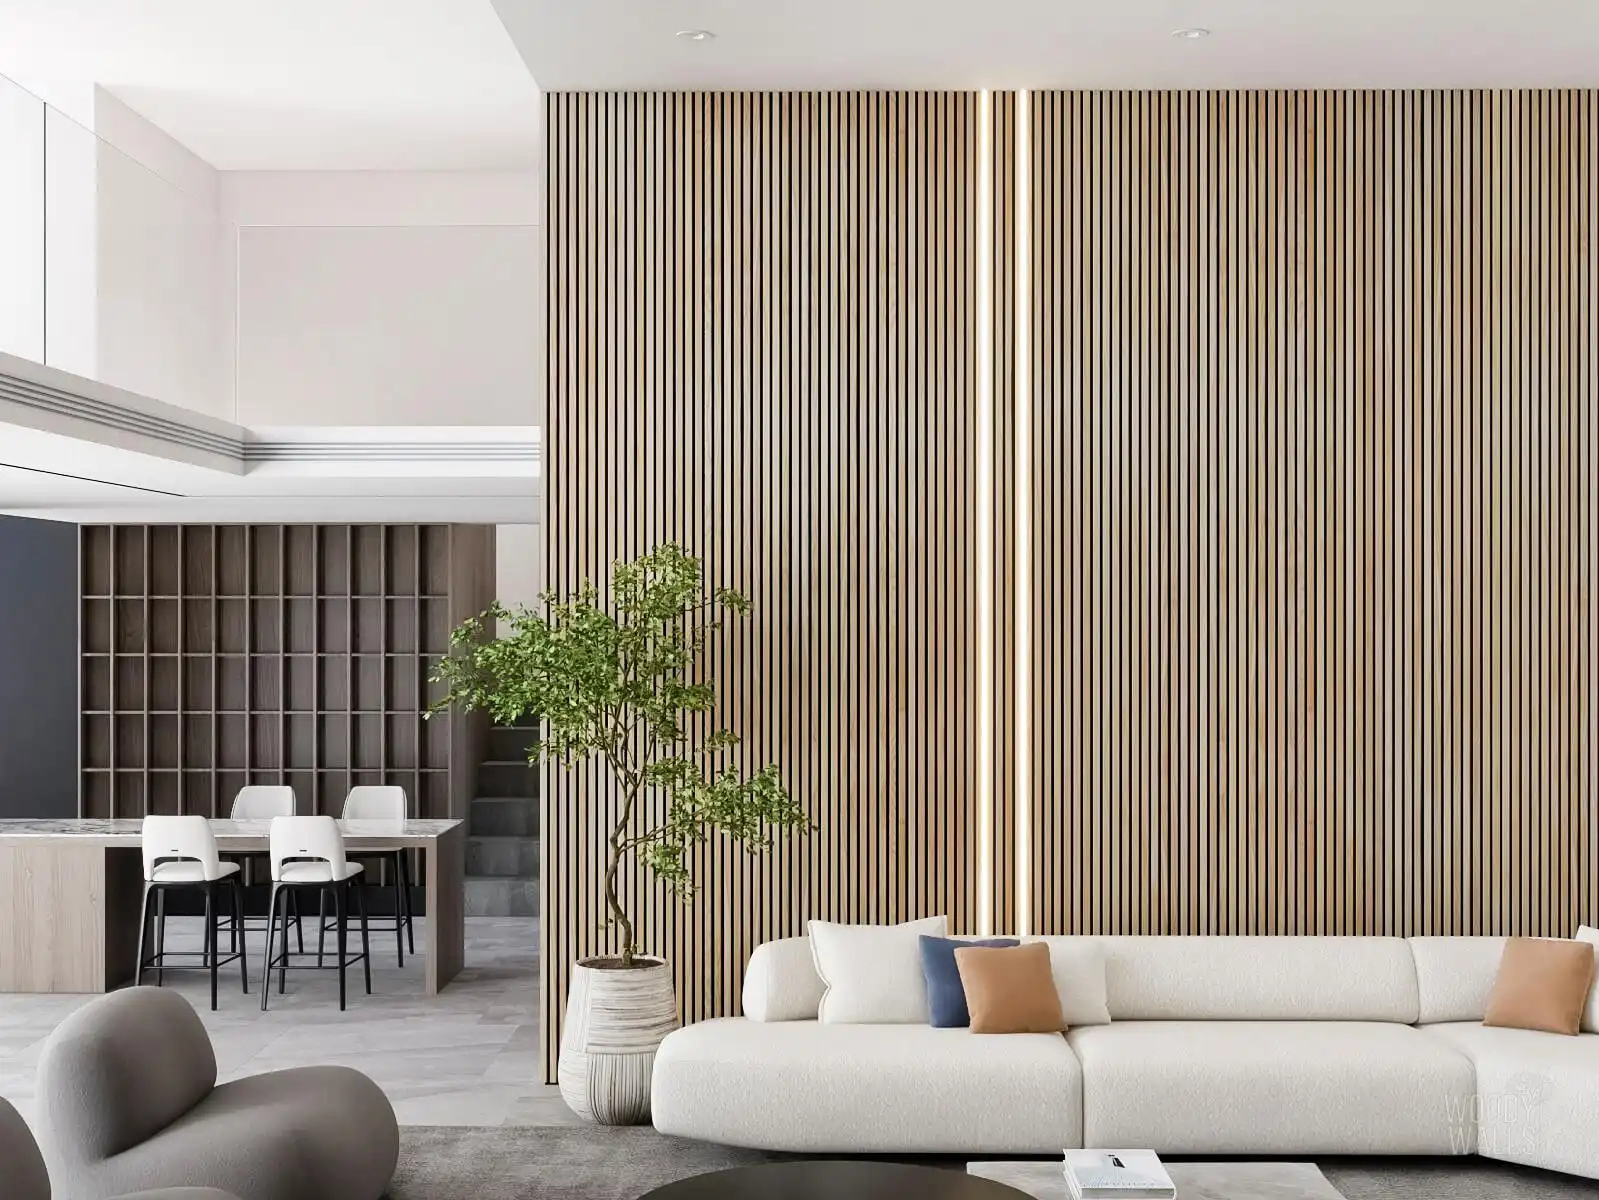
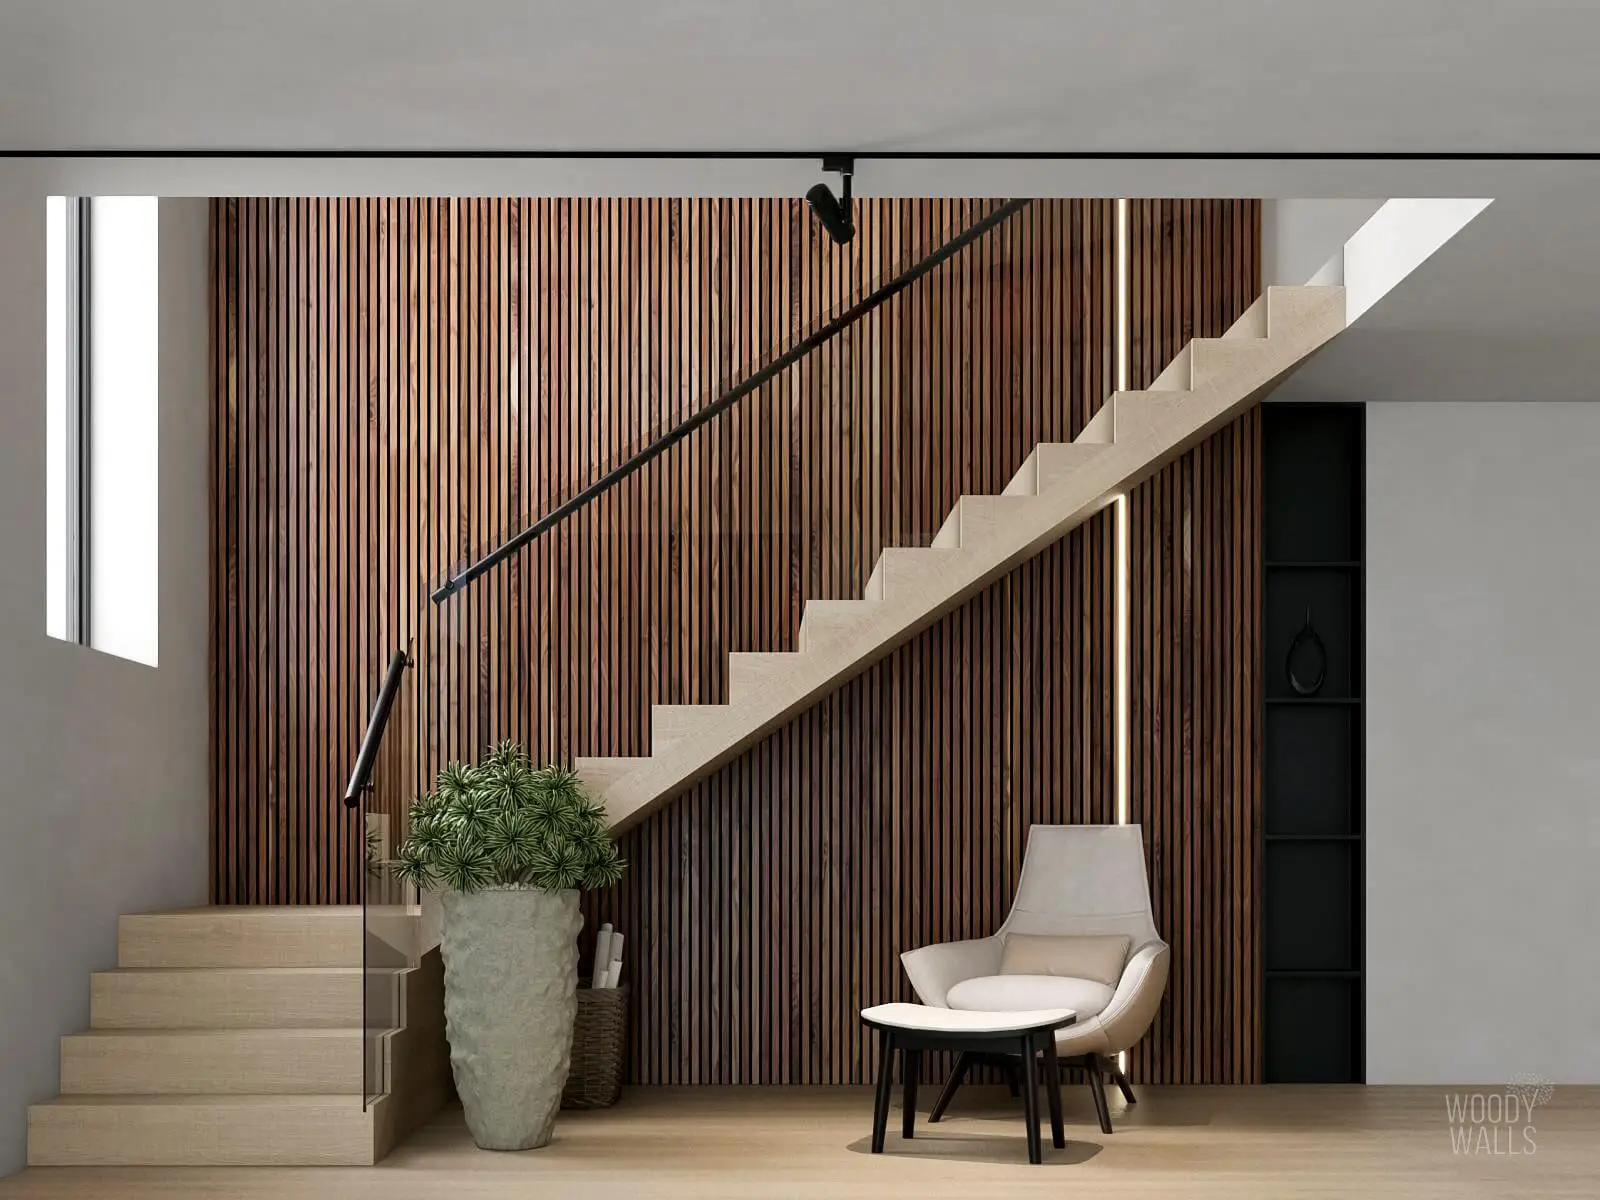
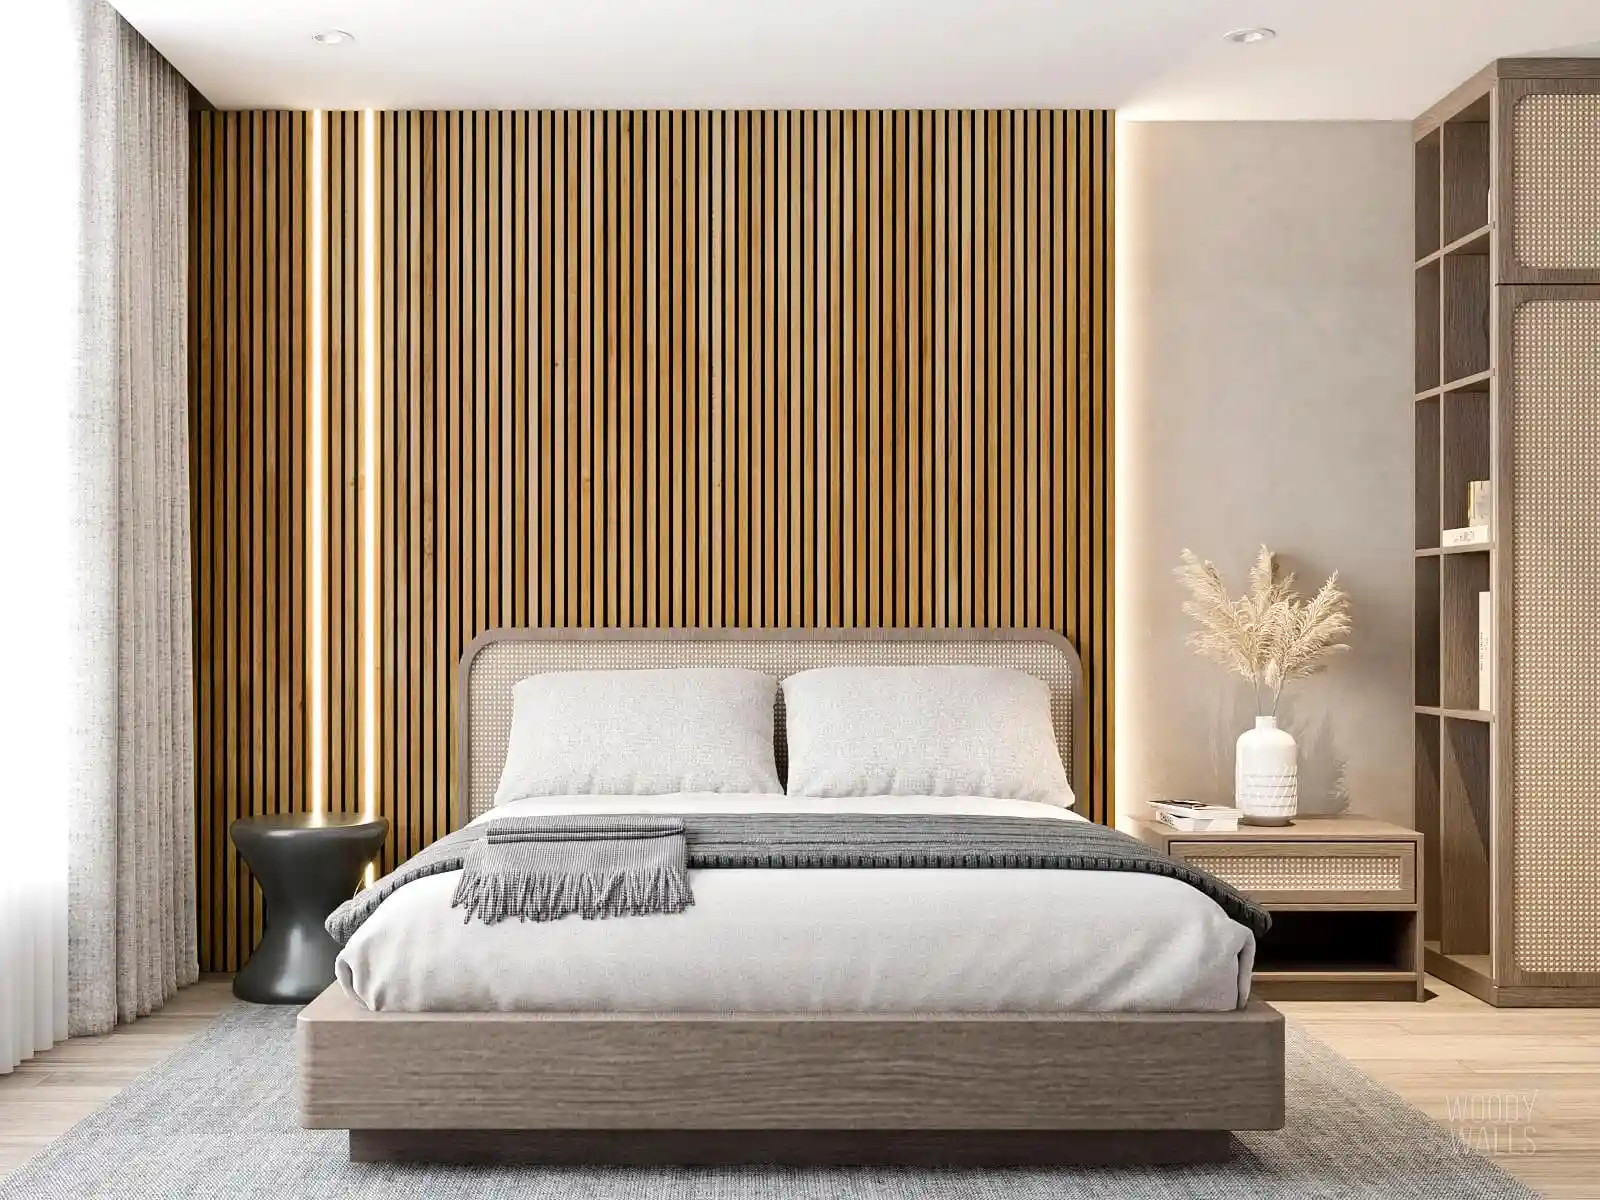
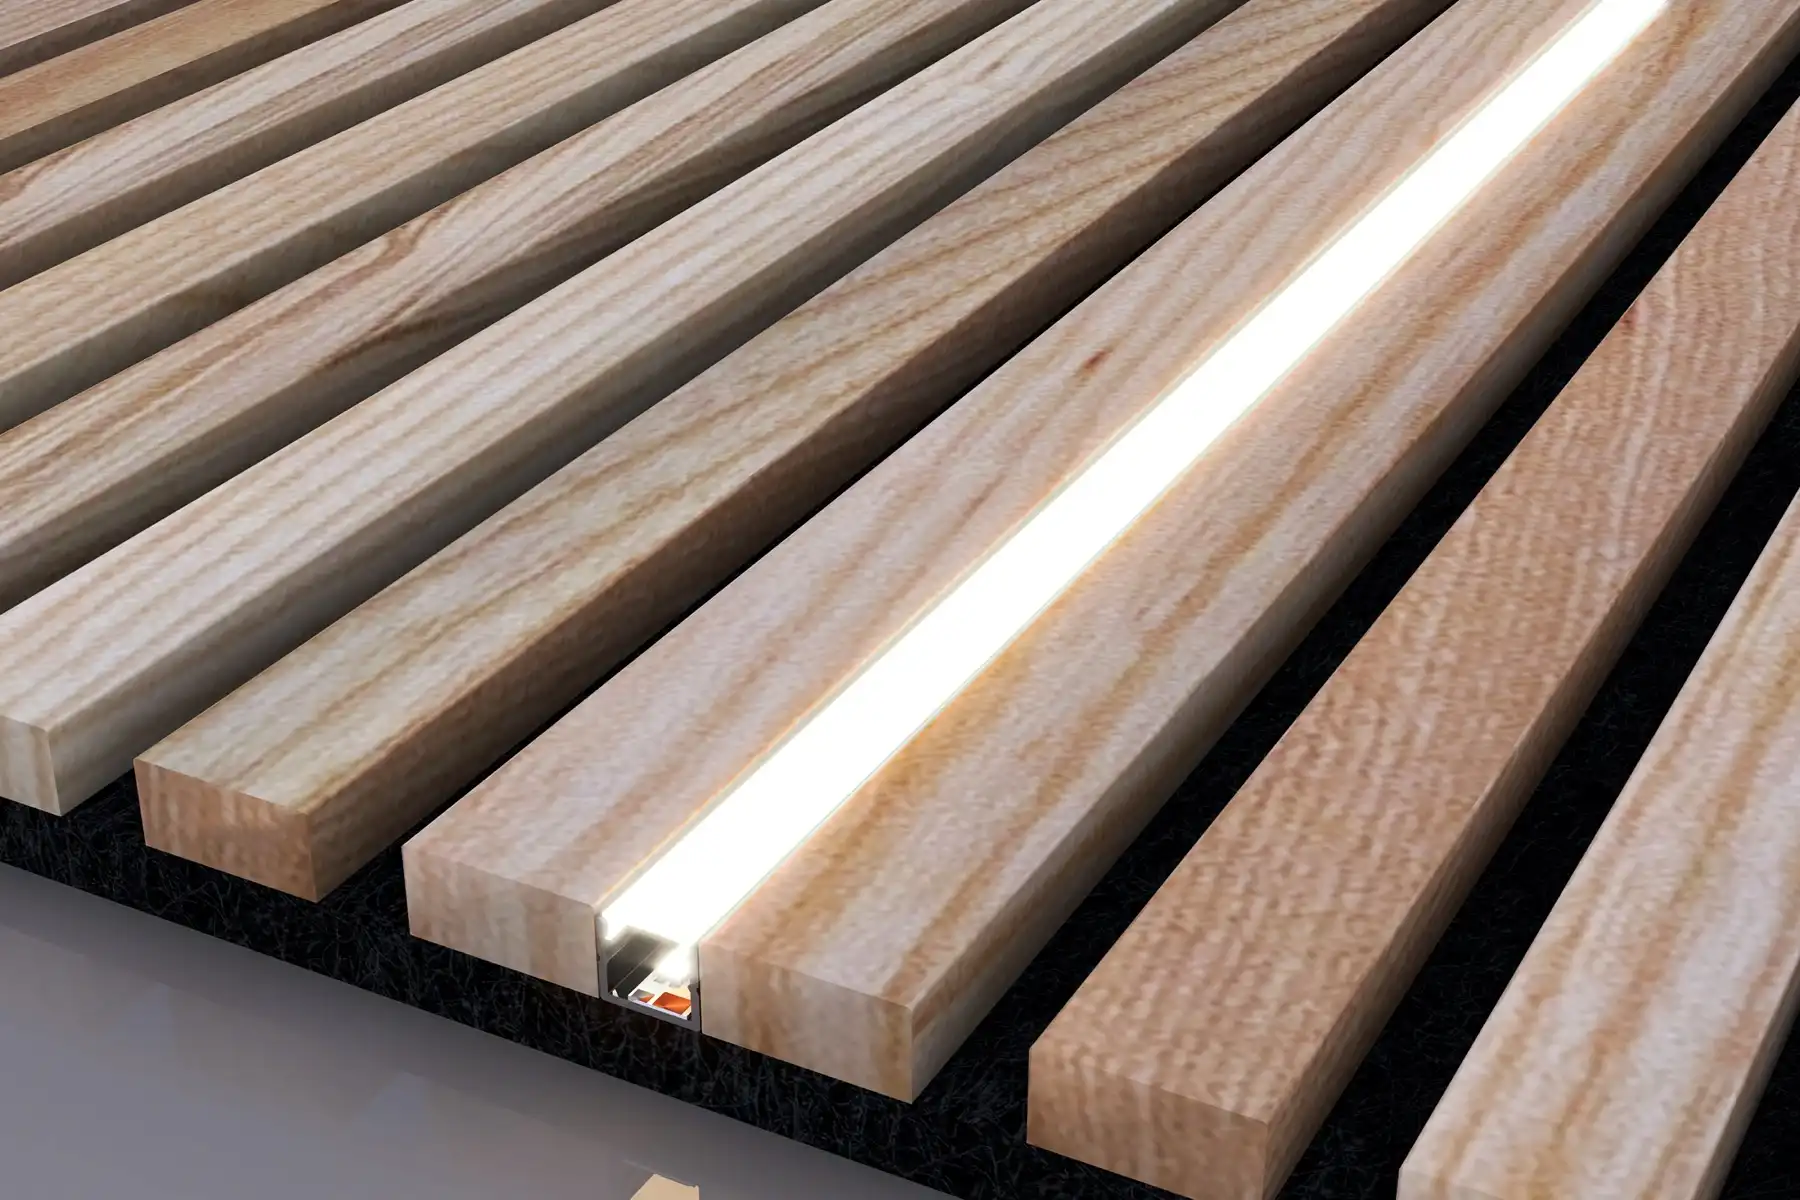
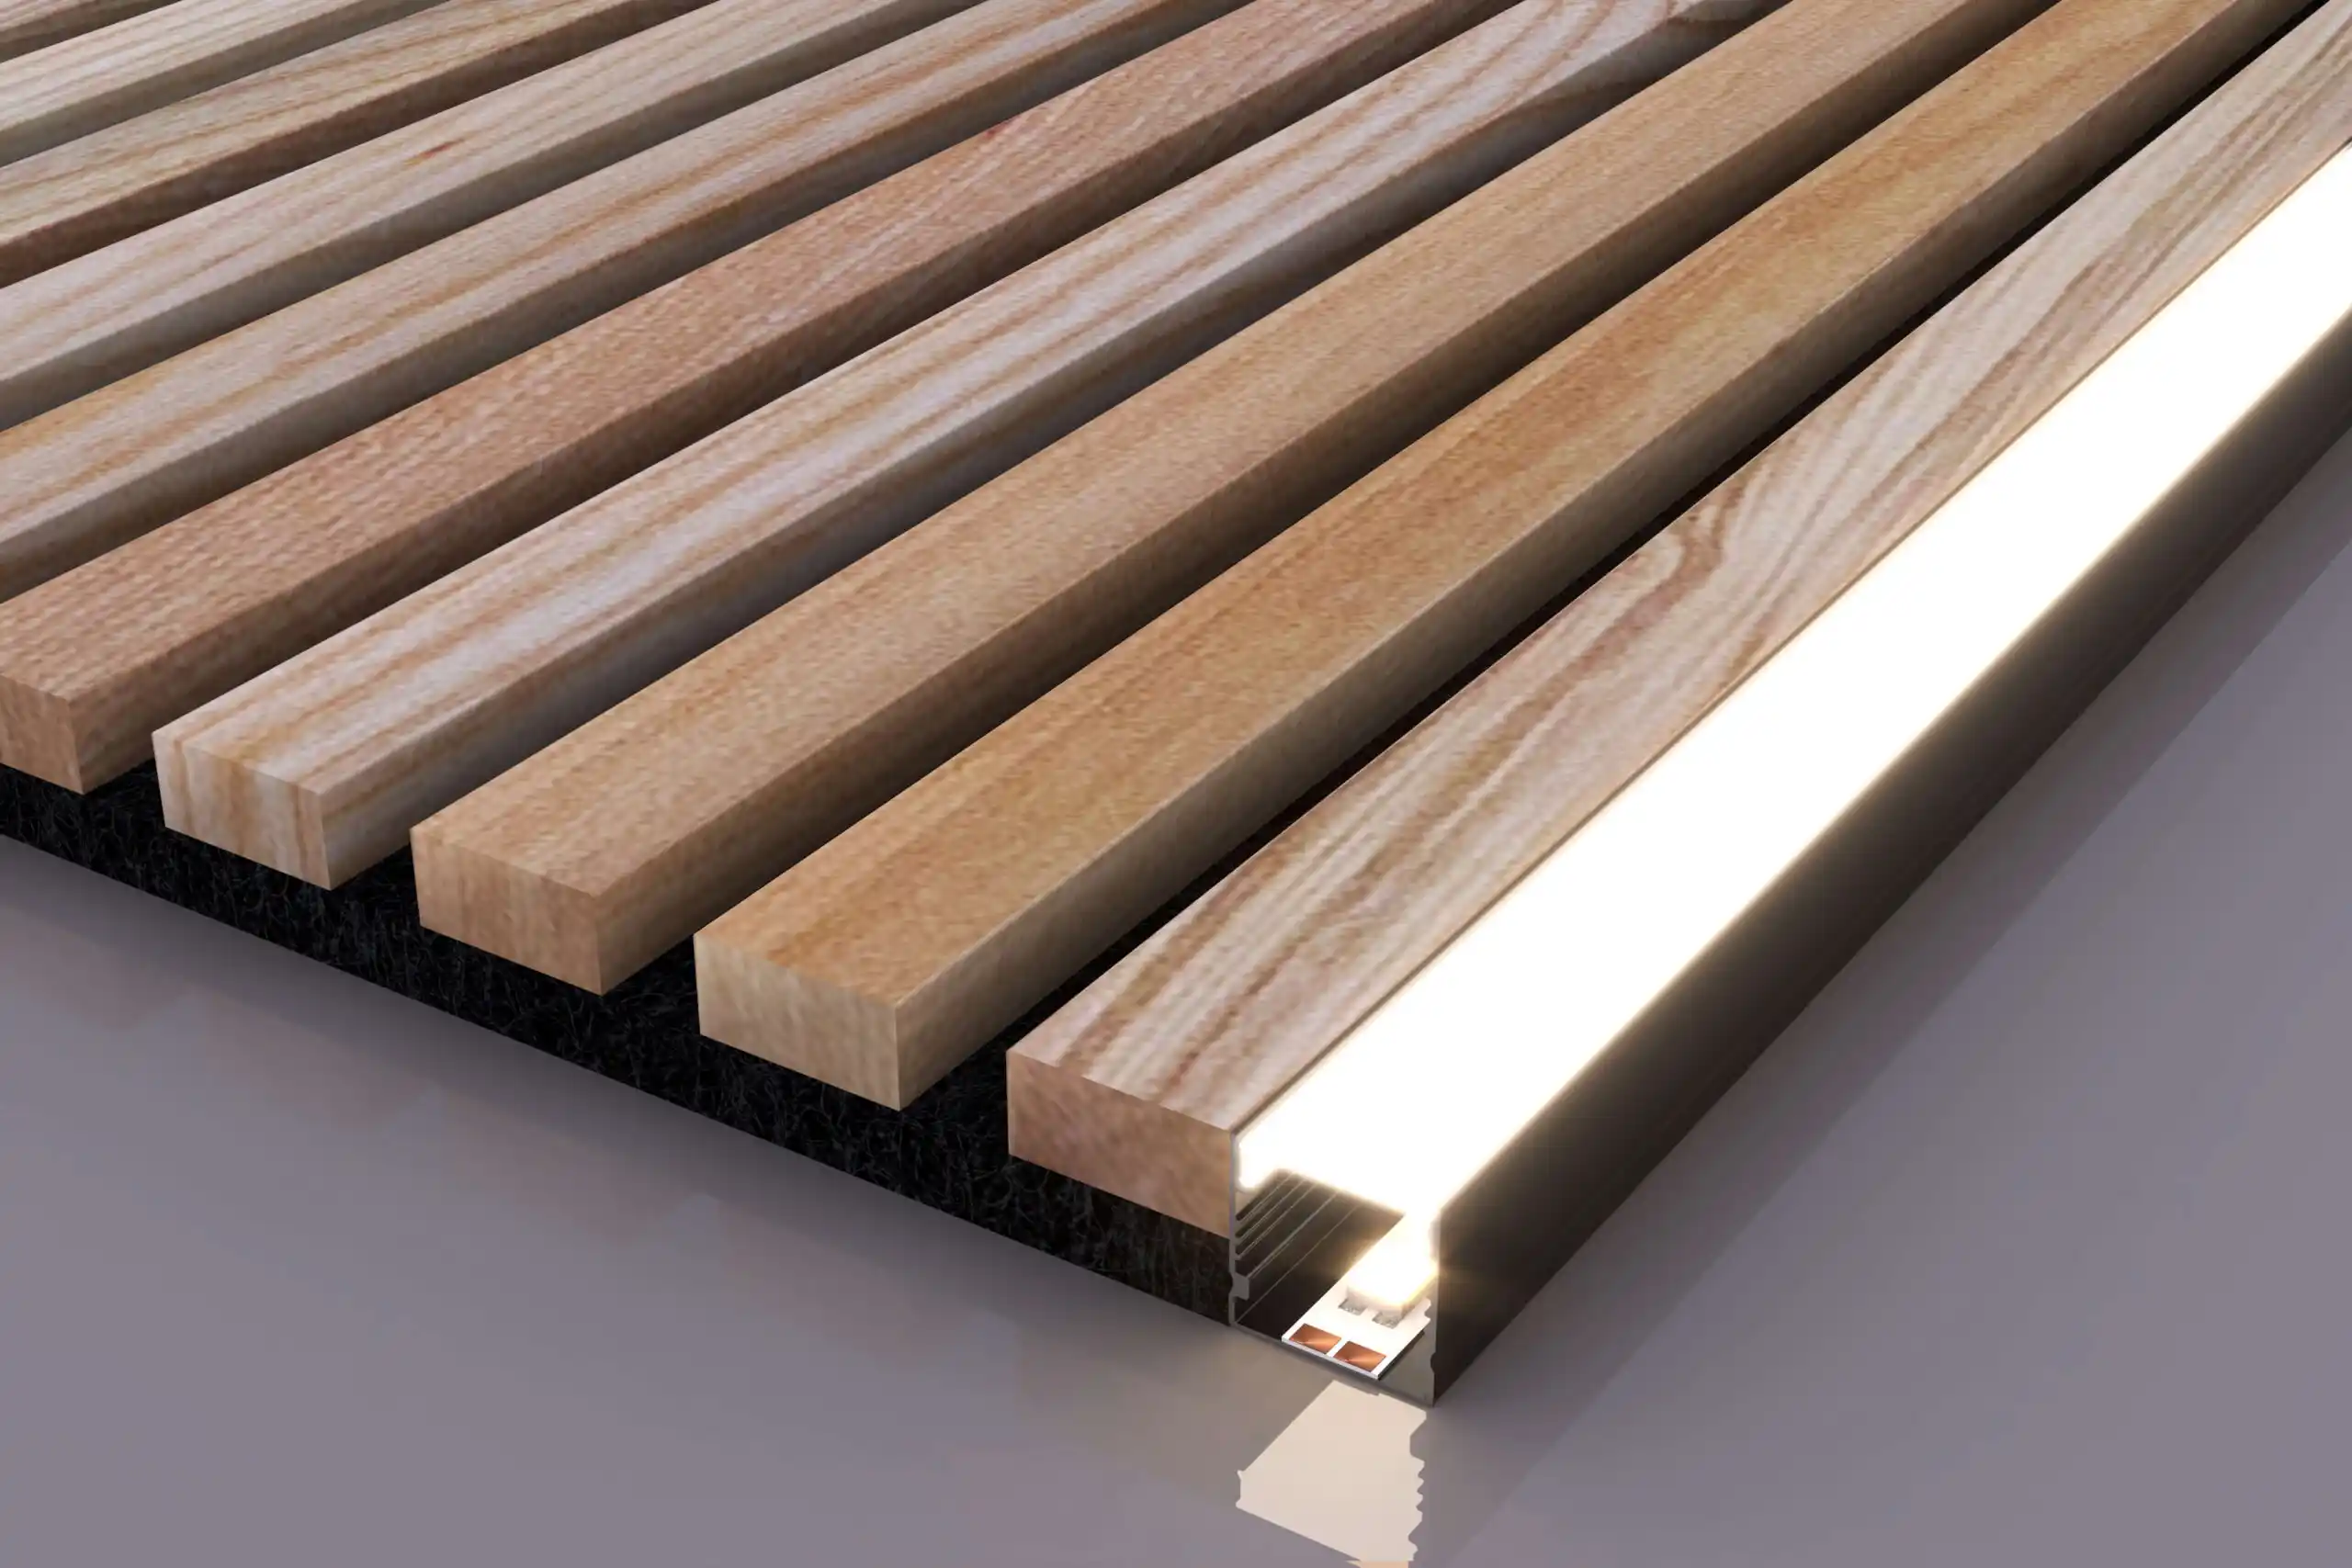
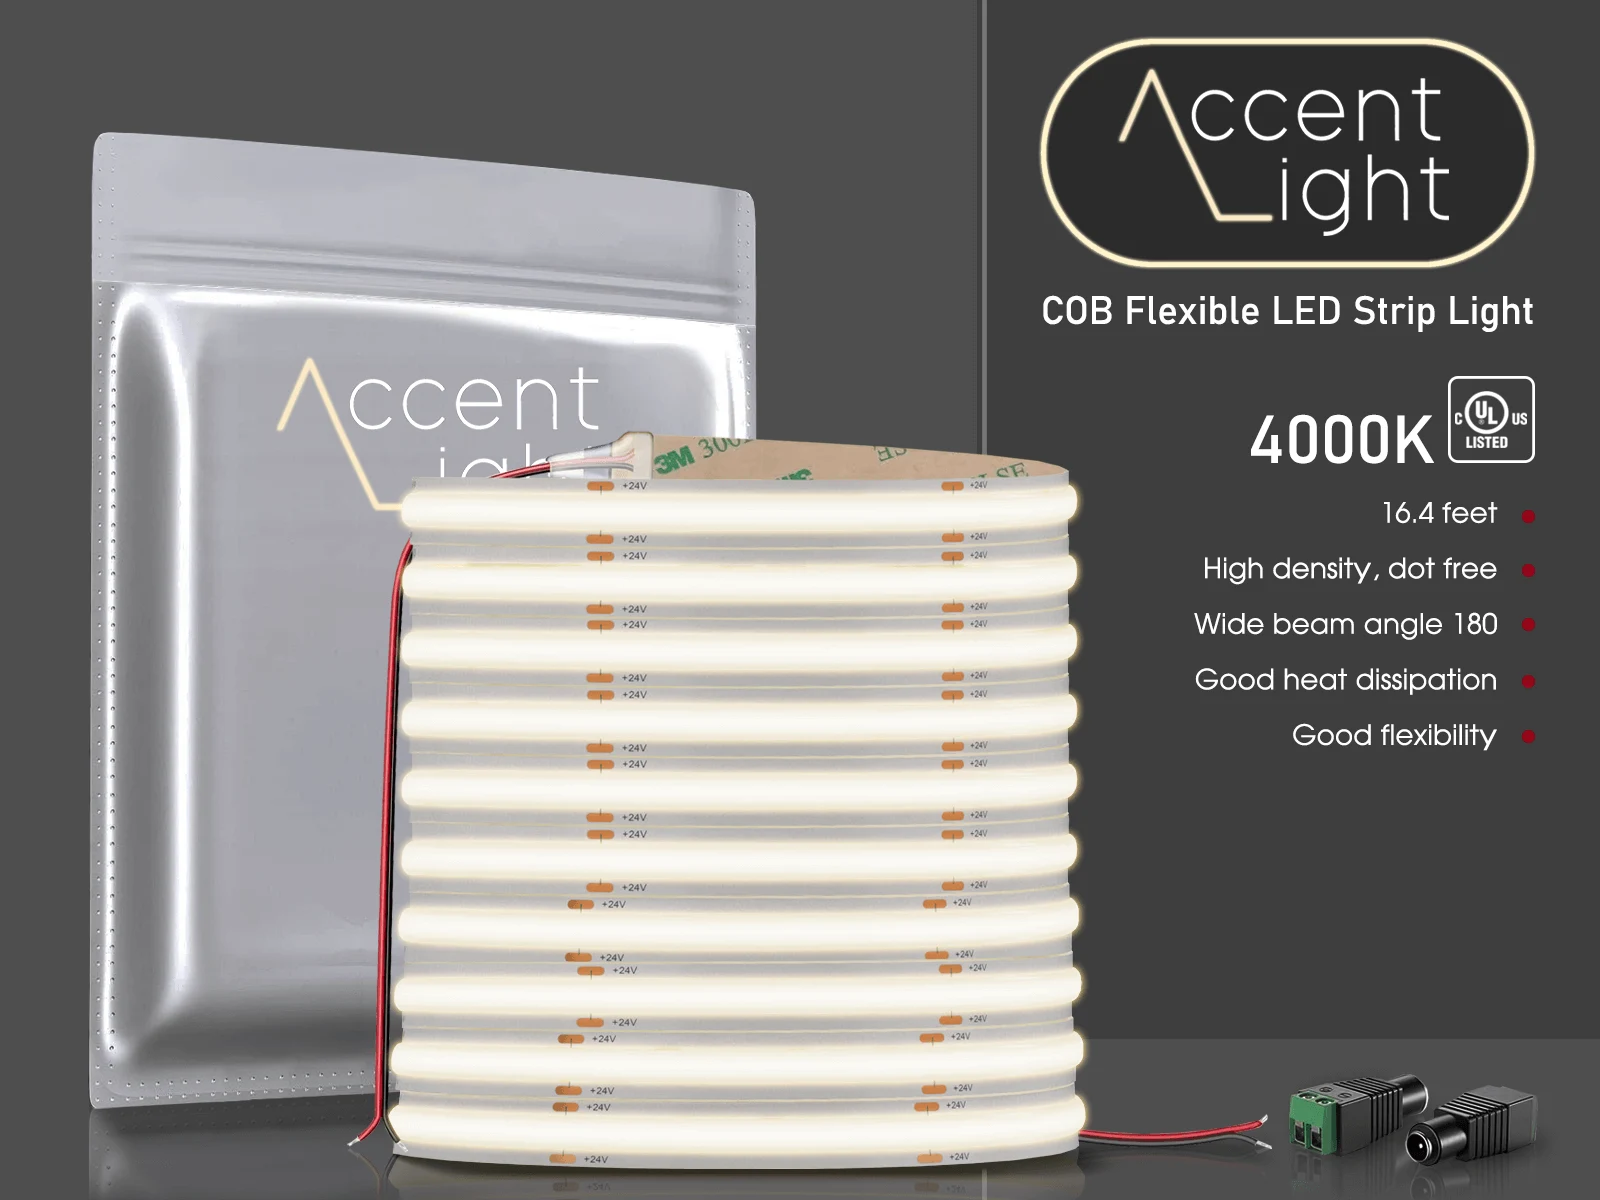
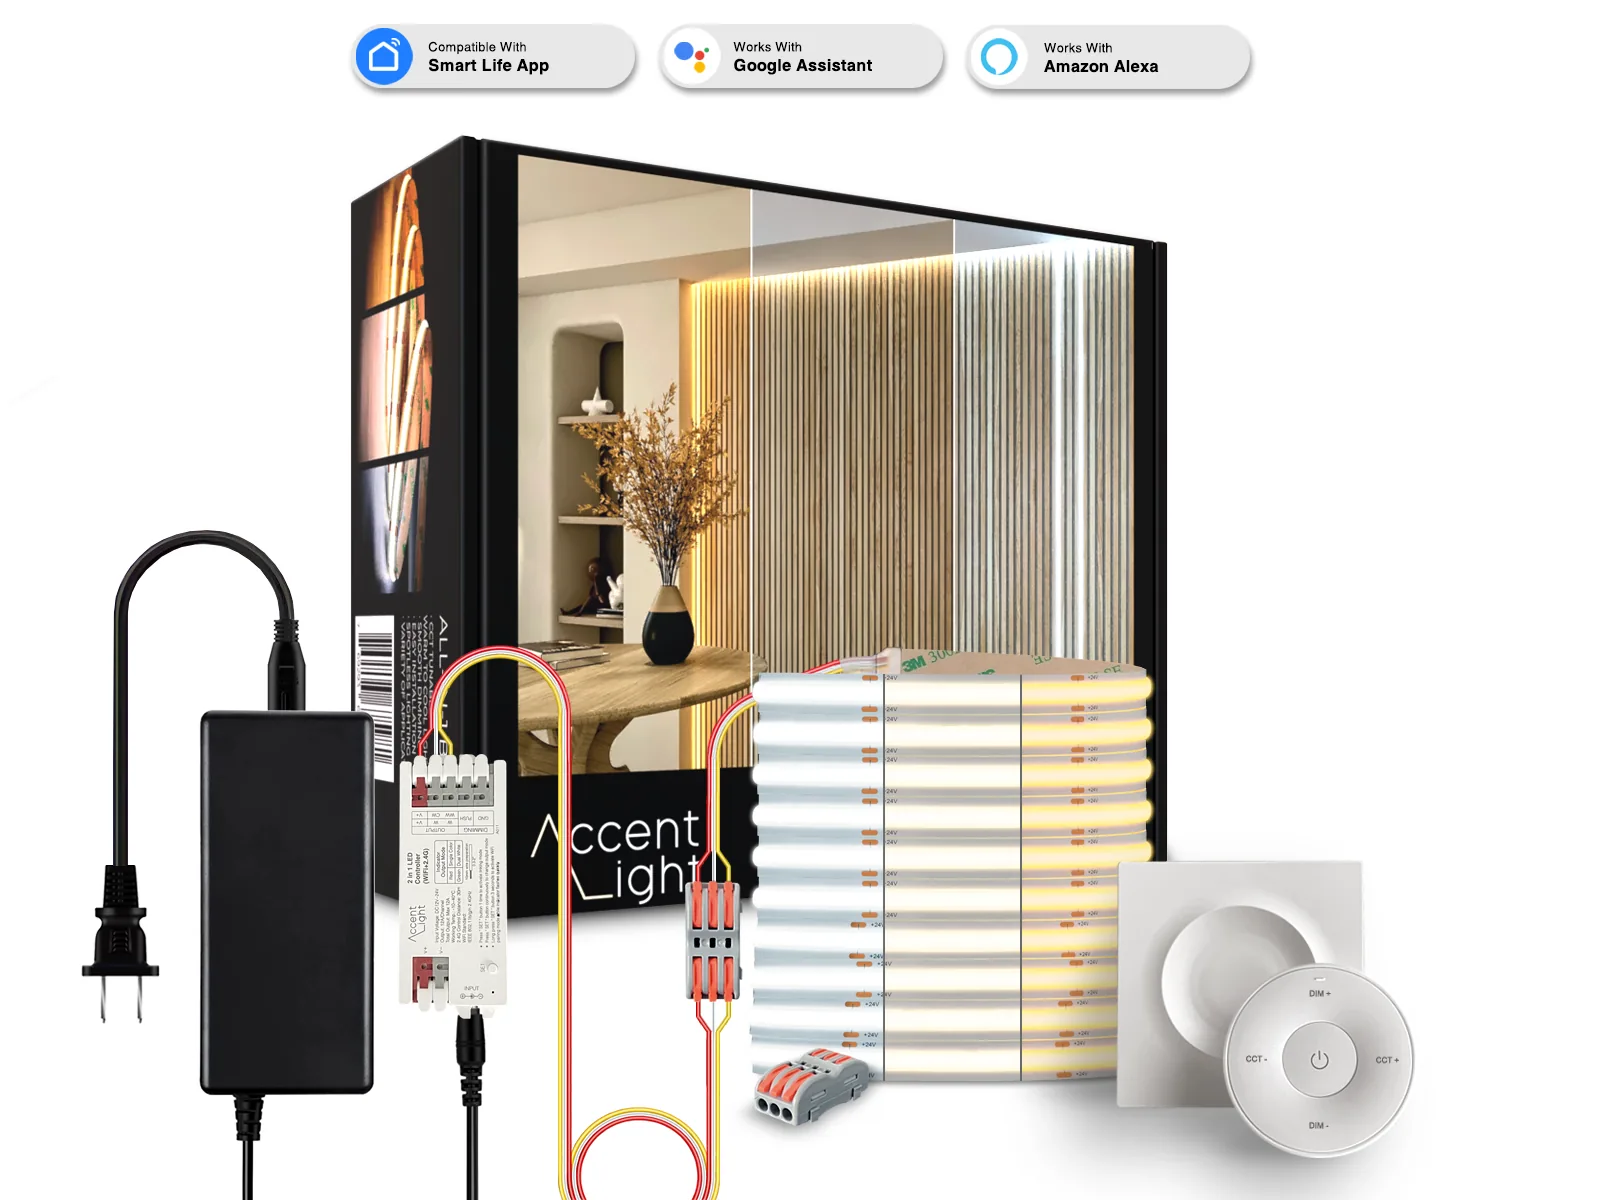
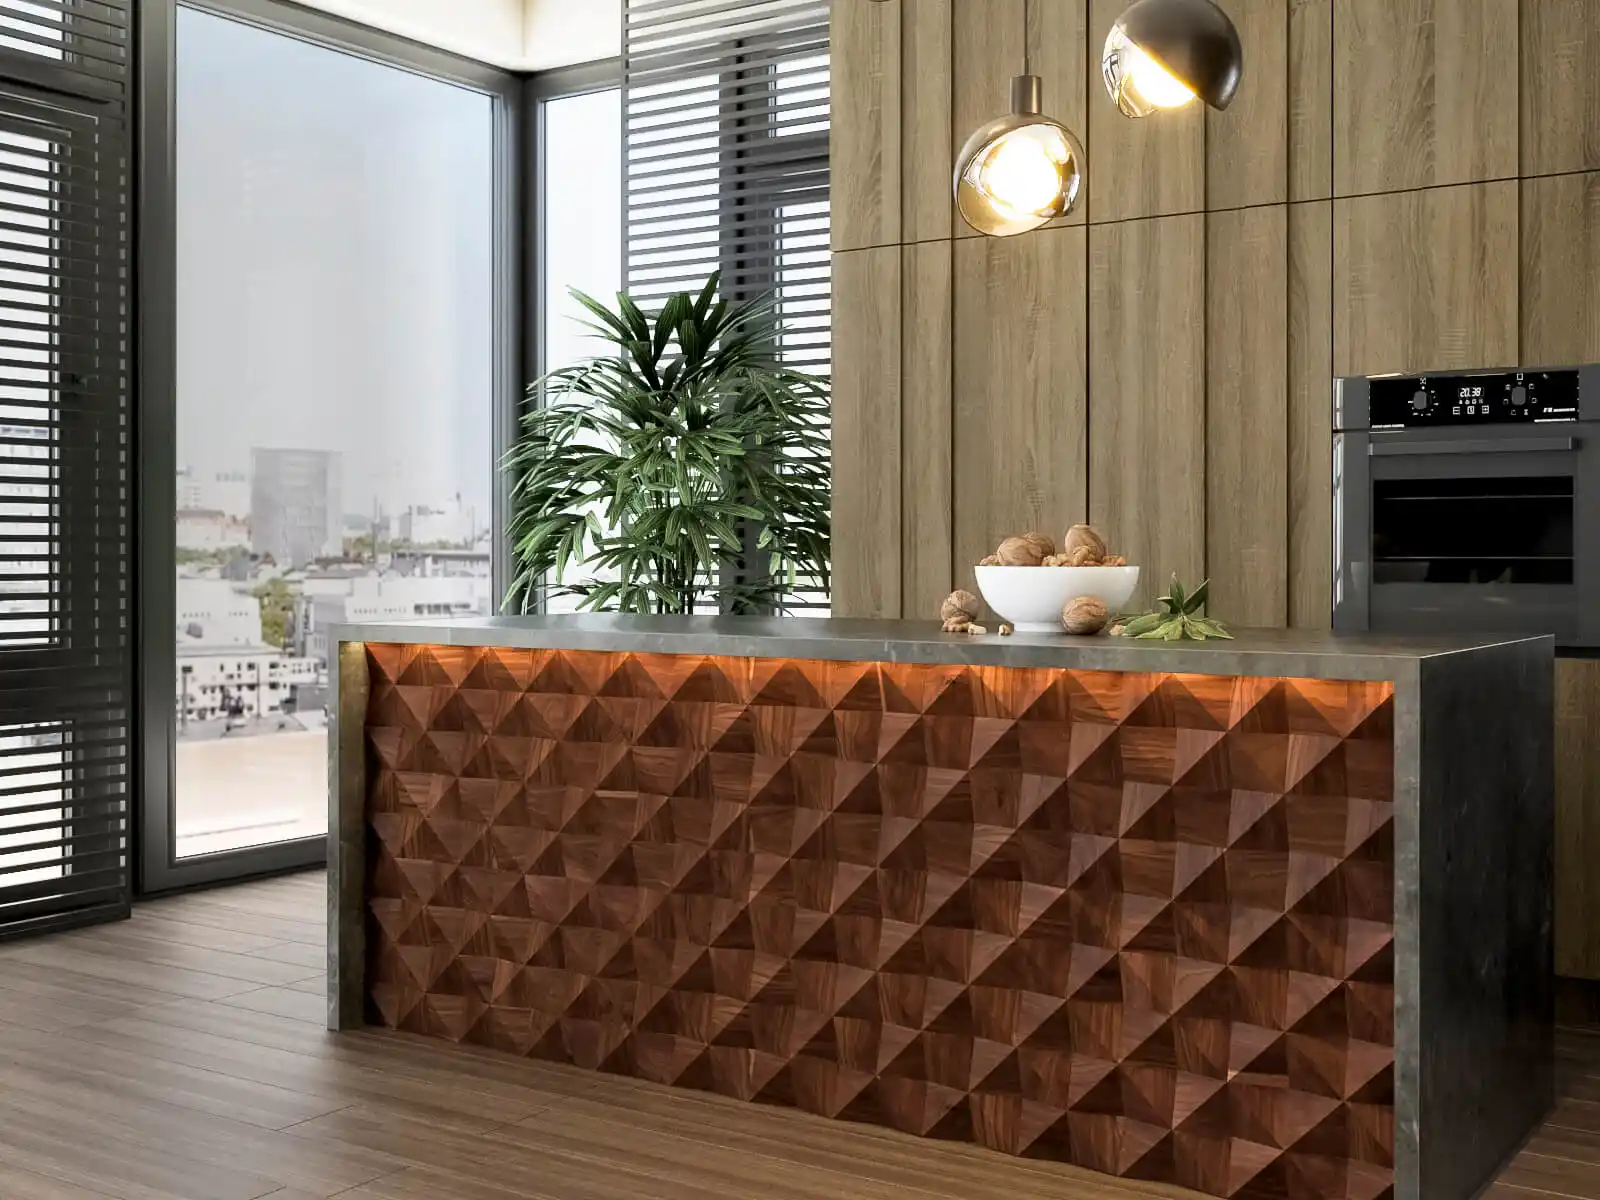
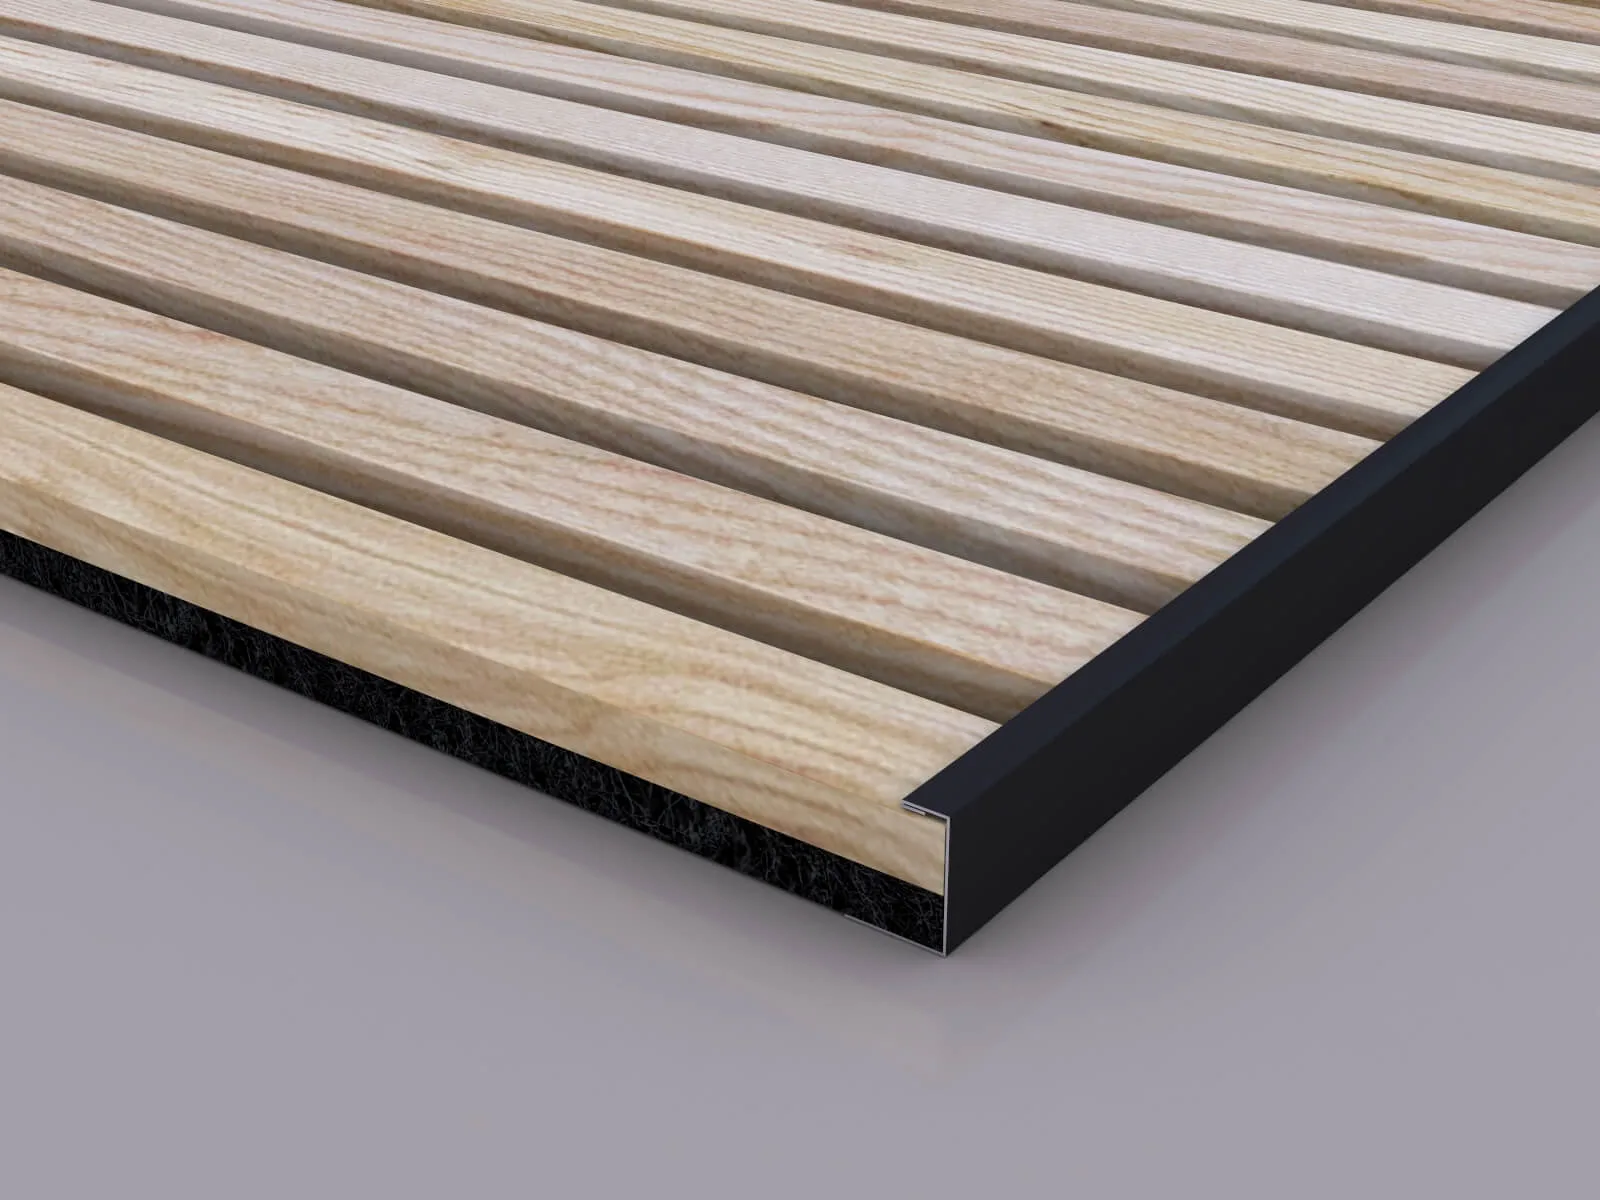
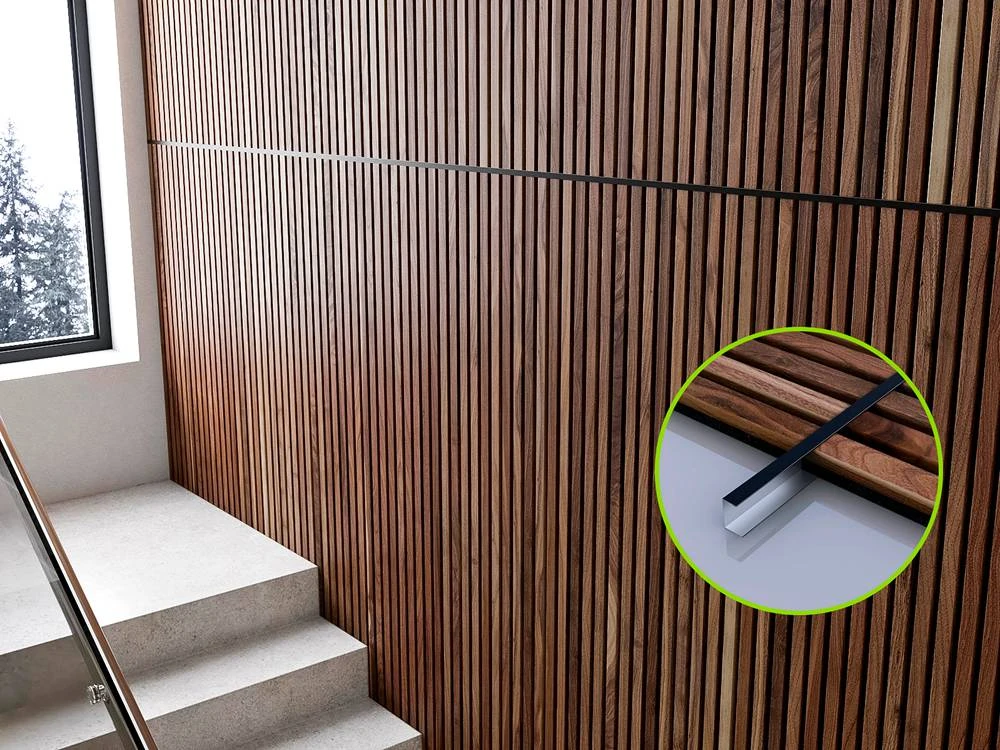
Woody Walls offers LED channels as a stylish solution for covering panel seams. The best thing is that you will have ambient light that fits your room’s atmosphere with those channels.
Our 47-inch channels have a sleek ¾-inch profile. You just need to cut each channel to size, screw it into place, and attach your LED strip. Then, snap on the black plastic cover. Finally, finish with the included end plugs for a clean look. This way, these channels can hide seams. You can even customize your lighting by choosing a direct beam or a soft glow.
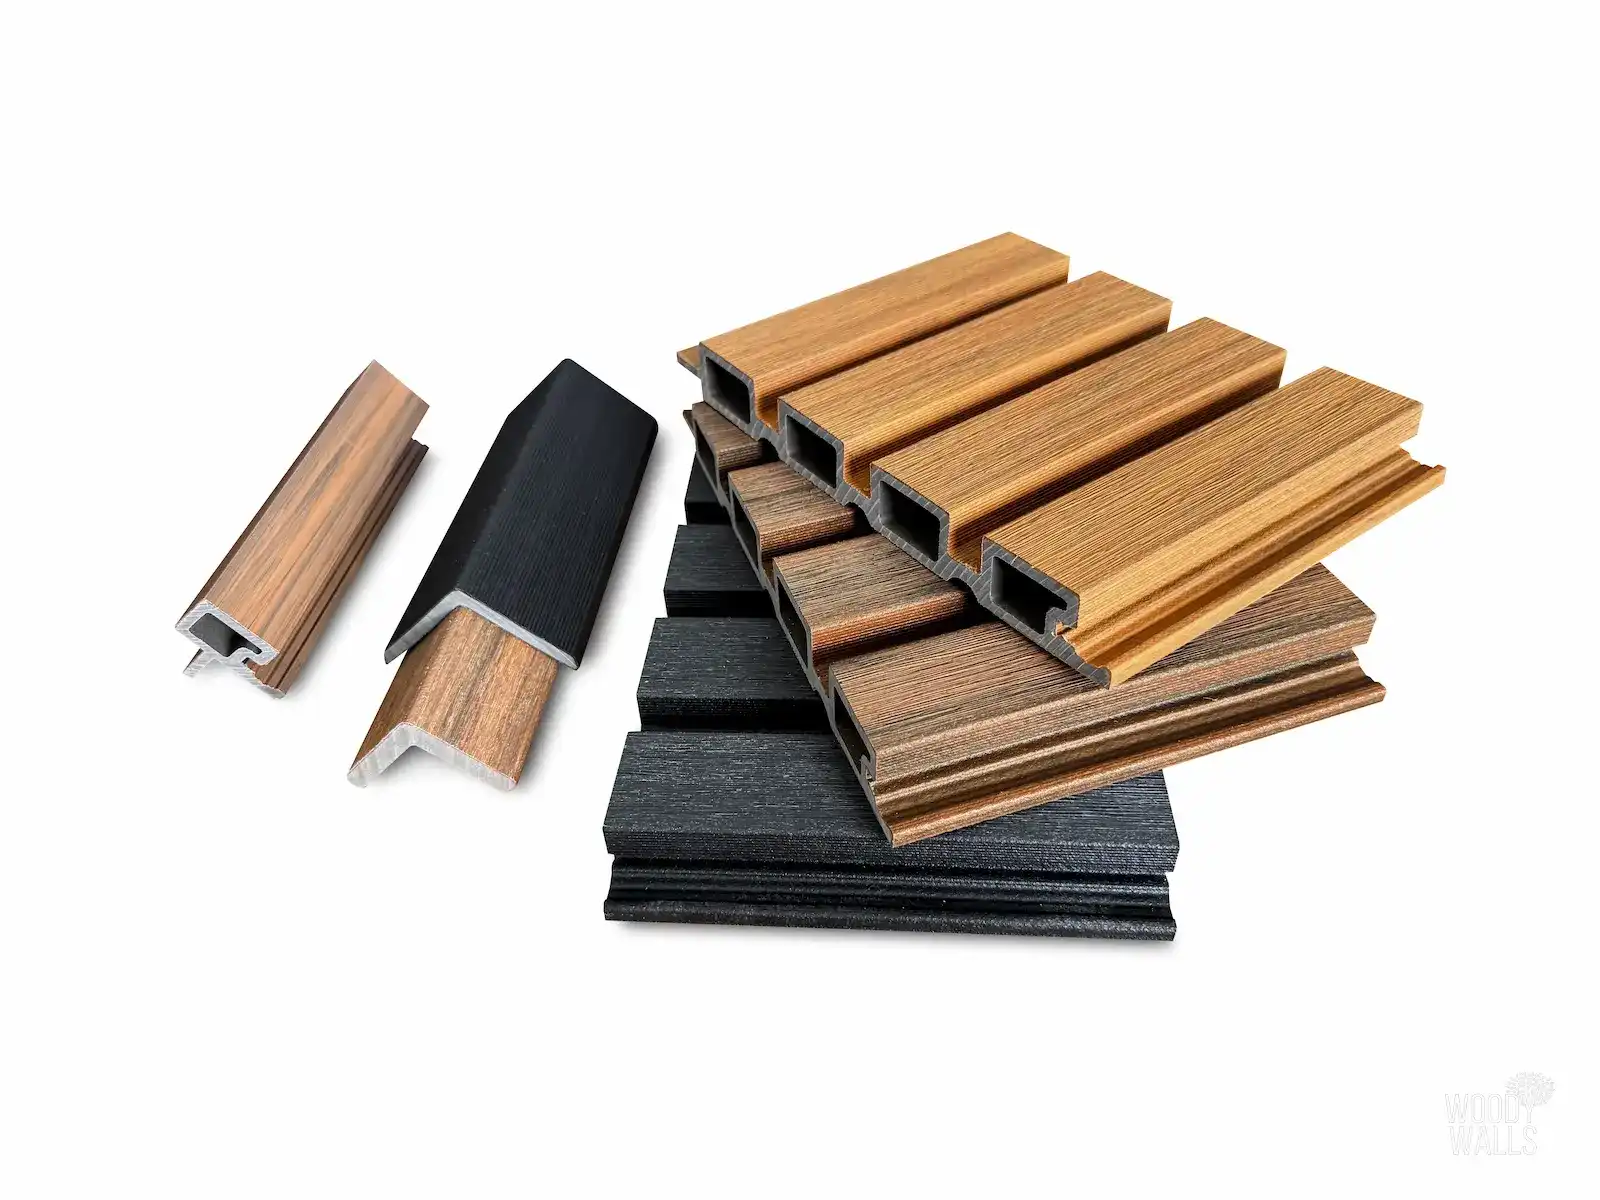
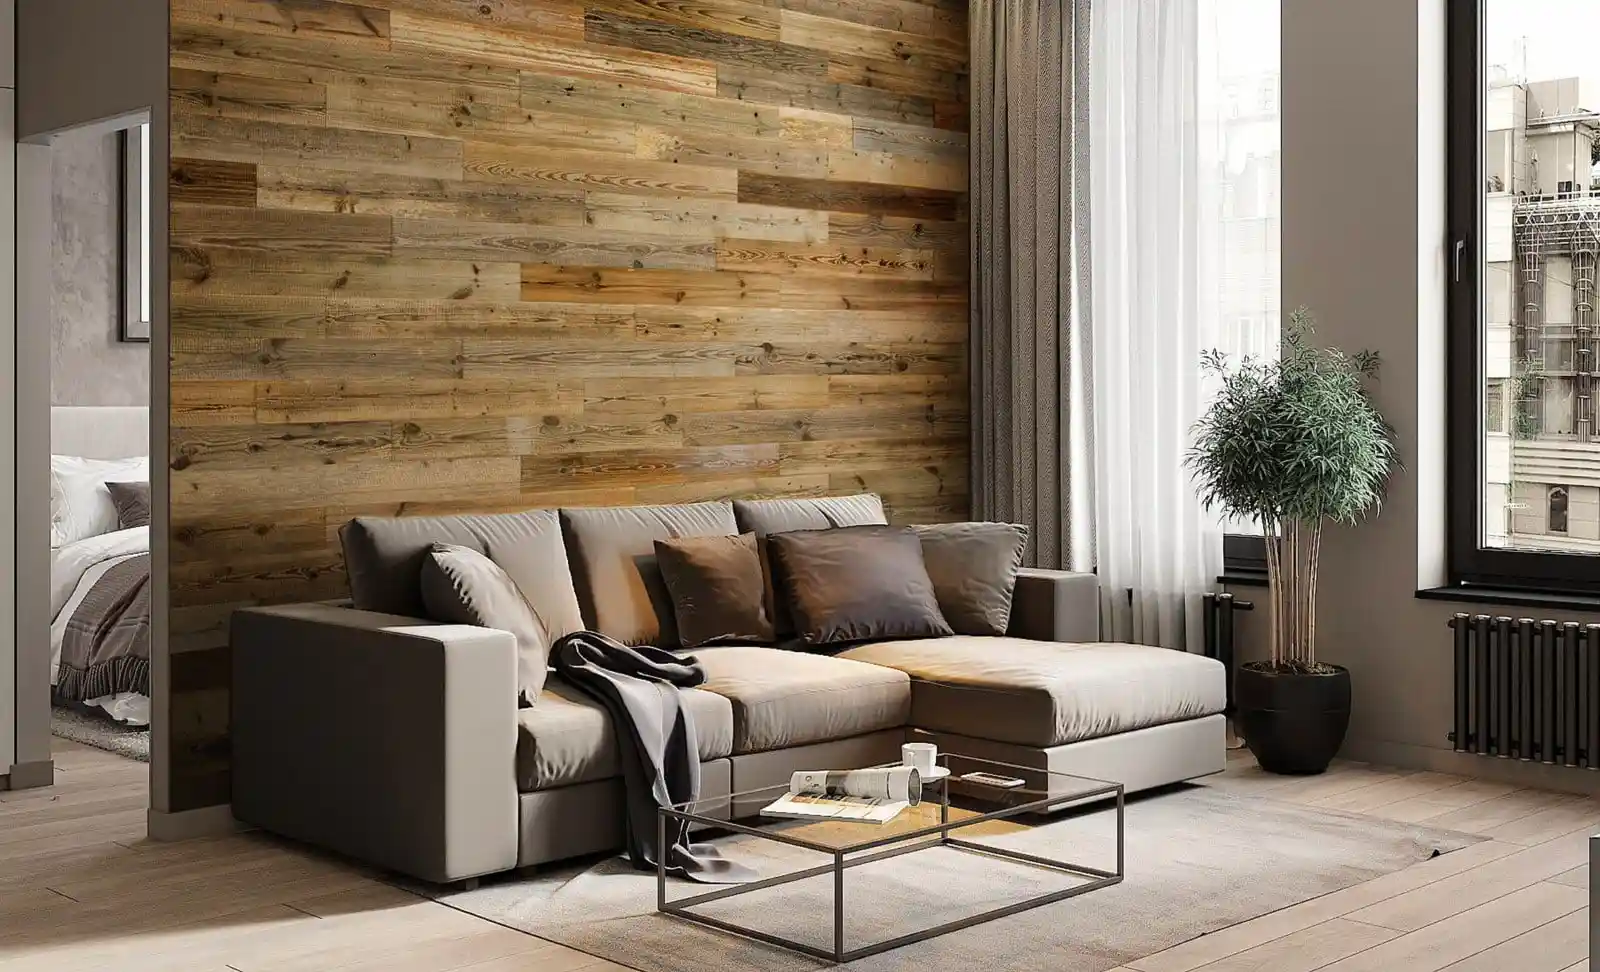
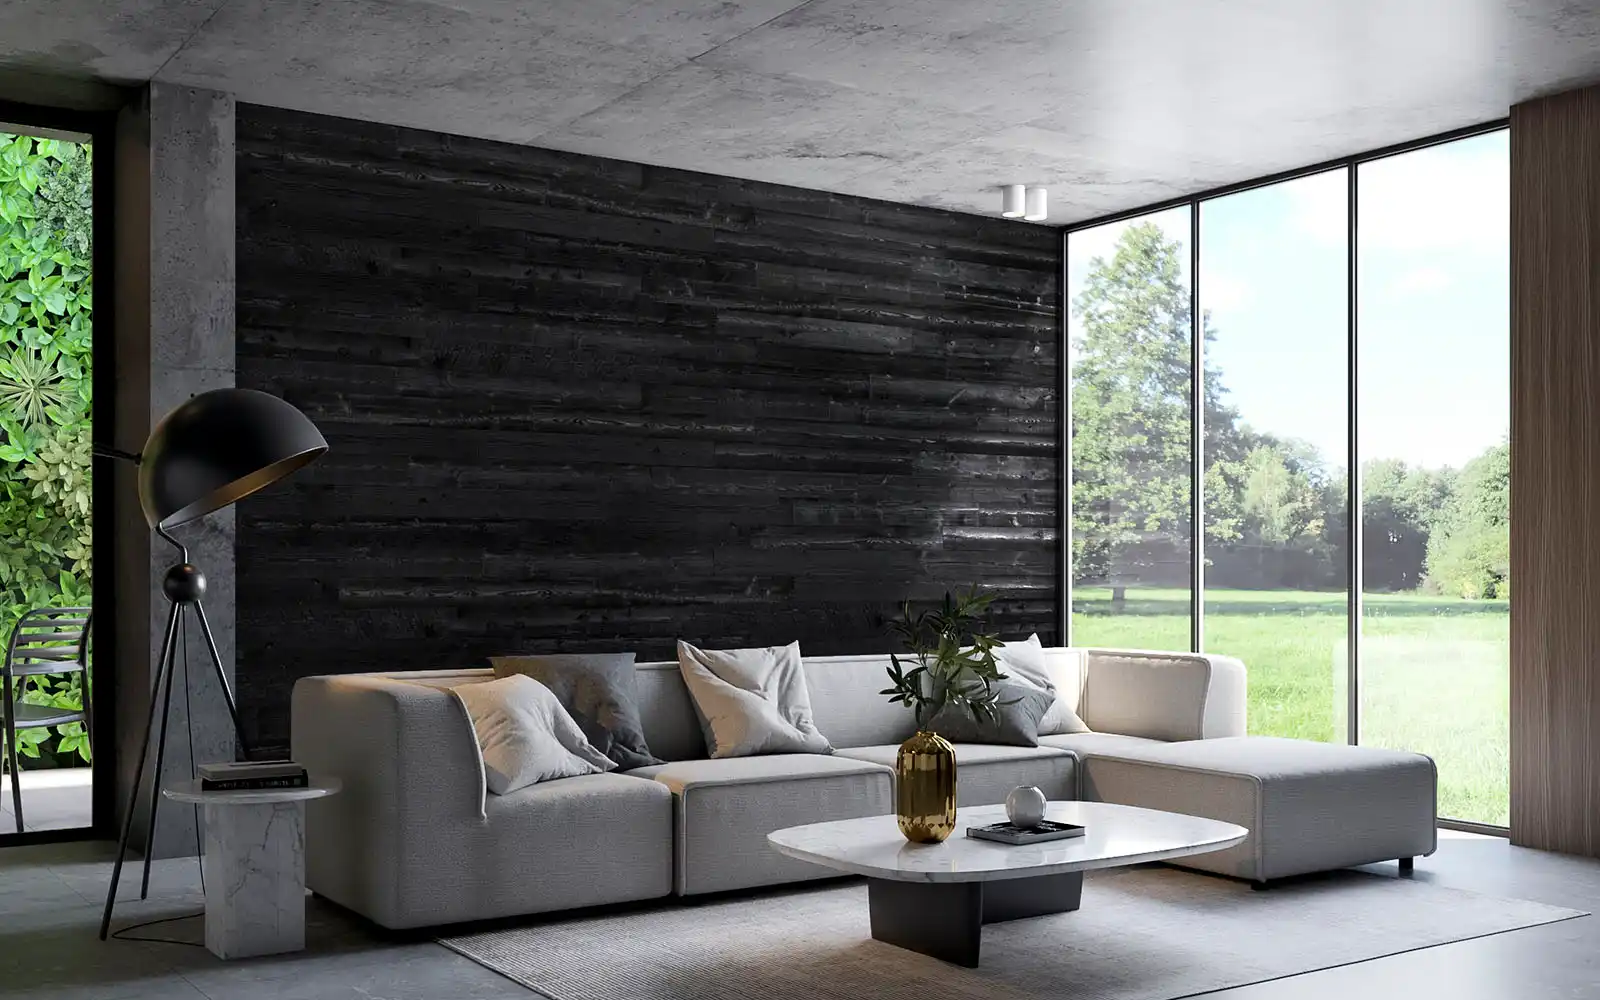
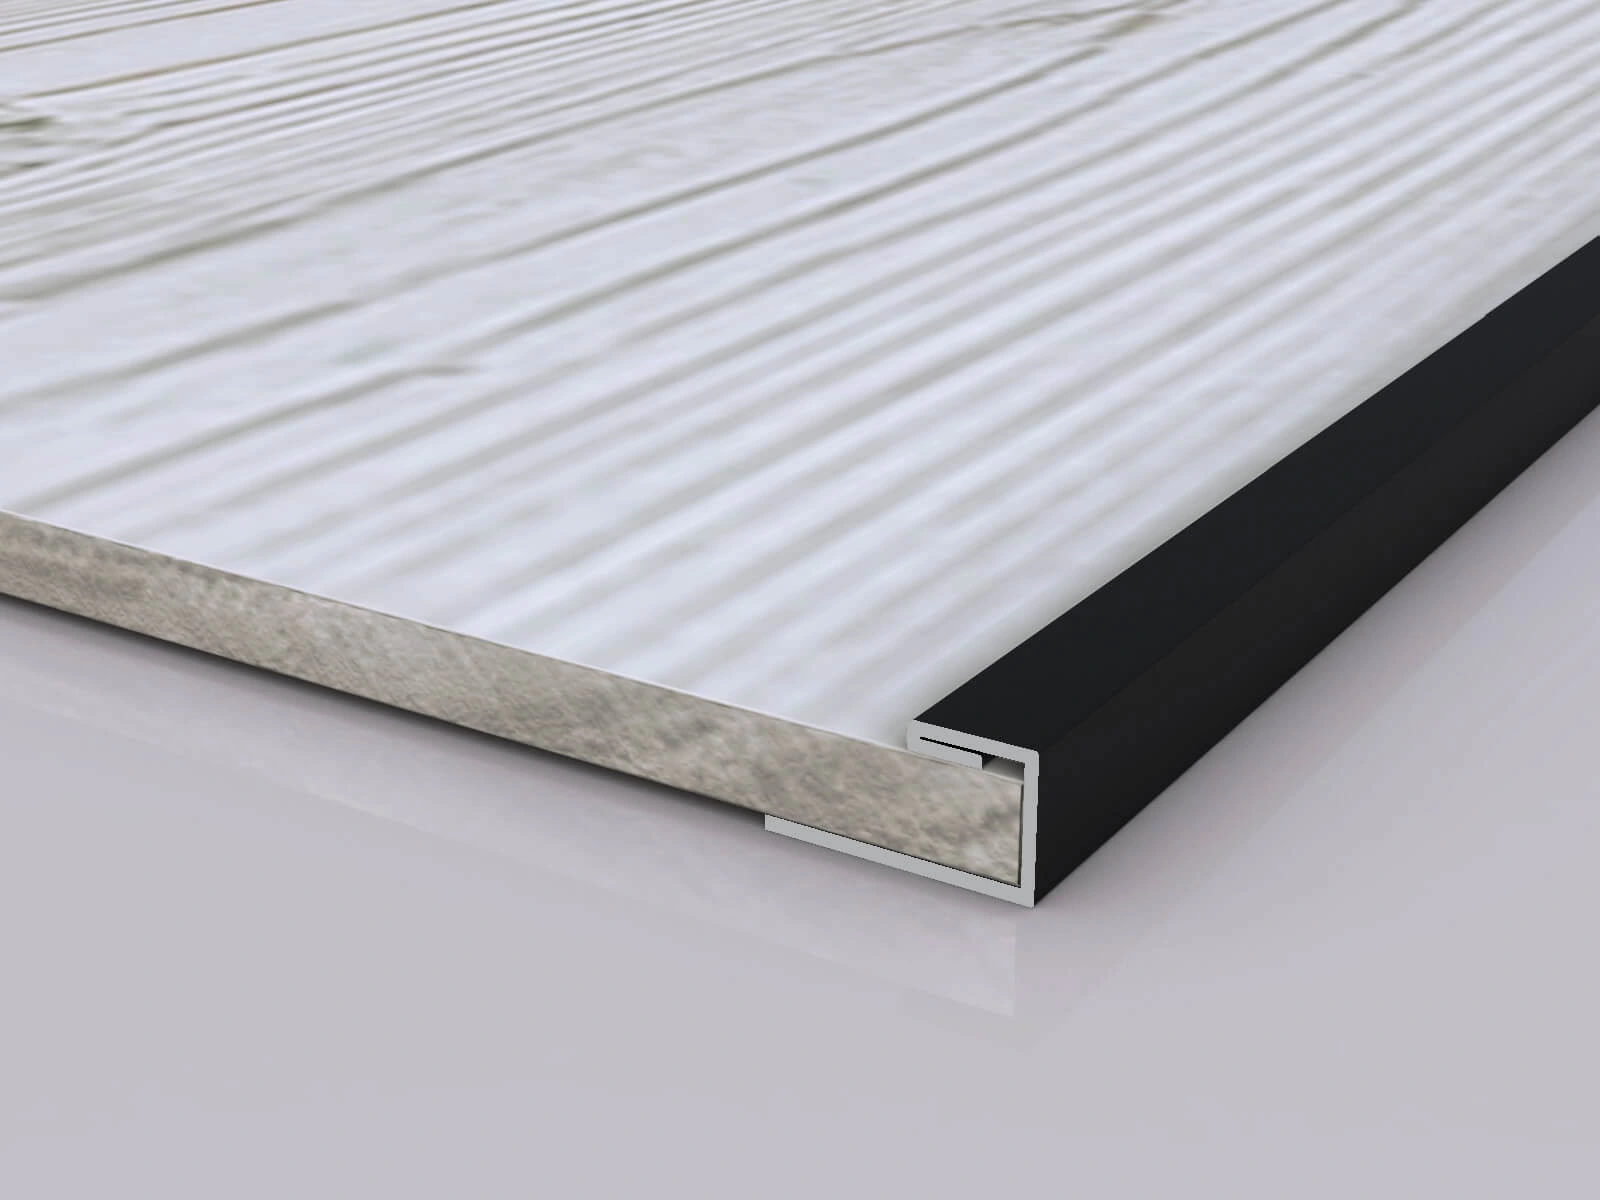
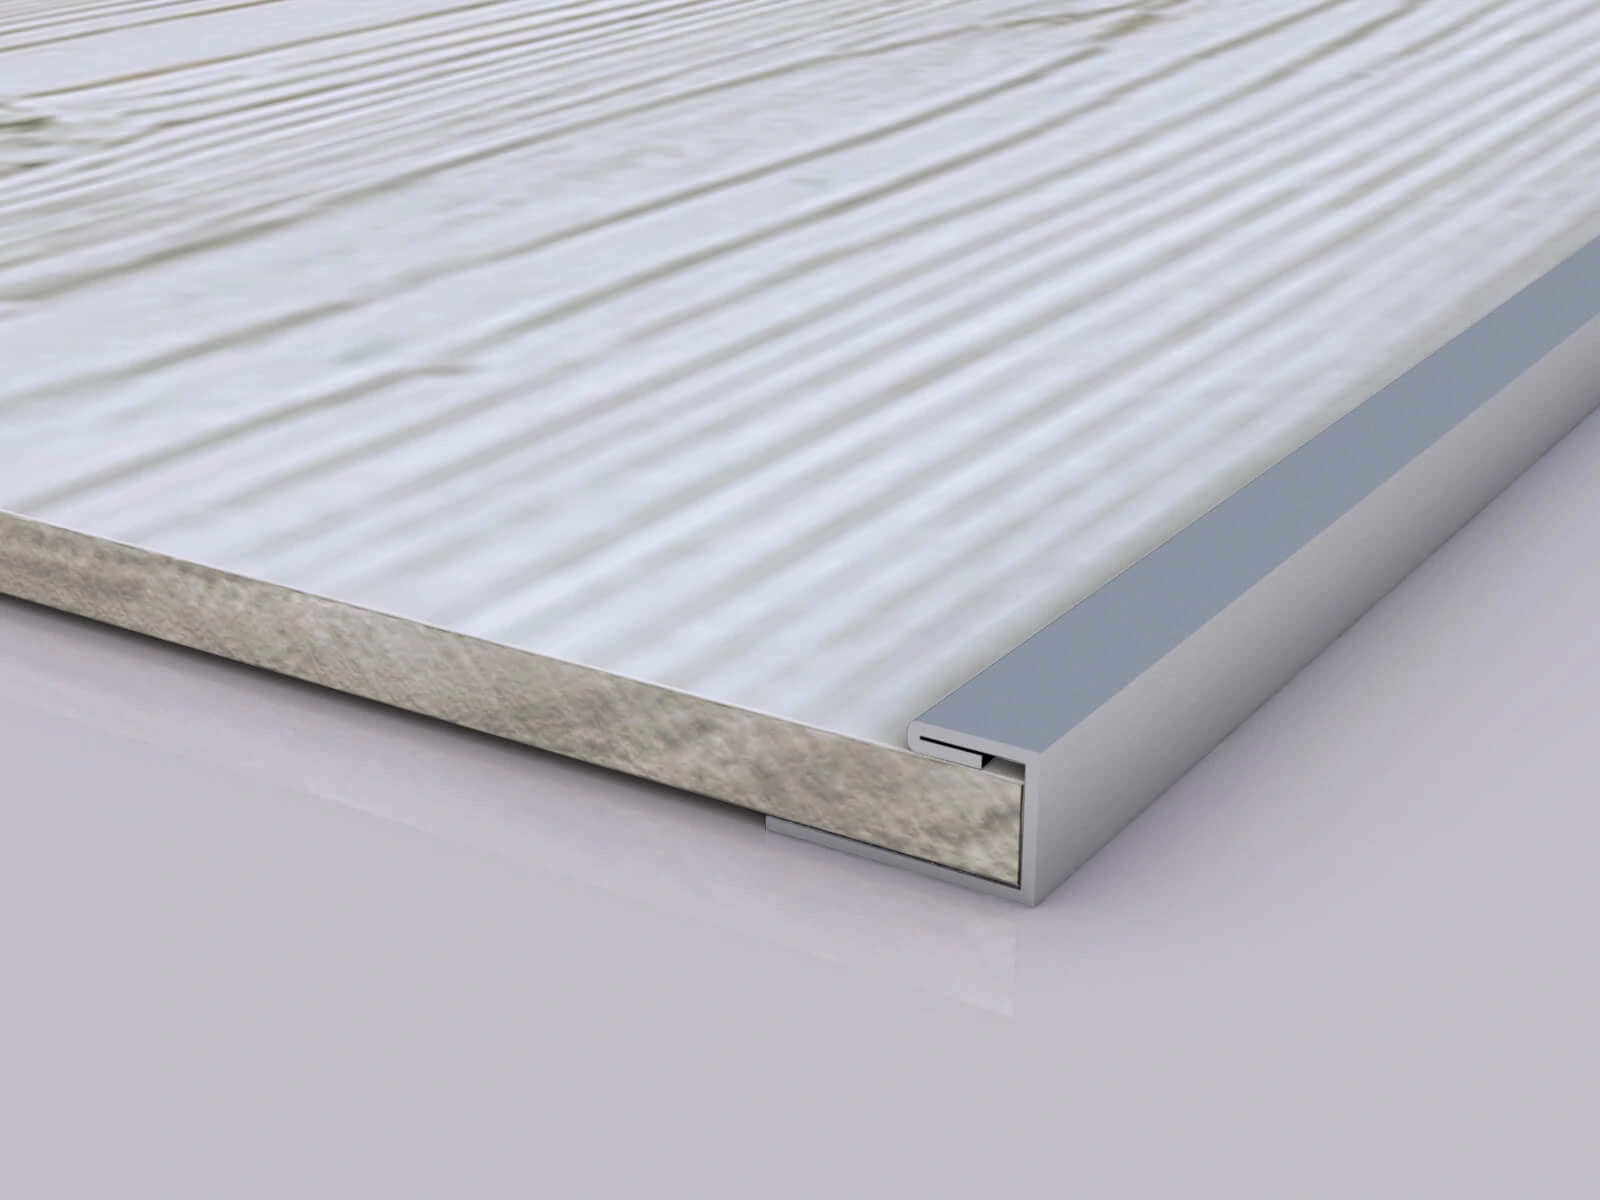
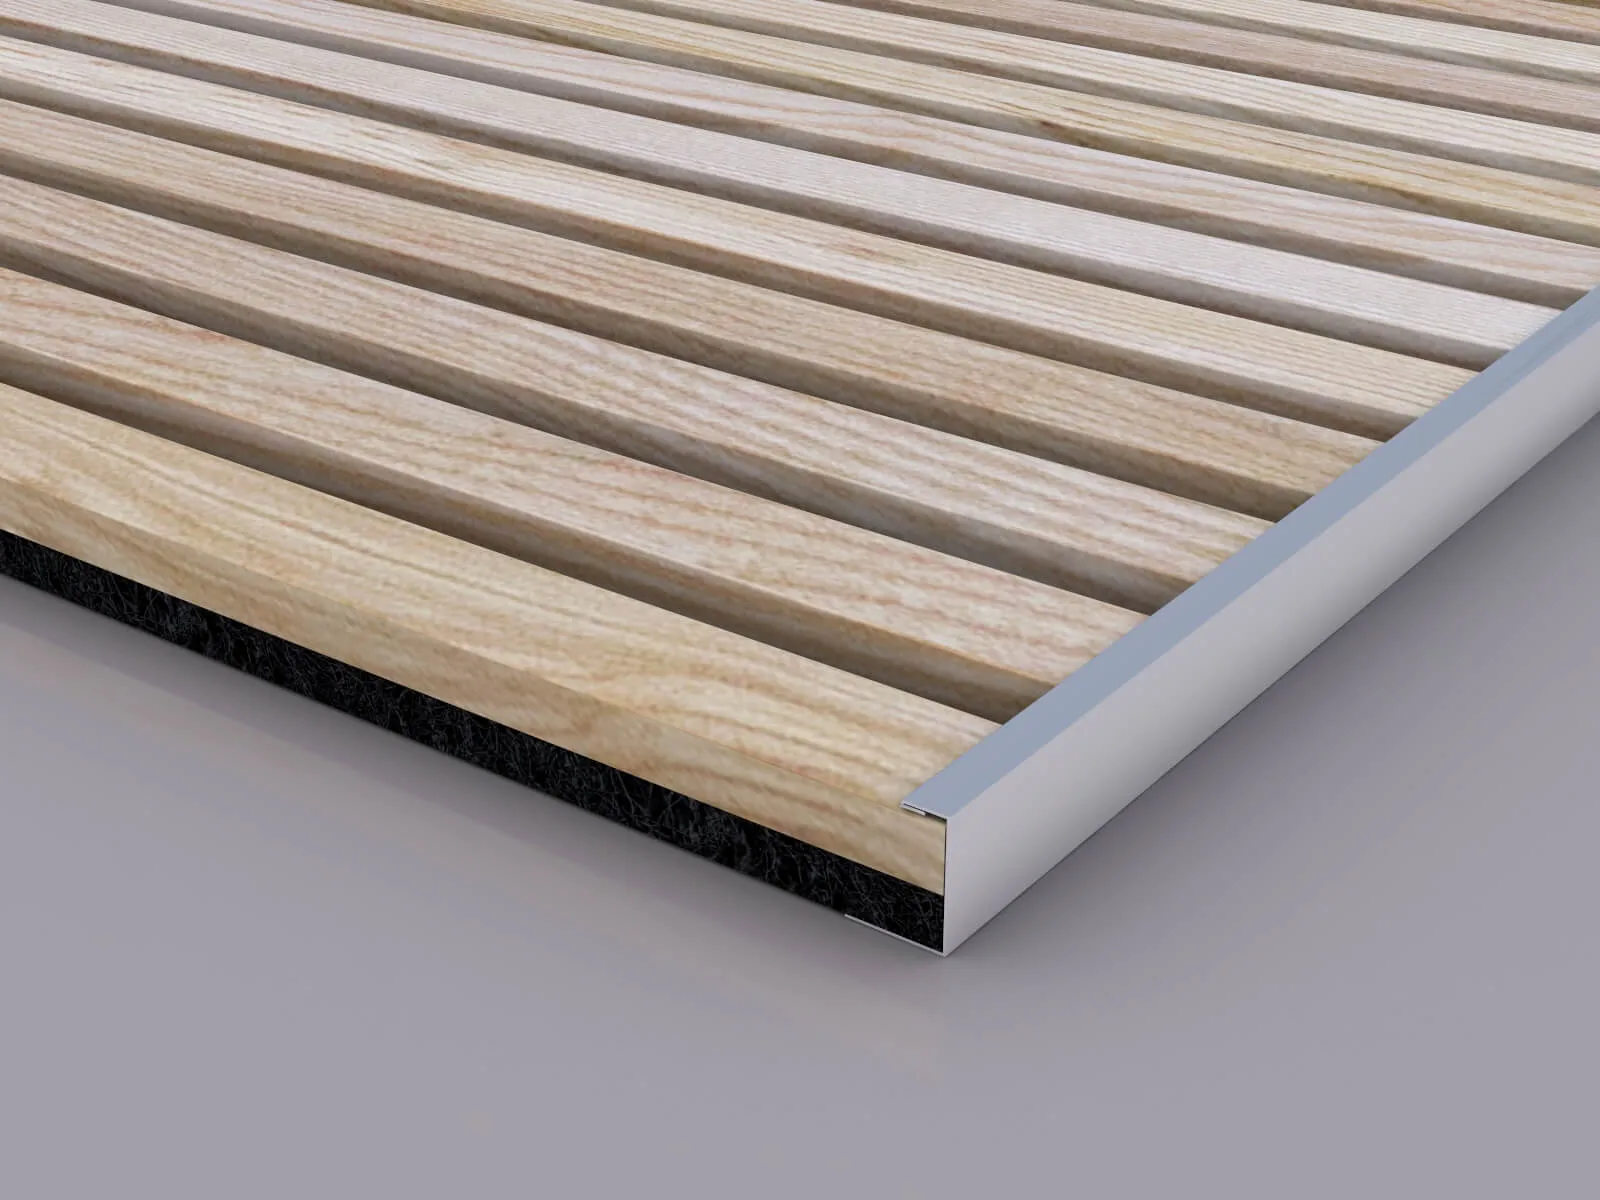
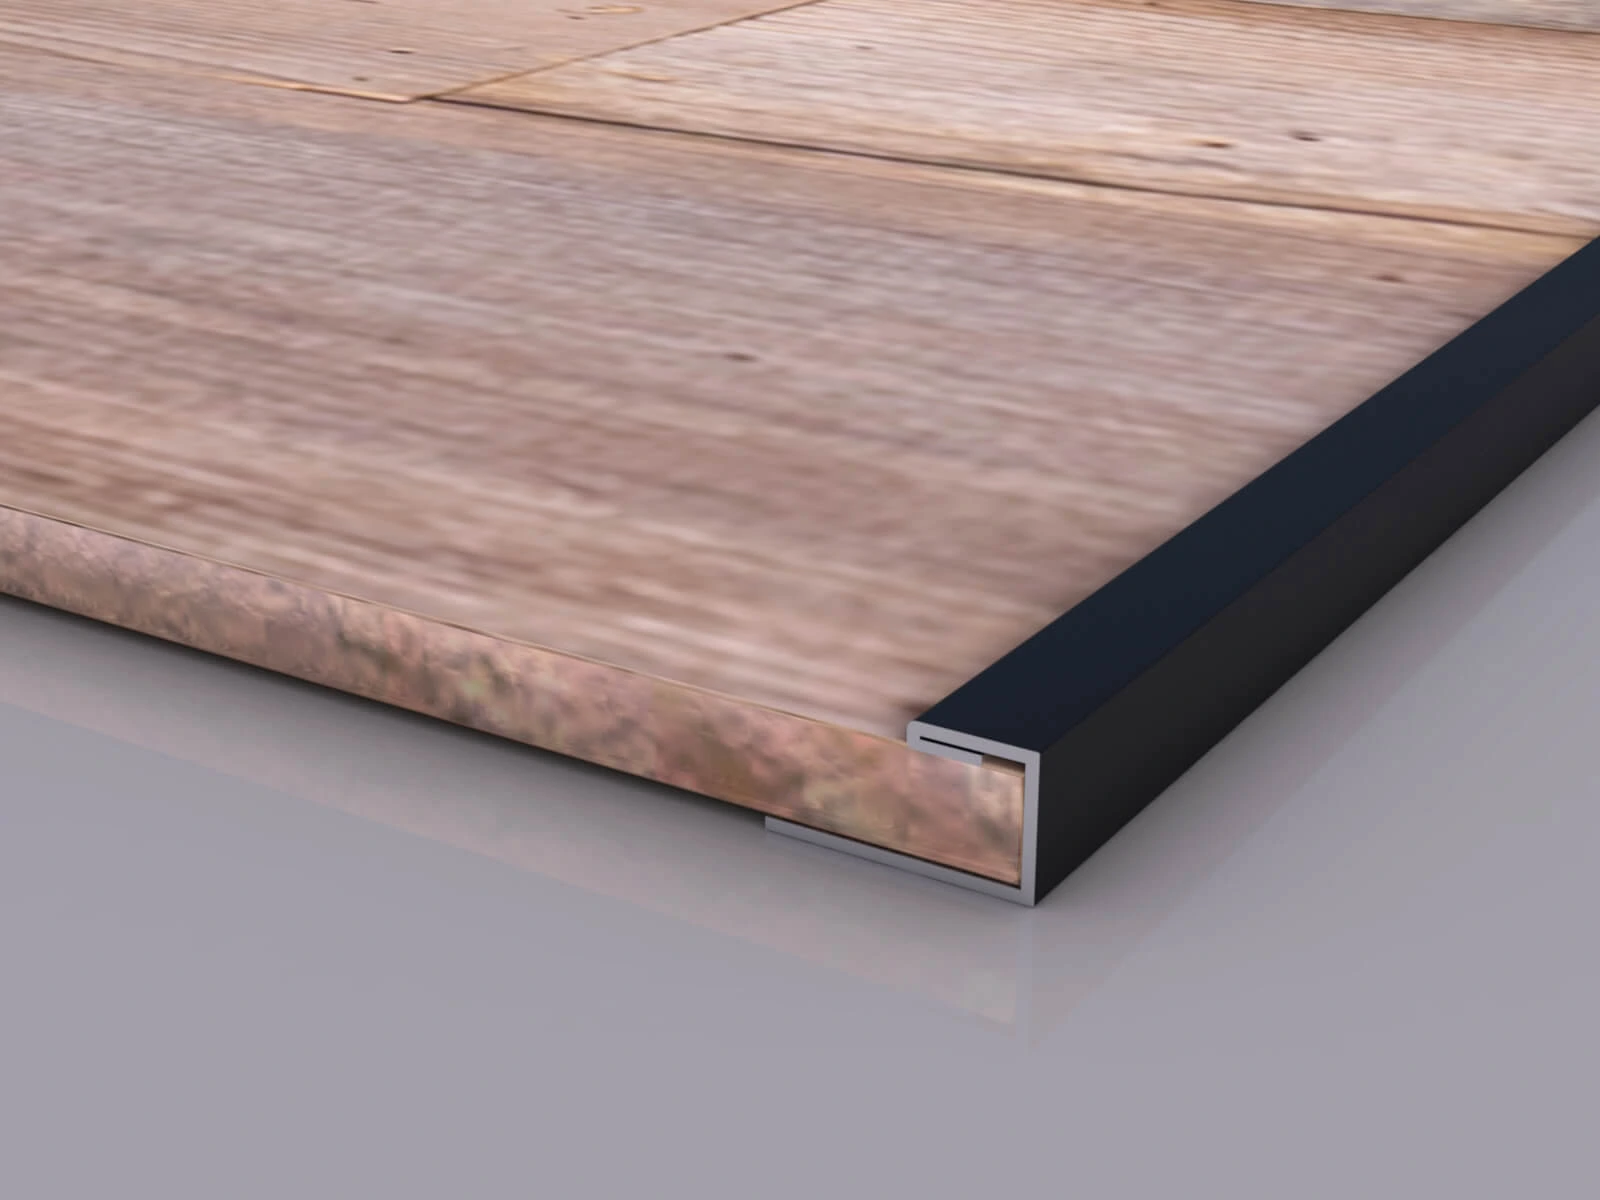
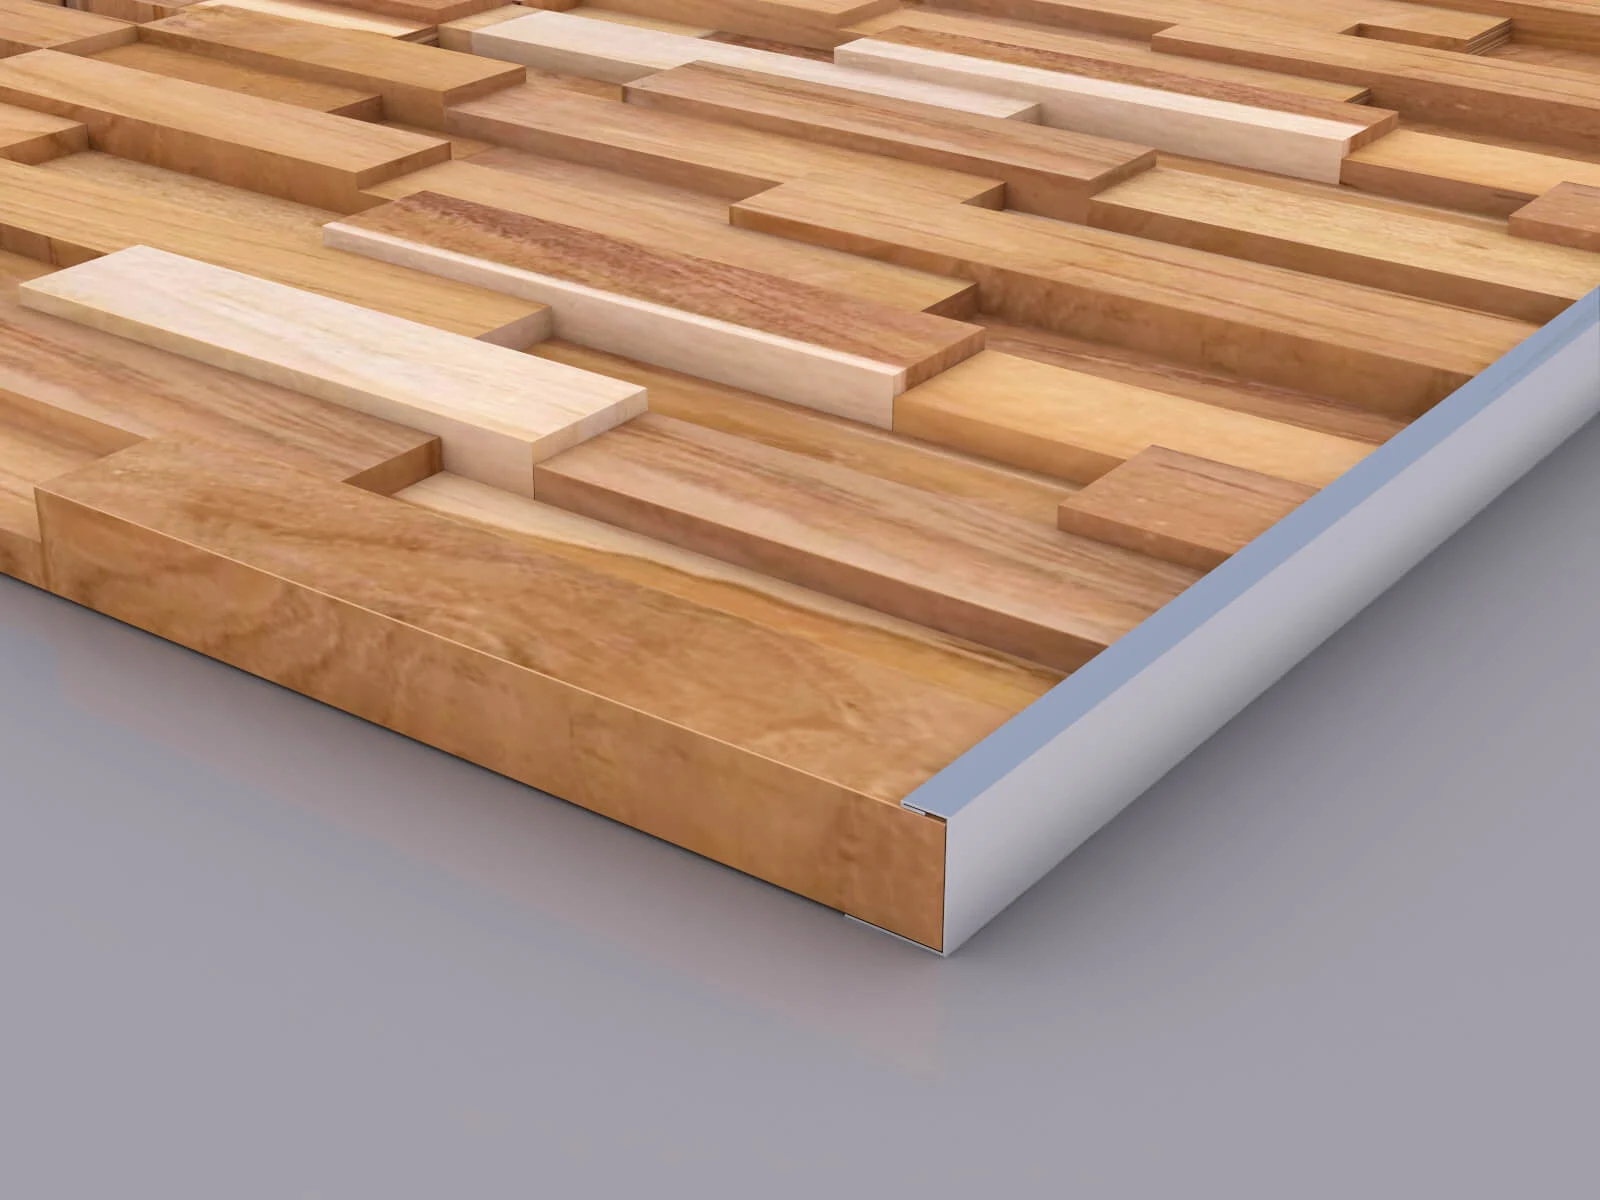
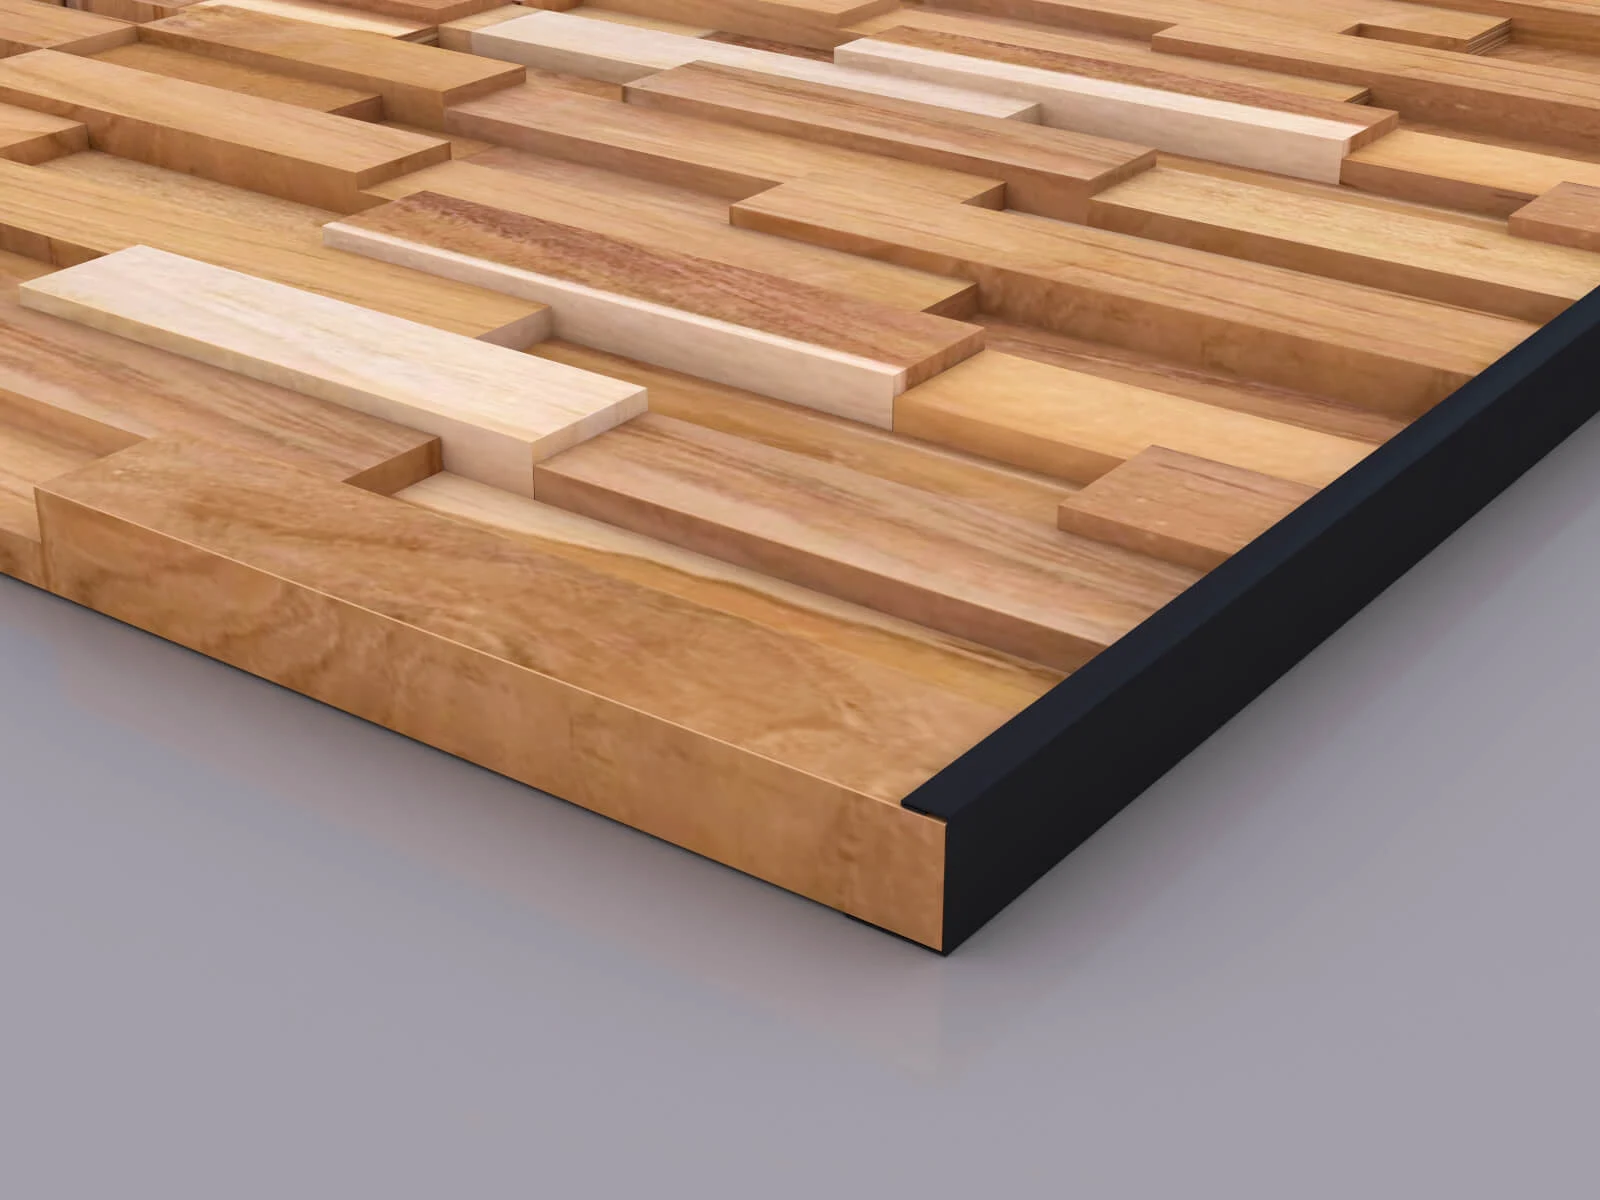
Add Metal Edge Trims
Metal edge trims can fit neatly over the seams and give your space a modern look. Made from sturdy materials, the trims protect your panels from wear and moisture. Another great thing about these trims is the various applications. You can use them for different panel styles and interior designs.
The installation is simple as well. You just need to measure, cut with a miter saw, and secure it with construction adhesive. Consider this option if you are a DIY enthusiast. It helps solve the seam issues and adds sophistication to your interior at the same time.
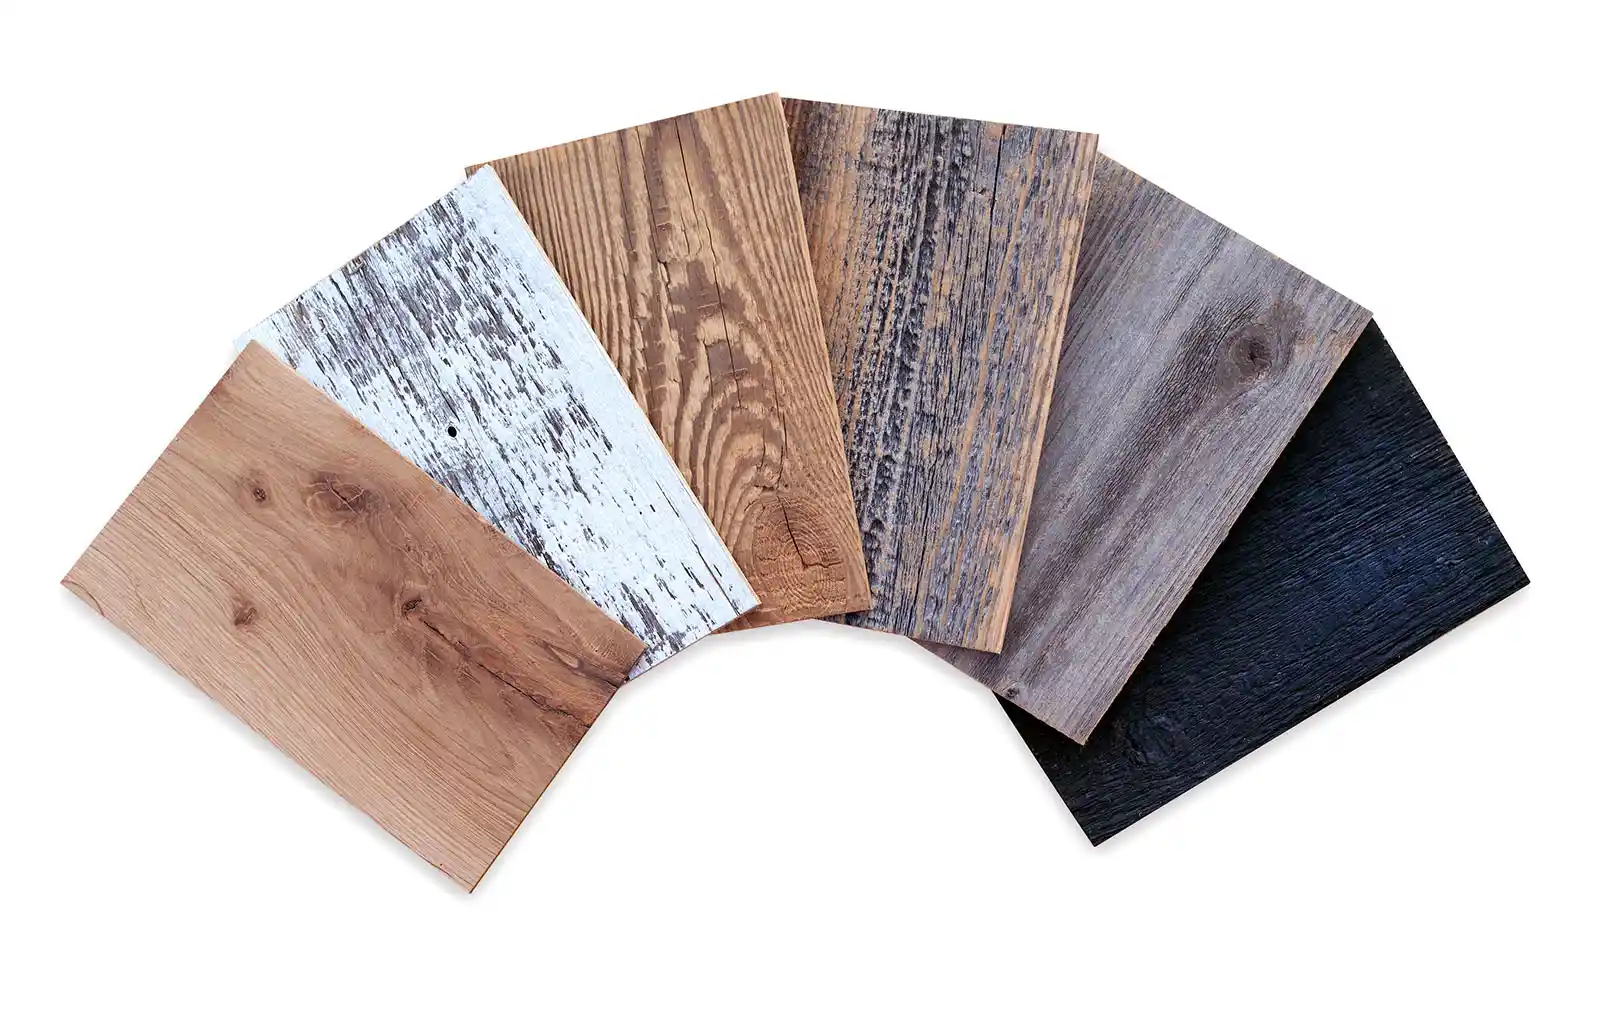
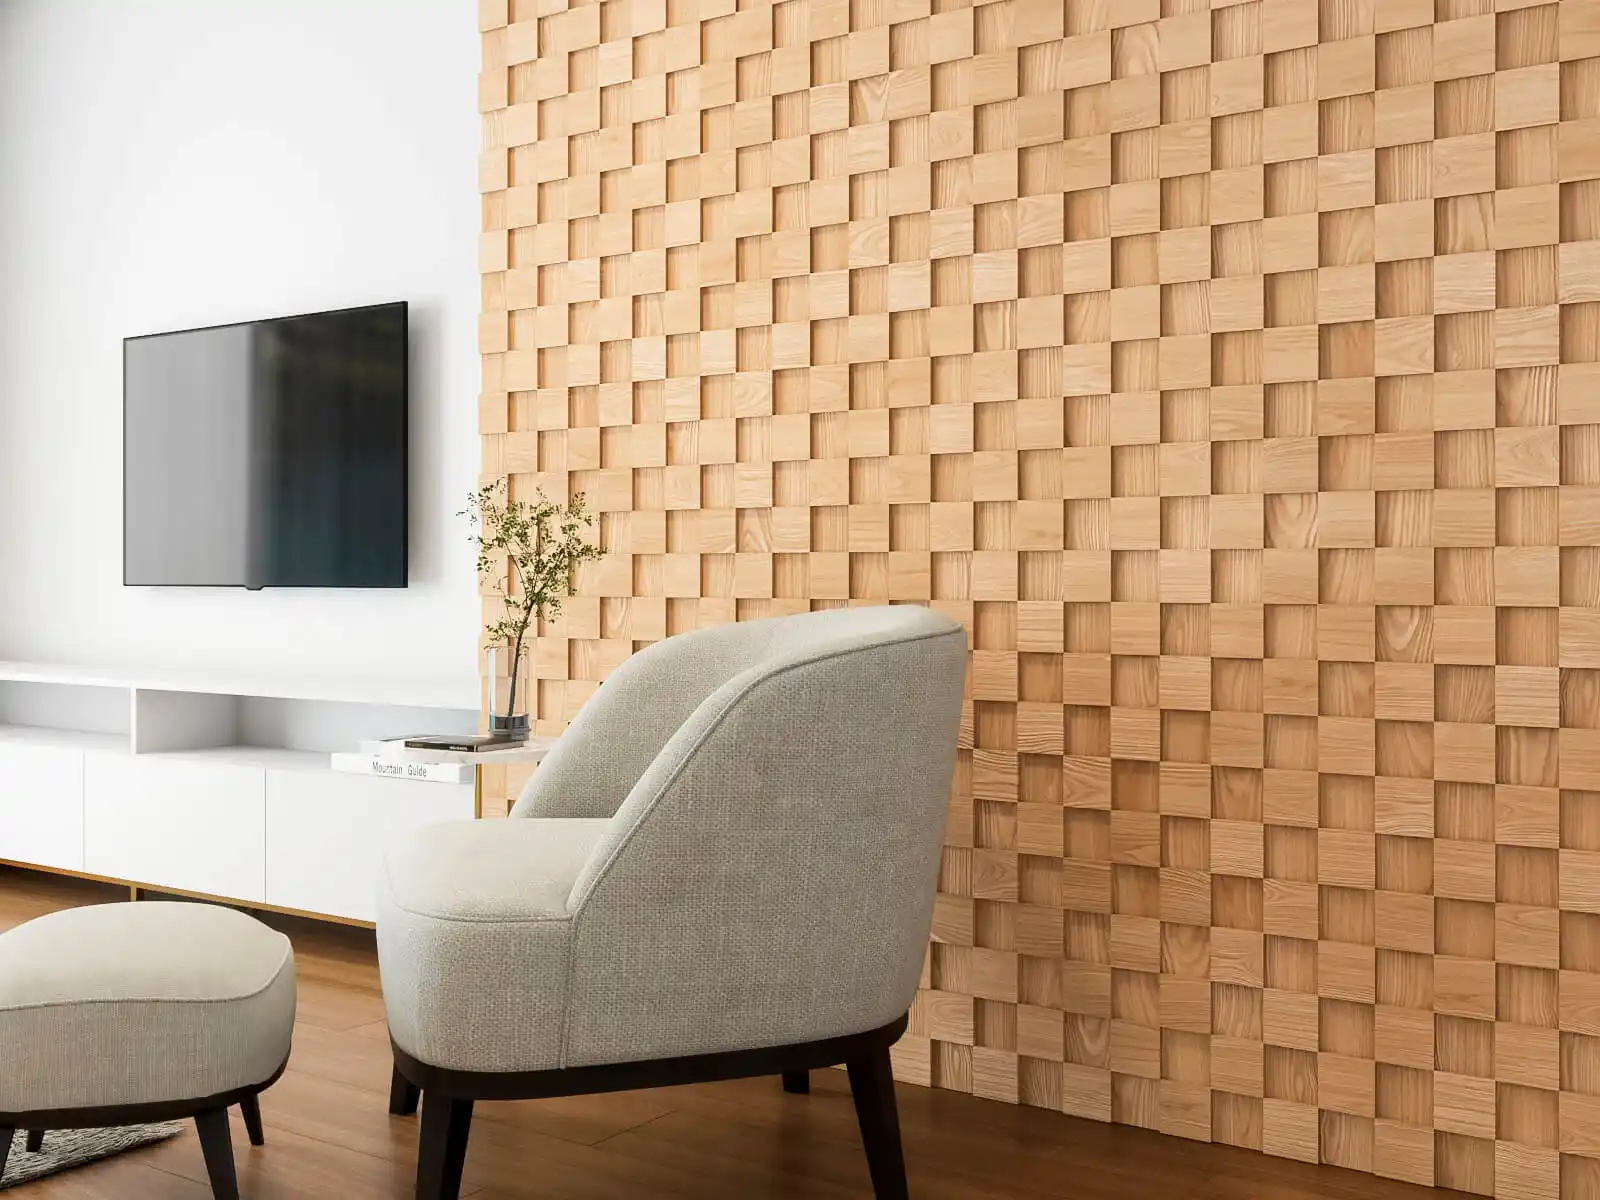
Using Wood Filler and Paint
Some DIYers turn to wall panel gap filler as a quick fix for small seams or older panels with visible joints. It’s a traditional method that can work well for subtle gaps and minor cracks, especially if you’re aiming for a simple painted finish.
To do this, choose a wood filler that matches your panel color. Apply it with a putty knife, making sure to fill the seam completely. Once it’s dry, sand the area smooth and paint over it for a cleaner look.
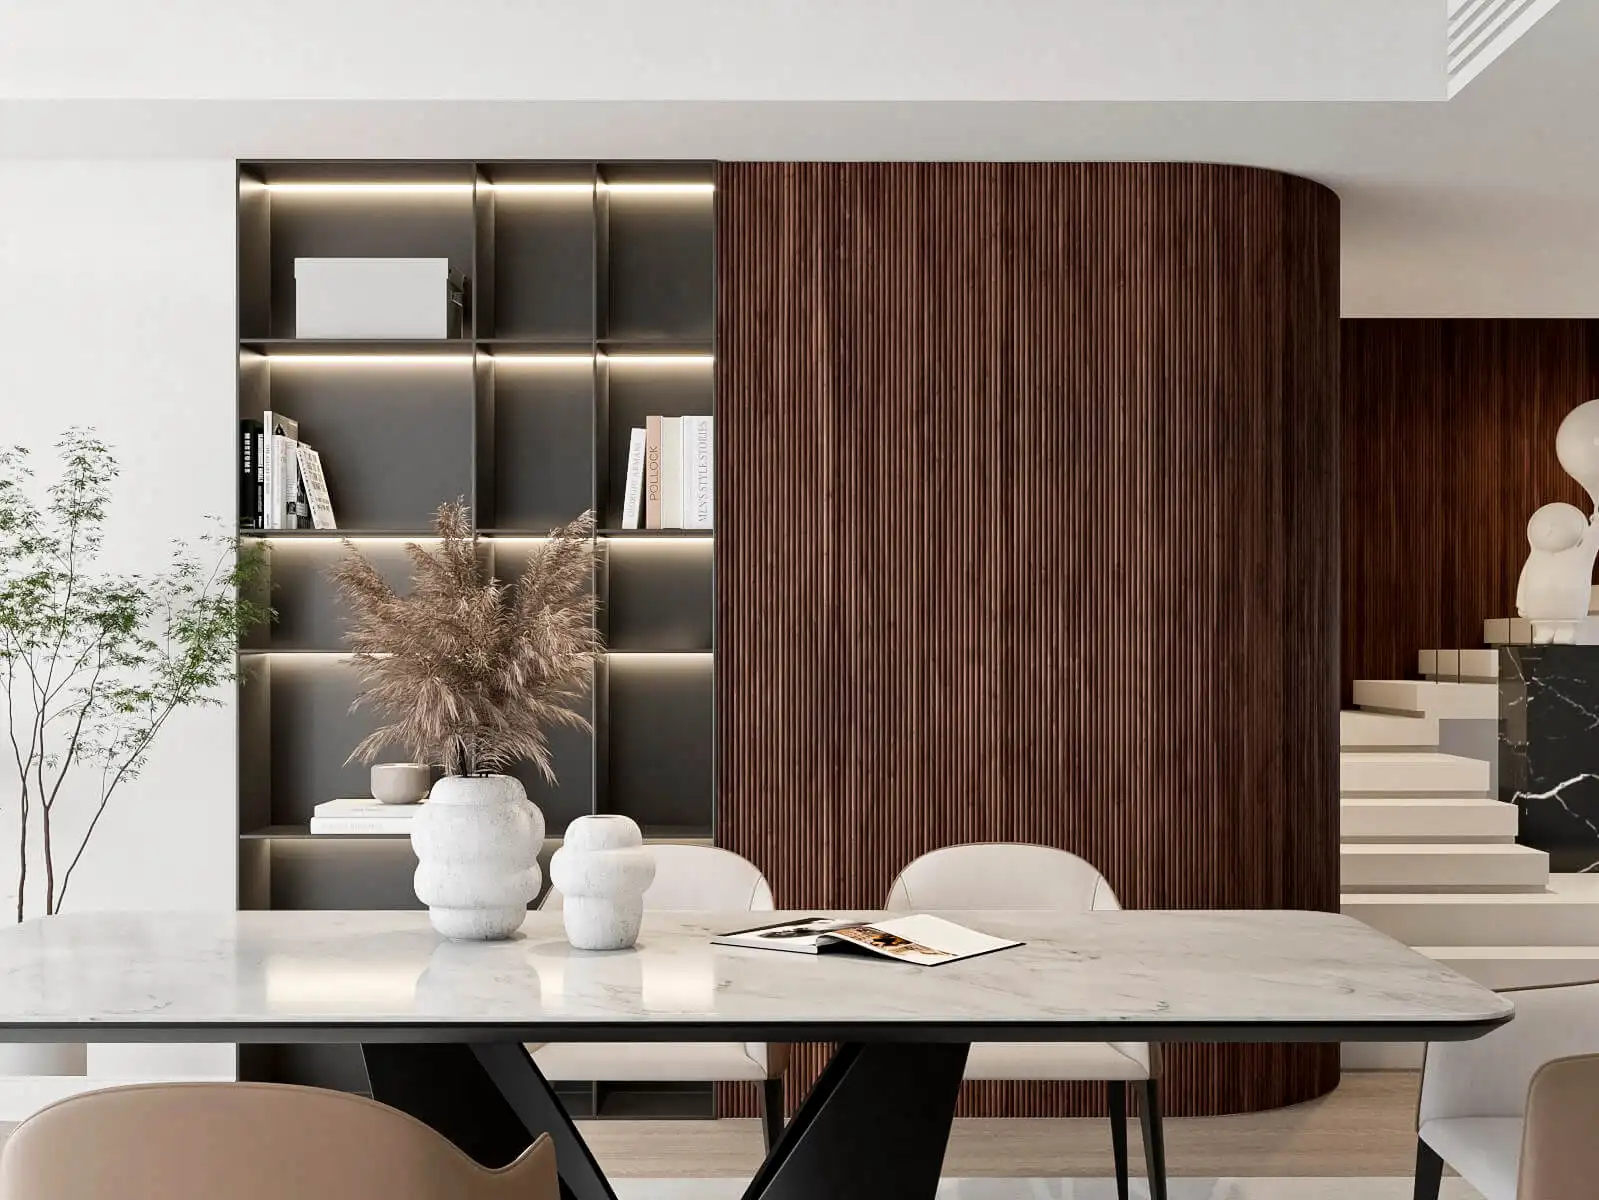
That said, at Woody Walls, we believe a more refined and design-forward approach makes all the difference. Options like integrated LED channels or sleek metal edge trims not only hide seams effectively but also elevate the entire space with a modern, polished finish. If you’re aiming for both function and visual appeal, those are your best bets.
Common Issues When Hiding Paneling Seams
The project sounds simple. However, you may encounter some issues that affect the overall finish. For example:
- Warped Panels: The best solution for fixing warped panels is to remove and replace them. You can also use wood screws to pull them flush with the wall. Then, cover the screws with wood filler.
- Loose Nails: The nails can loosen or even pop out over time. The panels will separate as a result. In this case, you need to remove those nails first. After that, use longer screws or nails to replace them. Wood filler can help you fill the holes.
- Surface Scratches: Scratches can draw attention to the seams. So, sand them and apply a machining paint. Let it dry fully, and check if you need a second coat for a flawless look.
- Gap Expansion: It would be best to regularly inspect the seams in the panels. Then, fill the expanded gaps with wood filler. You may also need to touch up the paint to maintain a smooth appearance.
- Adhesive Failures: If the adhesive weakens, the panels will detach. You should clean the surfaces and apply fresh construction adhesive. Then, press the panel firmly into place to ensure a strong bond.
Perfect Your Walls with WoodyWalls Solutions
Learning how to hide paneling seams is easy. LED lighting, metal trims, and wood filler can all help you ensure a polished look. For the best results, choose premium products from Woody Walls. From high-quality LED channels to durable wood panels, we have everything you need. Visit WoodyWalls today to explore our selection!
FAQs
1. What filler should be used on paneling?
It would be best to use caulk rather than spackling compound. The caulk expands as your panels shift over time, while the spackling compound can crack.
2. How to fill gaps in MDF paneling?
Here is how to fill gaps in MDF paneling:
- Clean the working area
- Apply caulk into the gap
- Sand the caulk to smooth it
- Allow it to dry completely
- Paint over the caulk for a seamless finish
3. How to fill in cracks in paneling?
You can fill the cracks with joint compound. Once the compound is dry, you can apply more if needed. Then, sand the surface with sandpaper until it turns smooth.