How To Install LED Strip Lights In Bedroom: 9 Easy Steps
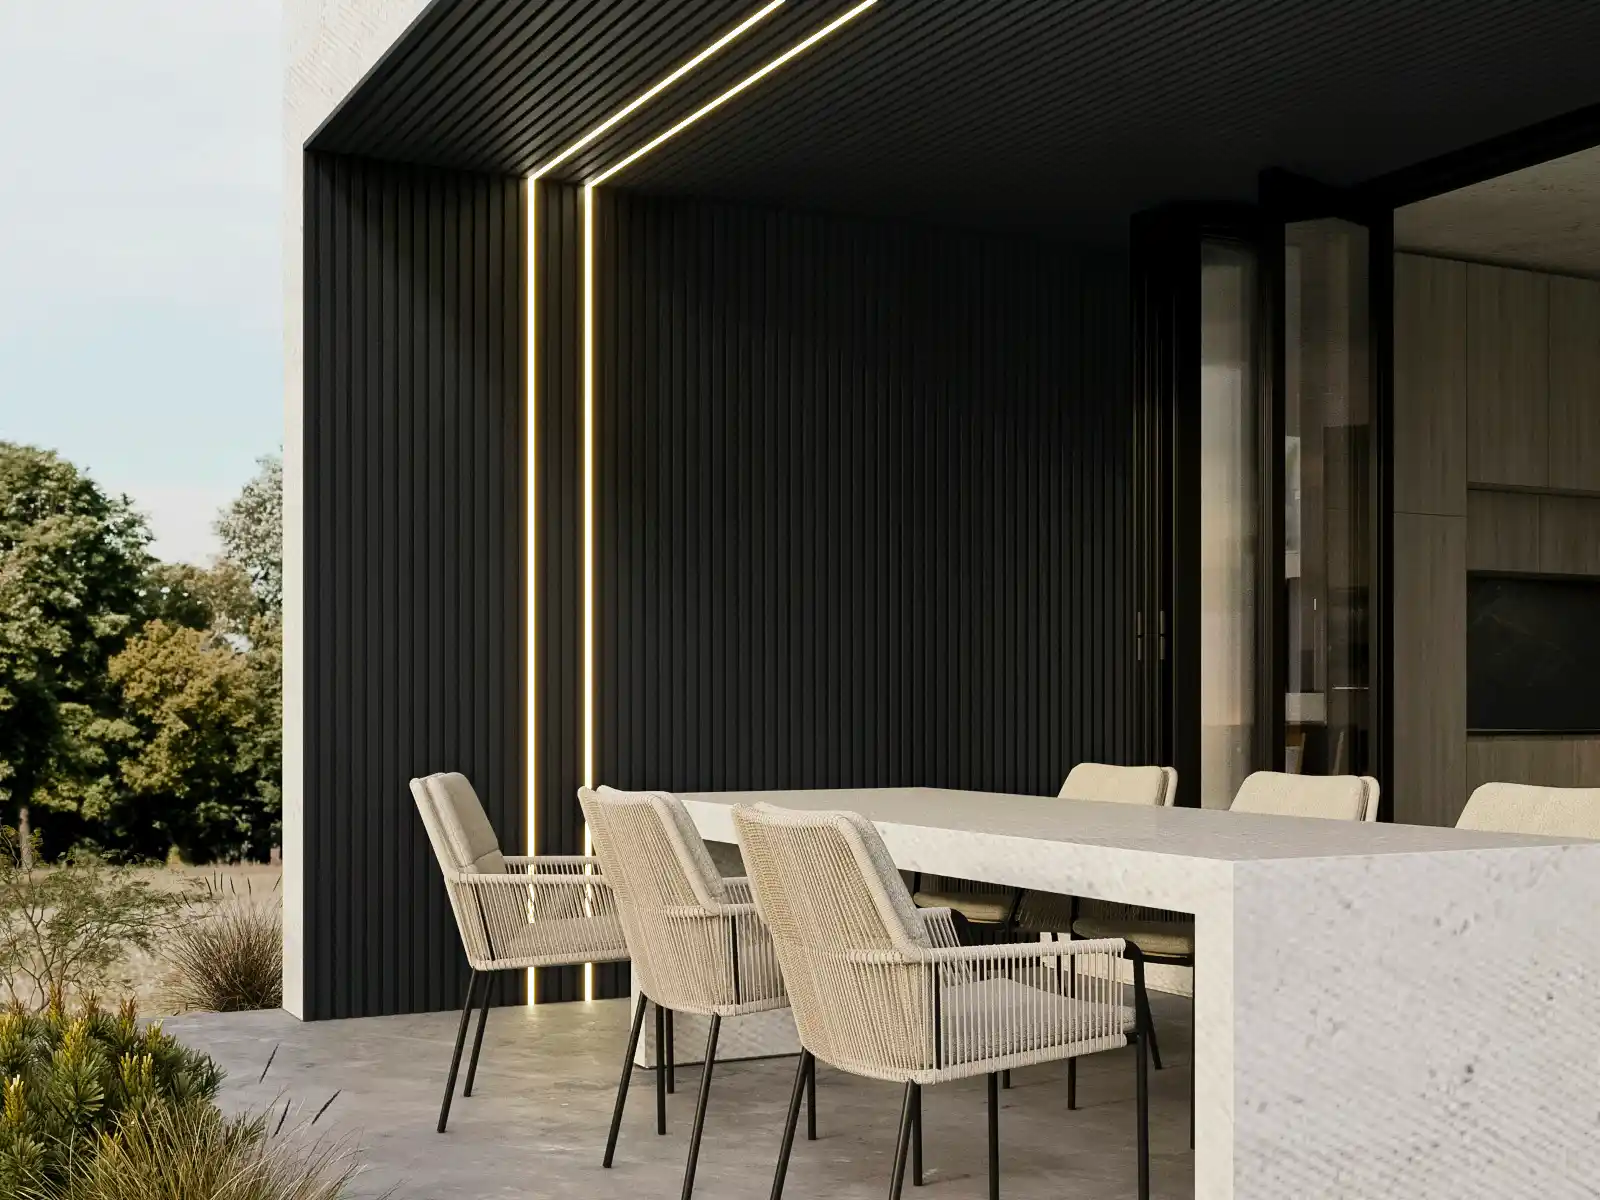
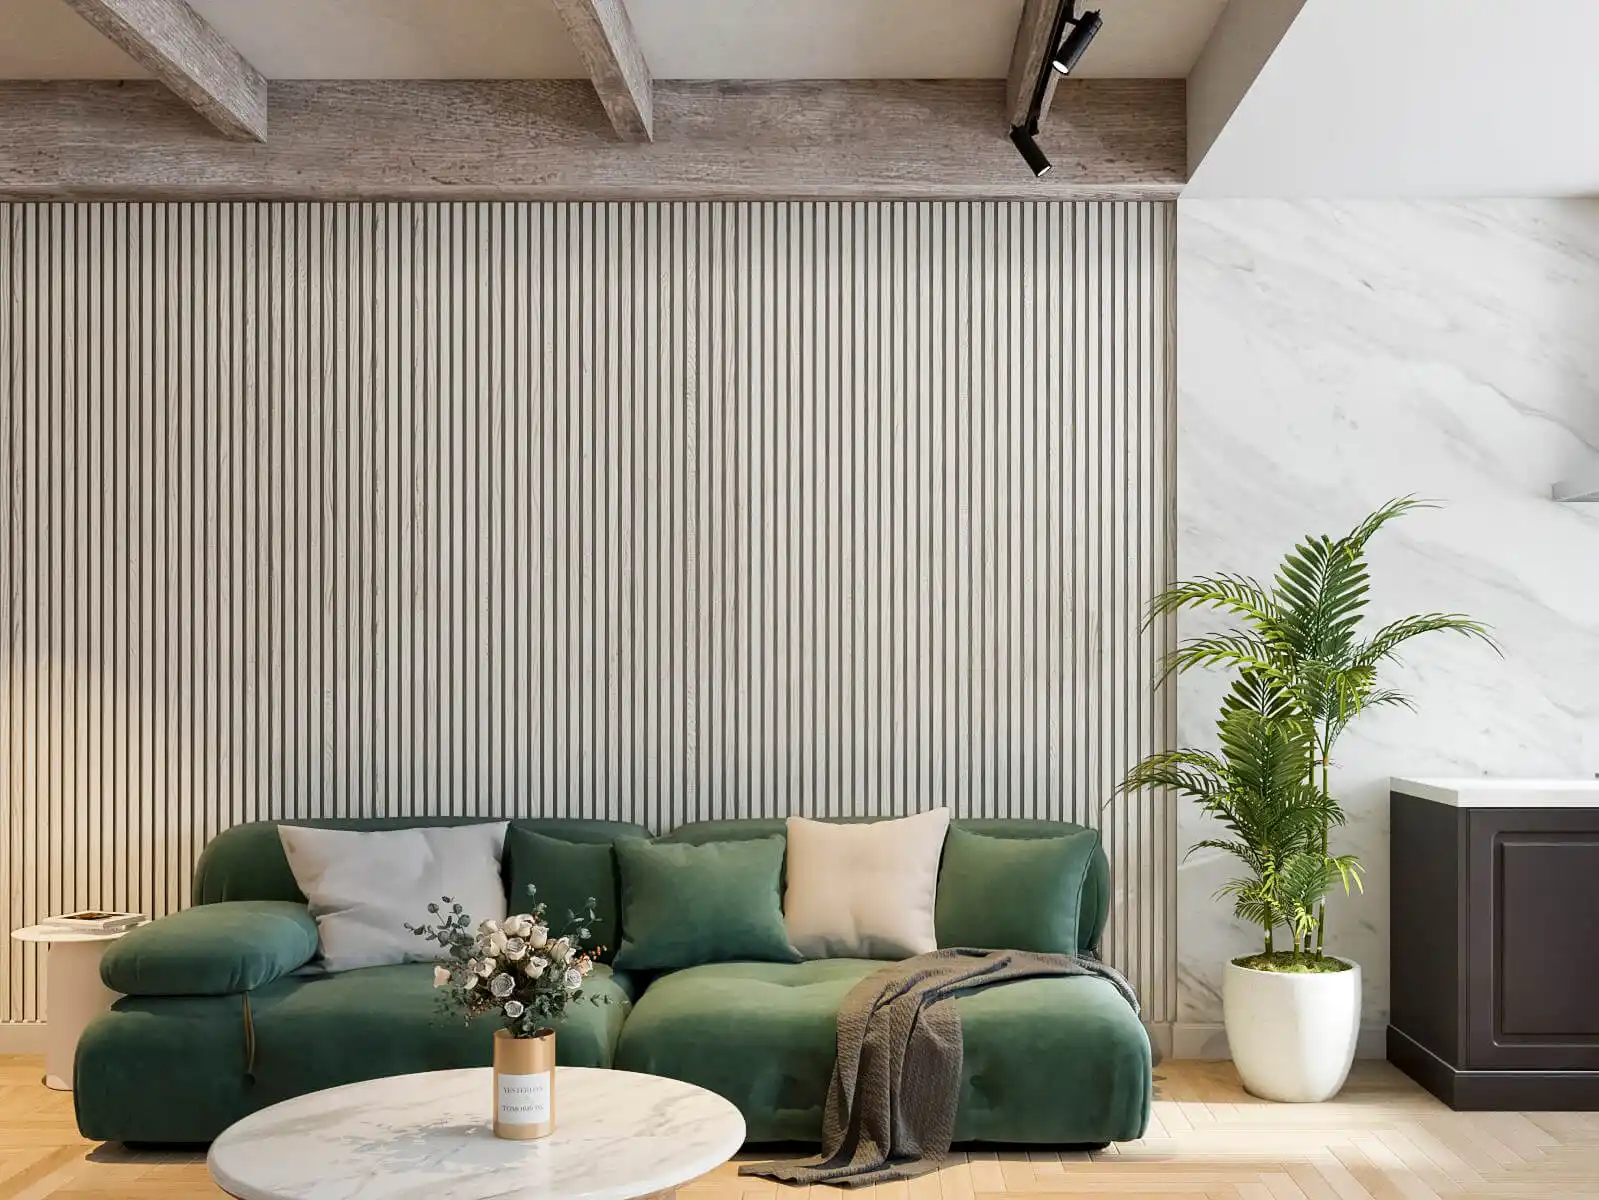
LED strips brighten up your bedroom and give it a cozy vibe. They gain popularity in home decor because they are energy-efficient, flexible, and perfect for creating a custom ambiance. This guide on how to install LED strip lights in bedroom will walk you through 9 simple steps. Check it out to give your room a whole new look!
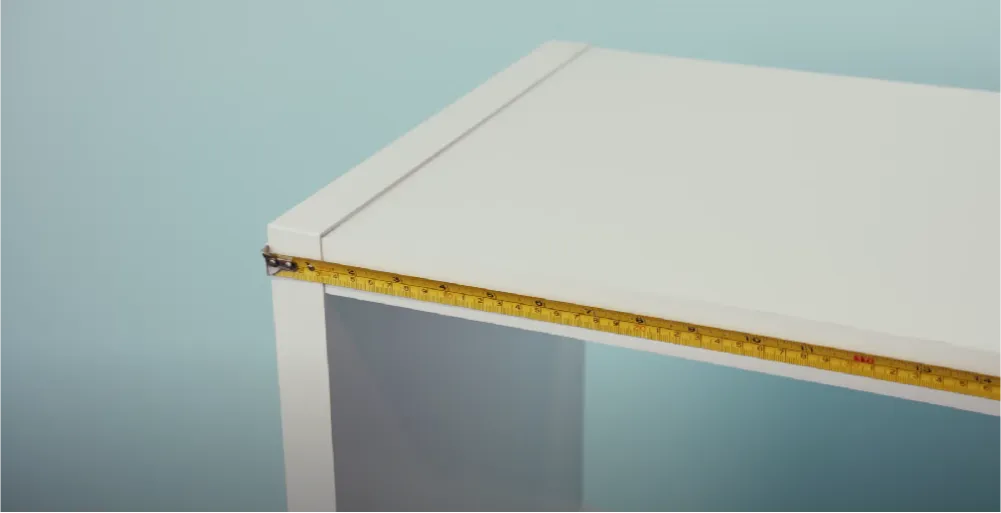
Step 1: Plan out and Measure your Area
Start by choosing where to place the strips using a tape measure. Then, mark the locations and check if your LED strips are long enough. Most strips come in five-meter reels, but you can cut them to fit.
In this step, you need to plan where the strips will run, including any gaps or corners. You should also check the distance between the strips and the power supply. If necessary, use jumpers or extra wire to complete the setup. Write down the measurements for easy reference.
Step 2: Clean the LED Area
After measuring your space, wipe the surface with a wet cloth to remove rust, debris, and oils. Otherwise, these components will prevent the adhesive from sticking properly. Make sure the surface is completely dry before applying the lights for optimal adhesion. If you plan to move or reinstall the strips later, consider using double-sided adhesive instead of the strong self-adhesive backing.
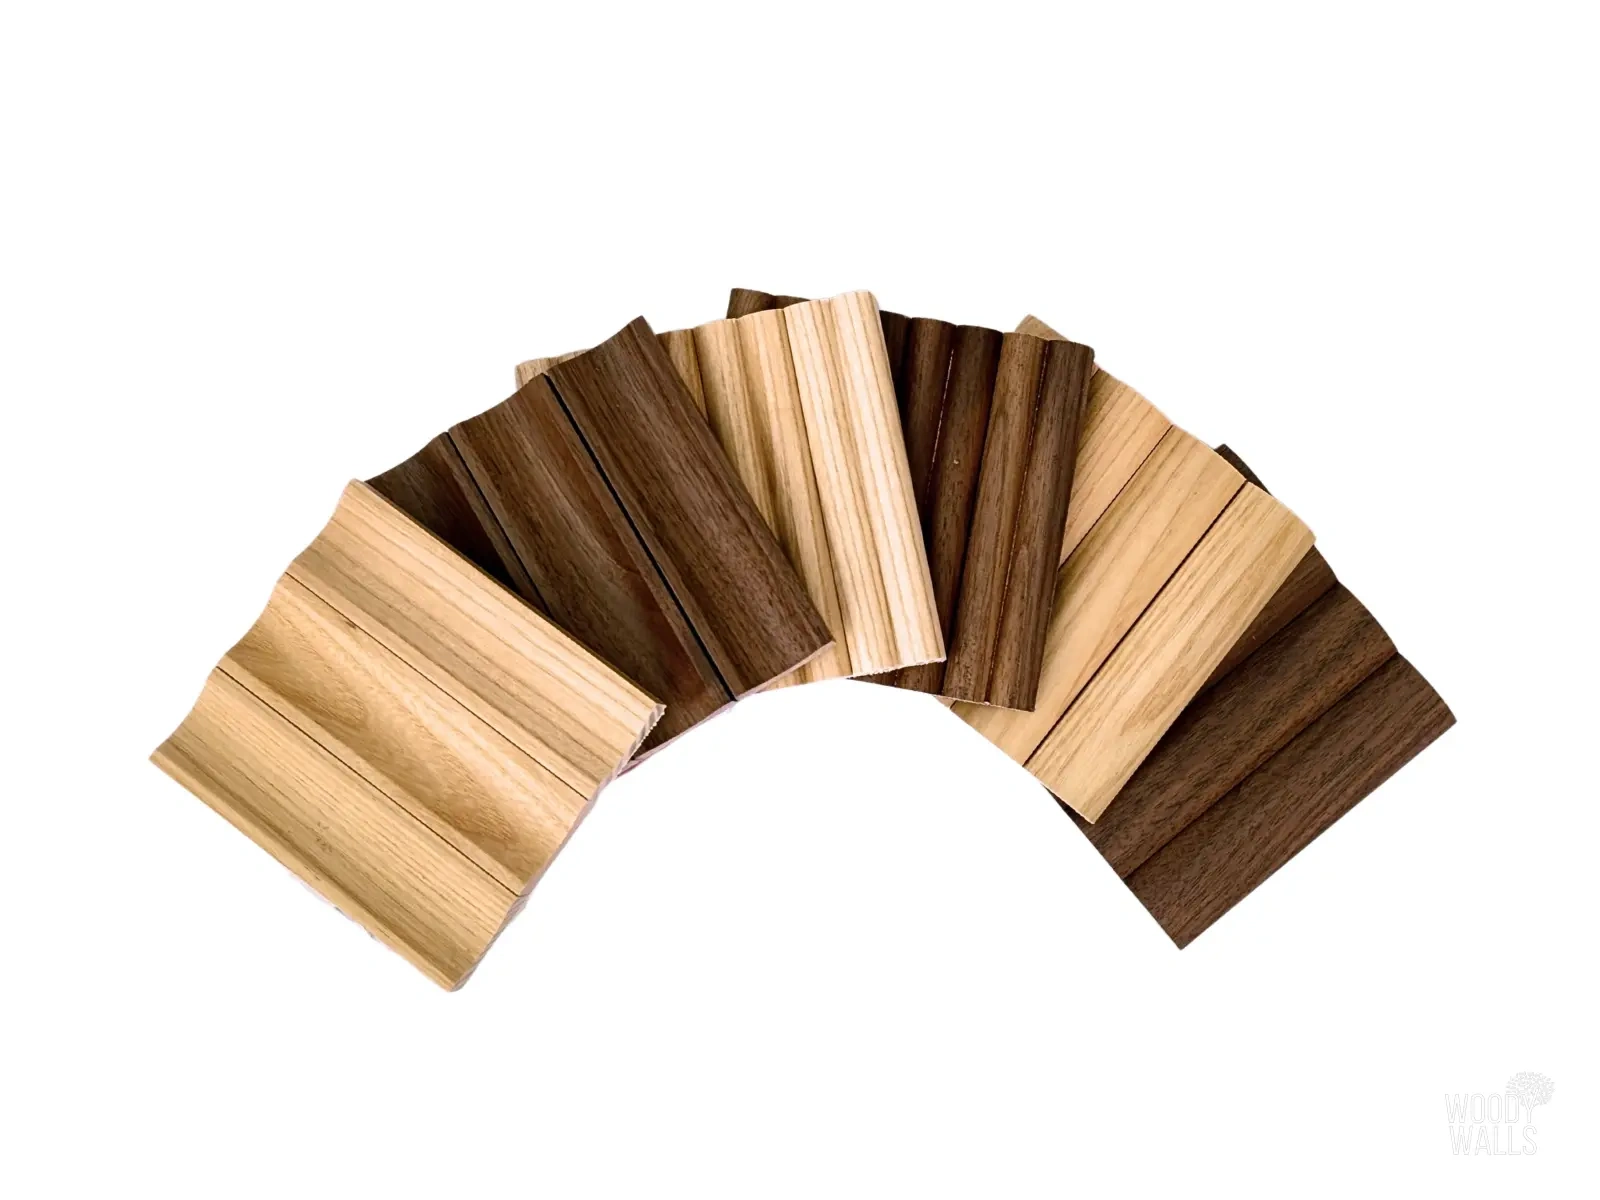
Step 3: Choosing your RGB Strip
Choose the type of strip based on your needs:
- Non-addressable RGB for simple, uniform color changes
- Addressable RGB for dynamic effects
- RGBW/RGBWW for added white light options
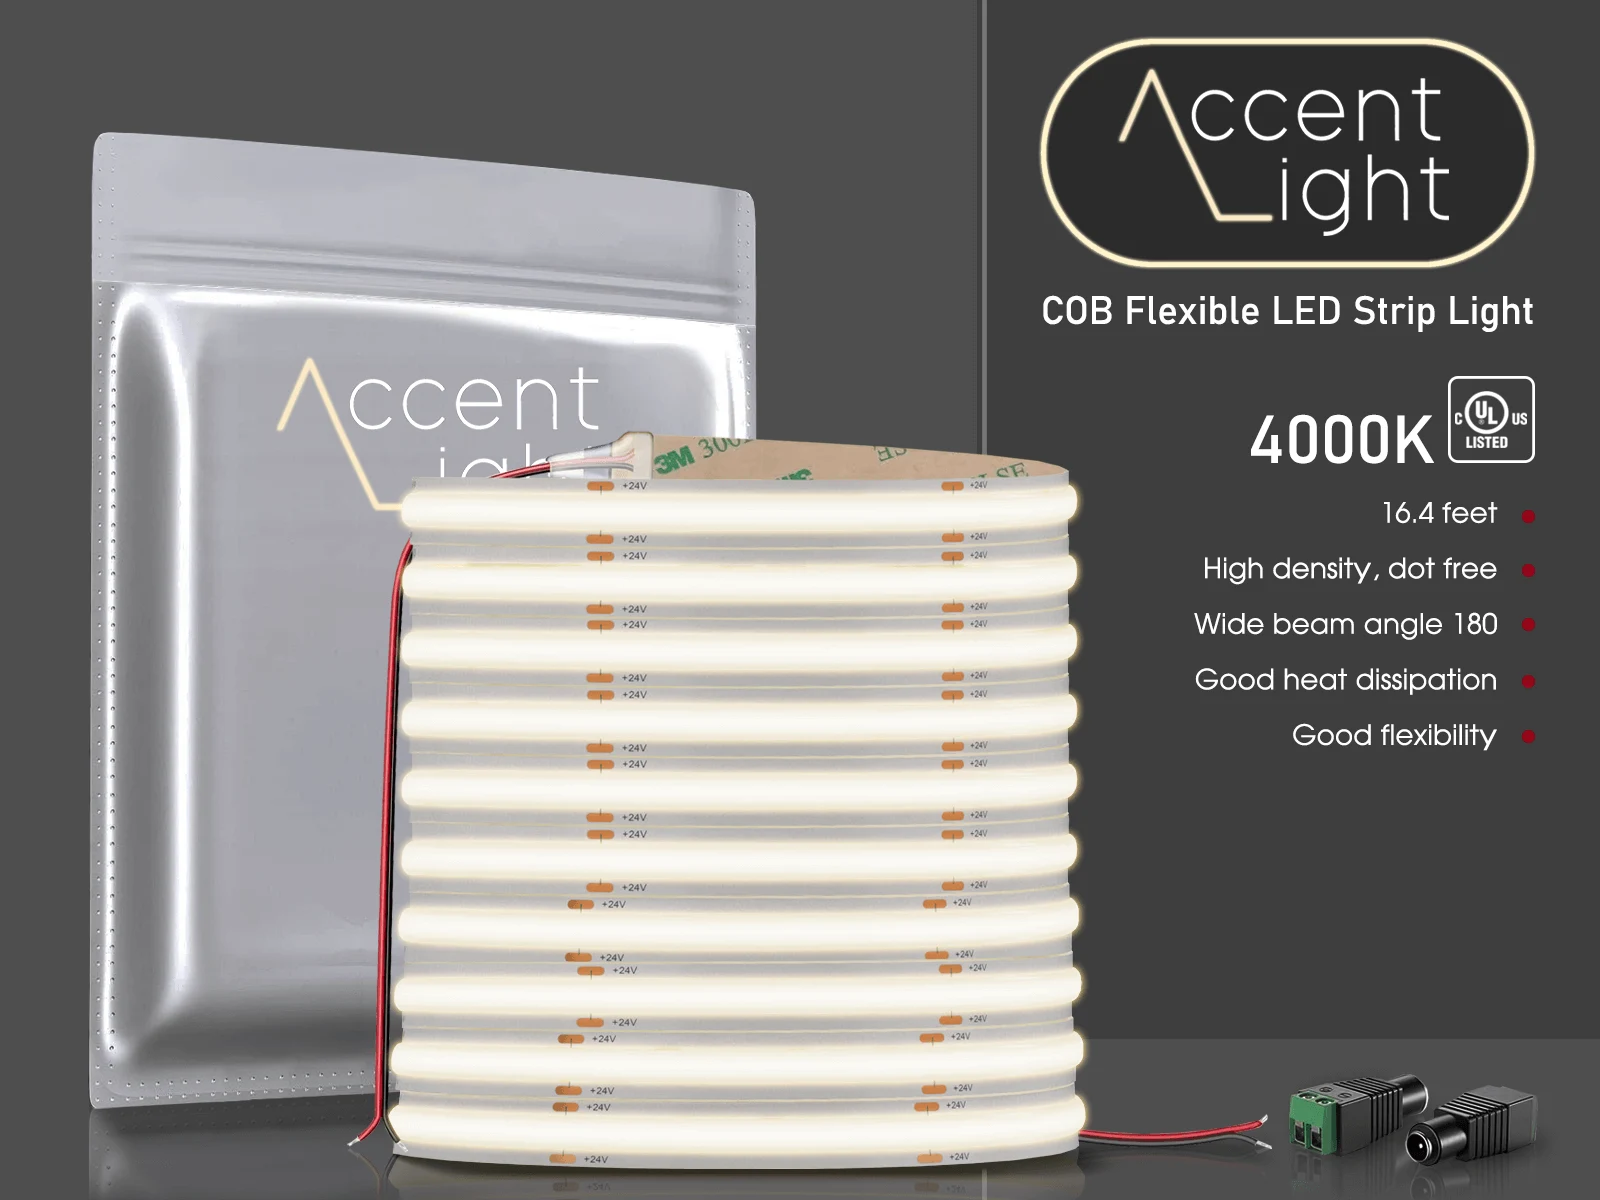
At this step, you need to decide on the density. 30 LEDs/M is ideal for cozy bedroom lighting, while higher densities suit larger spaces. Waterproof strips are unnecessary for bedrooms but suit moist areas. It would be best to assess your color, brightness, and functionality preferences to select the perfect strip for your project.

Step 4: Finding a Compatible Power Supply
Check the input voltage, typically 12 to 24V DC, and calculate the wattage requirements based on the strip type and length. Higher-density strips consume more power, so you need to understand the exact wattage per meter. The wattage tables provided by manufacturers can help you ensure a precise calculation.
You should select a power supply rated slightly above your calculated wattage to allow for variations. This tip guarantees your LED strip lights operate safely and effectively.
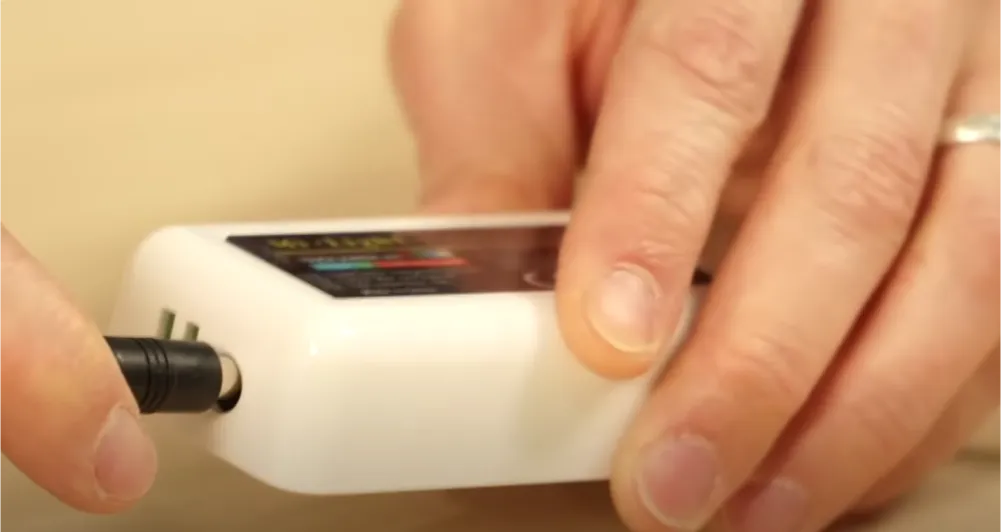
Step 5: Finding an RGB Strip Controller
The controllers manage the functionality and color effects of your light strips. They come in various types, from simple handheld remotes to advanced WiFi-enabled options.
To ensure compatibility, check the controller’s maximum power rating by calculating its wattage capacity. Multiply the maximum amperage of the controller by the input voltage. If you use RGB strips with three channels, consider the per-channel amperage for accurate calculations.

Step 6: Join LED Strips Together
To connect multiple RGB LED strips, you can use either connectors or soldering. Soldering is stronger, but connectors are easy and reliable. Cut the strip at the marked spots to reveal four copper pads. Make sure these lines stay aligned for consistent colors.
To connect, use a four-conductor wire or advanced RGB connectors. Carefully align wires to their respective slots to avoid crossing lines. Always stay within the strip’s maximum run length to prevent power issues.
Step 7: Connecting Strips to Power
Connect the RGB LED strips to the controller, ensuring the arrows on the strip align correctly. Then, link the controller to the power supply. If the power supply isn’t plug-in, you can attach a 2.1mm connector manually. After that, connect the power supply to your 110-120VAC source. For safety, turn off the power when hardwiring connections.
Step 8: Installation
Before mounting, connect all strips and test them with the controller and power supply to catch any issues early. Then, you can mount the strips, connect them to the controller, and ensure the arrows align with the accessories. Finally, connect the controller to the power supply.
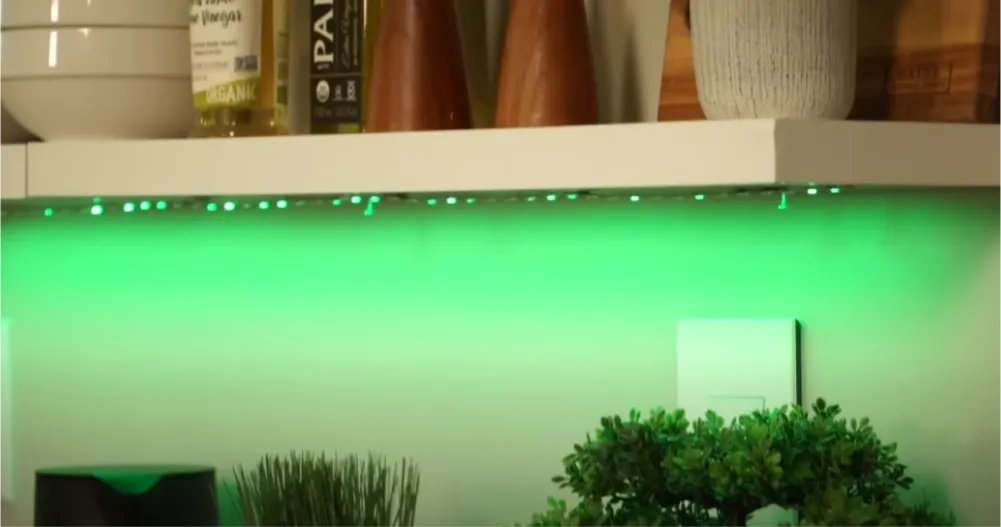
Step 9: Final Test the LED Strip Lights
Plug in the power supply or switch on the breaker if hardwired. Cycle through the blue, green, and red colors to guarantee that all color channels function correctly. If a specific color doesn’t work, there must be an issue with the corresponding line. Fix it so your setup is ready for smooth operation.
Tips for Installing LED Strip Lighting in a Bedroom
The following tips will help you create the perfect ambiance in your bedroom:
- Determine the purpose of the lighting: Are you looking for specific mood lighting or general illumination? You need a clear purpose to guide your choices in terms of placement and light intensity.
- Pick the right color temperature: A warm light is perfect for a cozy residential feel. Meanwhile, the cooler one suits a vibrant, commercial-like environment better.
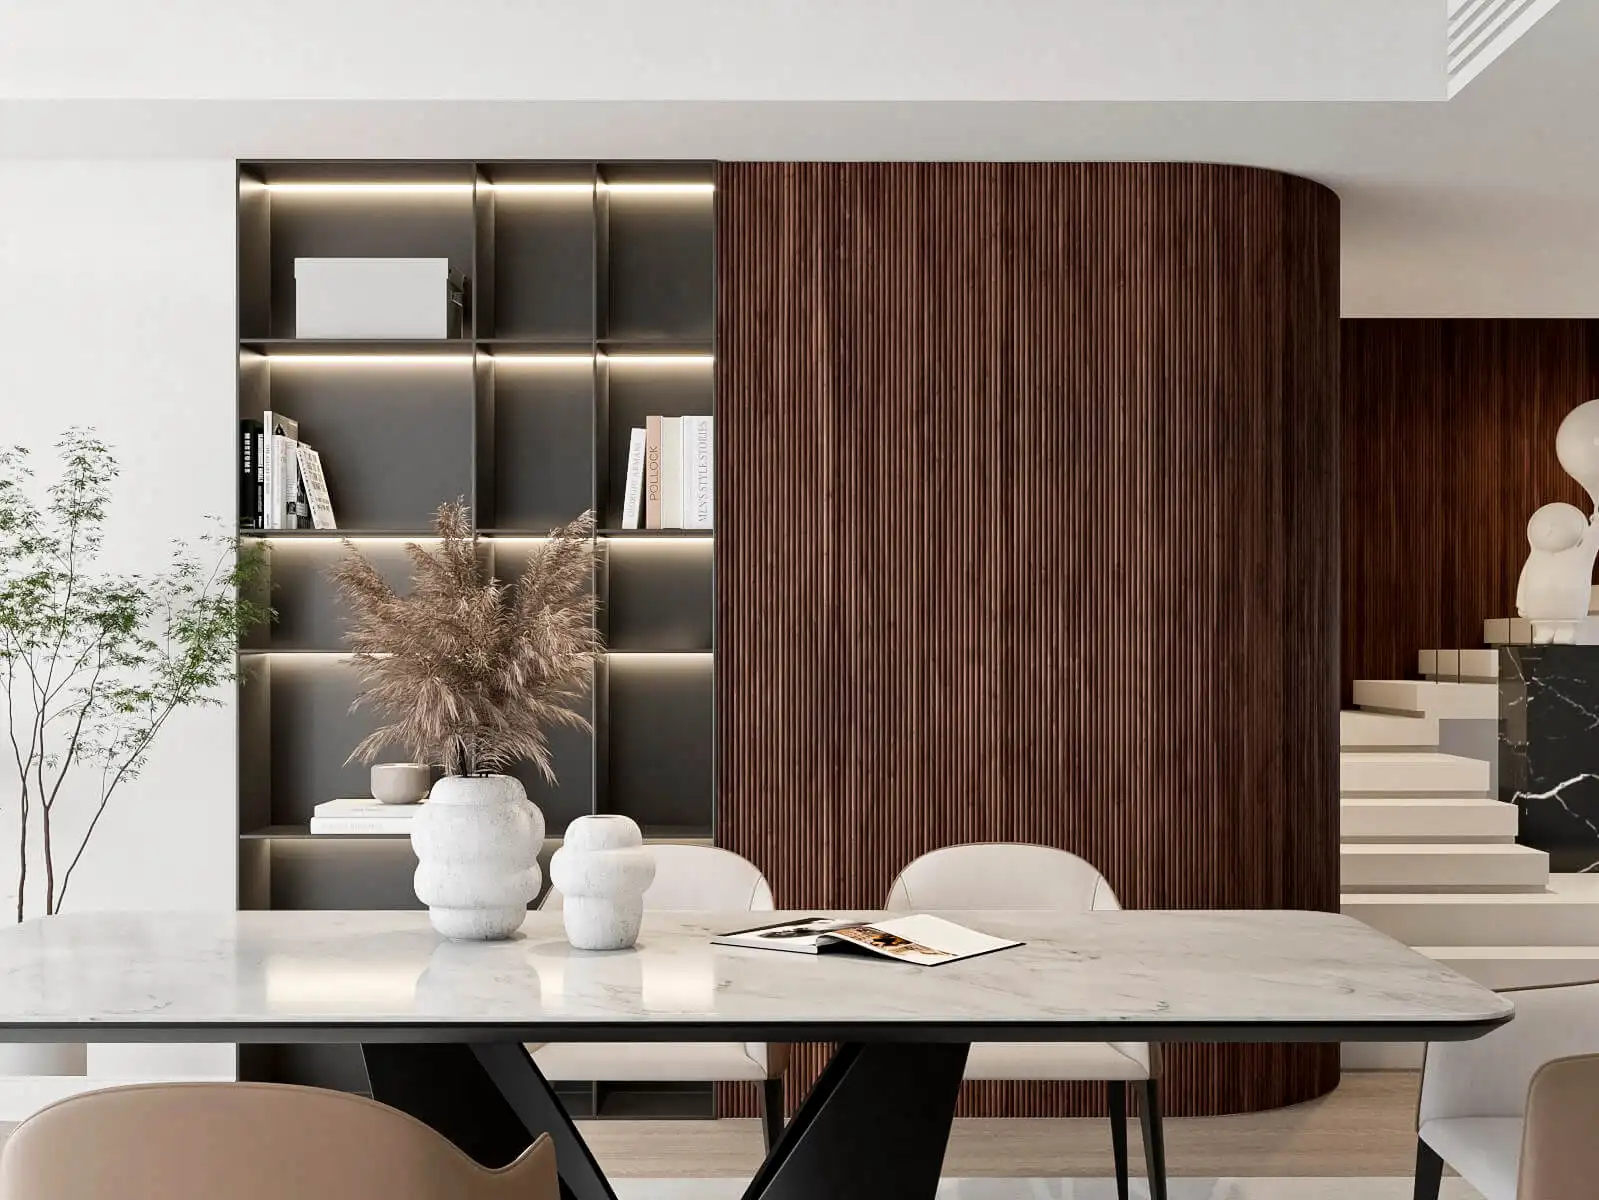
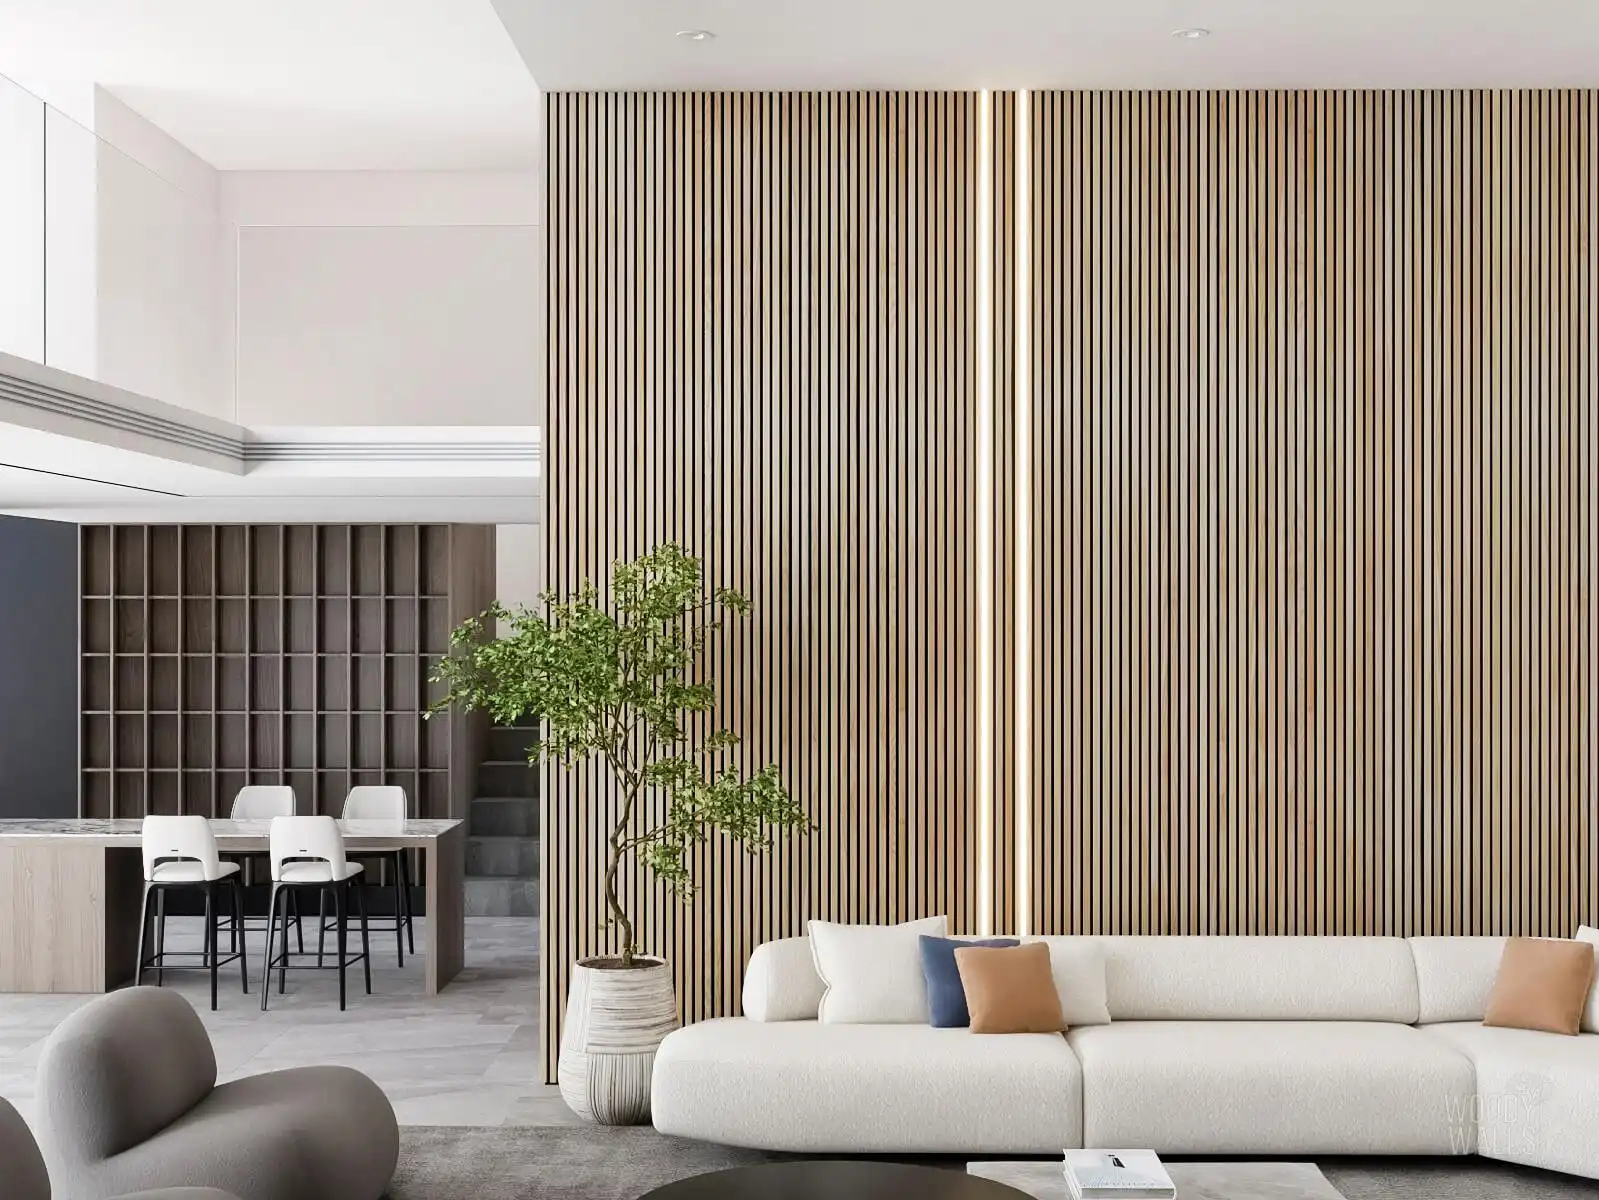
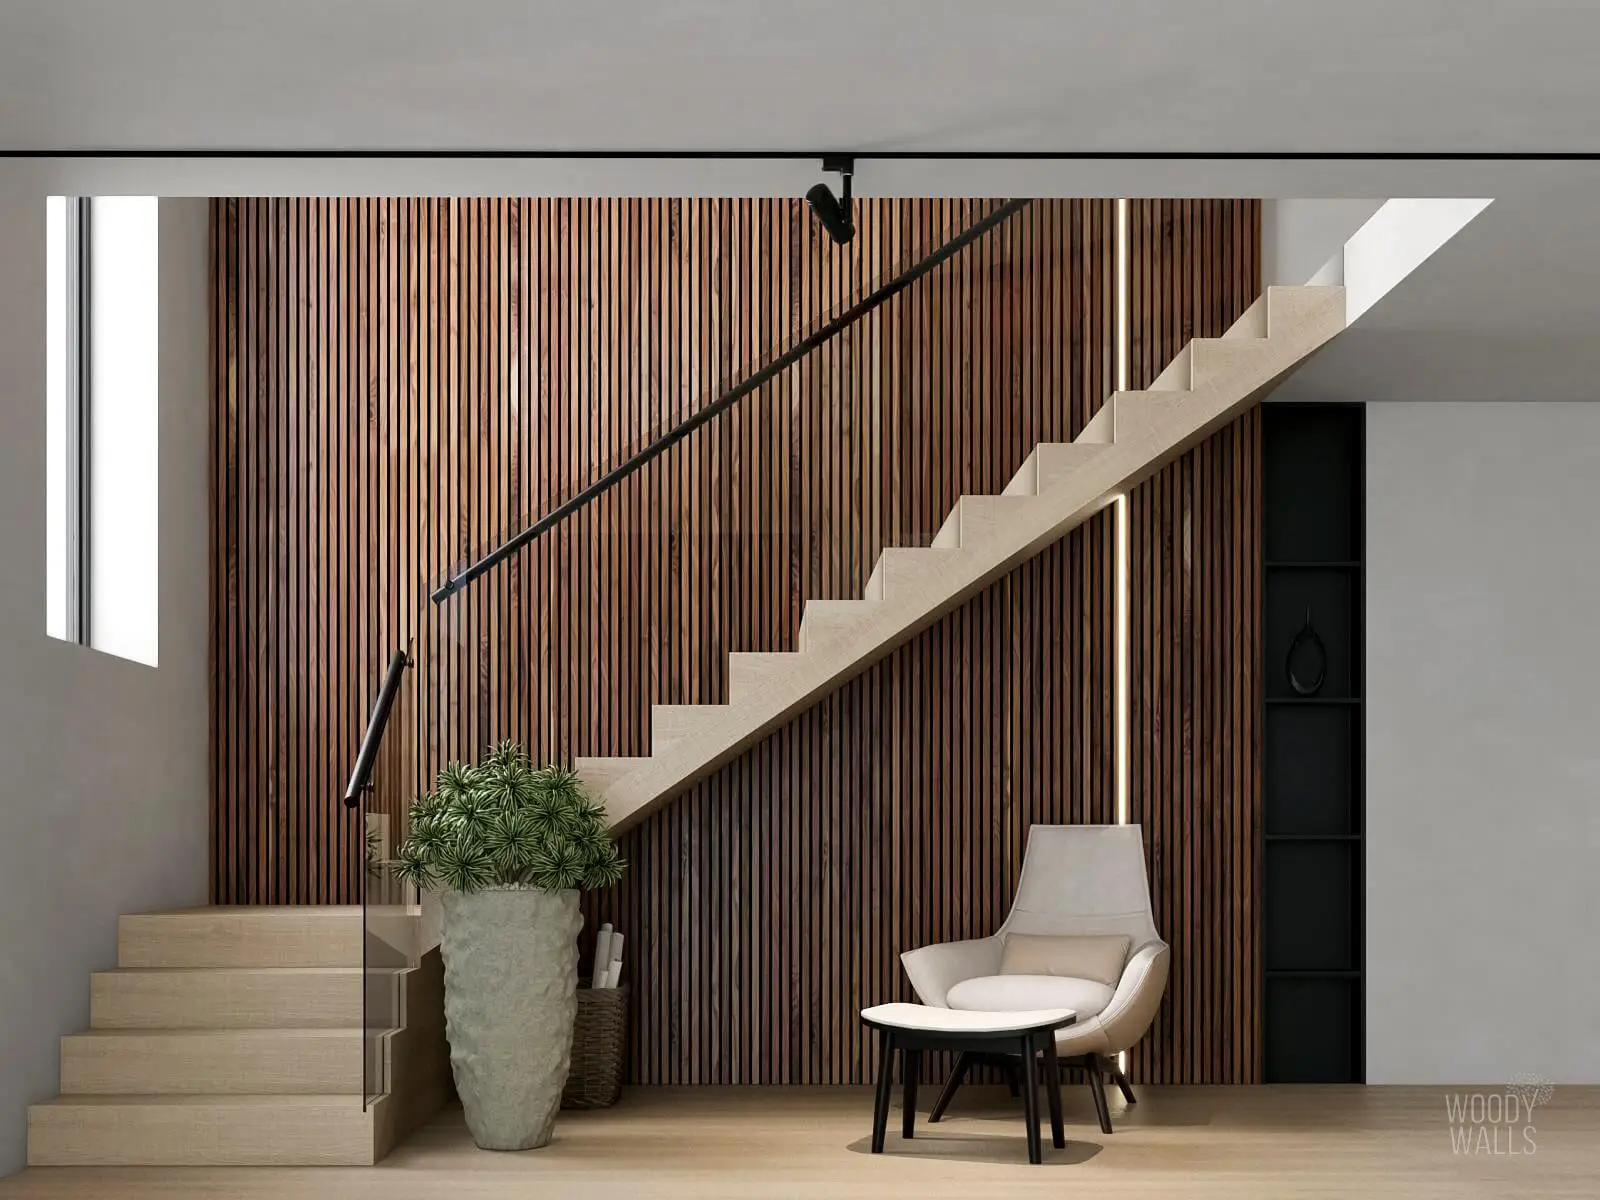
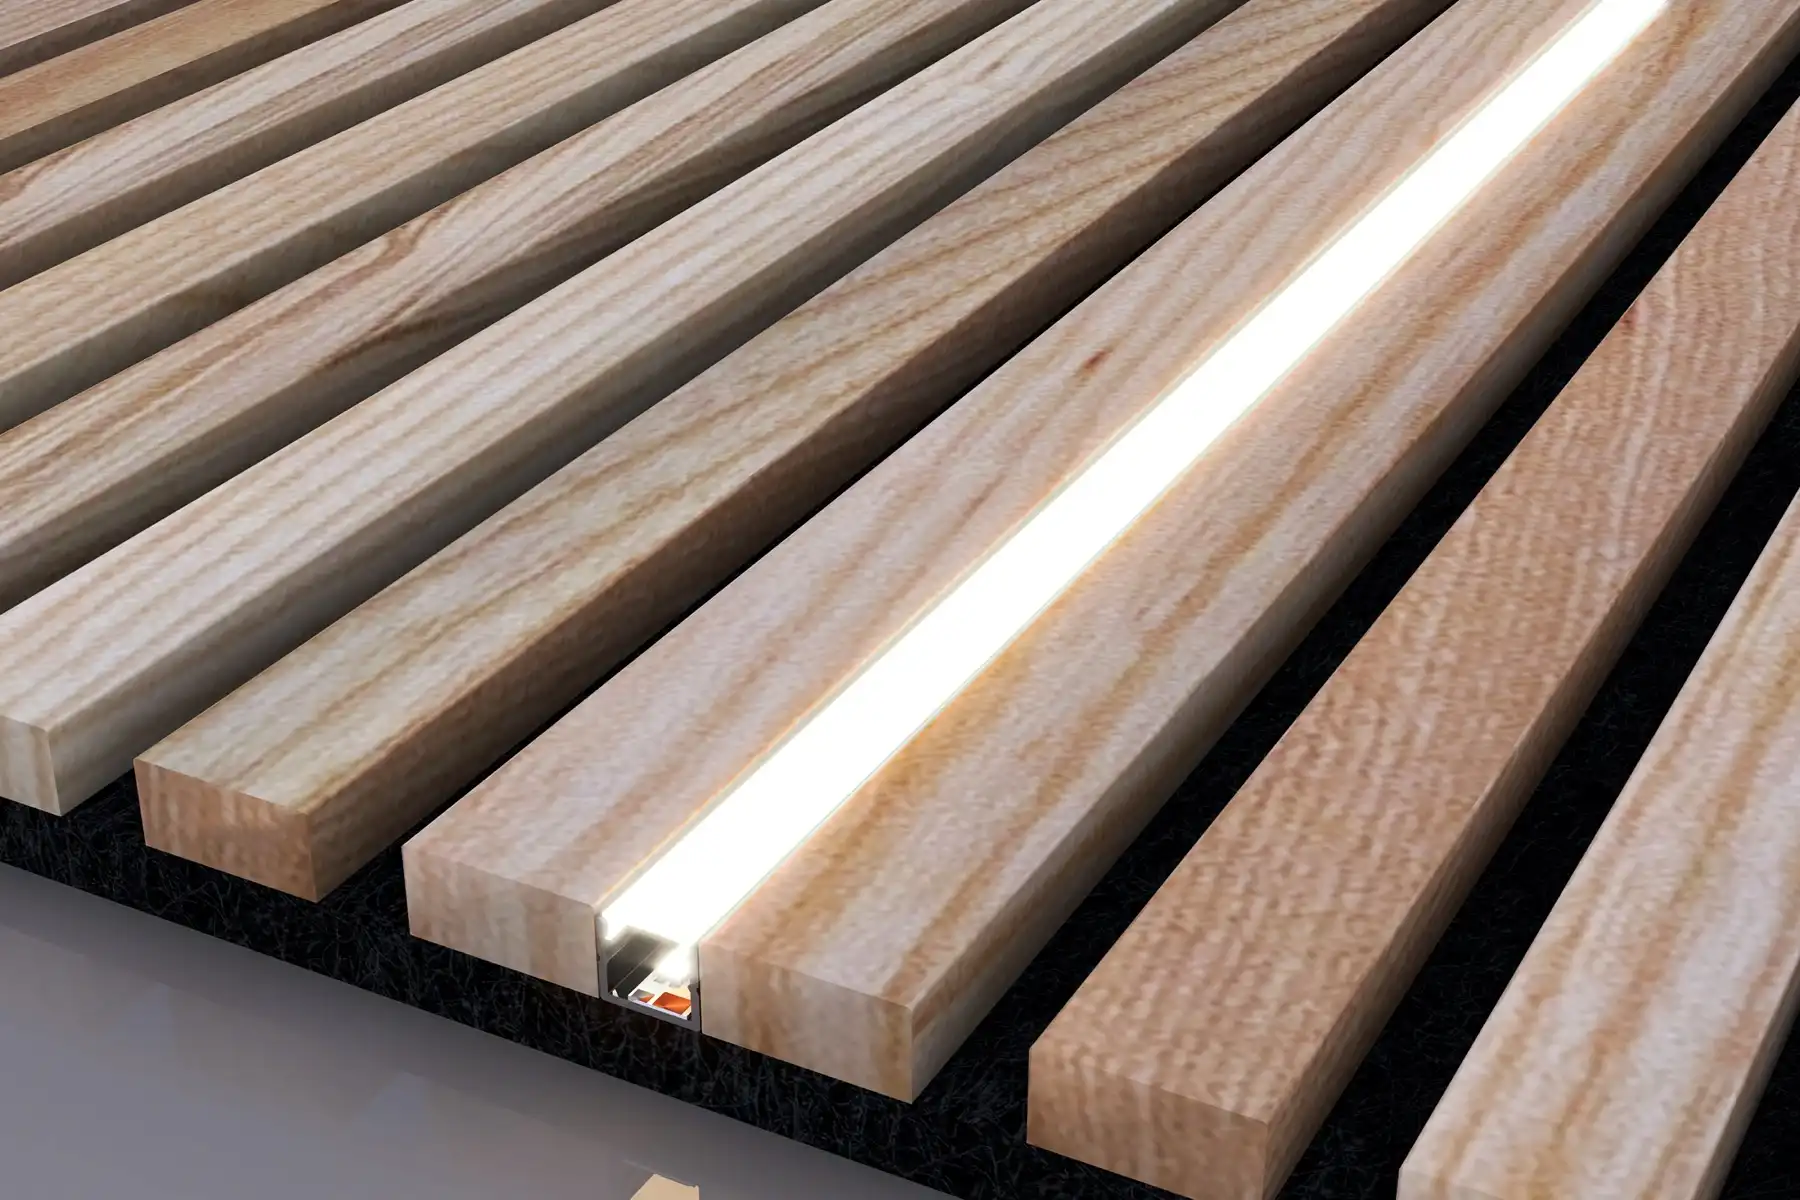
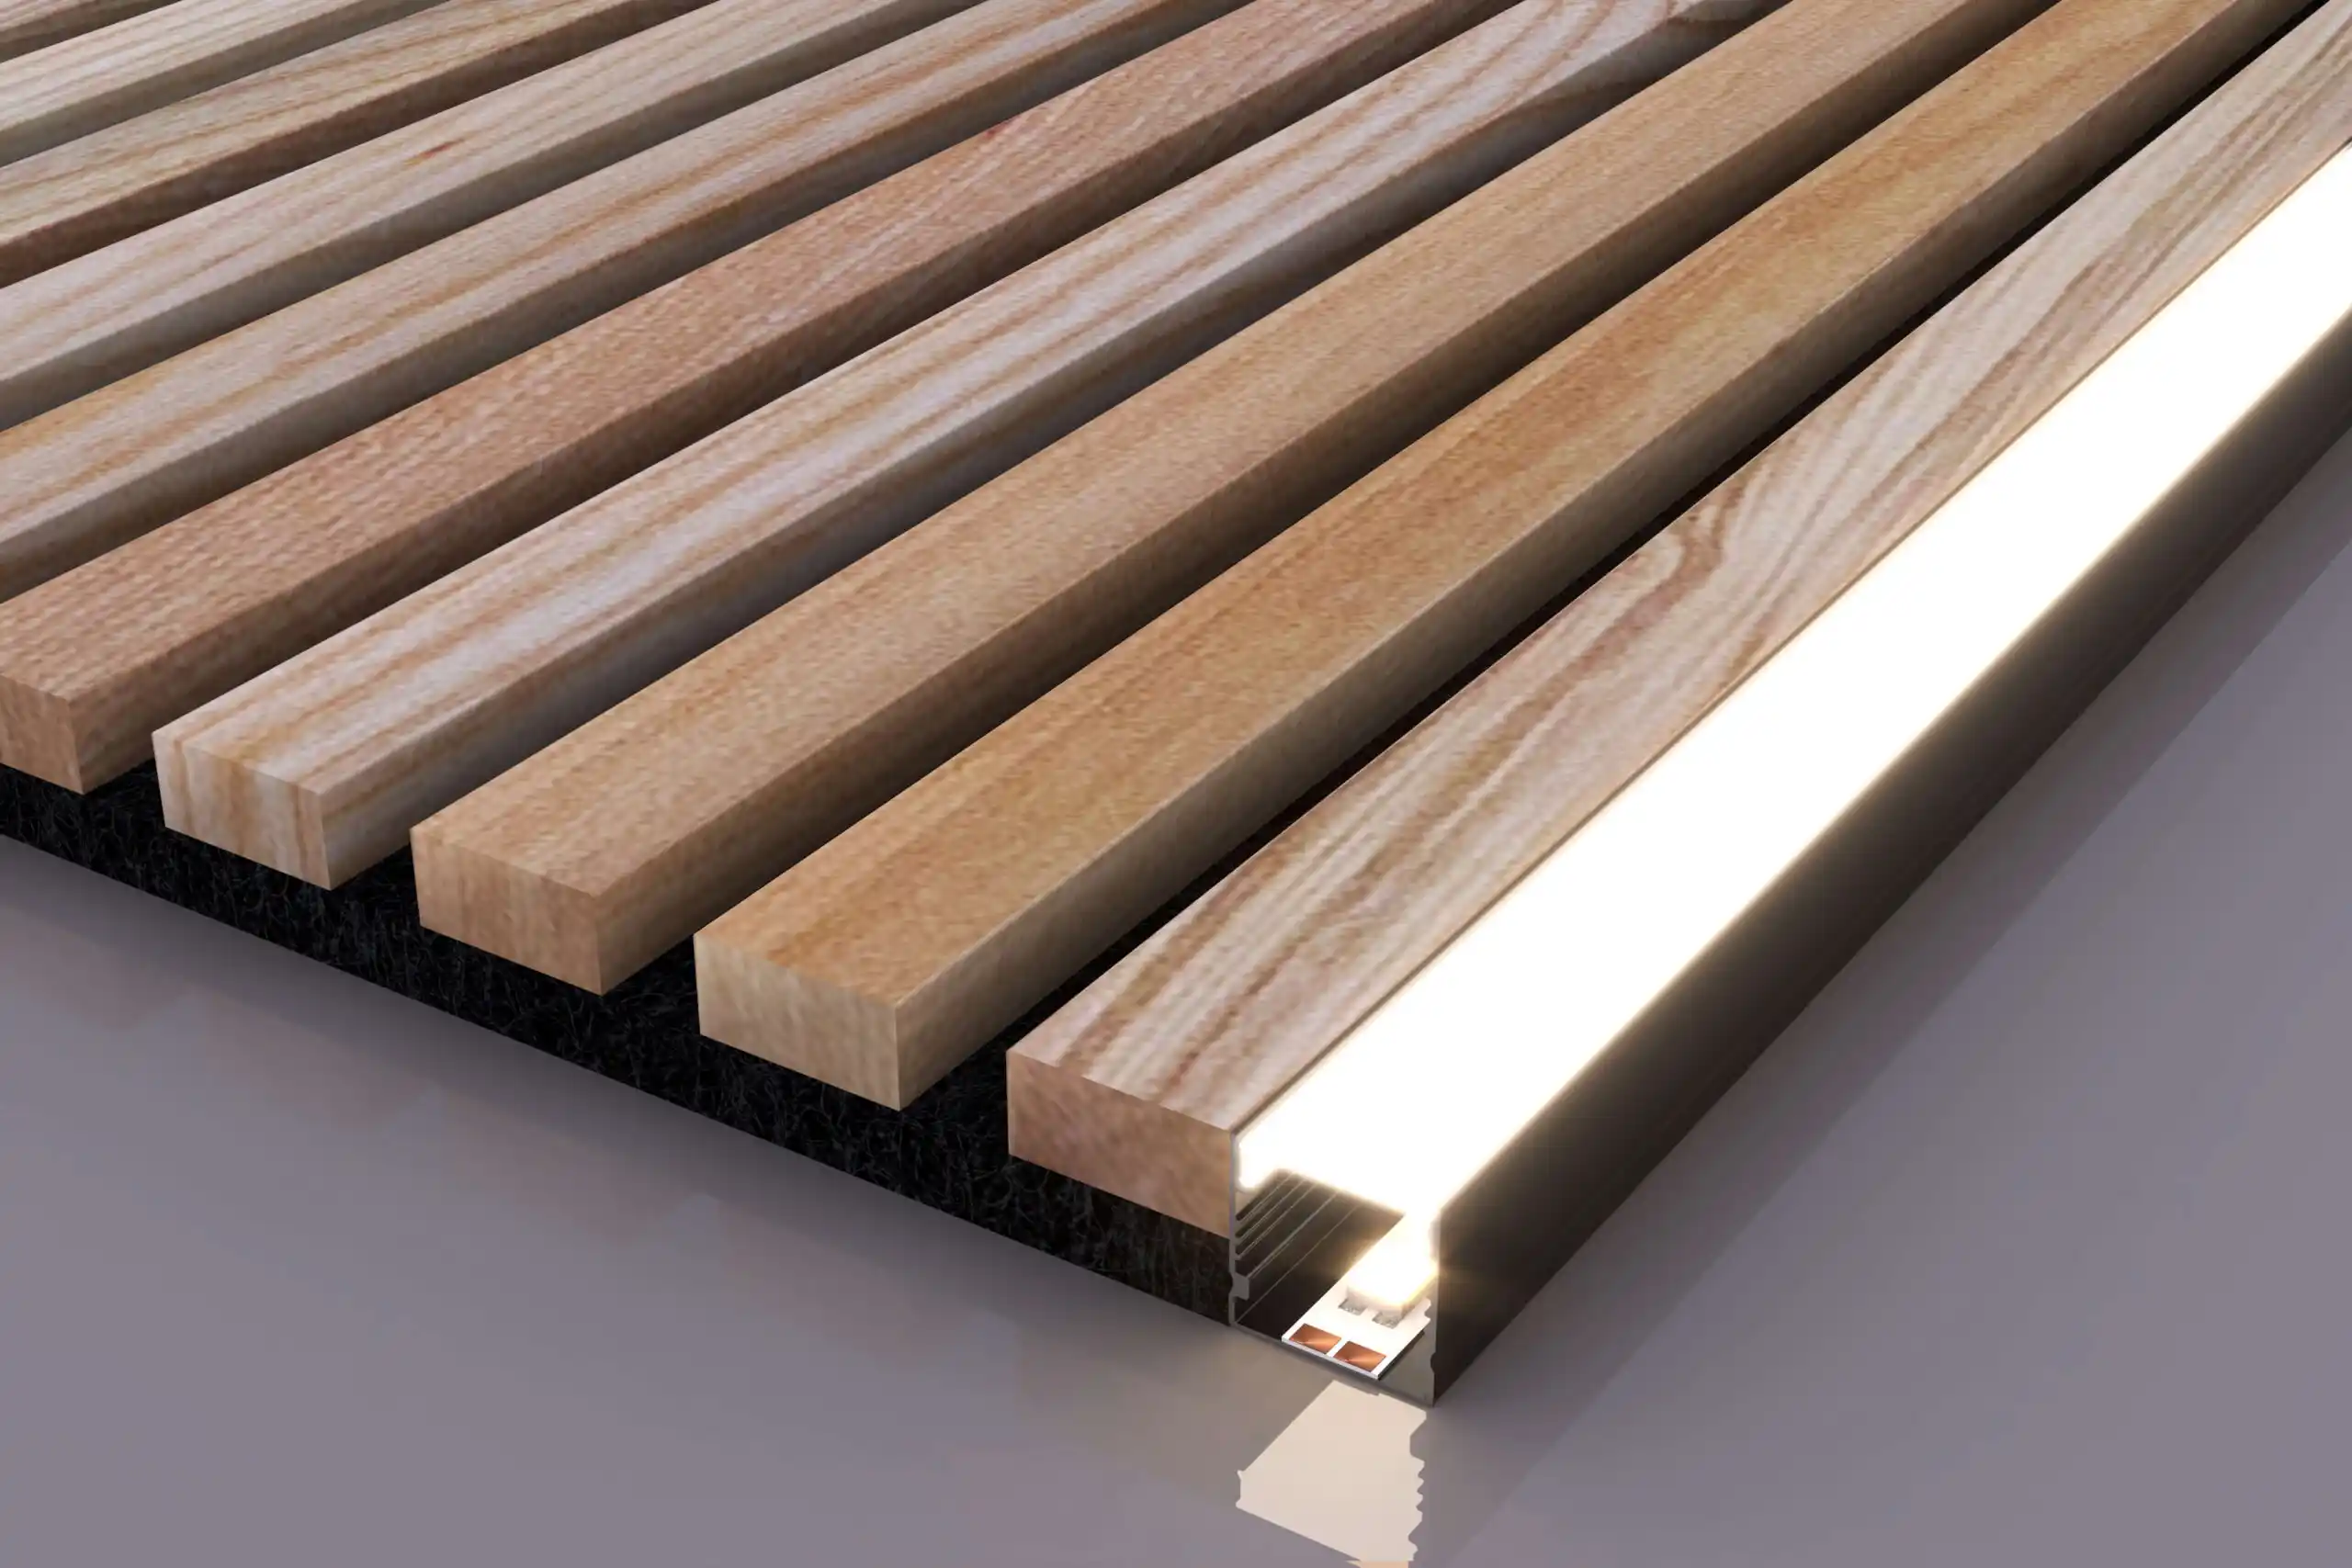
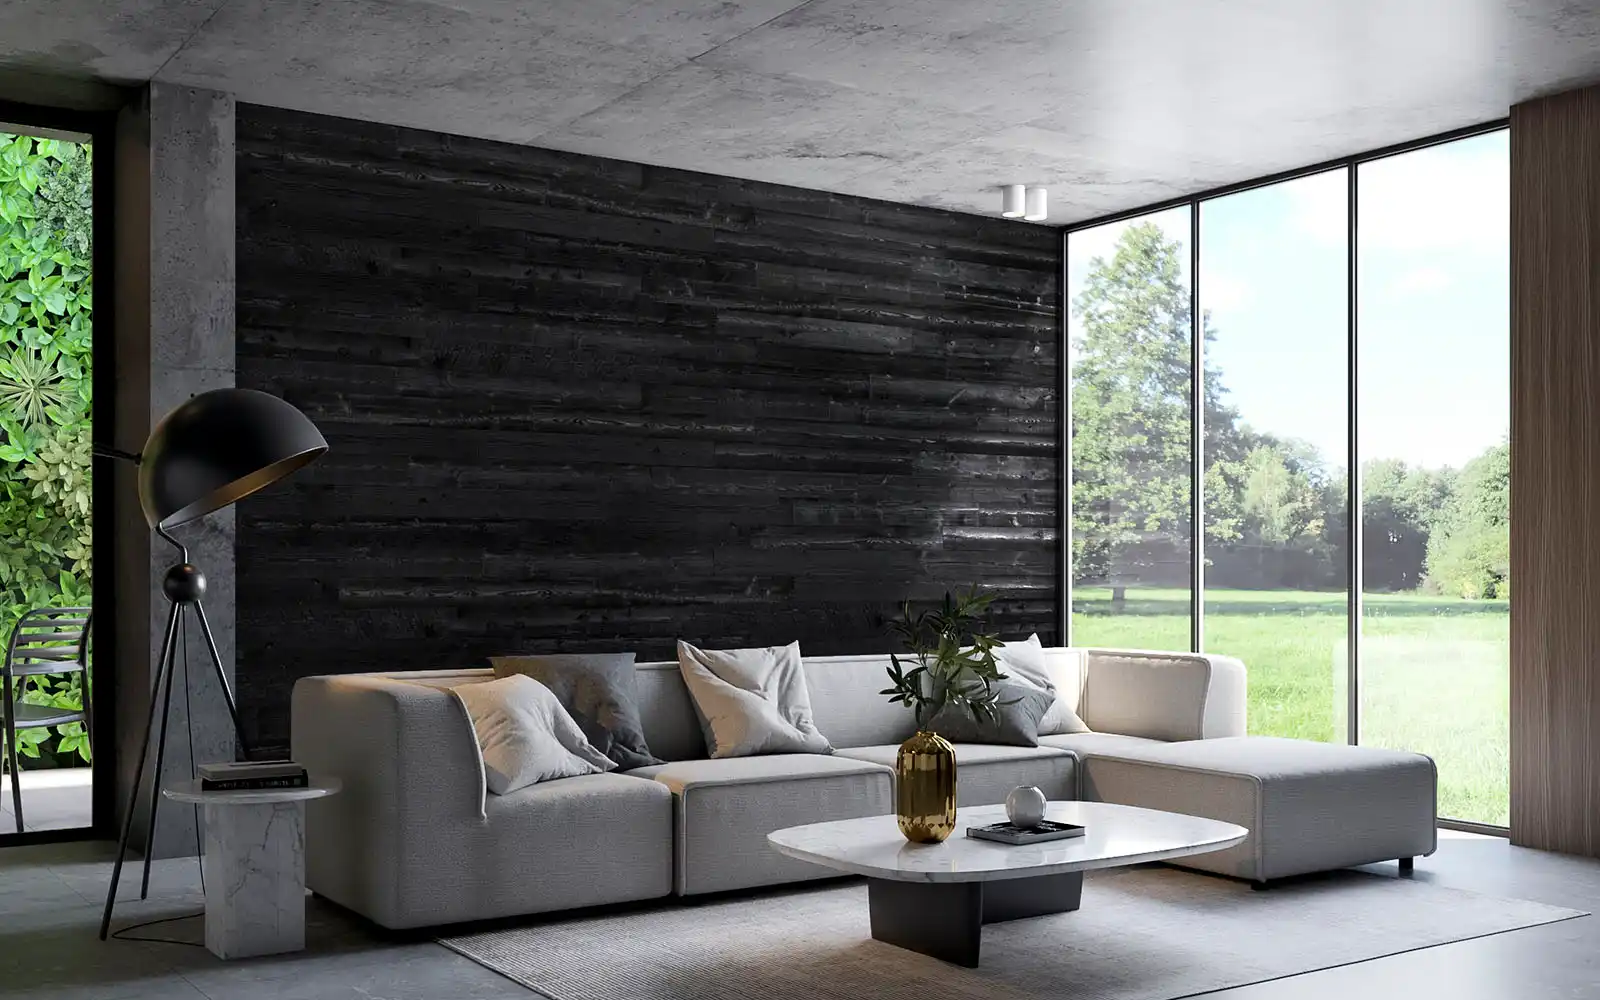
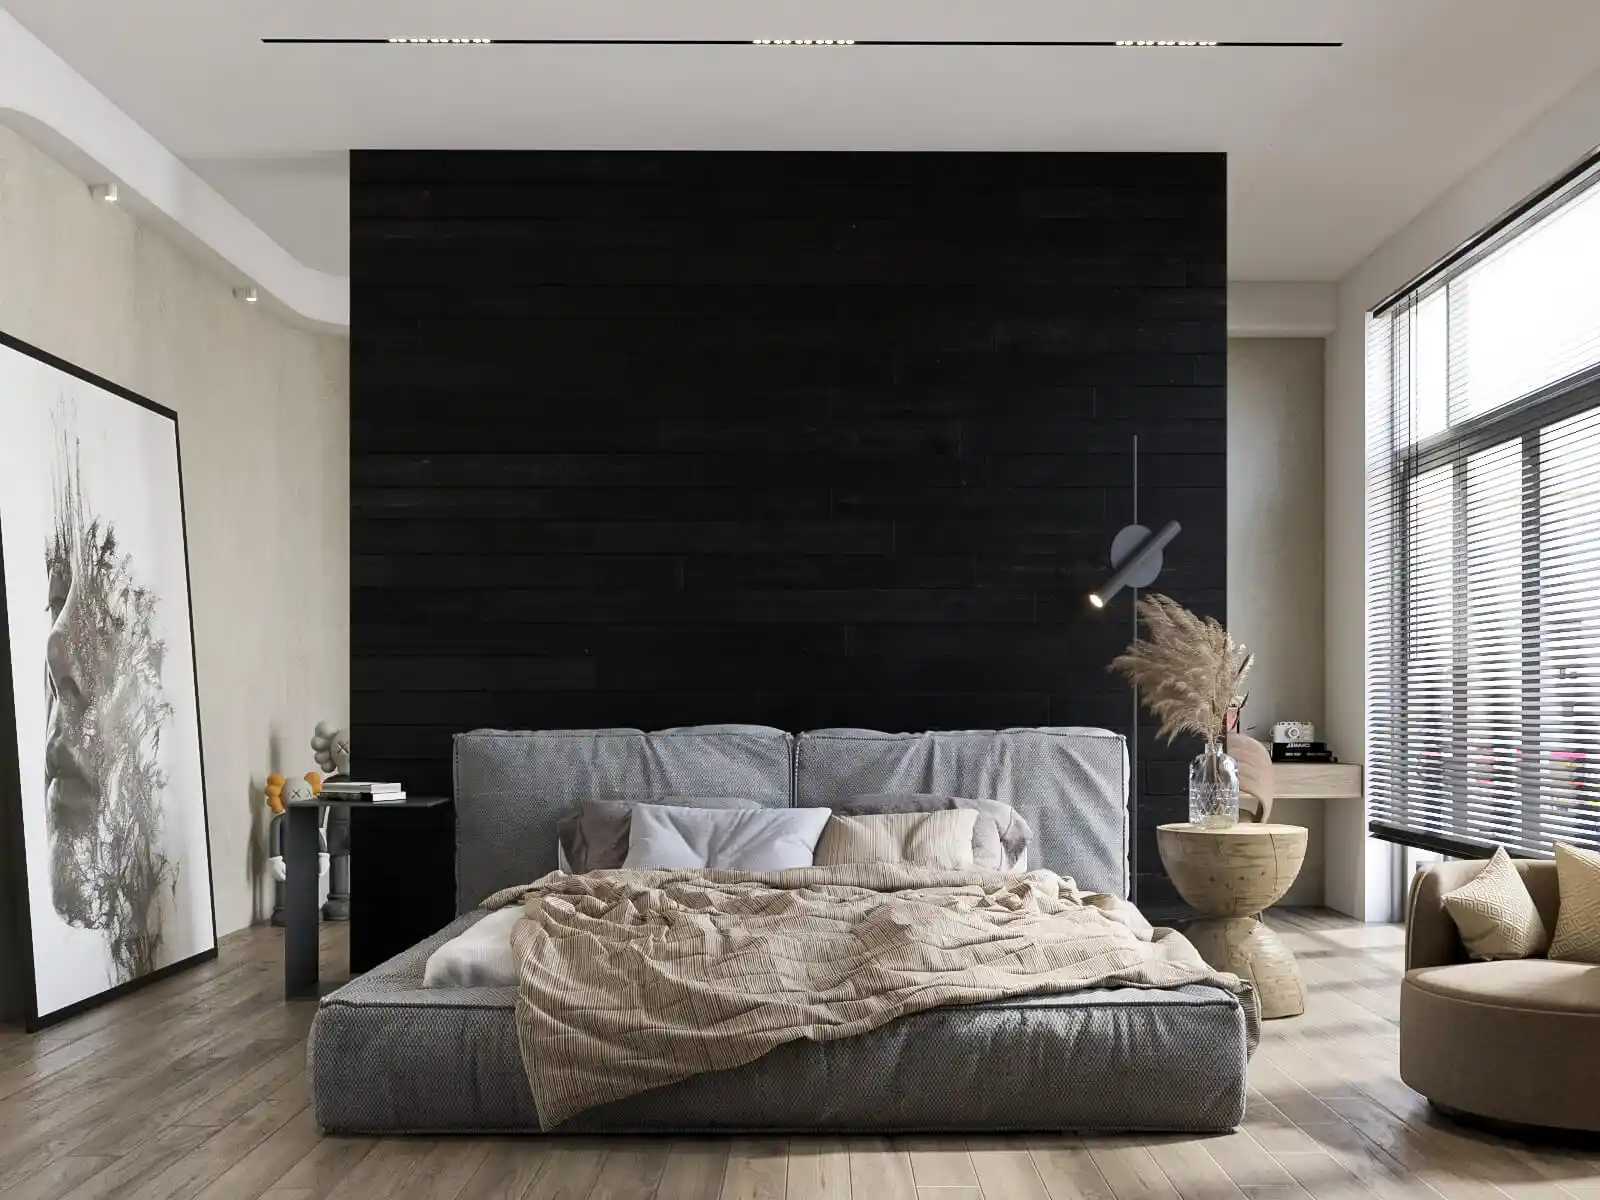
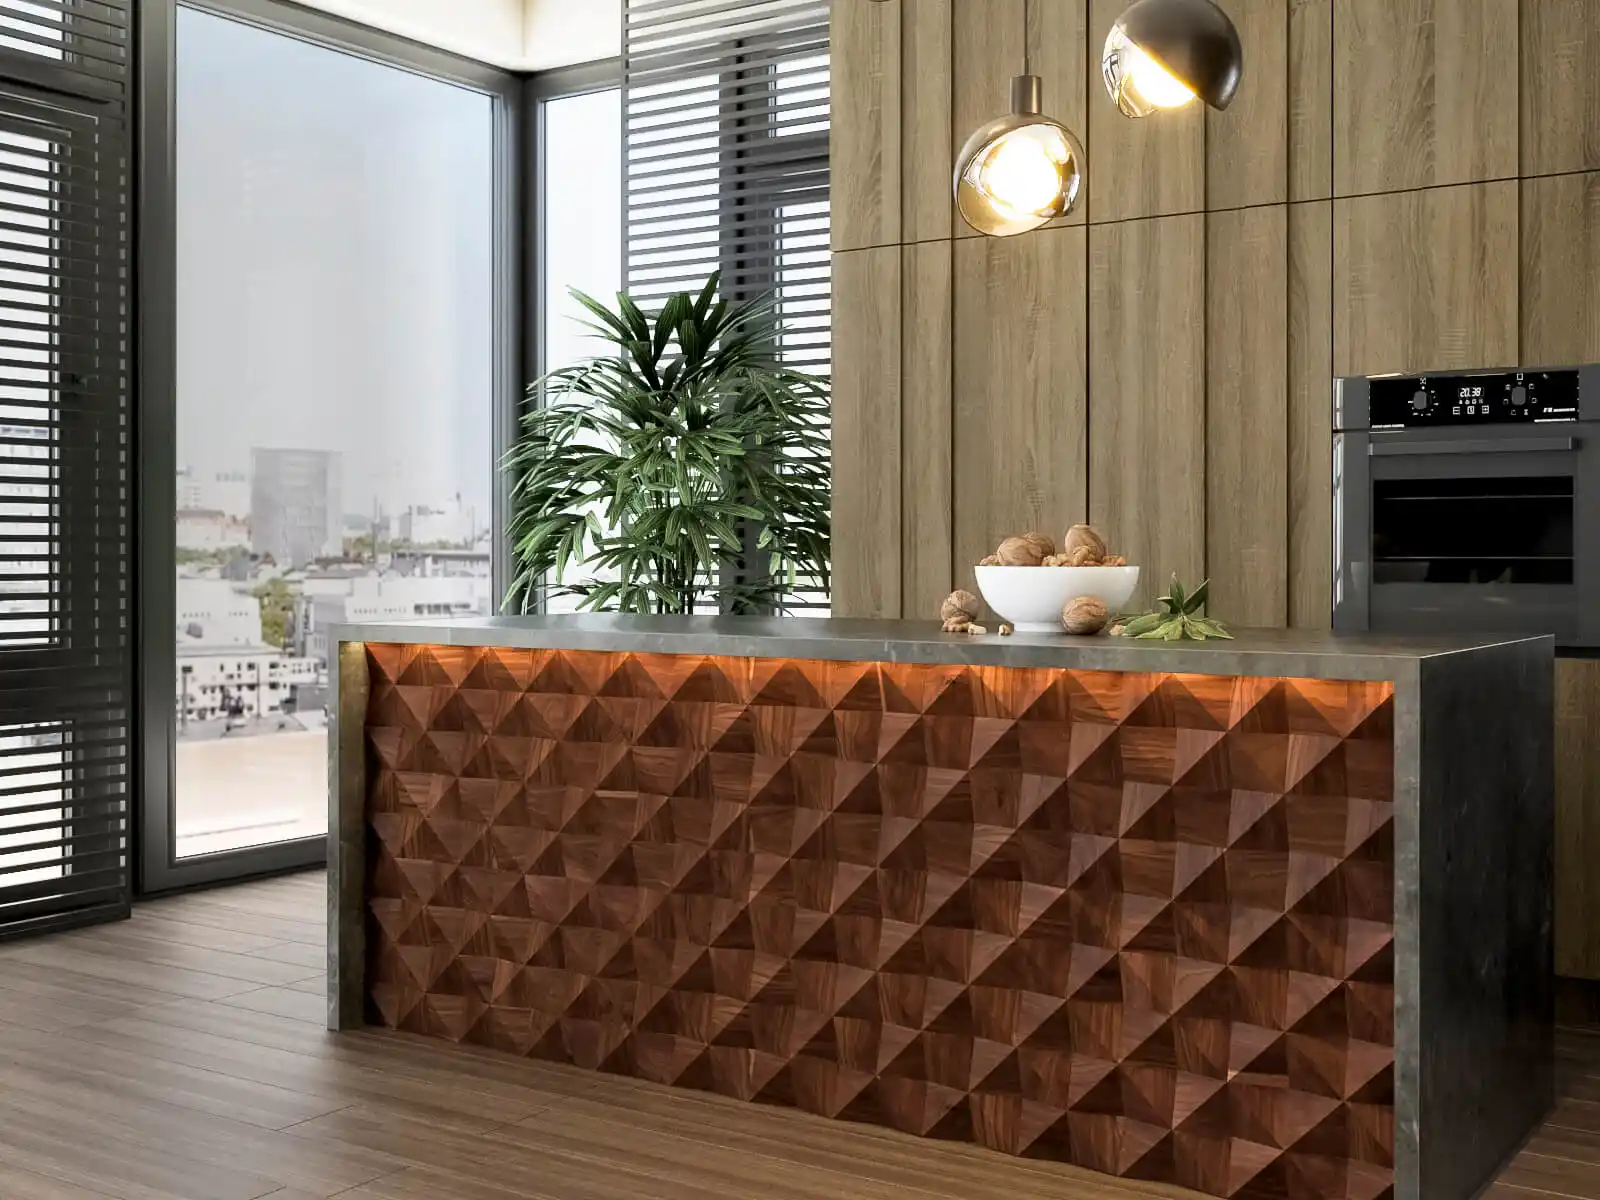
- Place LED strips in ideal spots: Position the strips in locations that enhance the desired lighting effect, such as under furniture or along the edges of the ceiling.
- Choose dimmable LED strips: Dimmable lights are ideal for bedrooms. You can also adjust their brightness for various moods and needs.
- Install LED strips with high-quality light output: Ensure the strips you choose provide consistent brightness and minimal color shifts. This way, you can ensure a smooth and even light display.
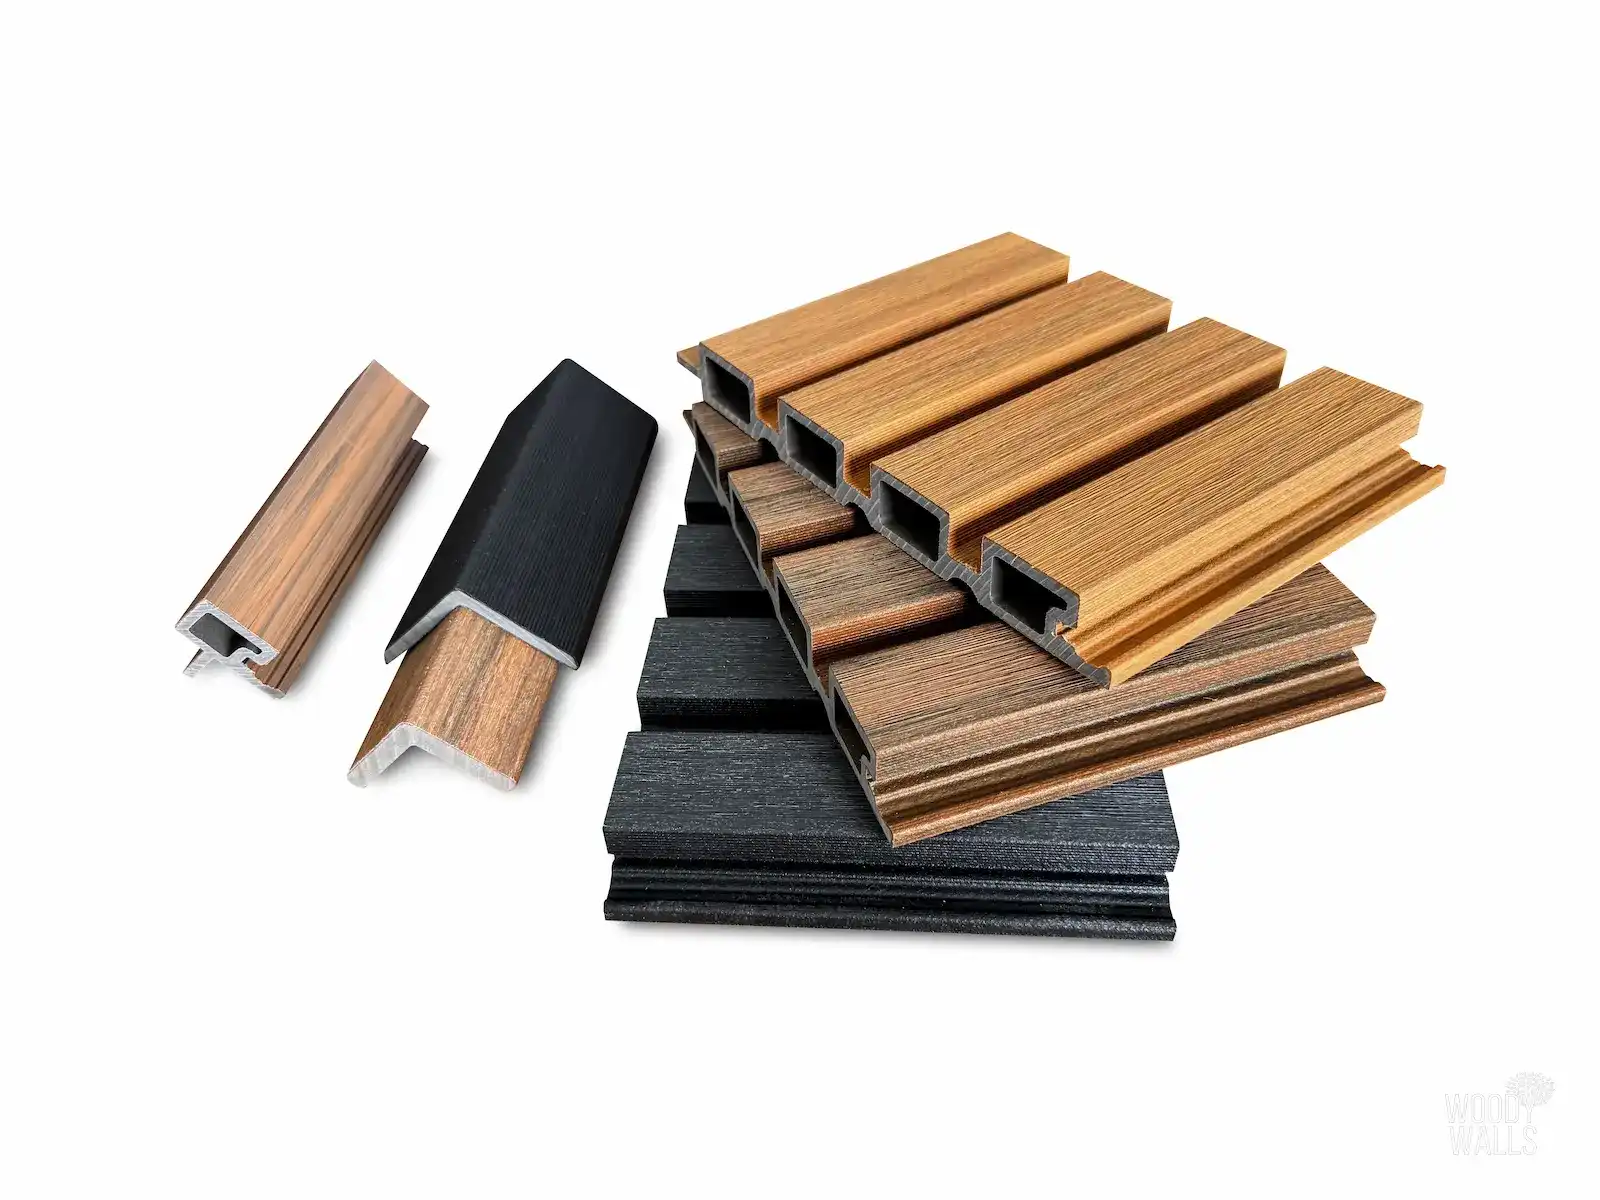
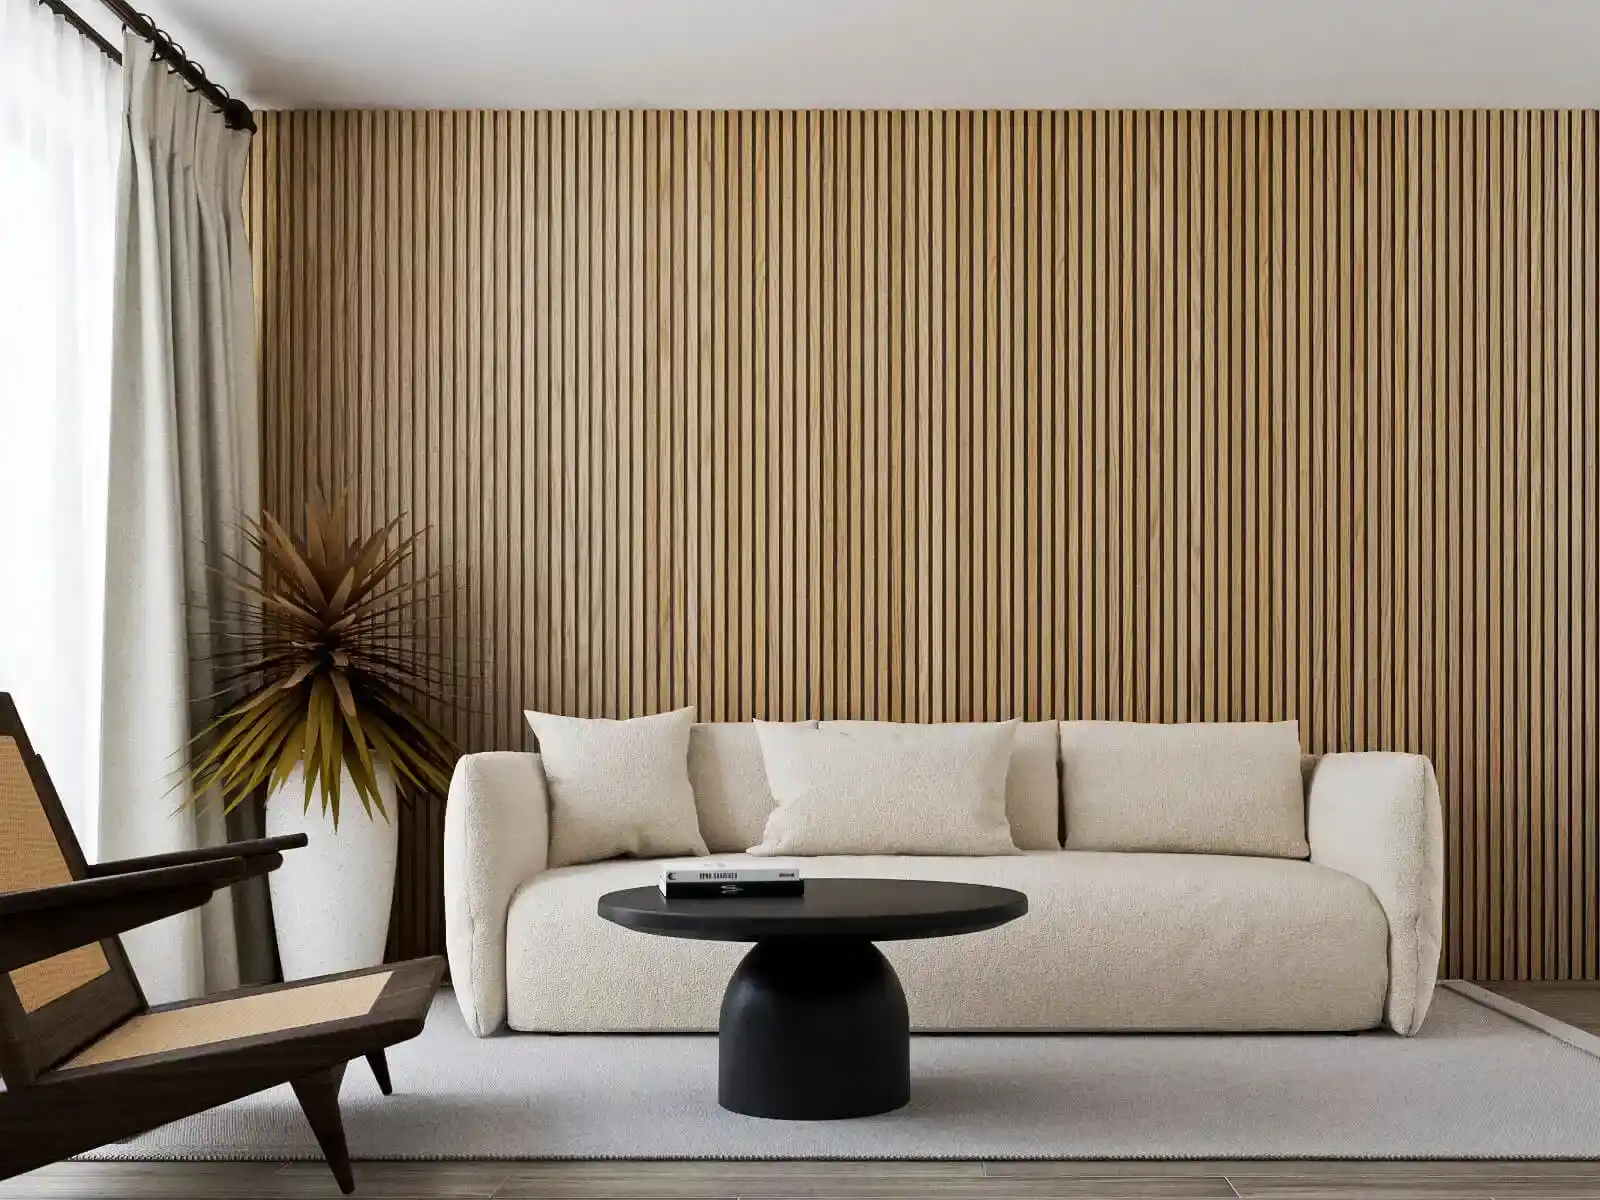
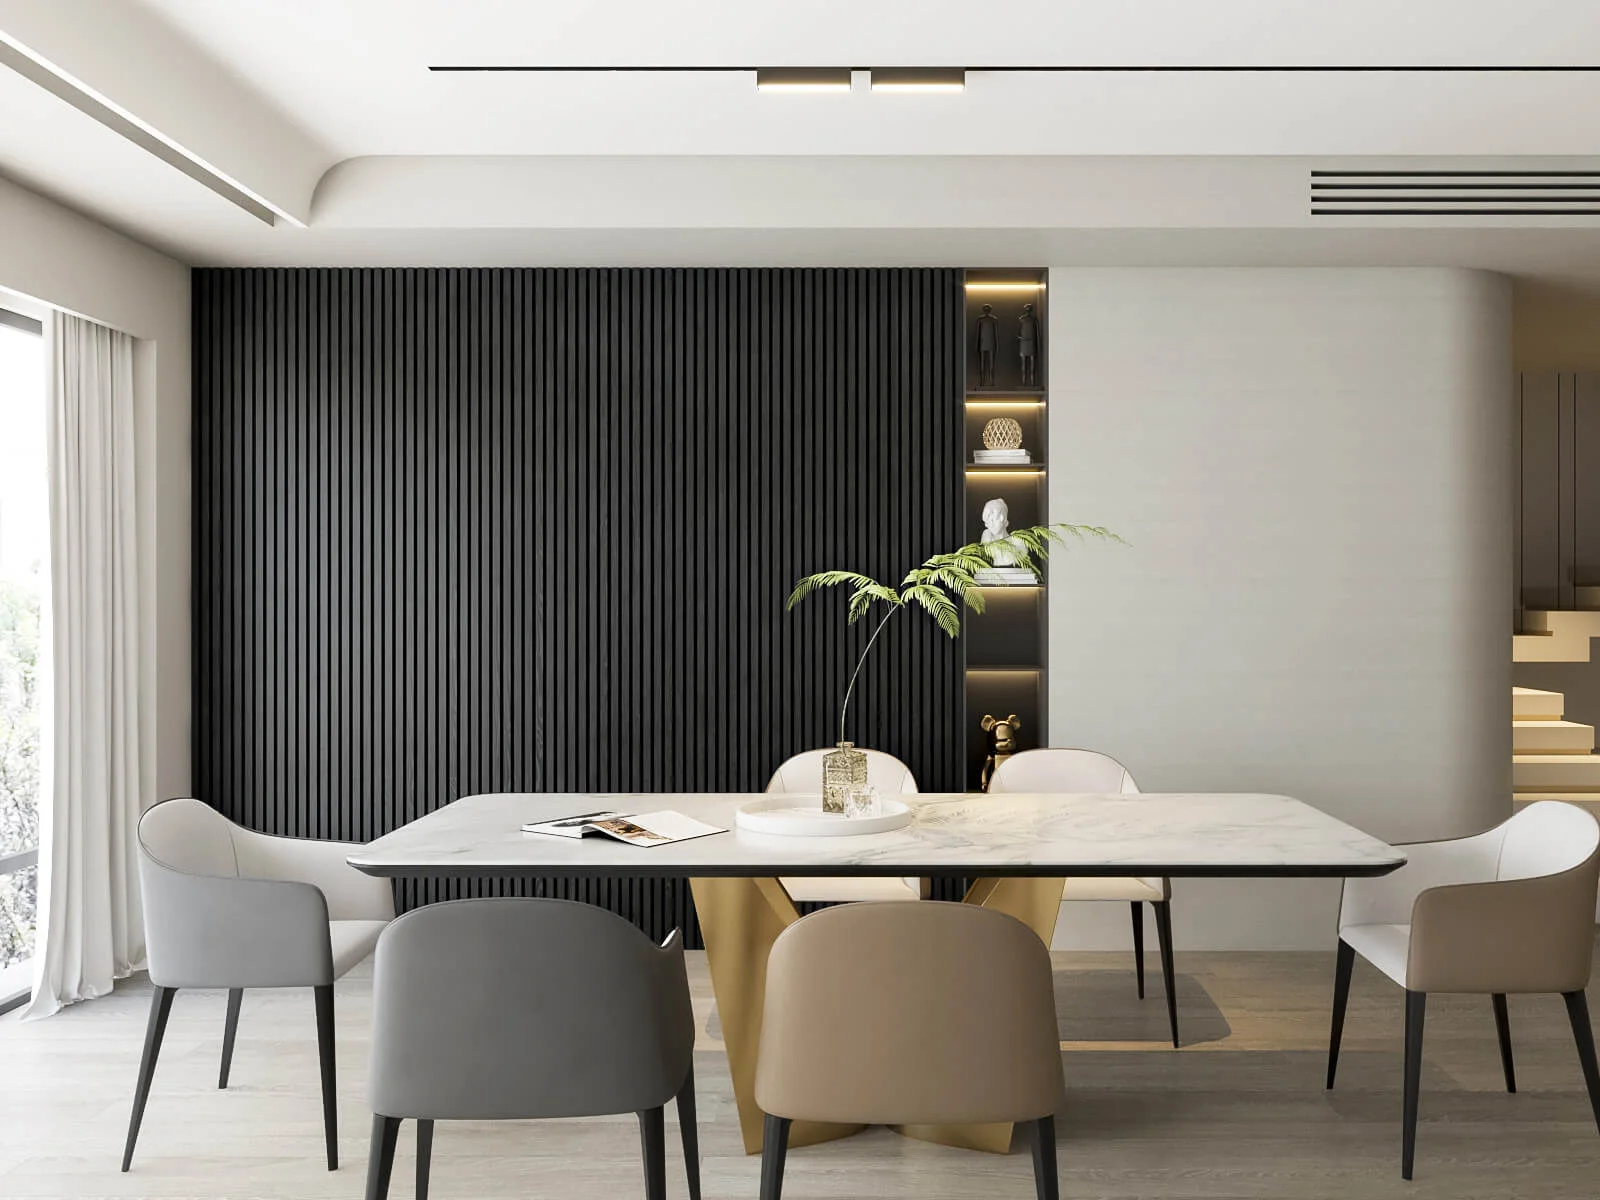
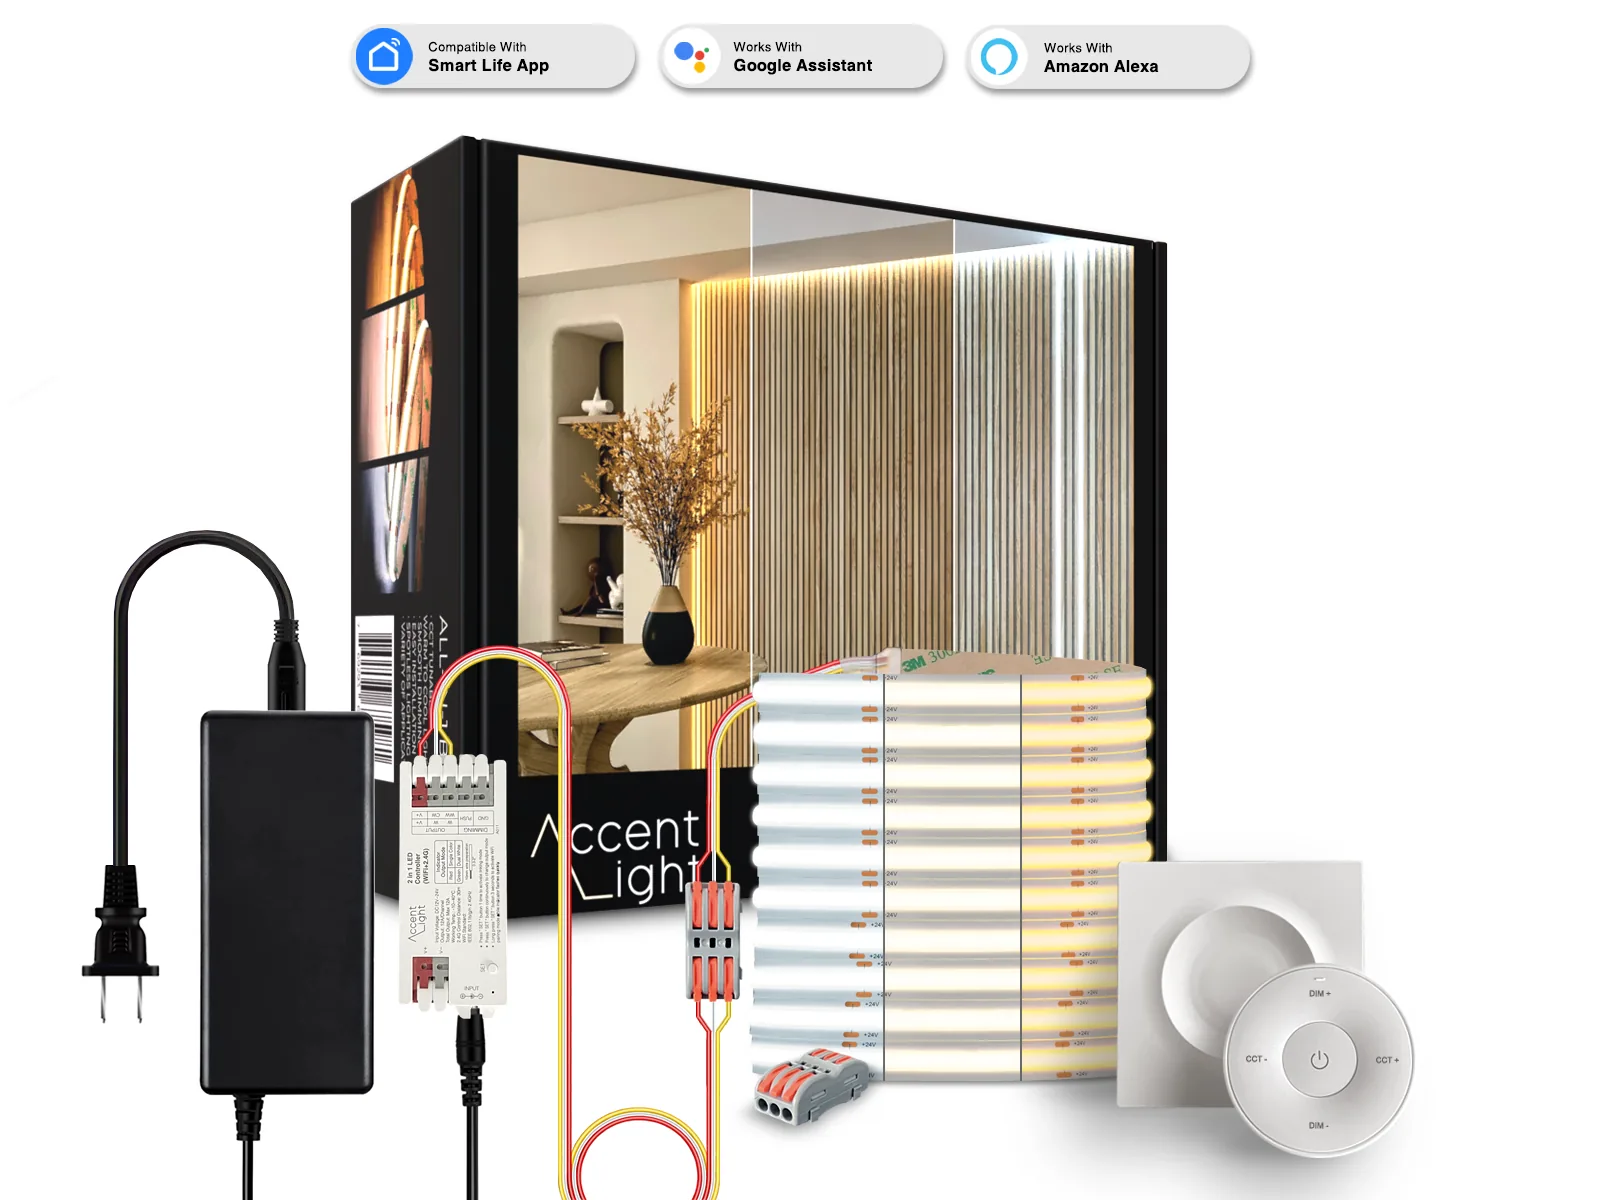
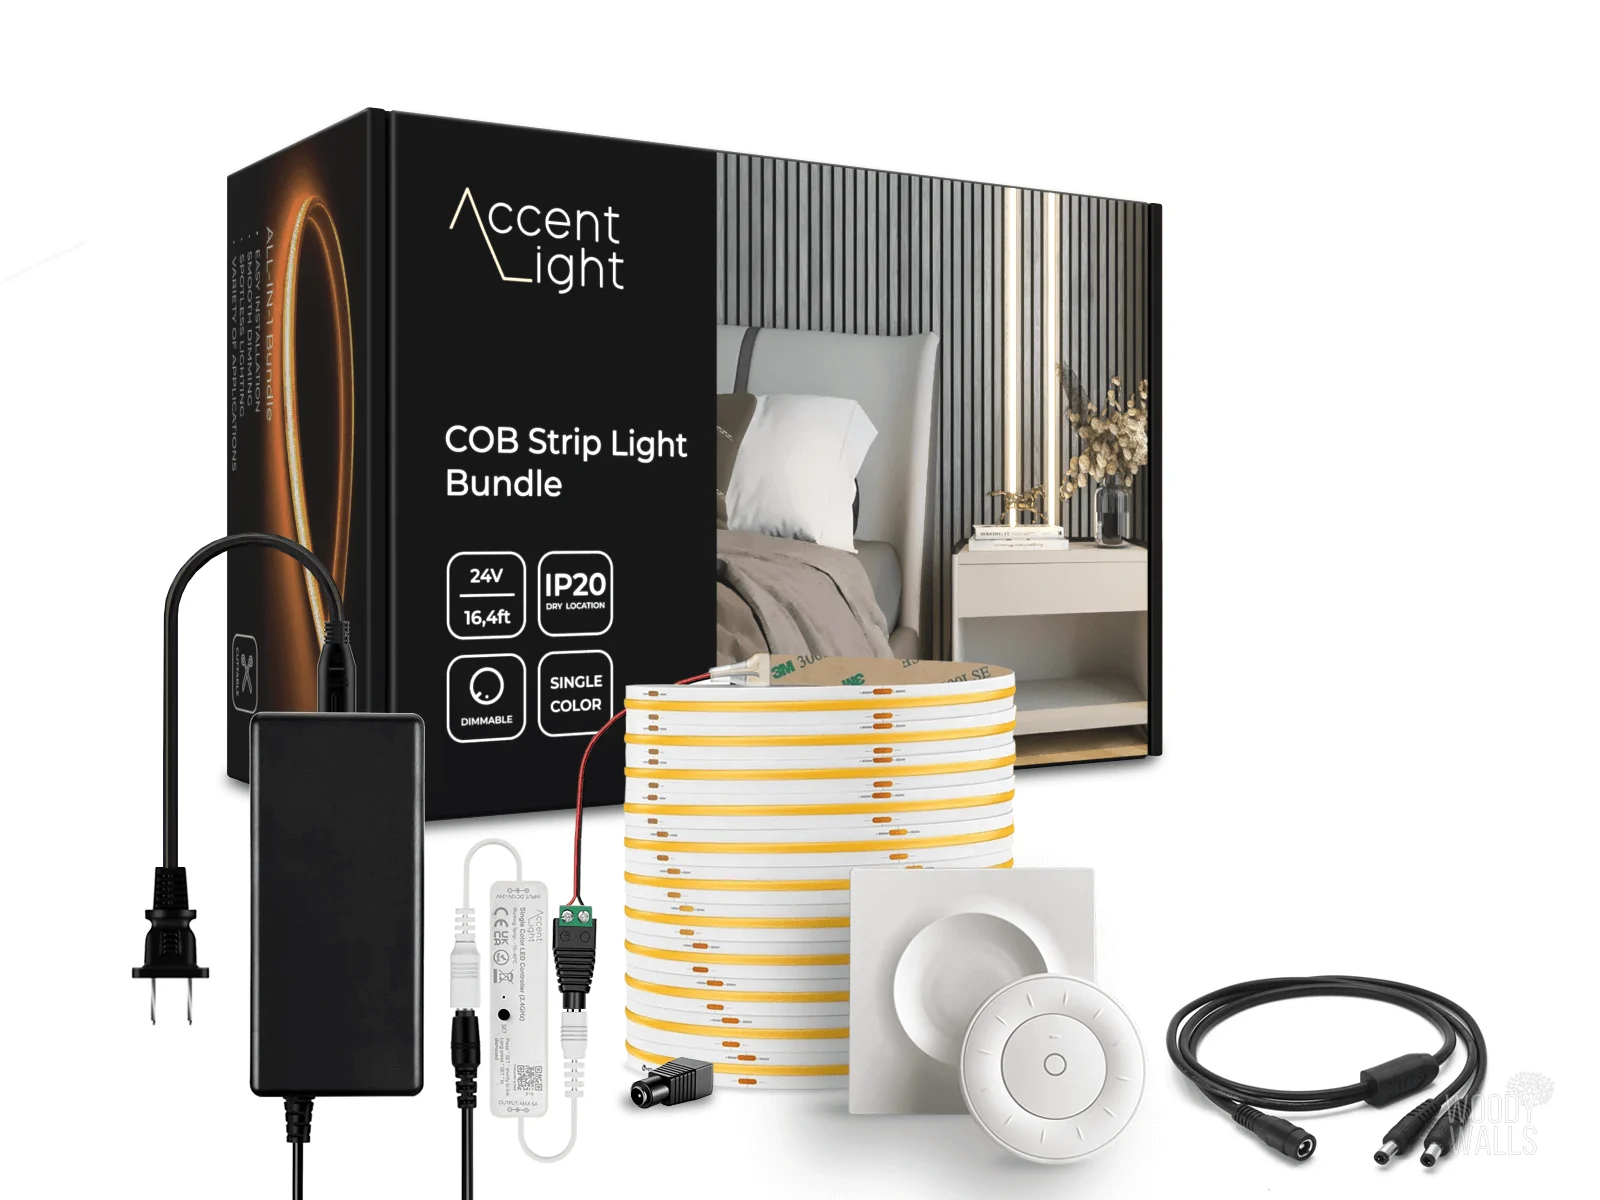
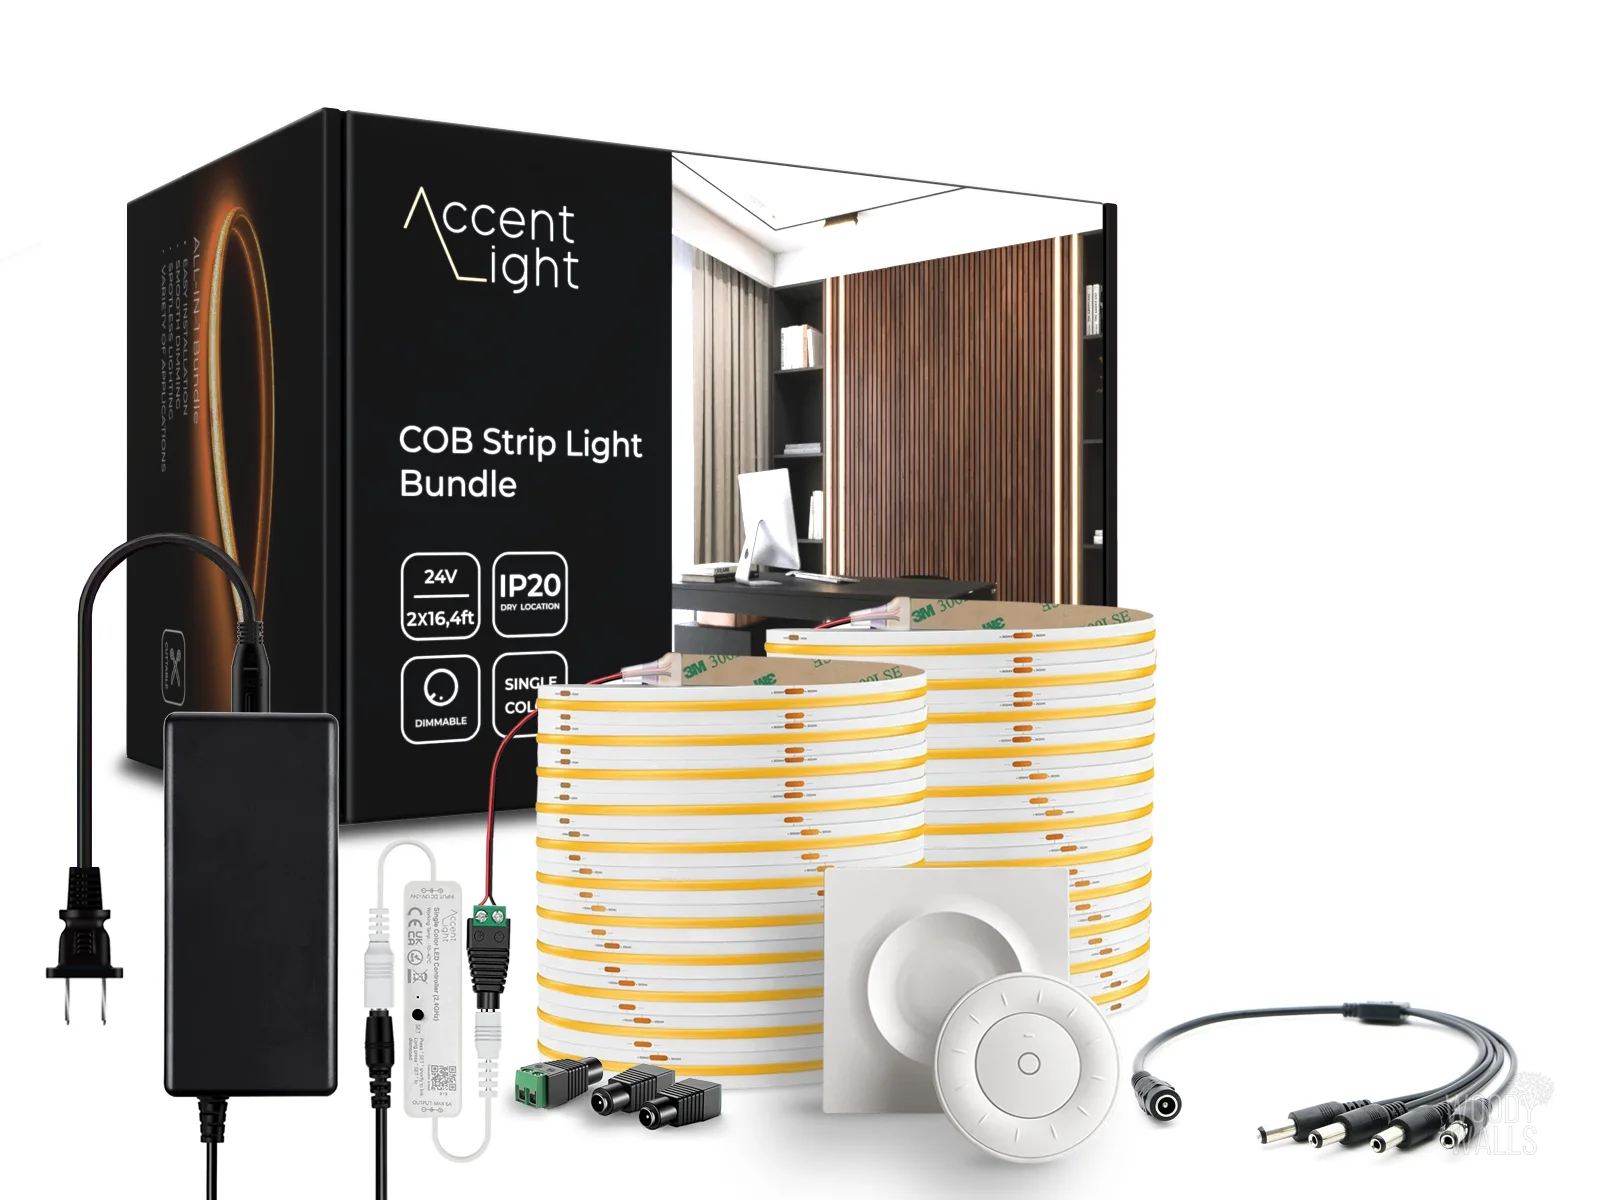
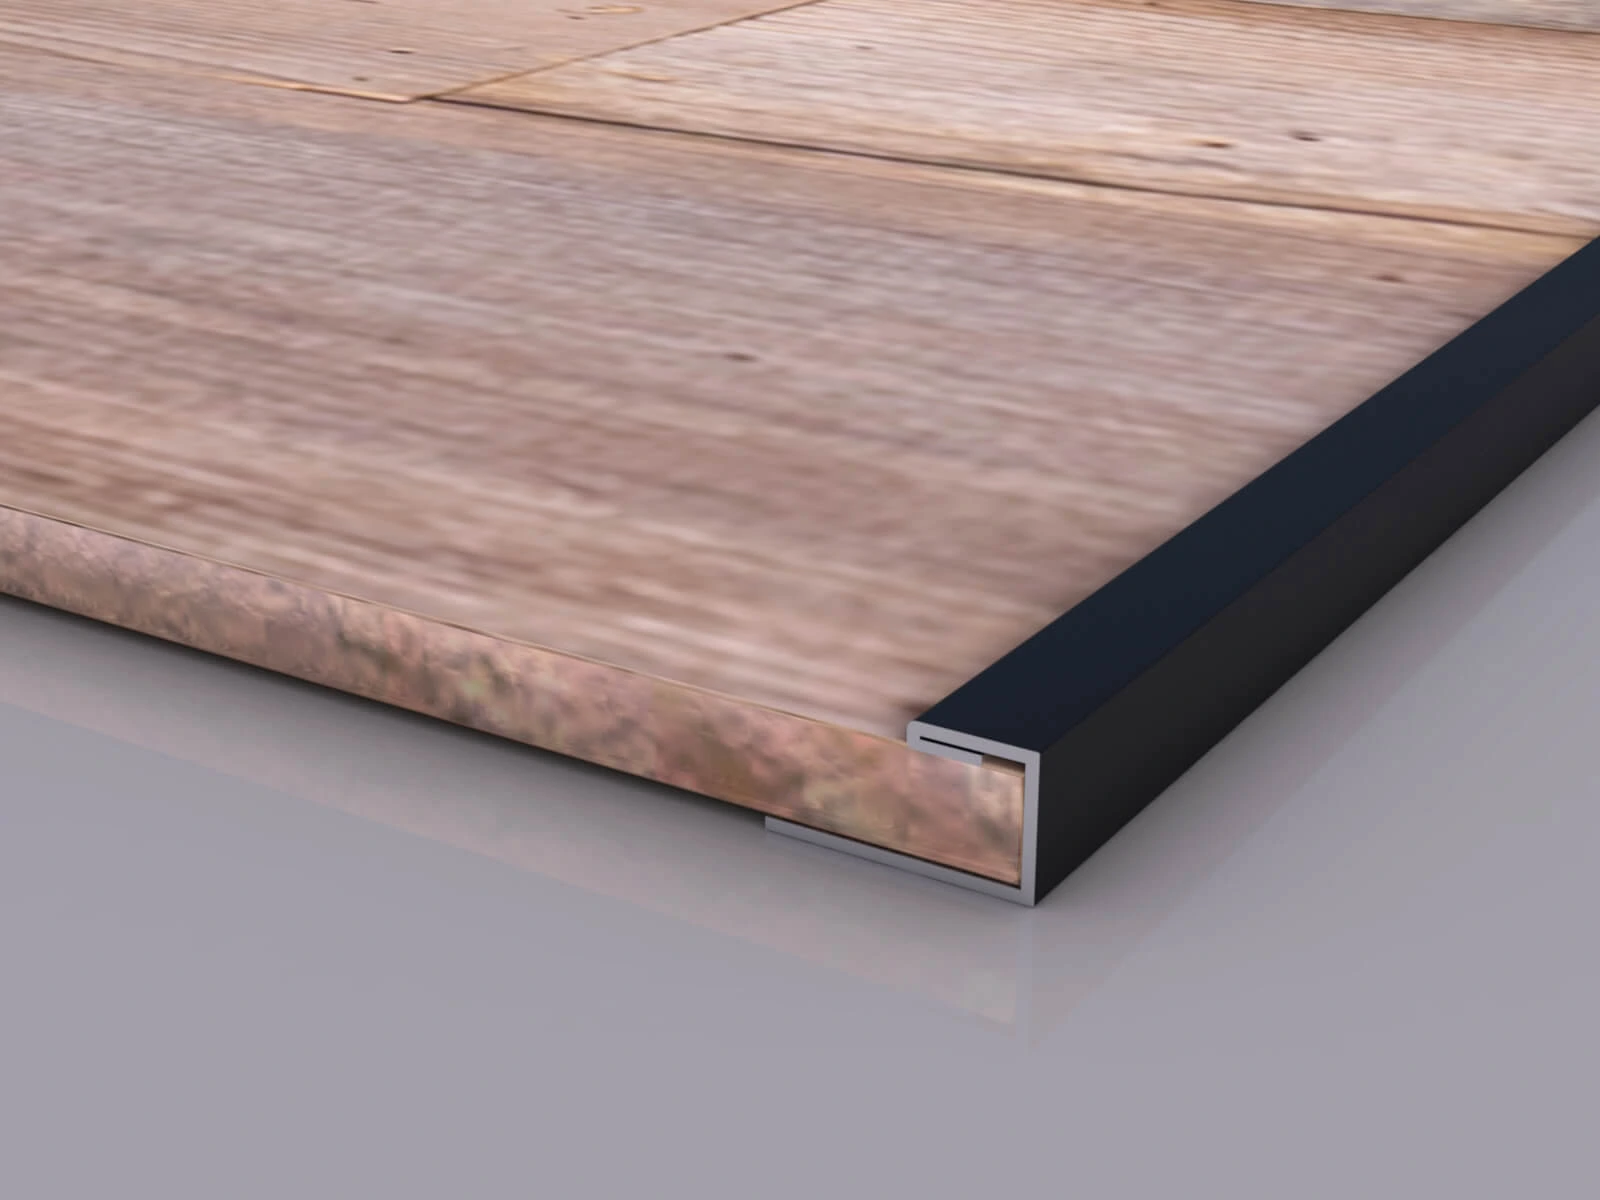
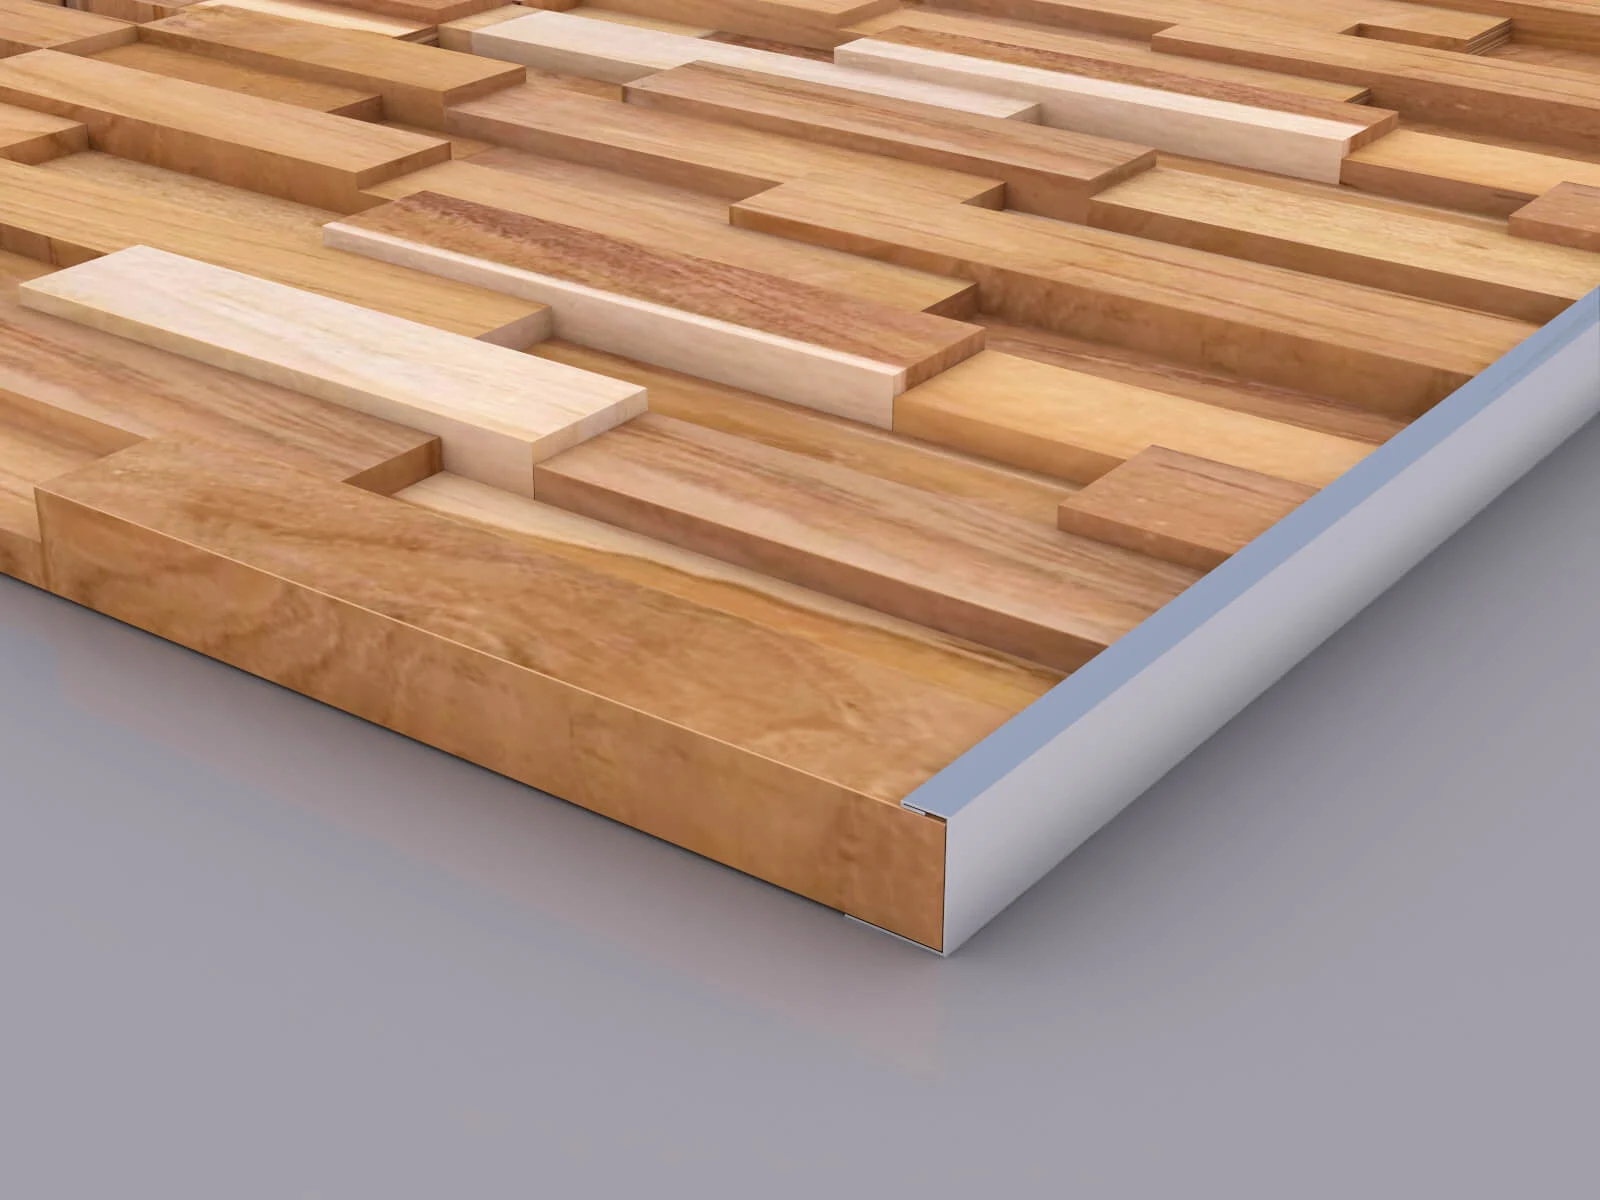
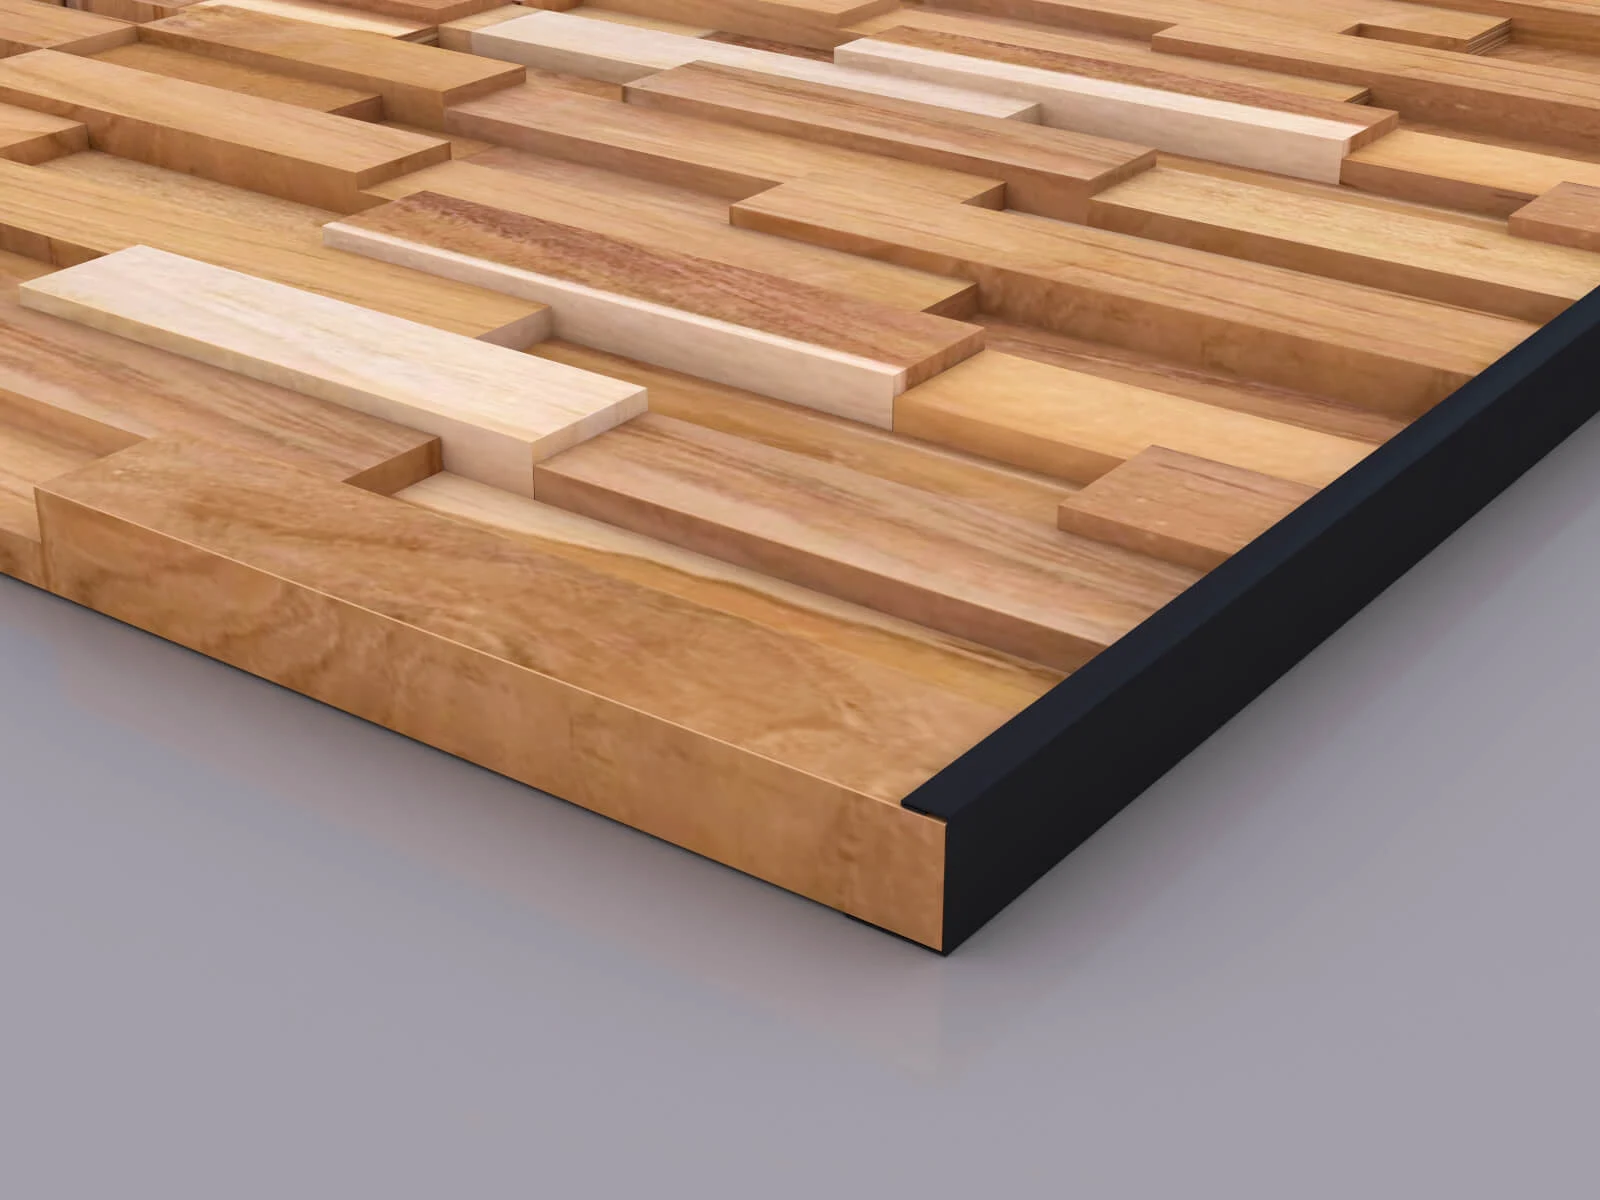
- Recommended LED strips & accessories for bedroom lighting: WoodyWalls offers excellent options for a sleek, modern look. Check out to find the best one for your bedroom:
Enhance Your Bedroom Lighting with Woody Walls LED Solutions!
As you know how to install LED strip lights in bedroom, you can customize the ambiance and enhance aesthetic appeal. Experiment with different lighting placements and colors to establish your favorite bedroom vibe. Explore more LED lighting options and innovative designs at WoodyWalls to take your room decor to the next level!