How To Remove Wood Paneling in 6 Simple Steps
To remove wood wall paneling, you need to use a ply bar to separate the paneling from the wall gently. Then, patch the hole and paint the wall to create a seamless look. This article will discuss the detailed steps on how to remove wood paneling effectively. Keep scrolling down to learn!
How To Remove Wood Paneling?
The instructions on how to remove wood panels include six key steps. Let’s see what you need to do in detail!
Step 1: Gather tools and materials
First, prepare the necessary tools and materials for the project. Here is your checklist:
- Ply bar
- Screwdriver
- Utility knife
- Hammer
- Nail punch
- Putty knife
- Sandpaper
- Dust mask
- Primer
- Paint
Step 2: Prepare the room
Before you start, it’s a good idea to protect your space while removing the panels. Clear away any small items and store them in a secure place. It may be hard to move the big items, so you just need to cover them with a tarp.
Next, remove the light switch, outlet, molding, or baseboards. You need a screwdriver here to take off these items safely.
Step 3: Remove the paneling with a ply bar
Here is the most important step! We will break it down into three smaller tasks to ensure you handle your paneling properly.
- Find the edges: Start around the corner as it may feel weakest. Then, lift the paneling with a utility knife. You can notice a gap between the wall and the paneling.
- Insert your ply bar: Insert your ply bar into the created gap. If the gap seems too tight, tap the ply bar with a hammer.
- Remove the paneling: After wedging the ply bar in place, apply consistent pressure to gently separate the paneling from the wall. You need to move along the edge and gradually loosen each panel. This process requires considerable effort and patience. Hence, keep calm and take breaks as needed. Be careful not to use too much force to avoid damage.

Step 4: Patch the holes
Now you know how to remove wood panels from walls, but your task doesn’t stop there! Inspect the wall carefully after taking the panels out. You can use a hammer and nail punch to remove the remaining nails. Remember to check your drywall for damage and nail holes.
If you notice any holes, use a putty knife to apply a thin layer of joint compound. Spread it out and dry it according to package directions. When it’s dry, sand the area with sandpaper until it is level with the rest of the wall.
Step 5: Sand the wall
Now, it’s time to plaster the whole wall smooth. You can sand off any leftover adhesive and bumps, where the panels were removed, with a bit of sandpaper. Then, brush off the dust using a dust brush. Remember to cover your nose and mouth with a dust mask while doing so.
Step 6: Paint the wall (Optional)
This step is optional. If you decide to paint your wall, make sure to add a primer to cover up any discoloration. You simply pour the primer into a paint tray, dip a roller, and apply it in vertical strokes.
Once the wall looks dry, pour the paint into a clean try. Similarly, use a roller to apply the paint in uniform strokes. Let the first coat dry completely before applying the second one.

Common Mistakes to Avoid When Removing Wood Paneling
The steps on how to take down wood paneling seem simple, but you may accidentally ruin the wall if you make these mistakes:
Remove paneling too quickly
If you rush the process, the wall will suffer from unnecessary and costly damage. Instead, go slowly, applying gradual pressure as you pry the panels from the wall.
Careless inspection
The preparation step is essential because nails or hidden damage before removal can lead to damage. It would be best to check the room first and start prying at the corner of the paneling to minimize risks.
No safety measures
You should wear protective gear such as gloves, a dust mask and safety glasses when removing the paneling. If you are going to use solvents or chemicals, make sure to ventilate the work area beforehand.
Overlook electrical hazards
You must turn off the power in your room to ensure safety. As you pry off the paneling, carefully check for hidden wires and pipes behind the wall.
Lack of testing for older homes
In homes built before the 1980s, the adhesive securing wood panels may have asbestos. If you are not sure about this, test it before starting the removal process.
Wrong disposal of old paneling
The adhesive holding wood panels in homes built before the 1980s may have asbestos. You may want to test this before commencing with the removal process if you aren’t certain.

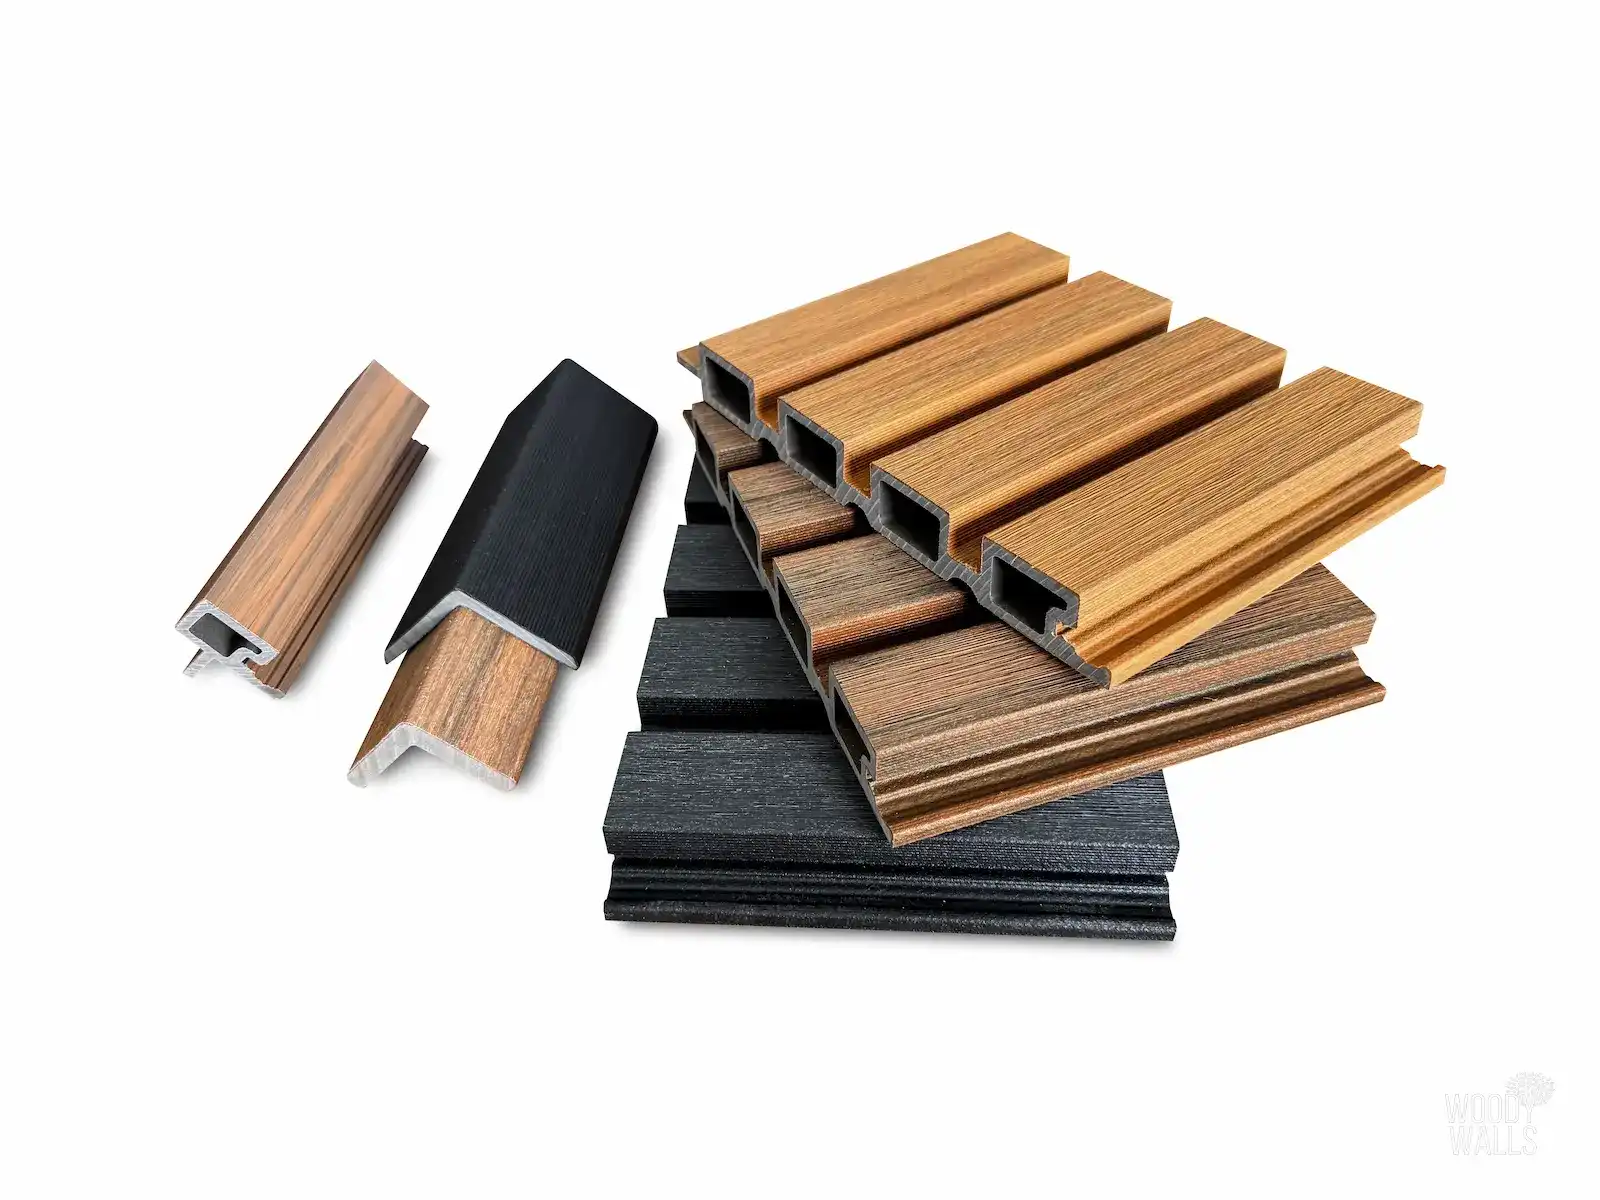
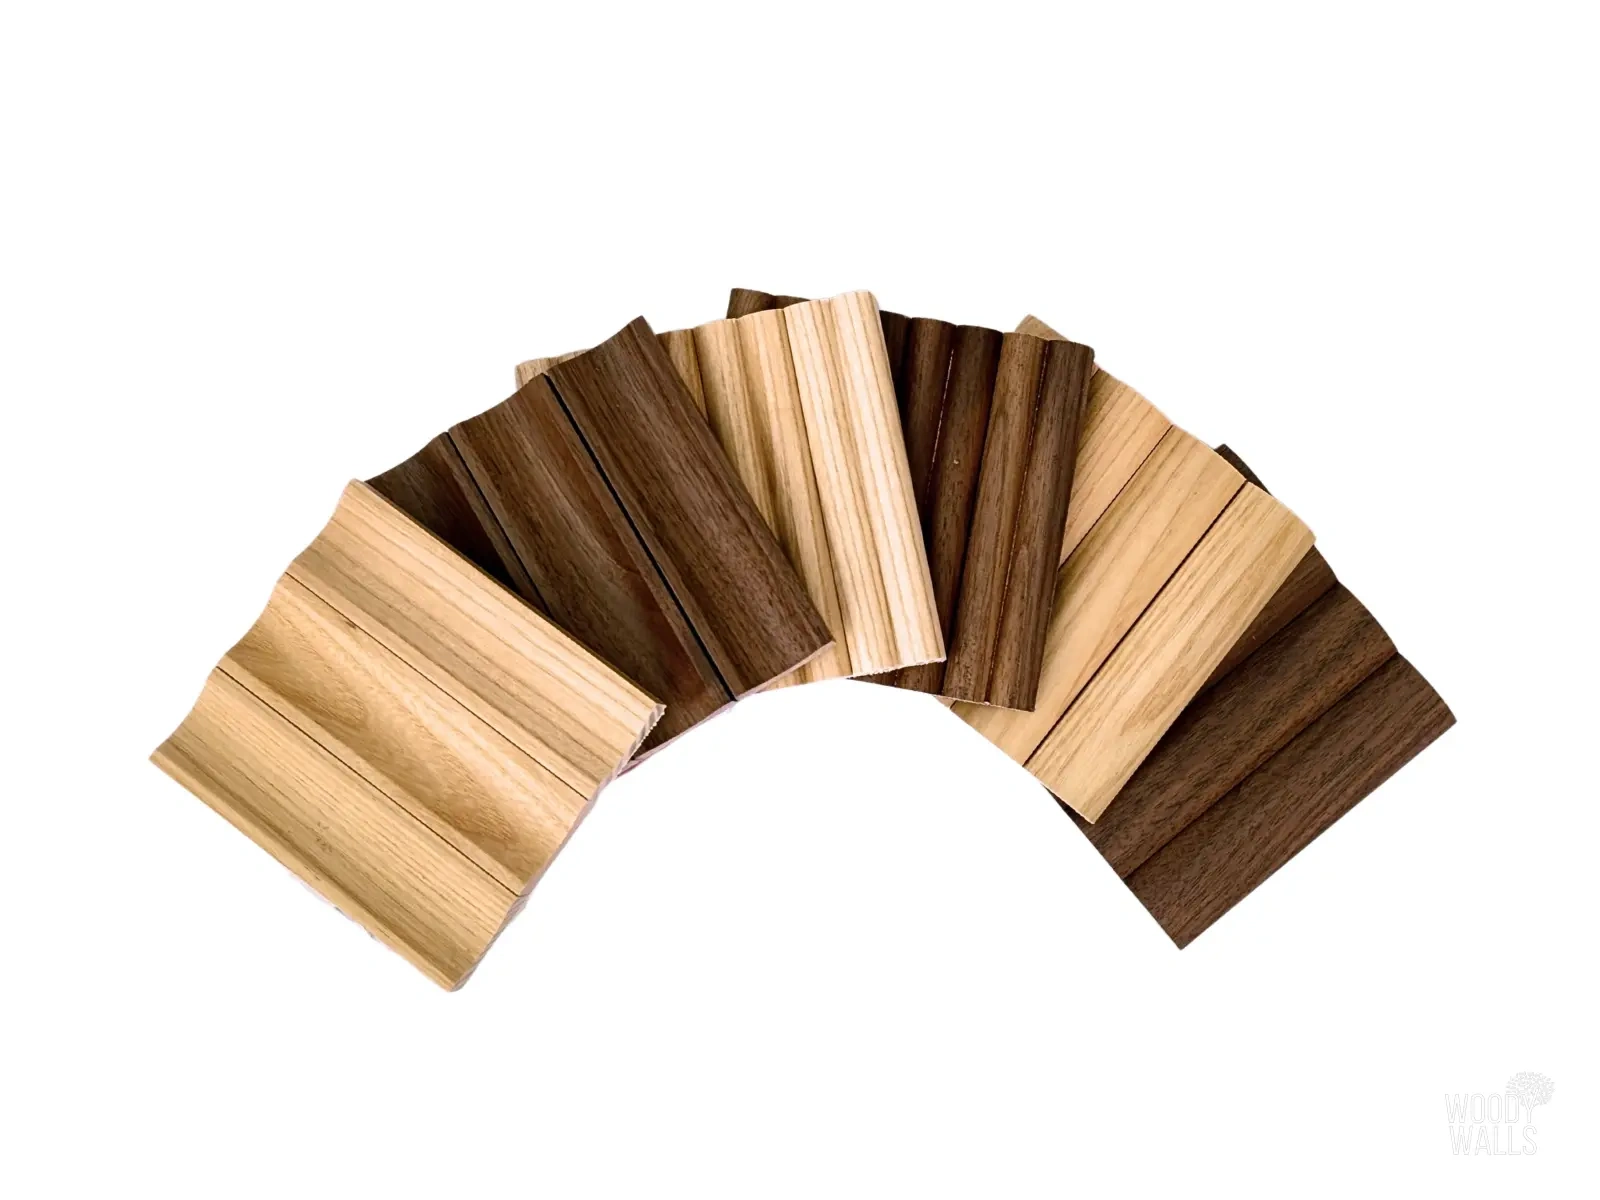
Upgrade Your Walls with WoodyWalls
As you know how to remove wood paneling, you can achieve a smooth space for your room. Remember to work carefully and ensure safety when trying to create a new look.
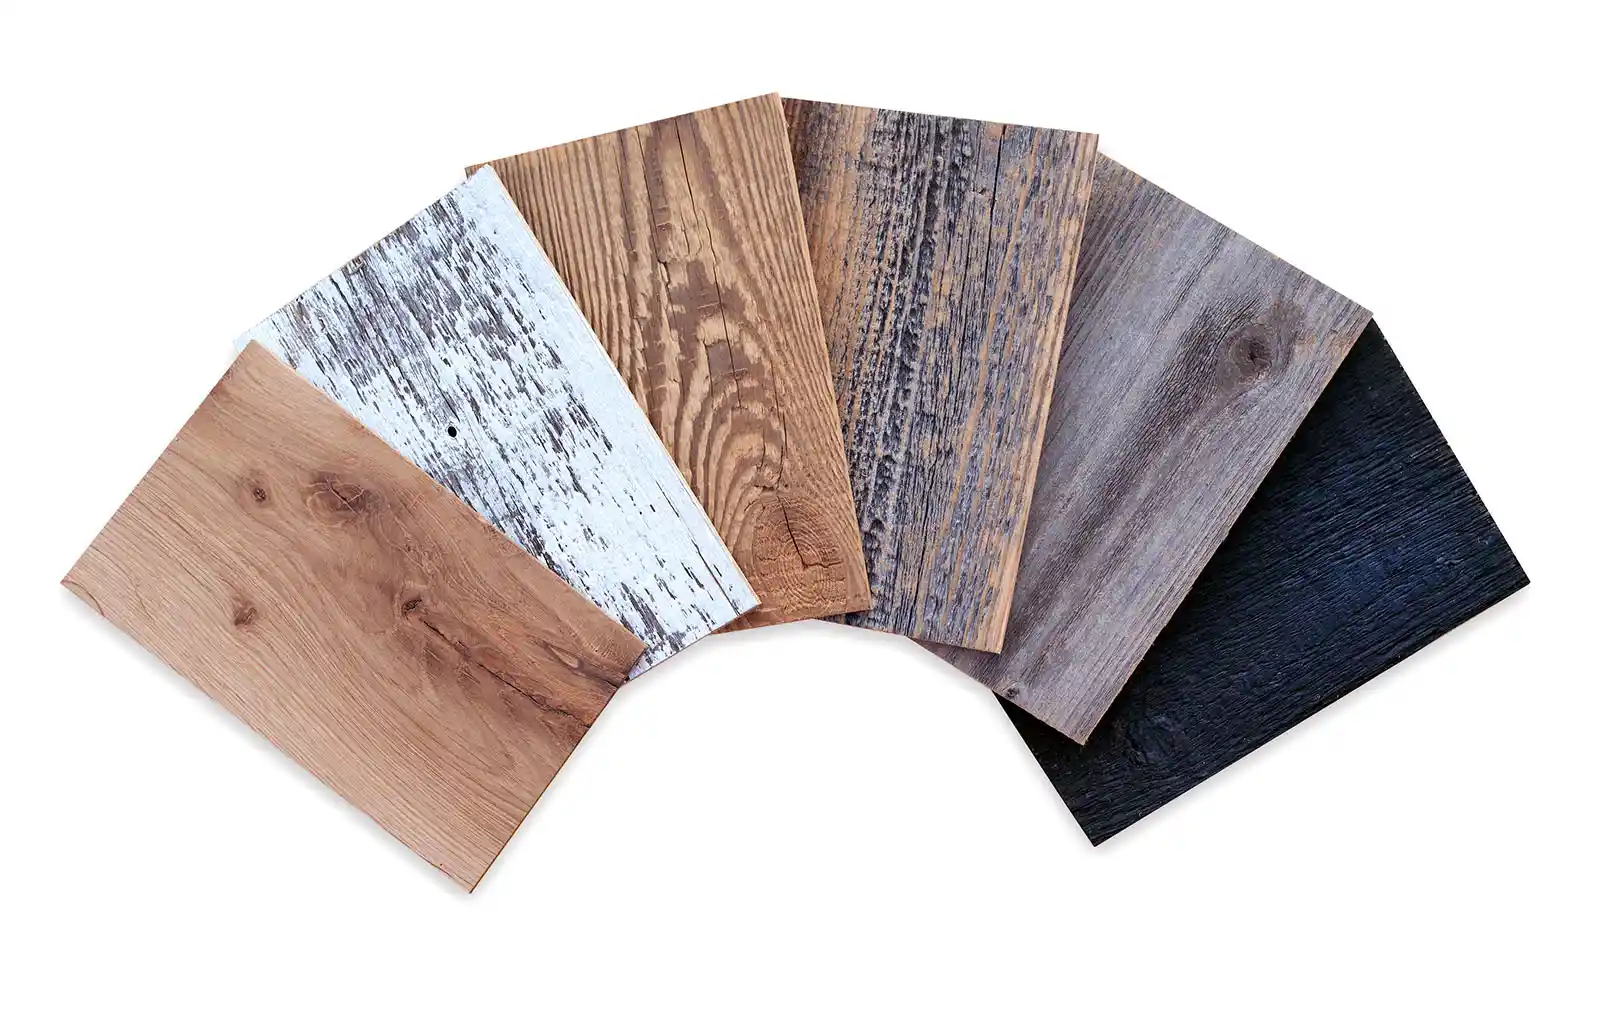
If you plan to add new wood wall paneling, WoodyWalls can help. We offer premium products that bring style to any room. Visit WoodyWalls today and get ready to upgrade your walls!
FAQs
1. Is it better to paint or remove wood paneling?
Painting the wood paneling is often better because you don’t have to apply pressure to the wall. This approach also requires less time and effort.
2. How to remove glued paneling?
You need a heat gun to loosen the glue first. Then, pry the paneling off the wall carefully.
3. Is it expensive to remove wood paneling?
No. You may need about $750 to $8,000 for this removal project. If you are not confident, you can hire a professional to avoid damage and expensive repairs.