How To Whitewash Wood Paneling For A Fresh, Modern Look
Wood paneling brings warmth to any room, but when it feels outdated, whitewashing can give it a clean, modern twist. If you’re wondering how to whitewash wood paneling, this guide will walk you through the process step by step.
It’s a simple, budget-friendly DIY that brightens up walls without hiding their natural texture. And for those who want the look without the mess, Woody Walls offers stylish alternatives that are ready to install in just a few hours.
Why Whitewash? Benefits of This Timeless Trend
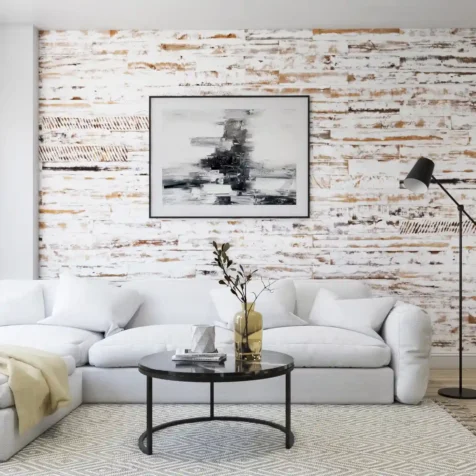
Whitewashing wood paneling is more than just a style update; it’s a way to breathe new life into any room while preserving the natural charm of the wood beneath. It softens heavy tones, reflects more light, and adds a subtle, airy feel perfect for modern, coastal, or rustic spaces.
Unlike paint, which can hide the texture and grain, whitewashing enhances what’s already beautiful. It’s ideal if you want to keep the organic look while brightening things up. And if you’ve asked yourself, can you stain wood paneling instead?, you can, but staining tends to deepen tones while whitewashing lifts and lightens them.
Whitewashed walls pair beautifully with light linens, matte finishes, and natural décor. Whether you’re refreshing a guest room or creating a serene living space, this approach keeps the look clean without losing character.
What You’ll Need Before You Begin
Before you want to know how to whitewash wood paneling, make sure you’ve got the right tools to get the job done smoothly. Most materials are easy to find and affordable, especially if you’re already a DIY enthusiast.
Here’s what you’ll need:
- Drop cloth or plastic sheeting to protect your floors
- Sandpaper or a sanding block
- Clean rags or a sponge
- Paintbrush (or foam brush for detailed grooves)
- White latex paint or water-based whitewash
- Water (for diluting the paint)
- Mixing container and stir stick
- Protective gloves and a mask if sanding indoors
Stick to eco-friendly, low-VOC materials when possible. Woody Walls supports sustainable design, so using safer products is right in line with our values, and better for your home too.
Step-by-Step: How to Whitewash Wood Paneling
If you’ve ever searched how to whitewash wood paneling, you’re not alone. It’s one of the easiest ways to refresh wood walls without heavy renovation. Follow these beginner-friendly steps to get the look just right.
1. Prep your space
Lay down a drop cloth to protect your floors. Clean the paneling thoroughly to remove dust or grime, then sand lightly to help the whitewash adhere evenly.
2. Mix your whitewash
In a bucket, combine equal parts white latex paint and water for a light, semi-transparent look. For a more opaque finish, reduce the water slightly. Stir well.
3. Test before applying
Always test your mix on a small, hidden section first. Adjust your paint-to-water ratio if needed.
4. Apply the whitewash
Dip your brush into the mixture and apply with long, even strokes following the grain. Wipe off the excess with a clean rag to control the coverage. For a more weathered feel, wait a few minutes before wiping.

5. Layer if desired
Want more coverage? Let the first coat dry completely, then apply a second layer the same way. Just be sure not to overdo it; you still want that wood grain to shine through.
6. Seal the deal (optional)
If your paneling is in a high-traffic area, consider sealing it with matte polyurethane for added durability without adding shine.
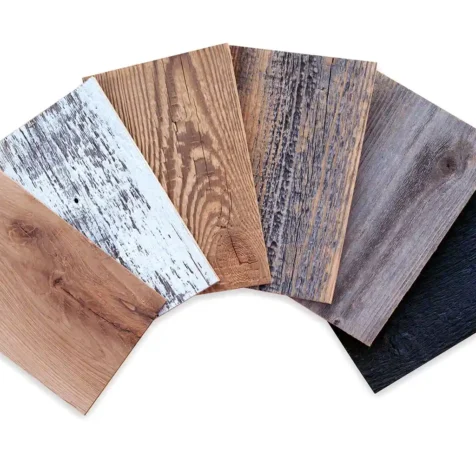
This method works beautifully on most wood types, and it’s a quick win for weekend DIYers. Prefer the look without the labor? Woody Walls offers Peel and Stick Wood Planks with pre-finished white tones, with no brush required.
Tips for Perfect Results on Different Wood Types
Not all wood paneling is the same, and your results will depend on the type of surface you’re working with. Understanding how to whitewash wood paneling, the wood you have can make the difference between a clean whitewashed finish and an uneven mess.

For dark wood paneling
Darker woods like walnut or mahogany will require a stronger paint-to-water ratio if you want the white to stand out. If your goal is to lighten dark wood paneling, consider applying two coats or using a slightly thicker mix to get that soft, cloud-like effect.
For light wood paneling
Lighter woods, like pine or oak, take to whitewashing beautifully with just a single diluted coat. The natural grain stays visible while the finish appears bright and even.
For textured or grooved panels
Use a foam brush to reach into grooves and wipe gently with a soft cloth to avoid over-saturation. This helps keep your finish even across both flat and recessed surfaces.
Pro tip
If your wood is sealed or glossy, give it an extra sanding to break the topcoat; this helps the whitewash soak in and stay put.
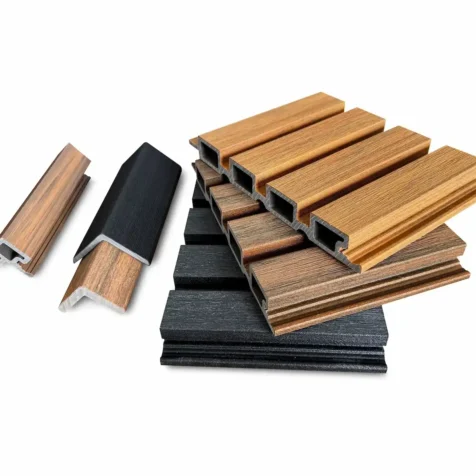
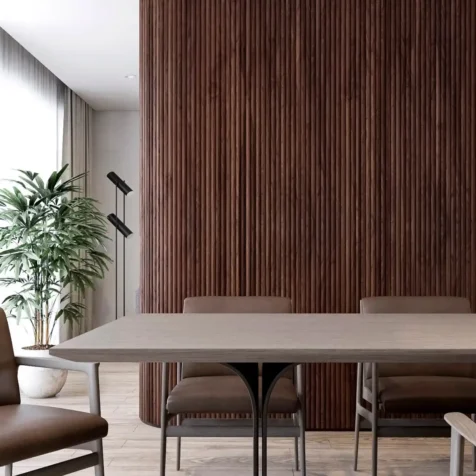
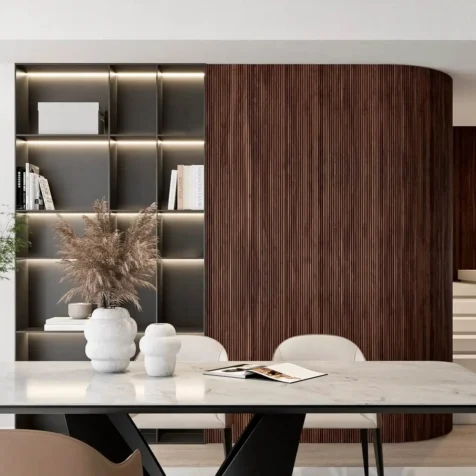
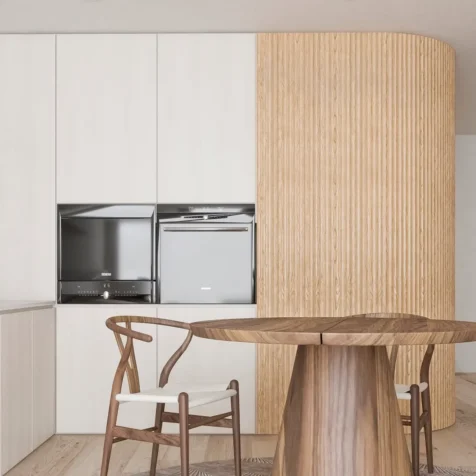
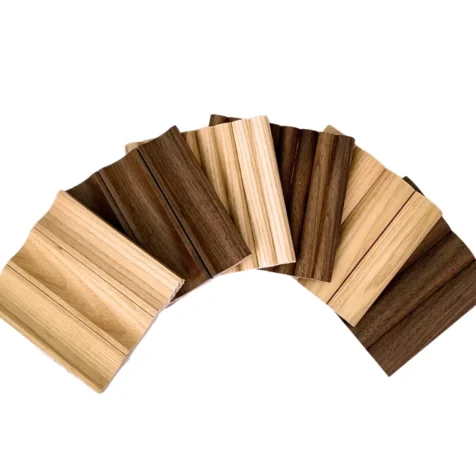
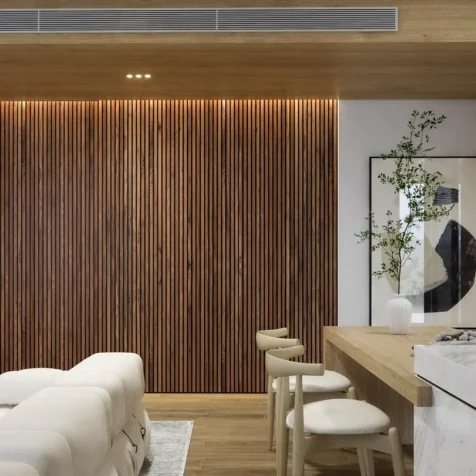
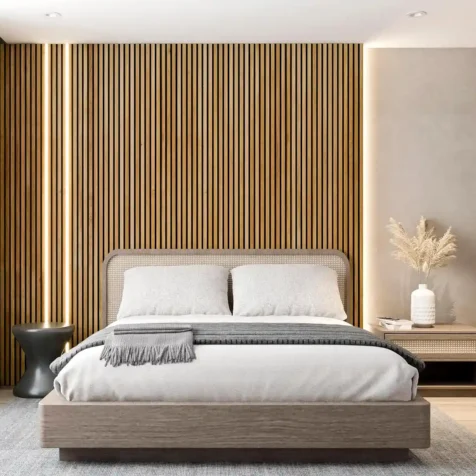
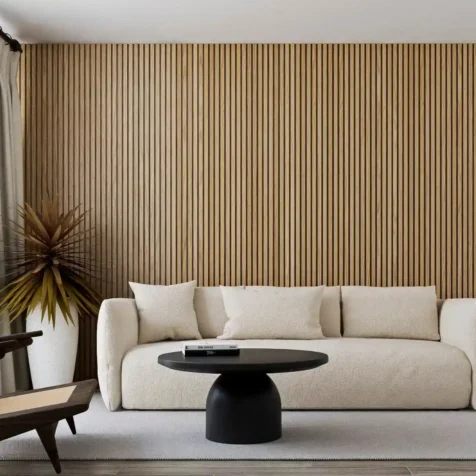
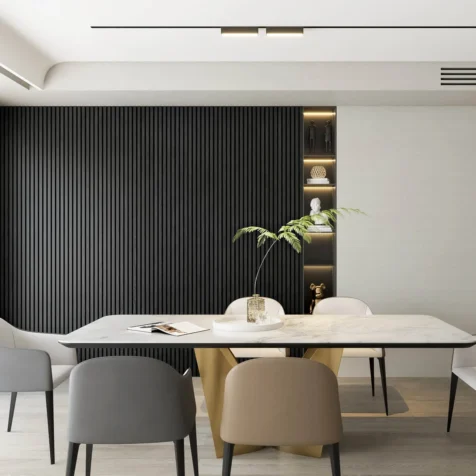
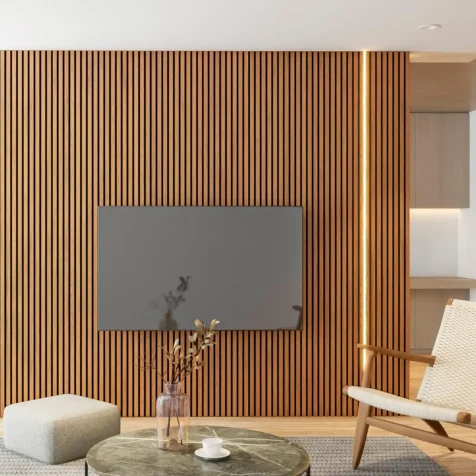
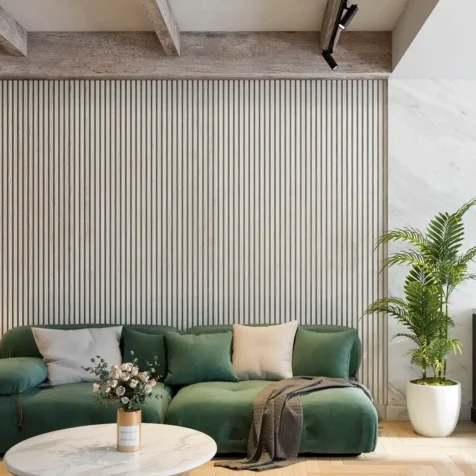
The beauty of whitewashing lies in its imperfections, so embrace slight variations. If you’re unsure or working with a tricky surface, Acoustic Slat Wall Panels or 3D Wall Panels offer a ready-to-install option with a clean, designer finish every time.
Where Whitewashed Wood Looks Best
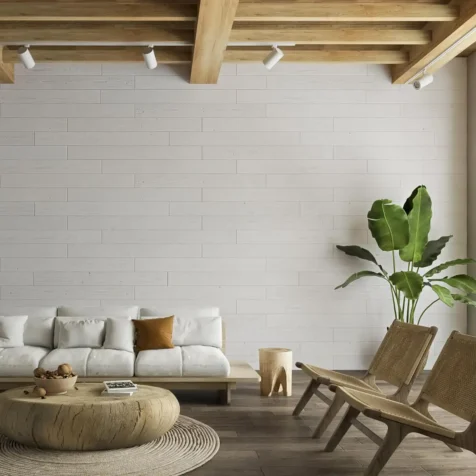
Whitewashed wood paneling brings warmth and texture into just about any space. Its soft, lived-in finish blends beautifully with everything from coastal calm to modern minimalism.
Living rooms and bedrooms
Use it as an accent wall behind your bed or sofa to draw the eye and add subtle depth. It pairs effortlessly with neutral palettes, soft textiles, and natural materials like linen and jute.
Kitchens and dining spaces
Whitewashed paneling makes a beautiful backdrop for open shelving or breakfast nooks. It brightens small kitchens and softens sleek, modern cabinetry.
Entryways and hallways
Turn a narrow hallway or mudroom into a welcoming space. The airy finish helps create the illusion of space while adding a touch of design flair.
Ceilings and unusual surfaces
For a unique touch, know how to whitewash wood paneling or curved surfaces for a cozy, cottage-like feel. Peel and Stick Wood Planks make this easier than ever, especially for tricky areas like corners and overhead installs.

Whether you’re going full farmhouse or mixing in modern elements, whitewashed paneling is one of the most flexible design choices you can make. And if you want the look without the effort, Woody Walls offers ready-to-install panels in light tones that deliver the same vibe, minus the mess.
Alternative to Whitewashing: Try Woody Walls Instead
Knowing how to whitewash wood paneling is a simple yet transformative way to brighten your space while keeping the natural beauty of wood alive. Whether you go the DIY route or choose one of our ready-to-install solutions, giving your walls a fresh, modern look has never been easier.
At Woody Walls, we’re all about helping you transform your space with ease. From our eco-friendly Peel and Stick Wood Planks to our stylish 3D and Acoustic Slat Panels, we make design upgrades effortless, fast, and beautiful.
Explore our full collection and bring your vision to life, one panel at a time.


