
![How to Install Vertical Shiplap Walls [7-Step Instruction Guide]](https://woodywalls.com/wp-content/uploads/2024/08/vertical-shiplap-walls-woodywalls-1.webp)
How to Install Vertical Shiplap Walls [7-Step Instruction Guide]
Transform your space with the timeless charm of shiplap vertical walls. This versatile wall treatment adds texture and a touch of rustic elegance to any room. Whether you’re a seasoned DIY enthusiast or a beginner, our 7-step instruction guide will easily walk you through the process.
With our guide, you’ll learn how to install vertical shiplap walls like a pro, from gathering materials to the final touches. Get ready to enhance your home’s aesthetic and create a stunning visual impact.
How Can You Install Real Vertical Shiplap Walls?
Installing vertical shiplap walls can significantly enhance the aesthetic appeal of your home. This straightforward, step-by-step guide will help you achieve a professional finish. Let’s move to the fun part to elevate your boring wall!
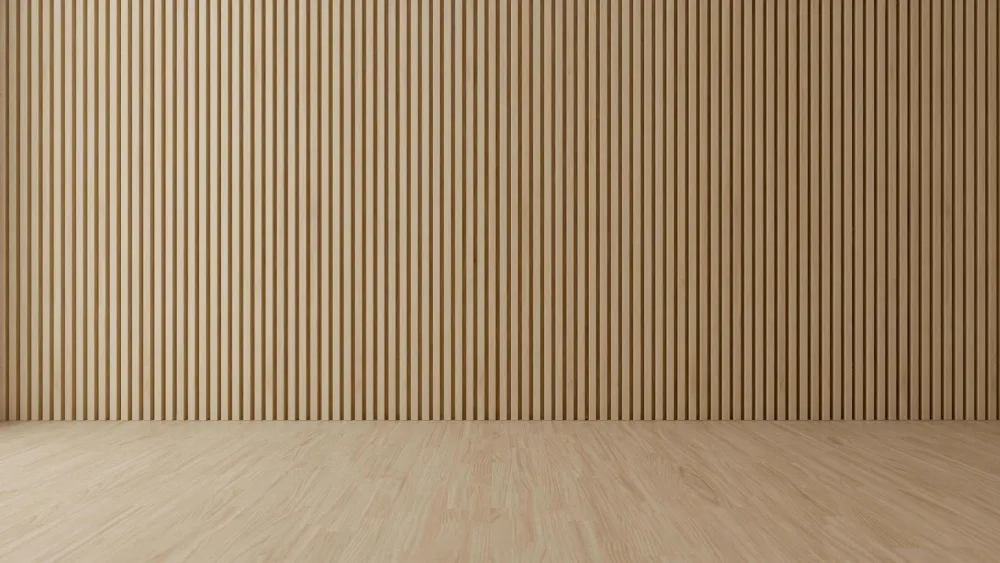
Photo: Vecteezy
Tools and Equipment Required
Gather all the necessary tools and materials before beginning your vertical shiplap walls project. Everything on hand will make the installation process smooth and help avoid unnecessary interruptions. Here’s what you’ll need:
- Shiplap boards: Choose high-quality shiplap panels for walls that suit your desired finish and room aesthetics.
- Construction adhesive: essential for securing the boards to the wall.
- Lightweight spackle or wood filler: For filling any gaps or holes.
- Saw: Miter saw, jigsaw, table saw, or circular saw for cutting the boards to size.
- Brad nailer or nail gun: To fasten the boards securely.
- Level: Ensures that your boards are installed straight.
- Measuring tape: For accurate measurements.
7-Step Guide to Installing Real Vertical Shiplap Walls
With your tools and materials ready, follow these 7 steps to install your shiplap vertical walls.
Step 1: Calculate the Amount of Shiplap Boards Needed
The first step in your project is to determine the number of shiplap boards required accurately. Begin by measuring the surface’s width where the vertical shiplap walls will be installed.
- Stud finder: Helps locate wall studs for additional support.
- Measure Wall Width: Use a measuring tape to measure the total width of the wall.
- Divide by Board Width: Divide this measurement by the width of one shiplap board. This calculation gives you the total number of boards required.
- Account for Gaps: Remember, installing a shiplap commonly leaves a small gap between boards. Consider purchasing a few extra boards to accommodate this and ensure you have enough material.
For example, if your wall is 120 inches wide and each shiplap board is 6 inches wide, you would need 20 boards. However, it’s wise to buy 22-24 boards to cover any miscalculations or defective pieces.
Step 2: Remove the Wall Baseboards if Needed
Removing existing baseboards ensures a clean and elegant look once the vertical shiplap walls are installed.
- Assess Baseboard Thickness: Check the thickness of your current baseboards. If they are less than 1/2 inch thick, they should be removed to prevent the shiplap from hanging over them awkwardly.
- Remove Baseboards Carefully: Use a utility knife to score the caulk lines along the top and corners of the baseboards. Then, gently pry them off with a pry bar and hammer. If you plan to reuse the baseboards, take extra care during removal to avoid damaging them.
- Prepare for Electrical Work: Unscrew the outlet and light switch faceplates. Keep the screws and faceplates in a safe place for reinstallation later. Always turn off the power to the outlets and switches on the wall at the circuit breaker before starting any electrical work.
Step 3: Measure the Wall’s Height from Floor to Ceiling
Accurate measurements of the wall’s height are essential to ensure a precise fit for your vertical shiplap walls.
- Measure Multiple Points: Measure the height from the floor to the ceiling at various points along the wall. Ceilings are often not perfectly level, so measurements can vary.
- Consider Crown Molding: If you plan to install crown molding over the shiplap, cut the boards about 1/2 inch shorter than the measured height. This step will allow the molding to cover any gaps at the top. If not using molding, cut the boards precisely to fit snugly between the floor and ceiling, leaving a tiny gap that can be caulked later.
- Cut to Size: Use a saw (miter saw, jigsaw, table saw, or circular saw) to cut the shiplap boards to the correct height, ensuring each piece fits well for a seamless finish.
Step 4: Mark the Wall Studs (Optional)
Knowing the location of wall studs can be helpful during installation, especially for securing the vertical shiplap boards.
- Use a Stud Finder: Use a stud finder to locate and mark the wall studs. Most studs are 16 inches apart.
- Additional Blocking: Consider adding horizontal blocking between vertical studs if constructing a new wall. This provides additional nailing points and can support items you might hang on the wall in the future.
Step 5: Use a Level to Line Up the First Vertical Shiplap Board
Proper alignment of the first board is required for the entire installation.
- Start in a Corner: Position the first vertical shiplap board in the corner of the wall. Ensure the straight edge, not the tongue edge, is aligned with the wall side.
- Check for Level: Hold a level against the board to ensure it is perfectly vertical. Adjust as necessary, especially if the wall corner is not square.
- Secure the Board: Once aligned, the first board can be secured. This will set the foundation for the remaining boards.
Step 6: Use Construction Adhesive to Install the First Shiplap Board
Securing the first shiplap board with construction adhesive ensures a strong, lasting installation.
- Apply Adhesive: Apply a generous S-shaped bead of construction adhesive to the back of the board.
- Position the Board: Place the board against the wall, ensuring it remains level.
- Nail the Board: Face-nail the board into the wall studs where possible. Use 2-inch brad nails, driving them at a slight angle for better hold.
This method ensures that the board is firmly attached to the wall and provides a stable starting point for the rest of the boards.
Step 7: Continue to Install the Remaining Vertical Shiplap Boards
With the first board in place, continue installing the rest of the vertical shiplap boards.
- Install Sequentially: Place each subsequent board by fitting its groove over the tongue of the previous one. Apply construction adhesive to the back of each board before positioning it.
- Nail and Adjust: Secure each board with brad nails, ensuring each one is level and fits snugly. Adjust the placement as needed to maintain even gaps between boards.
- Special Cuts: Measure and mark the boards where cuts are needed for outlets, light switches, or pipes. Use a jigsaw, or drill to make precise cuts. Outlet spacers can bring outlets flush with the new wall surface.
The steps above ensure a professional finish for your shiplap vertical walls, transforming your space with a clean, stylish look. Each step requires careful attention to detail, but the result is worth the effort.
Common Mistakes When Installing Vertical Shiplap Walls
Installing vertical shiplap walls requires attention to detail for a seamless and professional look. Avoid these common mistakes to ensure a flawless installation:
- Falling Boards: A frequent error is not locating and marking wall studs before installation, which can make shiplap boards fall off over time. To prevent this, use a stud finder to accurately identify and mark the positions of the studs before securing any boards.
Photo: Vecteezy
- Short-End Pieces: Using small pieces at the ends of columns can disrupt the visual flow of the wall. Avoid placing pieces that are less than one-fourth the length of a full board, as they can appear out of proportion and affect the overall design. Plan your layout to ensure that short pieces are not prominently visible.
- Uneven or Skipped Gaps: Inconsistent gaps between shiplap boards can ruin the wall’s appearance. Use spacers like coins or popsicle sticks between boards to maintain uniform gaps, ensure consistent spacing, and achieve a professional, polished look.
You can achieve a more professional and aesthetically pleasing shiplap installation by avoiding these common mistakes.
Highlight Your Wall with Woody Wall’s Vertical Shiplap
Vertical shiplap walls can transform your space with a stylish, modern touch. Our comprehensive 7-step guide covers everything from measuring to securing your boards. For a premium finish, consider Woody Walls’ vertical shiplap.
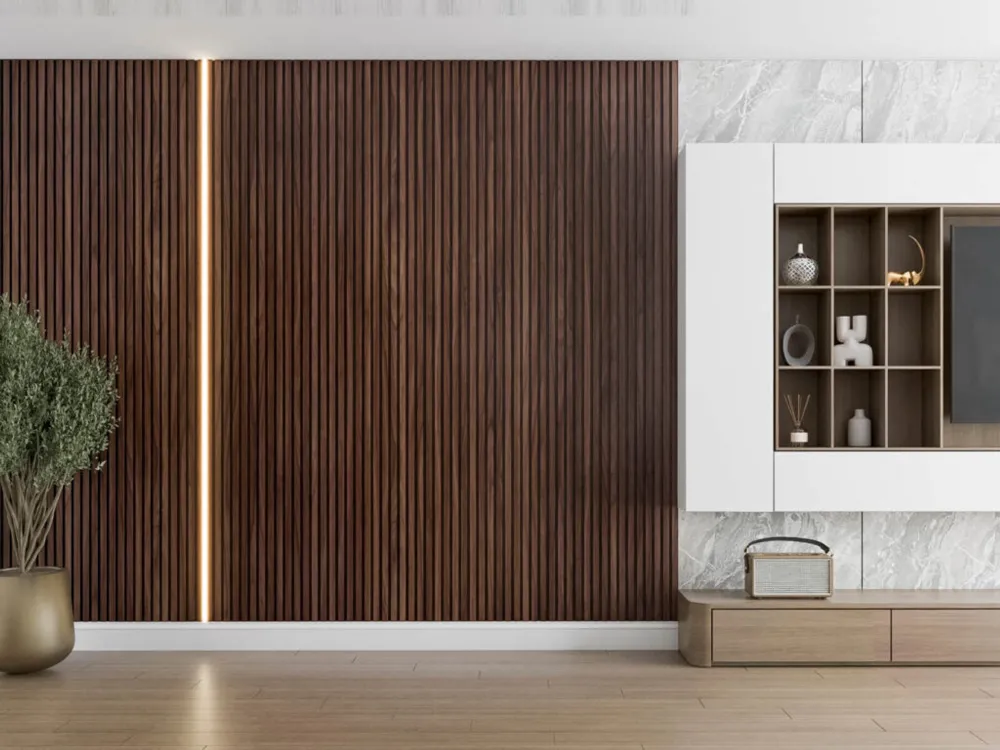
Photo: Woody Walls
Whether you’re a DIY enthusiast or a seasoned professional, Woody Walls ensures easy installation and a stunning finish. Enhance your home’s aesthetic today with Woody Walls wood wall panel collection and create a standout feature wall that exudes sophistication. Explore our range and get started on your project now!
FAQs
You might have some common questions as you explore the steps to install vertical shiplap walls. Here are answers to help you with your project:

Photo: Woody Walls
1. What materials are used for shiplap walls?
Vertical shiplap walls are commonly made from various materials depending on the application.
- For interior use, materials like pine, poplar, or medium-density fiberboard (MDF) are standard.
- For exterior applications, shiplap is typically crafted from cedar, redwood, pine, composite wood, or fiber cement to withstand the elements.
2. Which is better: vertical or horizontal shiplap walls?
Vertical shiplap walls can enhance a space by creating an impression of greater height and adding an elegant touch.
In contrast, horizontal shiplap walls are traditional and offer a comforting appearance that visually broadens the room. Vertical and horizontal shiplap choices often depend on the desired aesthetic and spatial effects.
3. What are the average costs to install vertical shiplap walls?
The average cost to install shiplap vertical walls, including materials and labor, ranges from $4 to $7 per square foot. Costs can vary significantly based on wood type, installation complexity, and regional labor rates. This range provides a general estimate for budgeting purposes.
4. What is the best width for vertical shiplap?
A 6-inch width, or 1×6 shiplap, is commonly preferred for vertical shiplap walls. It provides a balanced look that makes a statement without overwhelming other design elements and is suitable for accent walls and full-room transformations.
5. How long does a shiplap wall last?
Properly maintained exterior shiplap walls can last between 20 to 30 years. The longevity can be extended depending on the type of wood and the level of care provided. Regular upkeep and timely repairs contribute to the extended lifespan of shiplap installations.


