


Antwerp Wood Slat Wall Panels
$129.00 per box
Installation:
Glue & ScrewsMaterial:
Wood Veneer + MDFQuantity per box:
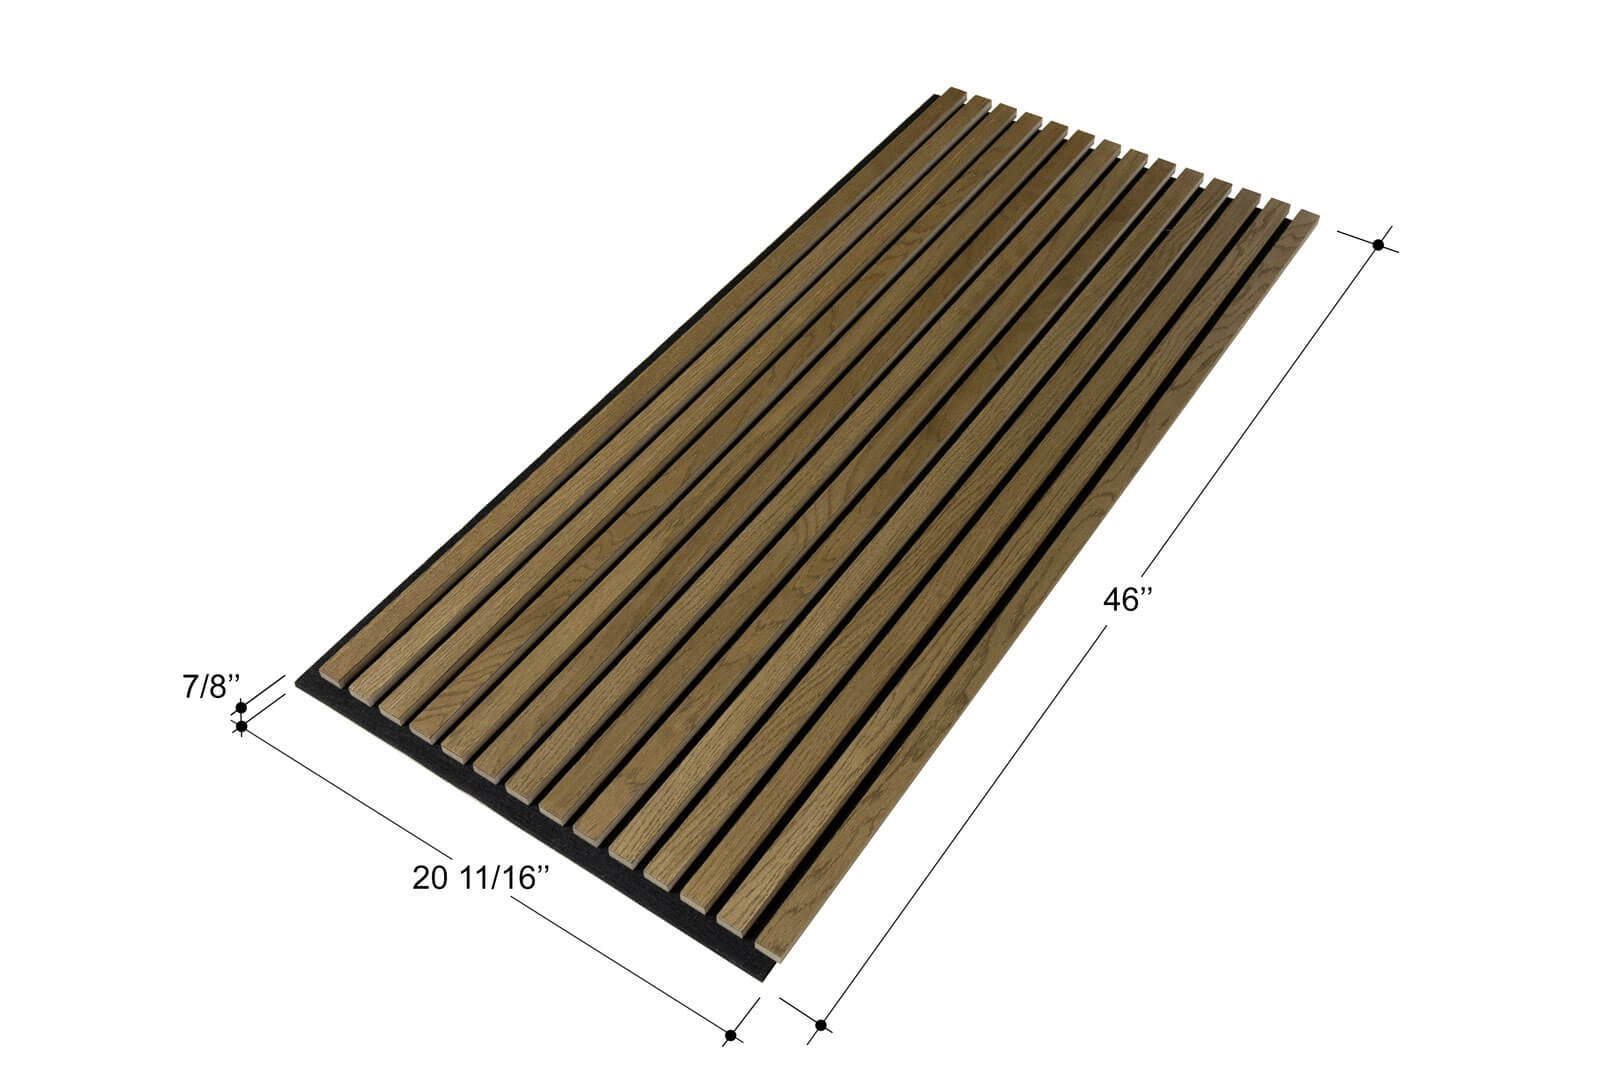
2 panelsSize per panel:
46” x 20" 11/16” x 7/8”Box Coverage Size:
46" x 41 3/8"Available sizes:
How many boxes do you need?
* All values are in inches!
Related products


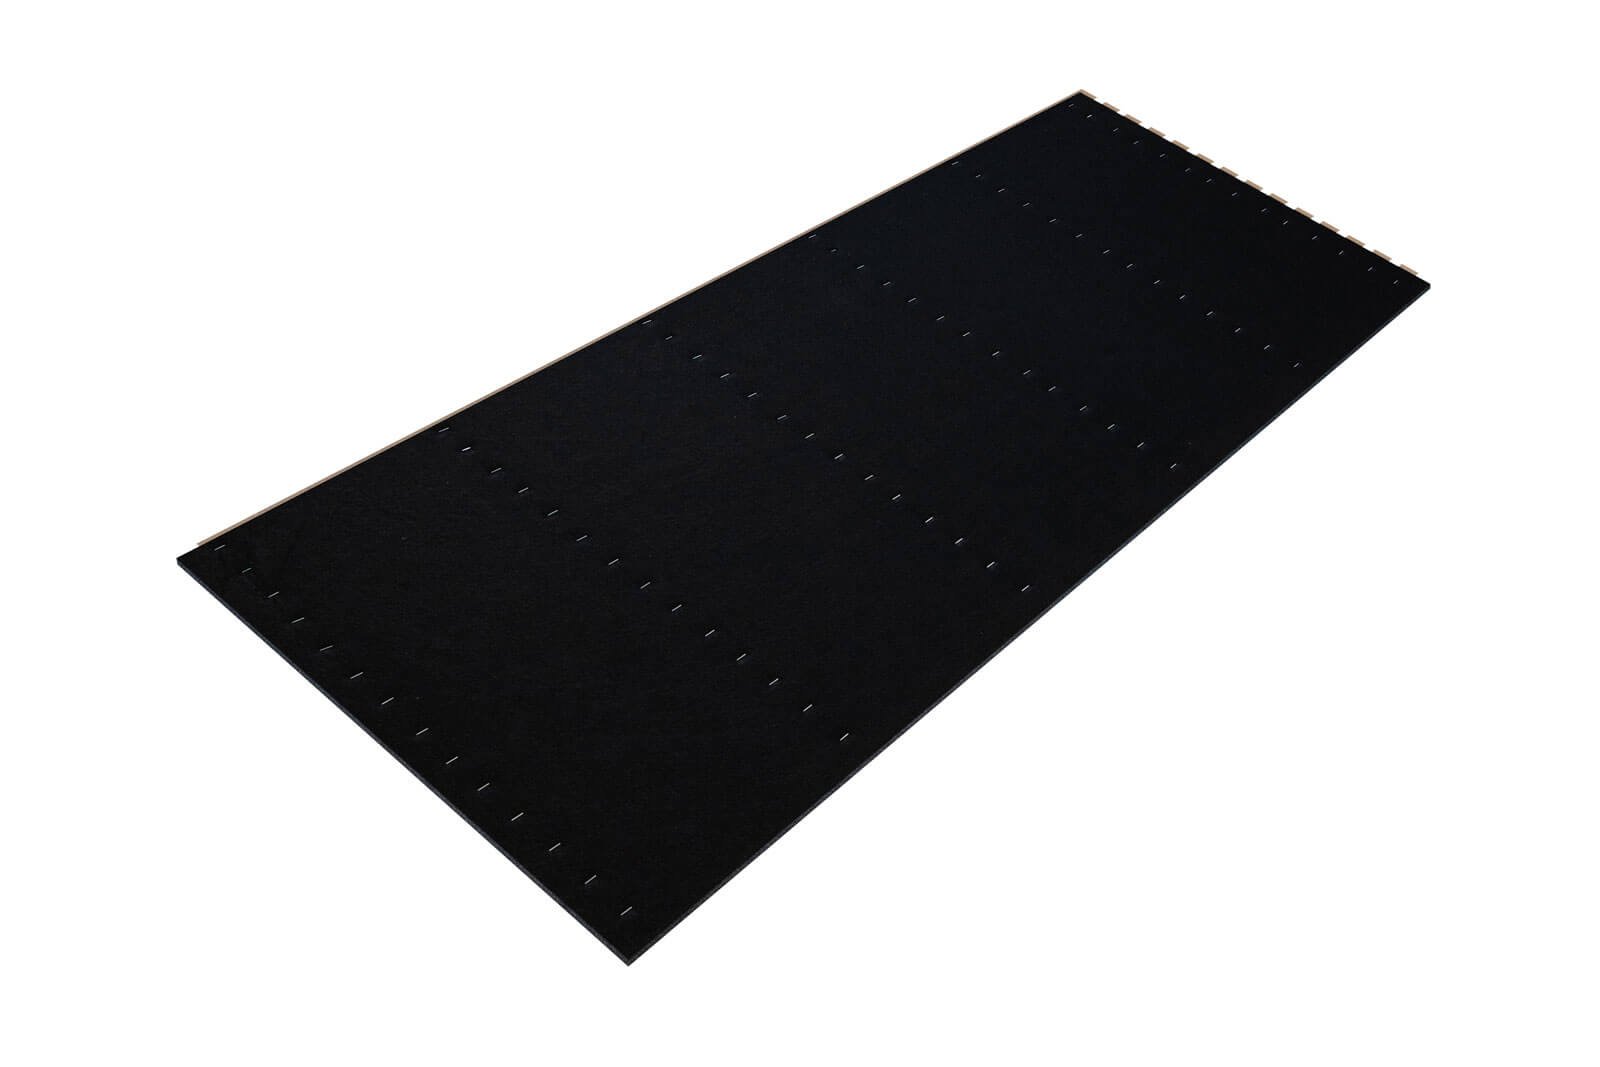
Size and Composition
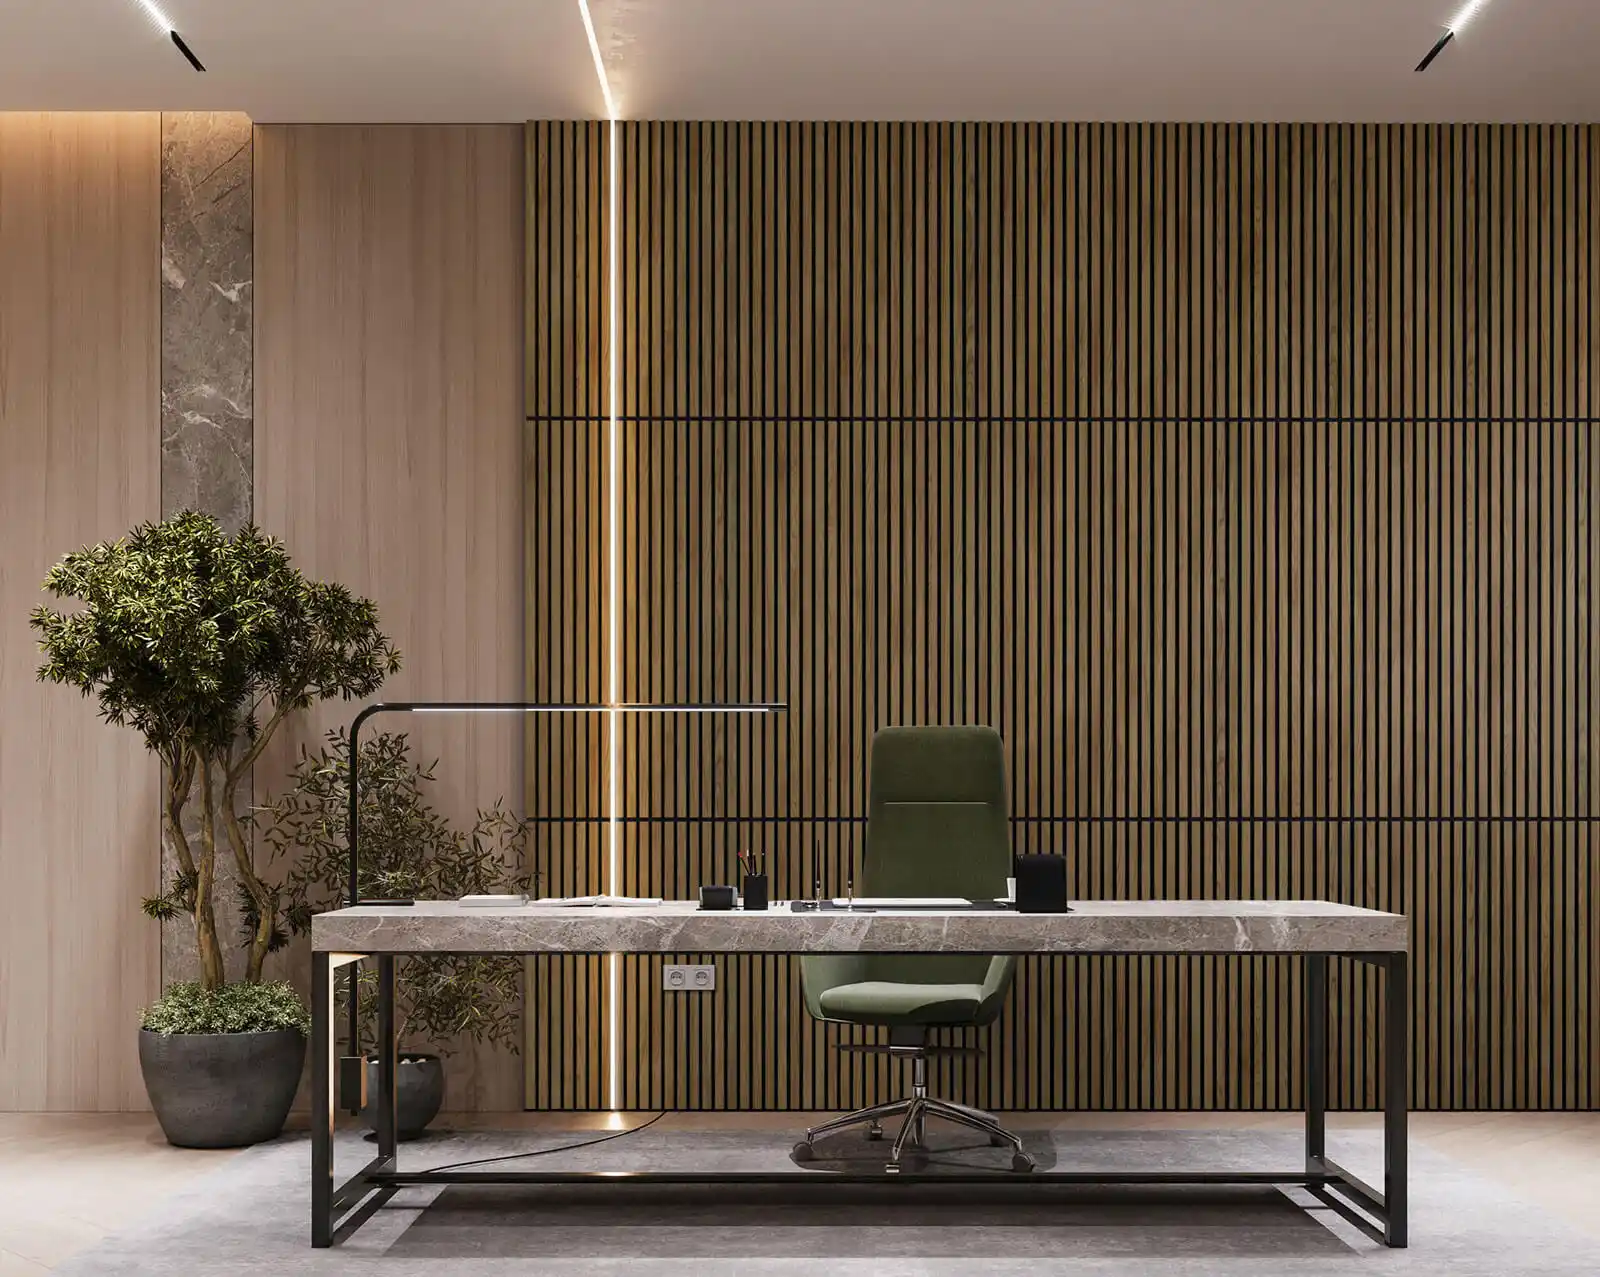
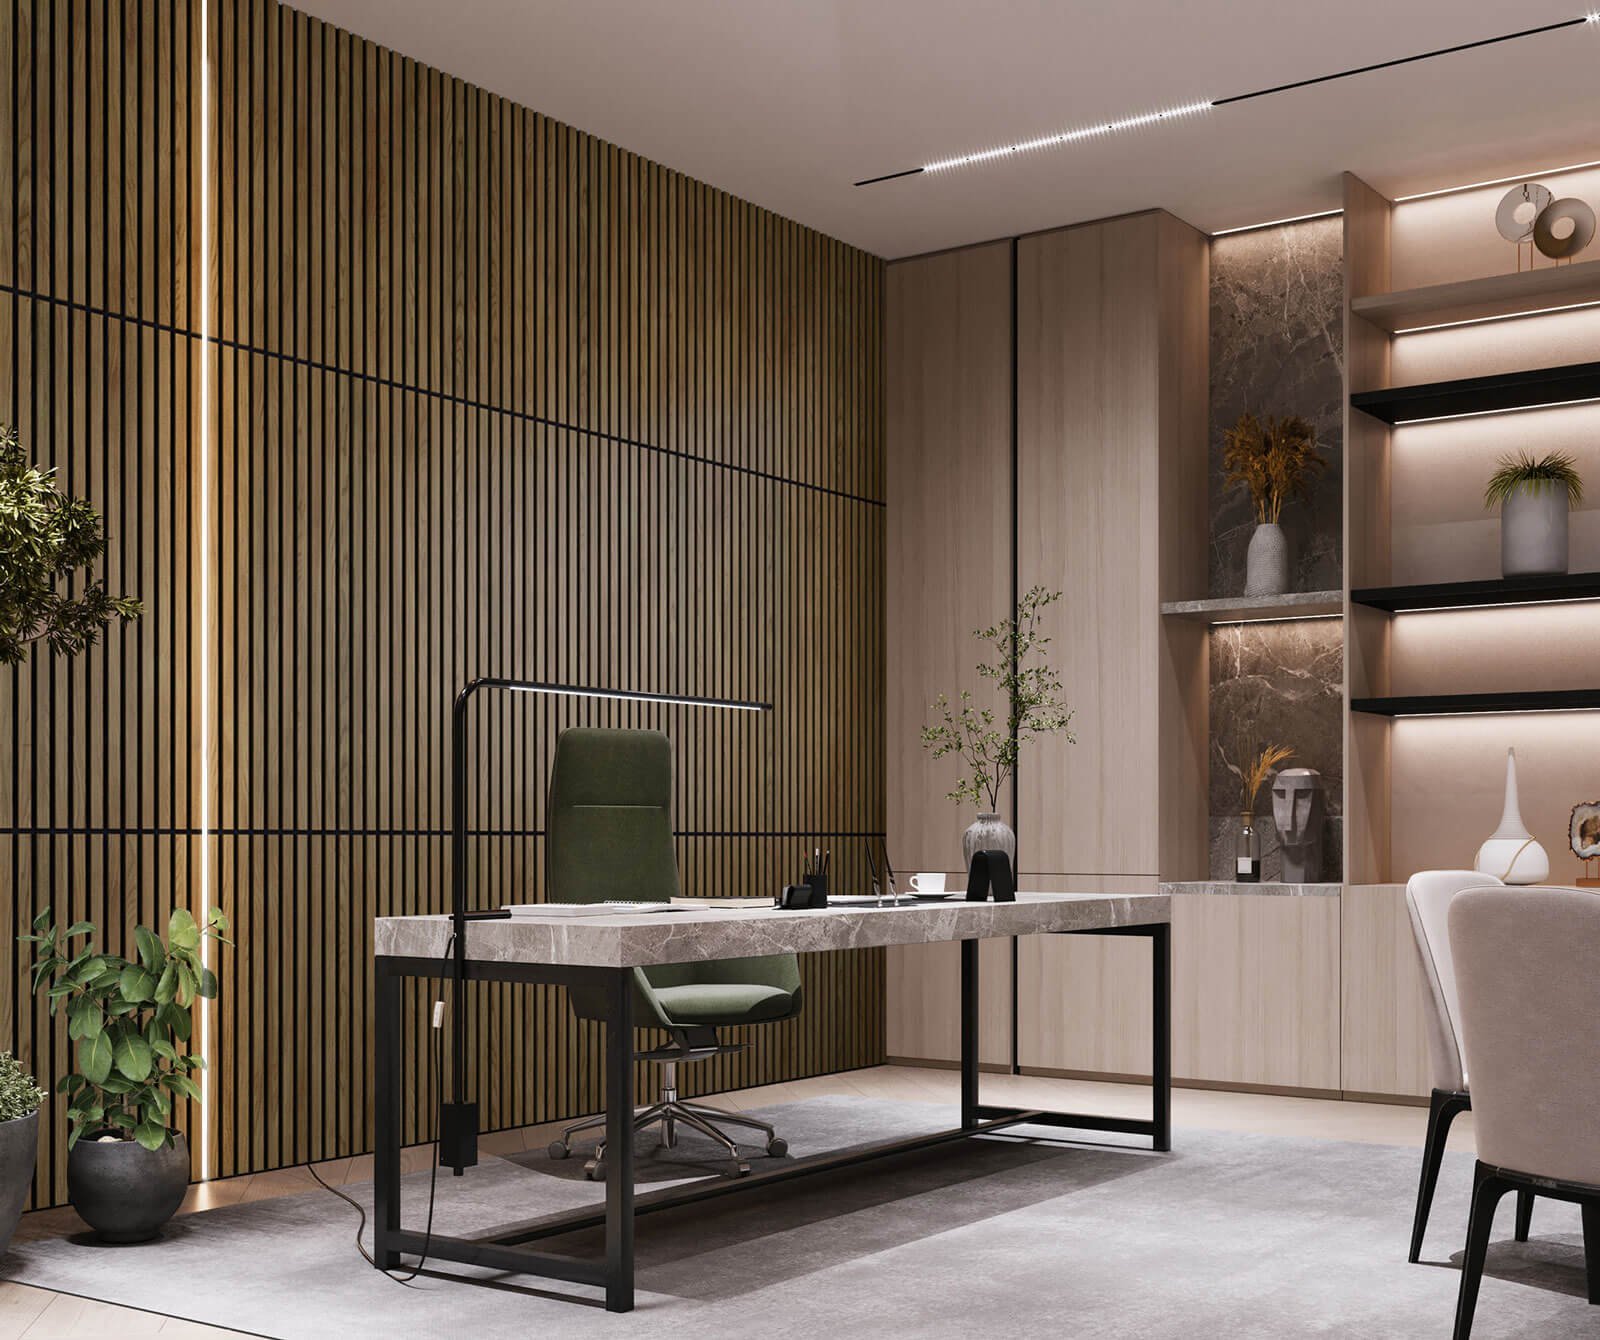
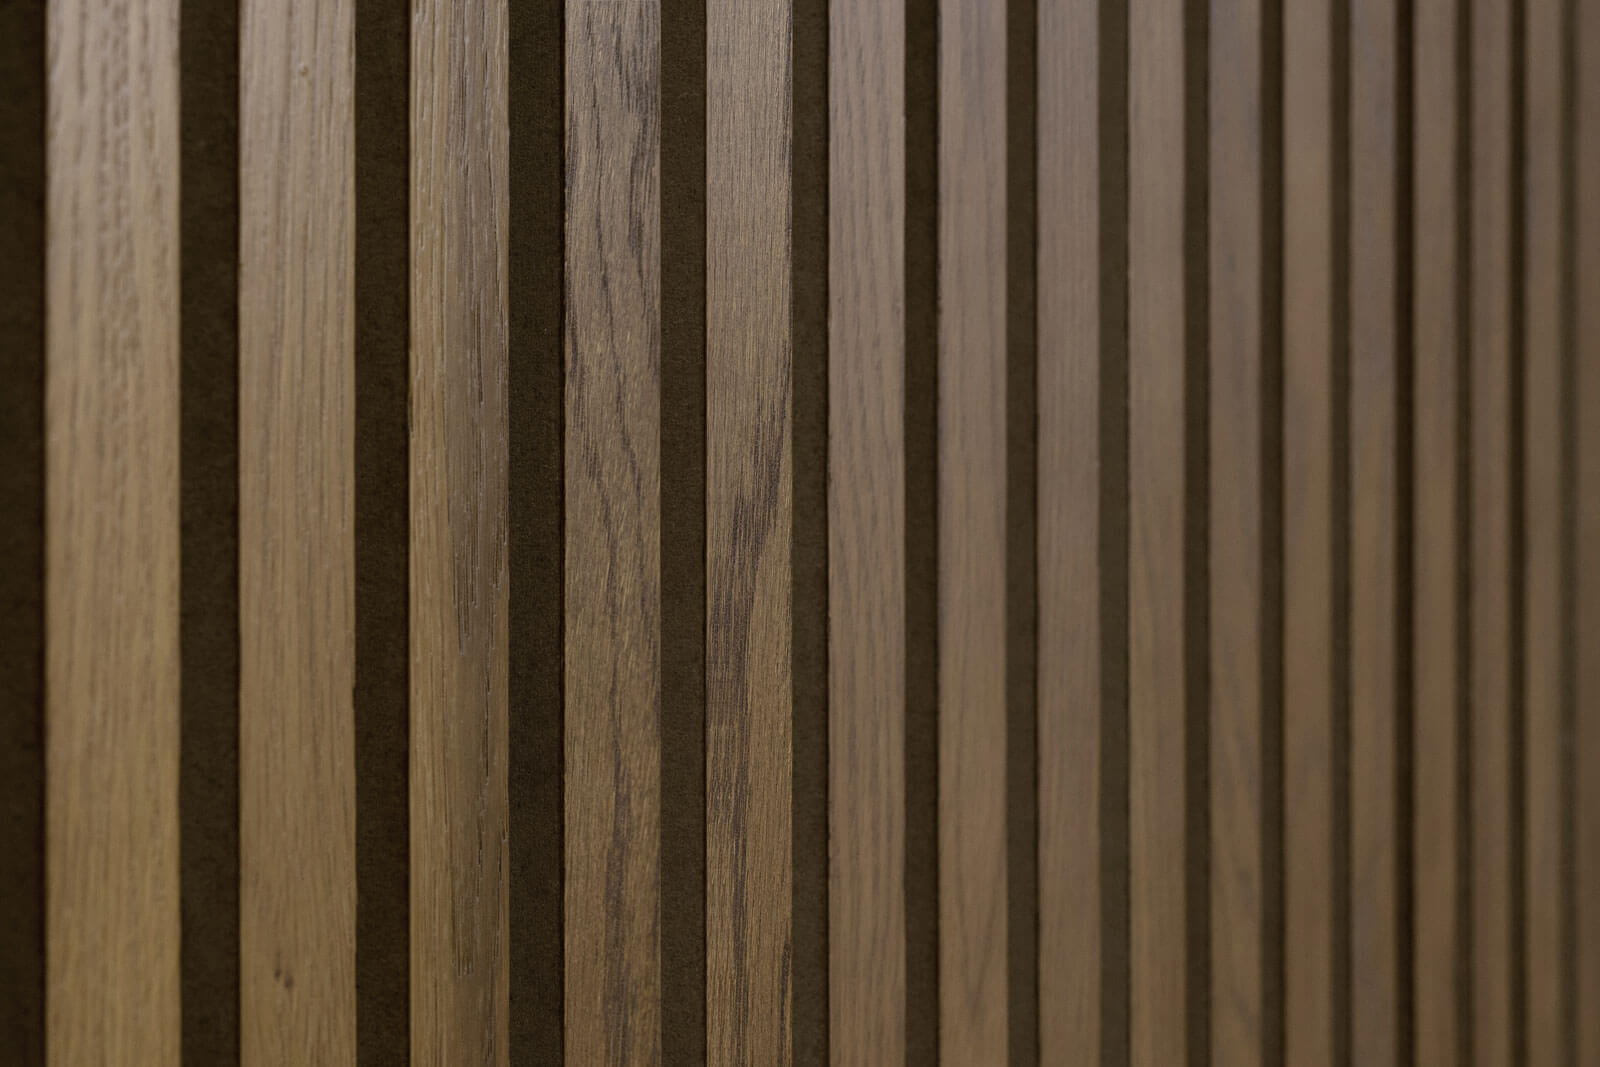
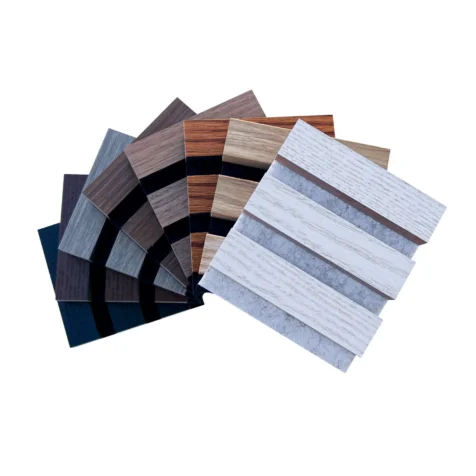
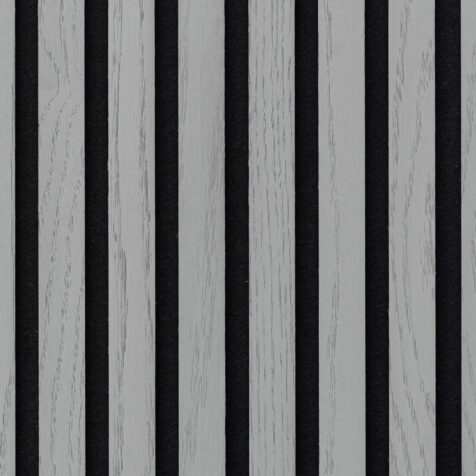
Our Wood Slat Wall Panels have a modern, innovative design and comprise genuine oak-veneer MDF slats on a sound-absorbing acoustic felt backing made up from recycled materials as part of our effort to promote eco-friendly products. These decorative wood panels for walls come in pairs and measure 46” x 20 11/16” x 7/8” each, which can be joined together seamlessly to create a professional-looking DIY wood slat wall.
Easy to install
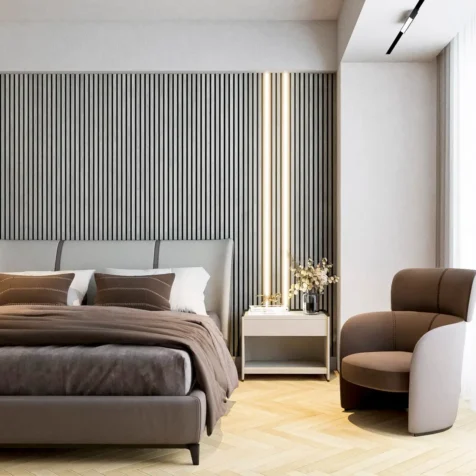
Designed for ease of installation by anyone with basic DIY skills our slatted wood wall panels are ideal not just for standard, plain, vertical walls but can also be fitted to ceilings, in or around alcoves, around windows and can even be fitted to curved surfaces.
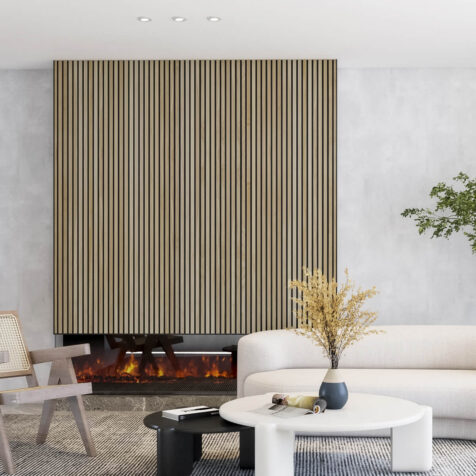
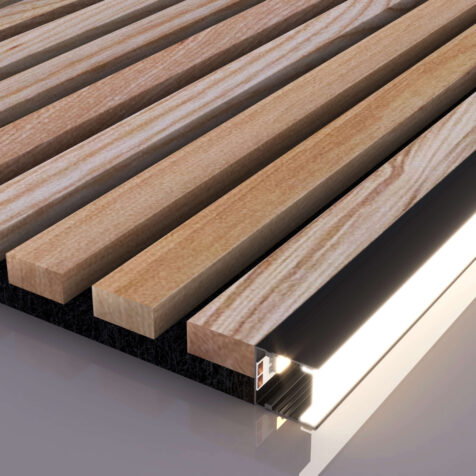
Enhance the Sophistication of Your Wood Slat Wall with LED Channel Lighting
Transform and enrich the visual allure of Woody Walls’ Wood Slat Wall using our exceptional LED accent lighting. Specifically designed for Slat Walls, our accent lighting solutions will uplift the visual charm of our wood veneer panels. The seamless integration of our LED channels and Edge lighting channels effortlessly blends with our slat wall panels, allowing you to effortlessly create mesmerizing lighting effects that accentuate the inherent charm of your wood accent wall while introducing a touch of elegance.
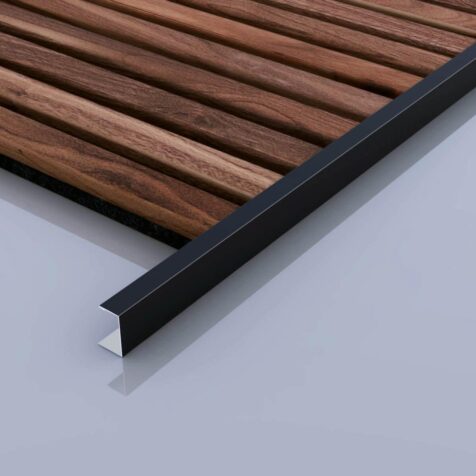
Perfect Pairing: Elevate Your DIY Project with Wood Slat Panels and Stylish Metal Edge Trim
Elevate your DIY endeavors effortlessly by combining Slat Wall Panels with either sleek Black Metal Edge Trim or sophisticated Brushed Metal Edge Trim. While the versatility of acoustic wood panels caters to various interior concepts and DIY projects, achieving a polished edge finish may pose a challenge. Our Metal Edge Trim offers an optimal solution, addressing edge-finishing dilemmas and adding a touch of sophistication to your creative ventures. Moreover, our Edge Trim is the ideal choice for enhancing the aesthetics of wood accent walls, wood ceilings, and wainscoting, ensuring a cohesive and refined outcome for your entire space.
Recycled Material for Acoustic Sound Absorption
The acoustic backing felt, essential for sound absorption in these wood wall panels, underscores our dedication to environmental sustainability. Crafted from recycled materials, it aligns with our eco-conscious ethos and commitment to preserving the planet. The NRC rating of our slat wall panels stands at 0.5.
Perfect for a multitude of settings
Whether for your home or office, or even public spaces, these wood wall panels are very easy to install with basic DIY skills will improve the look and sound of any room where you want stylish aesthetics combined with effective sound absorption, from music studios to conference rooms, movie theaters to home theaters, or instrument practice rooms to gaming rooms. Beyond this, the sound absorption qualities of these panels is remarkably efficient and effective.
Particularly in residential property, it is often curtains, carpets and soft furnishings that provide the sound absorption necessary to stop a room echoing and sounding hollow. If you prefer tiled floors and minimal soft furnishings, but also have an eye for style and innovation, our decorative wood panels for walls will provide your spaces with the warm and welcoming sound that every room deserves to have.
Reviews
You must be logged in to post a comment.


Reviews
There are no reviews yet.