


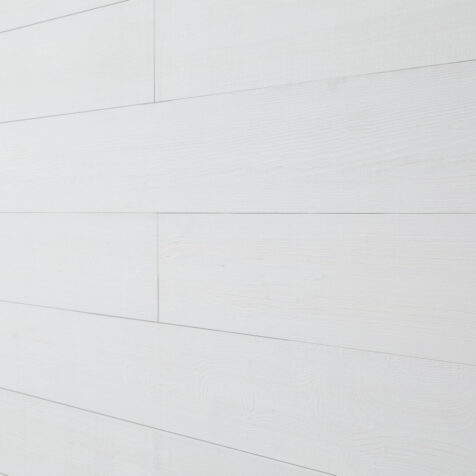
Whitewash Barnwood Planks
$169.00 per box
Material:
Naturally Weathered Reclaimed WoodSquare feet p/box:
19.5 sq. ft.Installation:
Glue & NailsThickness:
0.25"Width:
5"Length:
17" - 46.3"Related products


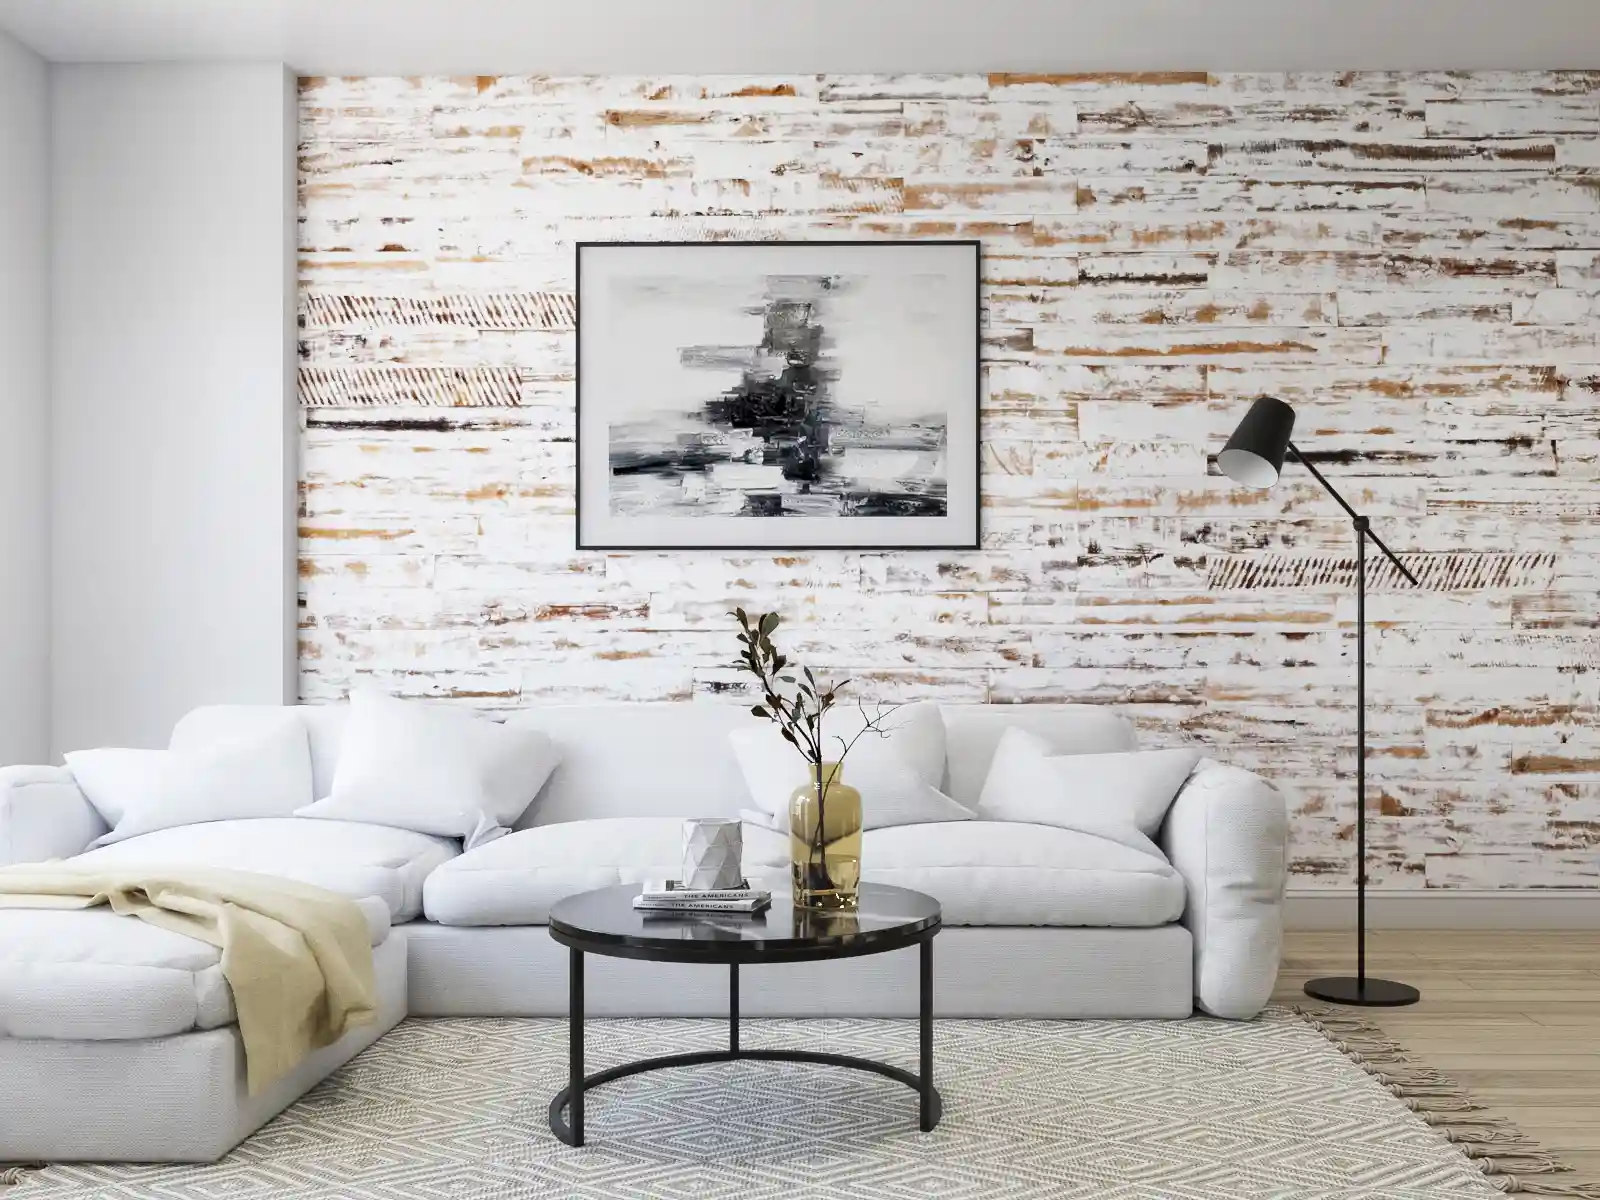
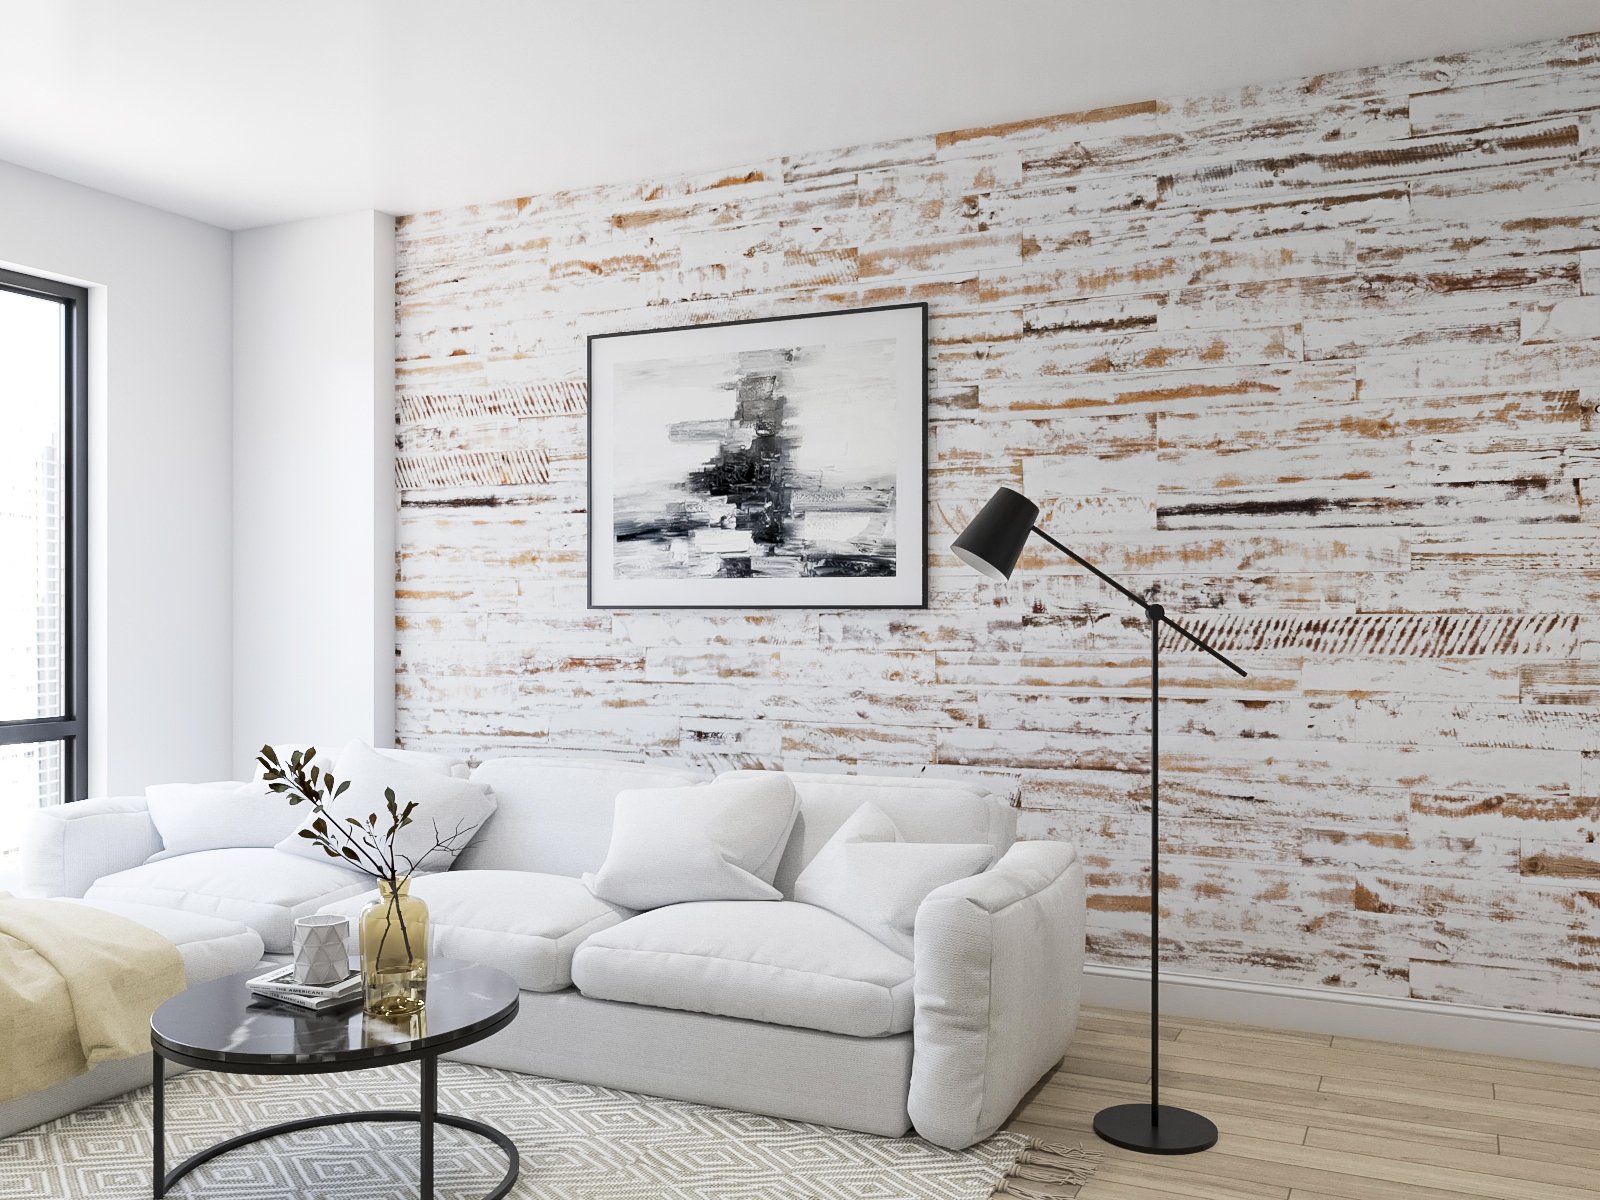
WHITEWASH BARNWOOD PLANKS
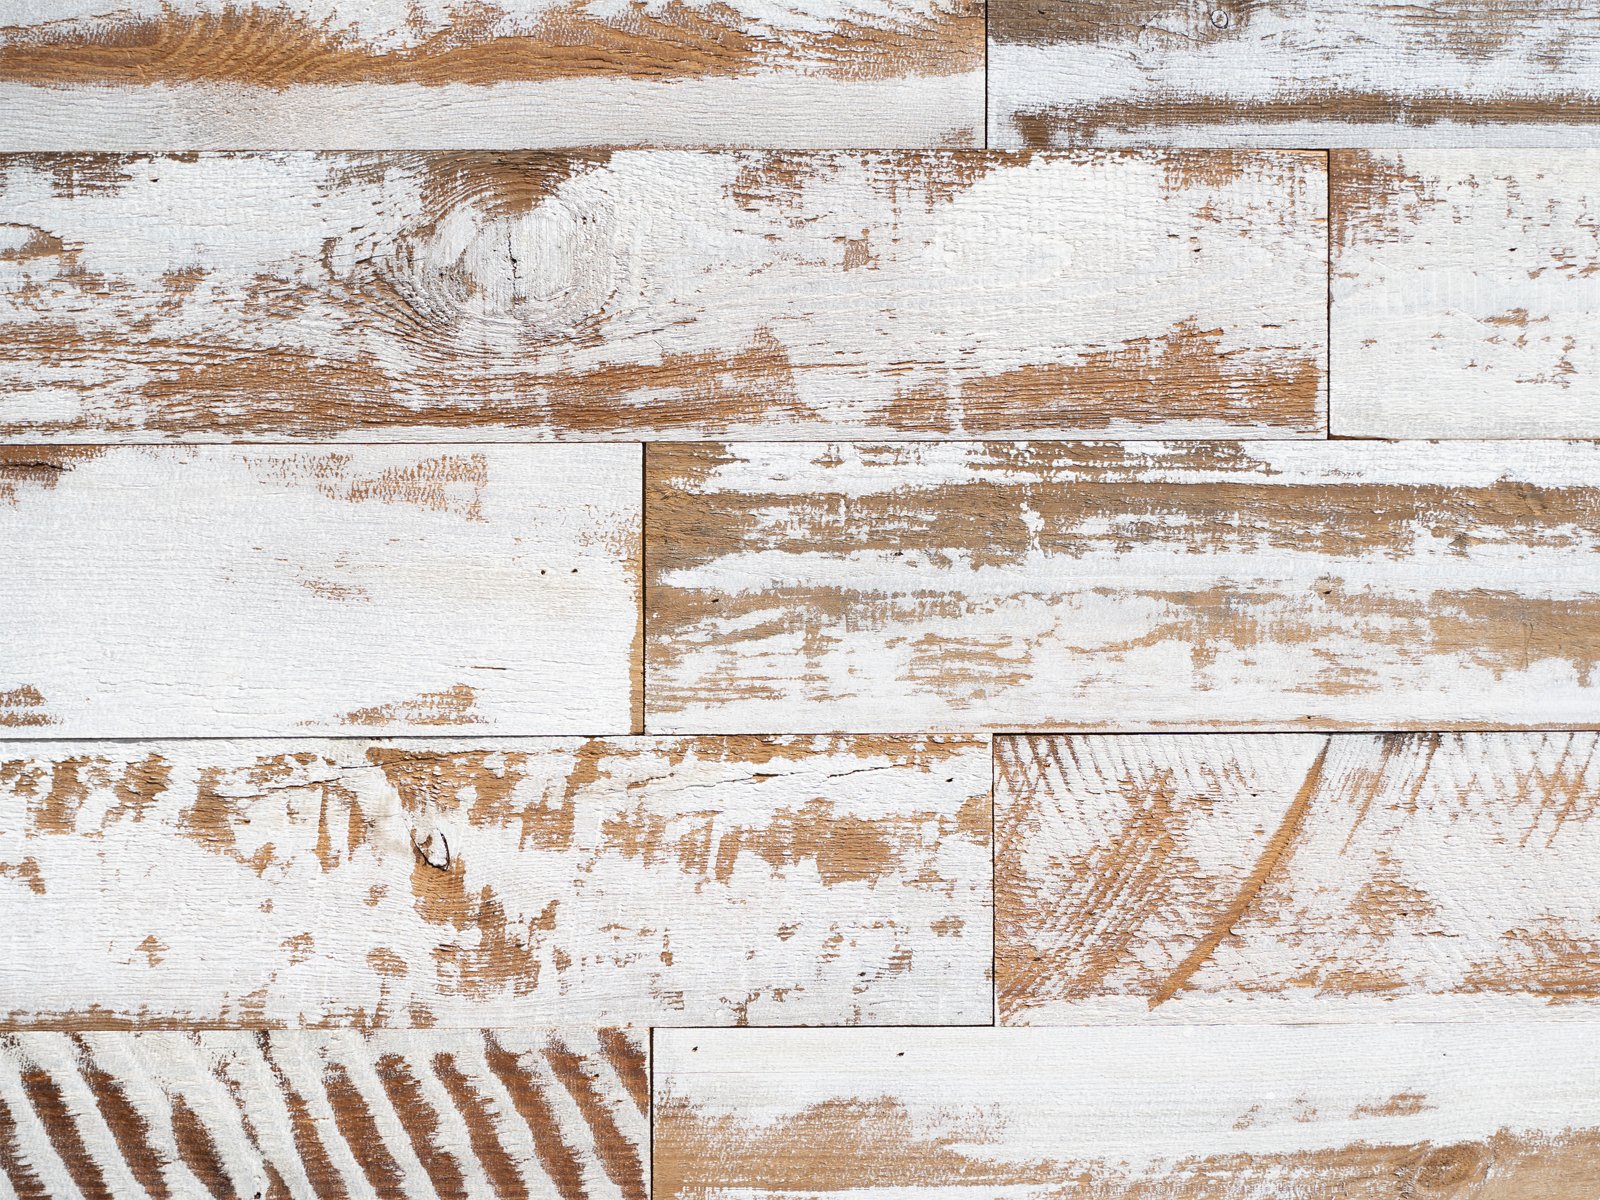
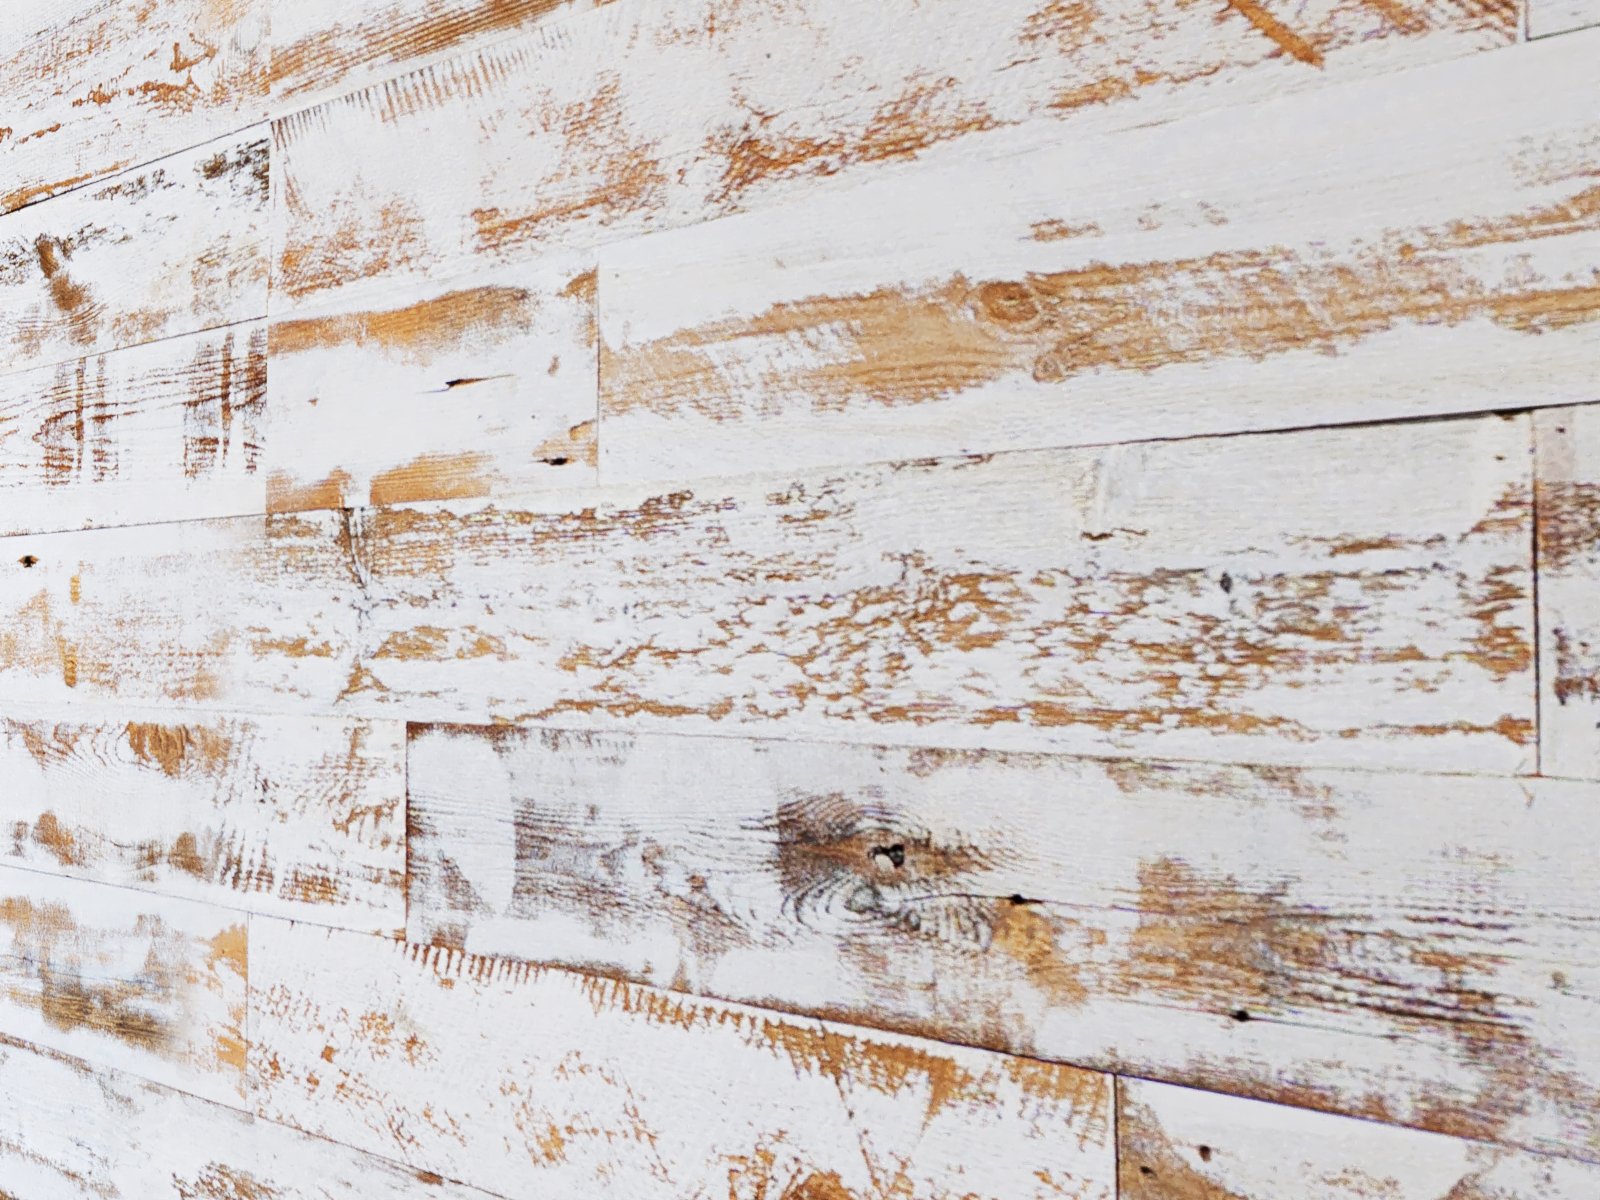
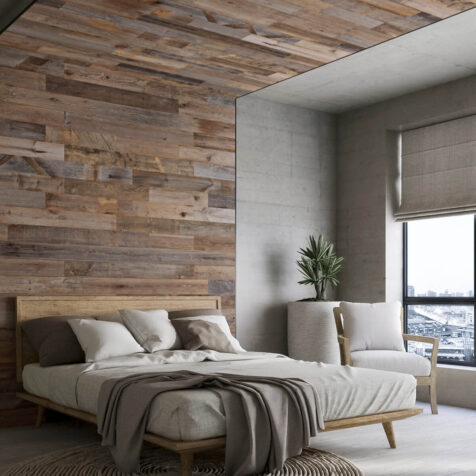
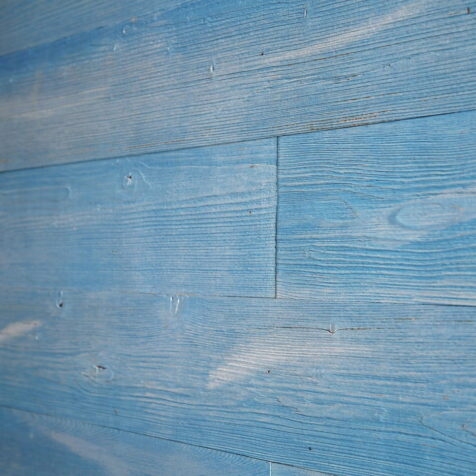
Experience the charm of our Whitewash Barnwood Planks! While wood wall panels are known for their warmth, these wood wall planks are perfect if you want to keep a fresh and vibrant atmosphere. Made from 30-50-year-old barn wood, they feature natural imperfections and a rich history, adding unique character to your space.
SPECIFICATIONS OF WOOD WALL PANELS
Our Whitewash Barnwood planks, with dimensions of 5 inches in width, 0.25 inches in thickness, and varying lengths from 46.3 to 17 inches, cover a total surface area of 19.5 square feet. They effortlessly bring a sophisticated yet weathered wood look to any space, adding a rustic touch and unique charm. Whether you’re seeking to create a timeless rustic ambiance or introduce a distinctive design element, our barn wood wall paneling offers unmatched versatility and captivation.
NO POWER TOOLS OR EXPERIENCE NEEDED TO CREATE IMPRESSIVE WALL CLADDING
Easy glue and nails installation. No heavy tools or complex mounting hardware needed. Each barn wood plank has a seamless fit. We cut them precisely to fit each other perfectly making installation process seamless and fun. All wood wall panels are one size suitable for DIY projects and commercial installation.
VARIABLE SURFACE APPLICATION FOR BARN WOOD PLANKS
Reclaimed wood planks for walls can be installed on different type of surfaces including textured walls, backsplashes, and ceilings. Decorative wood panels for walls are suitable for installation in places with higher humidity. It is important to be sure the application surface is completely dry and clear of dust/debris to ensure proper adhesion.
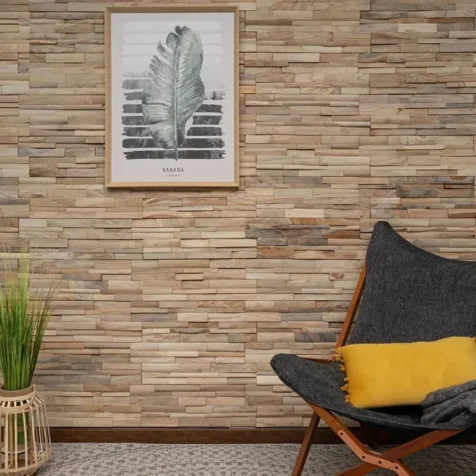
NATURAL RUSTIC WALL DÉCOR WITH BARN WOOD PLANKS
Each barn wood plank has been naturally weathered over time by the elements and include characteristics like deeply weathered grooves and natural splitting, enabling to capture that rustic warmth that can only be achieved with a real wood accent wall. Our decorative wood panels for walls will easily enable you to transform your space into a bespoke modern design creation.
GUARANTEED QUALITY FOR ALL BARNWOOD PLANKS
Each barn wood plank responsibly sourced, fully recyclable and 100% free of harmful pollutants. The result is a creation of completely unique spaces and a product you feel good about bringing into your home or office.
Reviews
You must be logged in to post a comment.


1 review for Whitewash Barnwood Planks
The barn wood white planks look amazing! They were simple to install, and the quality is fantastic. I’m really happy with how they turned out. The barn wood white planks look amazing! They were simple to install, and the quality is fantastic. I’m really happy with how they turned out.
Brian Stahl Verified Buyer