Free USA shipping available in 48 hours!

SubscribeSubscribe_Mob
24V COB LED Strip/Single color/IP2024V COB LED Strip/Single color/IP20 224V COB LED Strip/Single color/IP20 324V COB LED Strip/Single color/IP20 424V COB LED Strip/Single color/IP20 524V COB LED Strip/Single color/IP20 624V COB LED Strip/Single color/IP20 724V COB LED Strip/Single color/IP20 8
  • 24V COB LED Strip/Single color/IP20 9
  • 24V COB LED Strip/Single color/IP20 10
  • 24V COB LED Strip/Single color/IP20 11
  • 24V COB LED Strip/Single color/IP20 12
  • 24V COB LED Strip/Single color/IP20 13
  • 24V COB LED Strip/Single color/IP20 14
  • 24V COB LED Strip/Single color/IP20 15
  • 24V COB LED Strip/Single color/IP20 16
video

24V COB LED Strip/Single color/IP20

$49.00

Package Includes:
  • 24V LED strip light
  • 2 DC female-to-wire connectors

Length:

16.4 ft

Power/feet:

3.2 W/FT

Compatibility:

Compatible with 24V power supplies only
(not included)

Visa Mastercard American Express PayPal Diners Club Discover
video
Recyclable
Recyclable
Glue and nails installation
Reclaimed wood
Reclaimed wood

Description

24V COB LED Strip

Size:

  • Length: 16.4 ft (5m)
  • Width: 5/16" (8mm)

Power Supply Requirements (Not included):

  • Voltage: 24V DC
  • Wattage: Choose a power supply with a wattage rating equal to or greater than the total wattage of your project.
    • To calculate the minimum wattage required, multiply the length of your LED strip (in feet) by 3.2 watts per foot (W/ft).

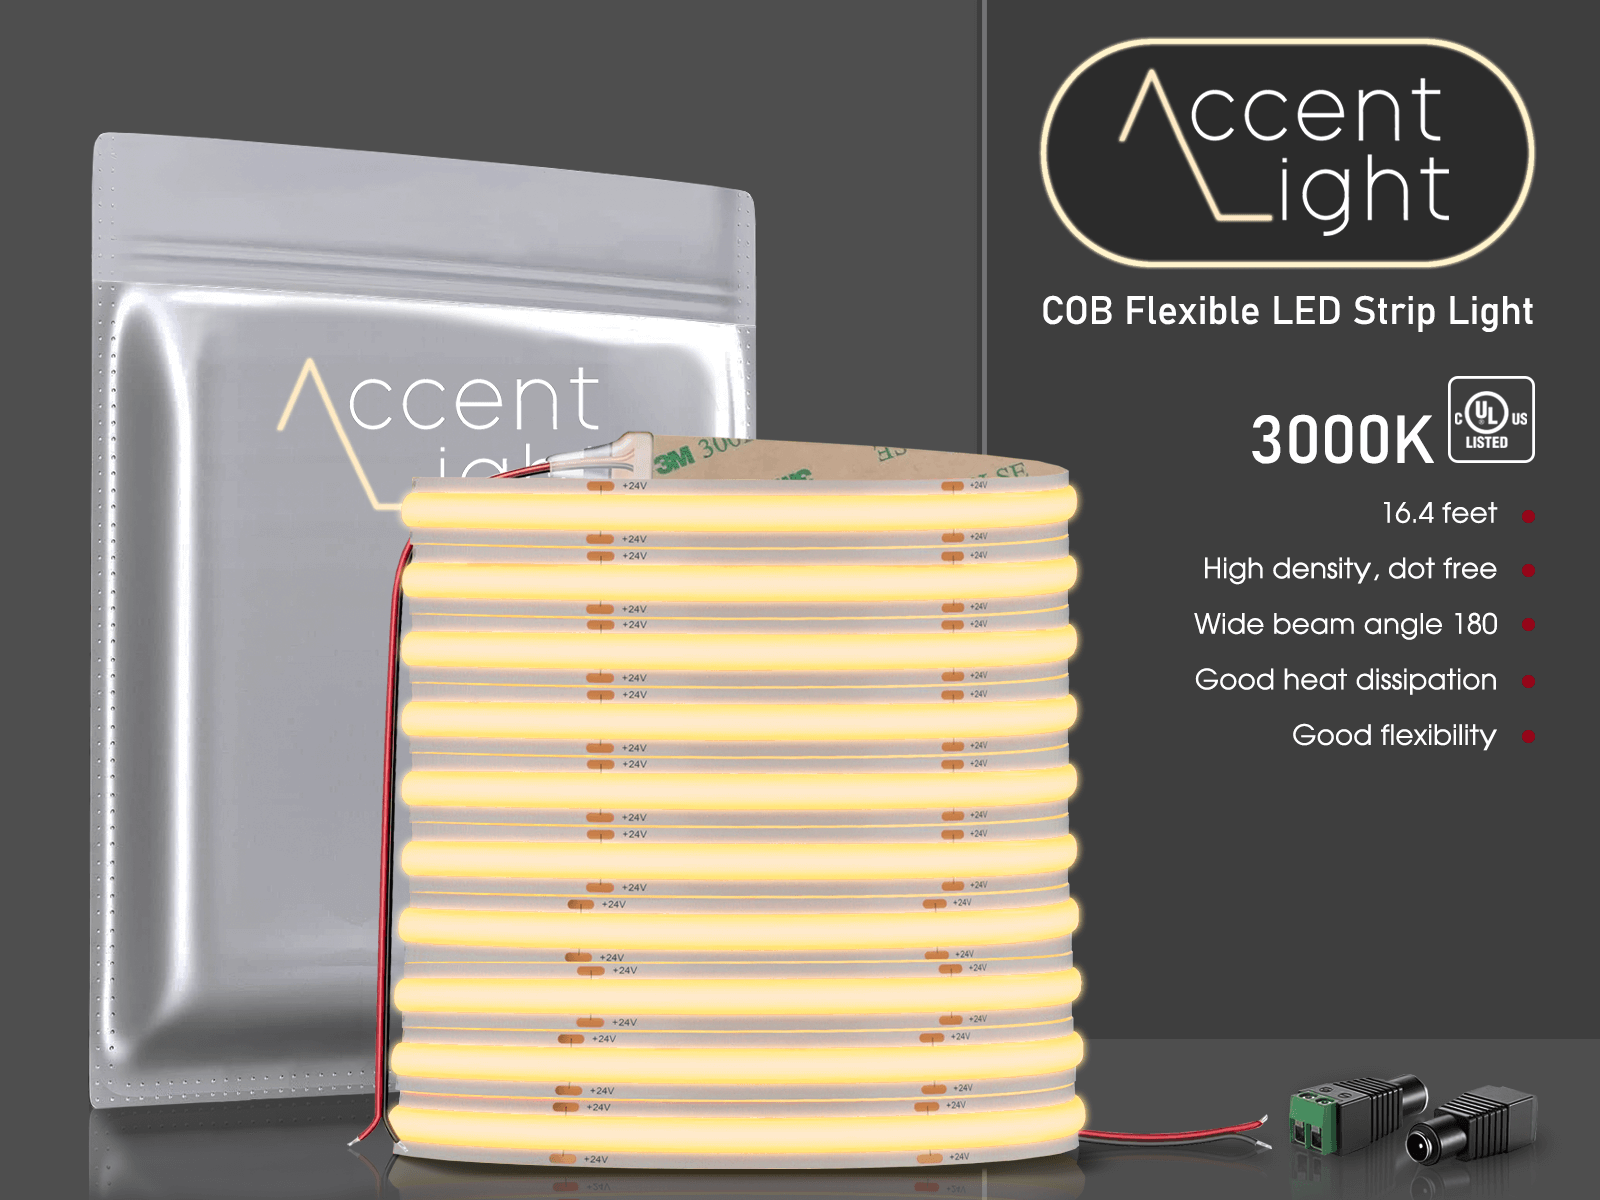
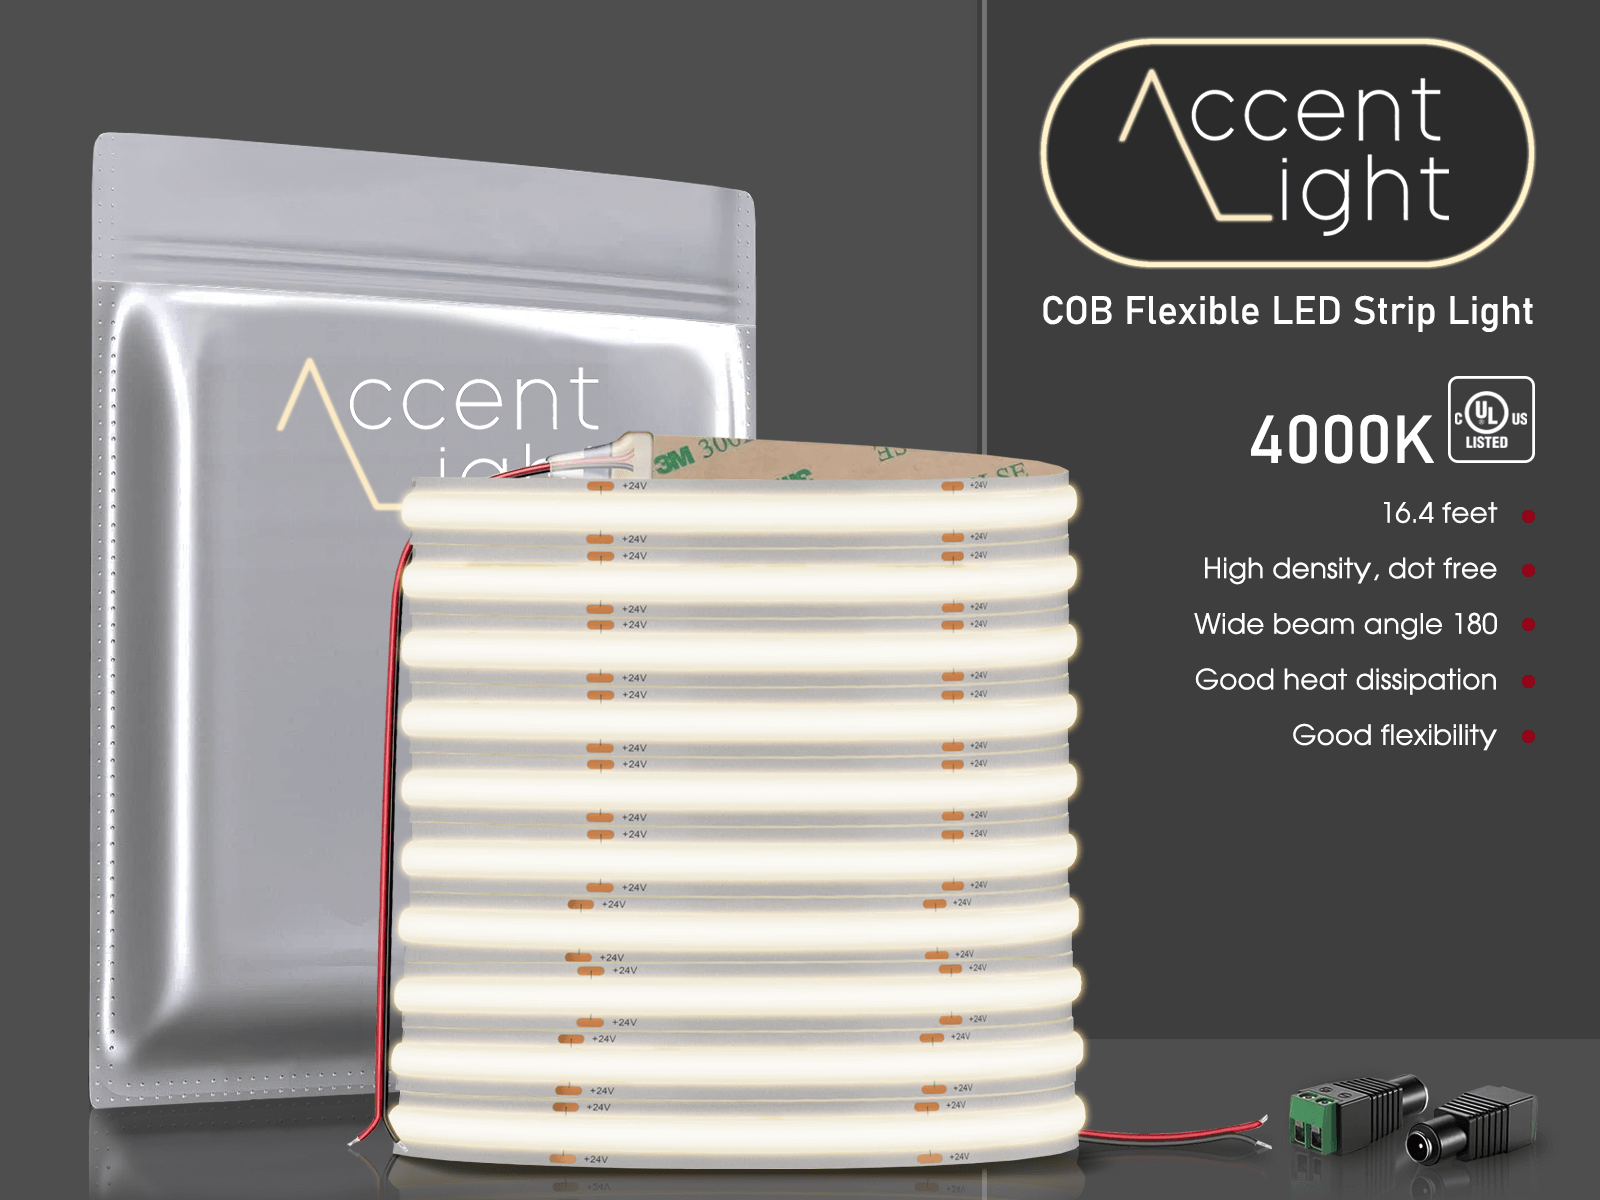
LED Light Specification:

  • LEDs: 146 pcs/ft
  • Input Voltage: DC 24V
  • Color Temperature Options: 3000K, 4000K, 6500K
  • High CRI Rating: 95+ for accurate color rendering
  • Power Consumption: 3.2 W/ft
  • Efficiency: 100-110 lumens per watt
  • Beam Angle: 180 degrees
  • Lifetime: 30,000 hours
  • Waterproof Rating: IP20 (indoor use only)
  • UL Listed: For safety
  • Size of Cut Section: 2 inches

Package Includes:

  • 24V LED strip light
  • 2 DC female-to-wire connectors

How to Cut LED Strips

Customization is easy with COB LED strips, which can be cut every 2 inches. This allows you to tailor the LED light strip length to fit specific installation needs perfectly. Simply use a sharp pair of scissors to cut along the designated cut lines, ensuring you do not damage the LEDs or the circuitry. Each cut section contains 24 LEDs, providing flexible and precise adjustments for any project.

How to Install LED Strip Lights

Installing COB LED strips is straightforward and involves a few simple steps. First, ensure the mounting surface is clean and dry. Measure and cut the LED strip to the desired length at the designated cut points using sharp scissors. Peel off the adhesive backing and carefully place the strip onto the surface, applying firm pressure for good adhesion. Connect the strip to a compatible 24V DC power supply, ensuring that the power supply's wattage is equal to or greater than the total wattage of your project (calculated by multiplying the strip's length in feet by 3.2 watts per foot). LED Light Strips require either a dimmable driver with a compatible dimmer switch or a non-dimmable power supply and are compatible with most dimmers using standard control protocols: ELV, TRIAC, DMX, Dali, 0-10V, and RF. Enjoy the brilliant, energy-efficient lighting provided by COB LED strips.

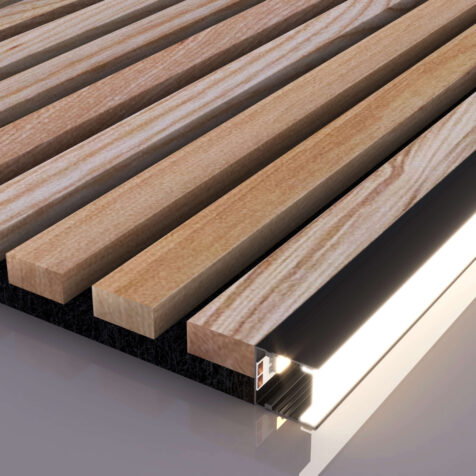
Installing LED Strips with LED Channels for a Finished and Professional Look

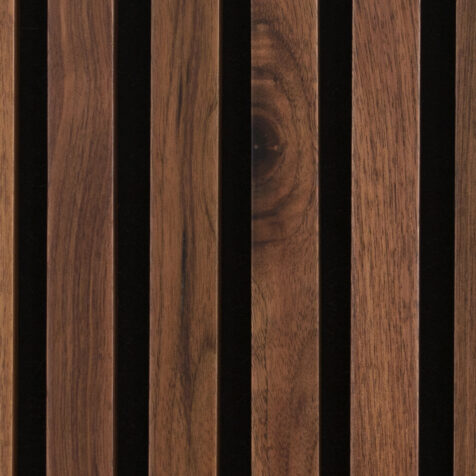
For a polished and professional installation, pair your COB LED strips with of our LED channels and Edge lighting channels. These LED channels not only protect the LED strips but also help to diffuse the light, creating an even more seamless and smooth lighting effect. To install, simply place the COB LED strip into the channel and cover it with the diffuser. This setup ensures optimal performance and longevity while enhancing the aesthetic appeal of your space.

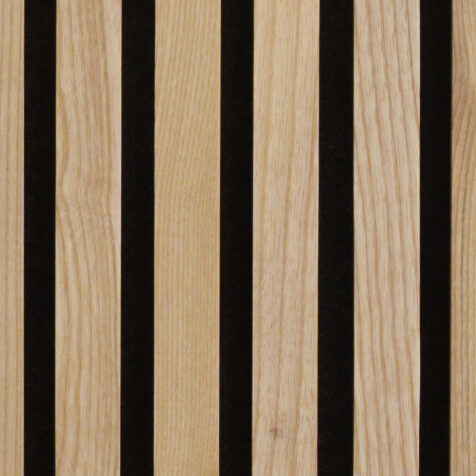
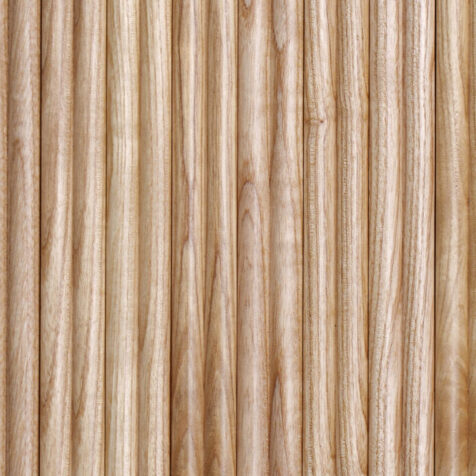
Where to Use COB LED light strip

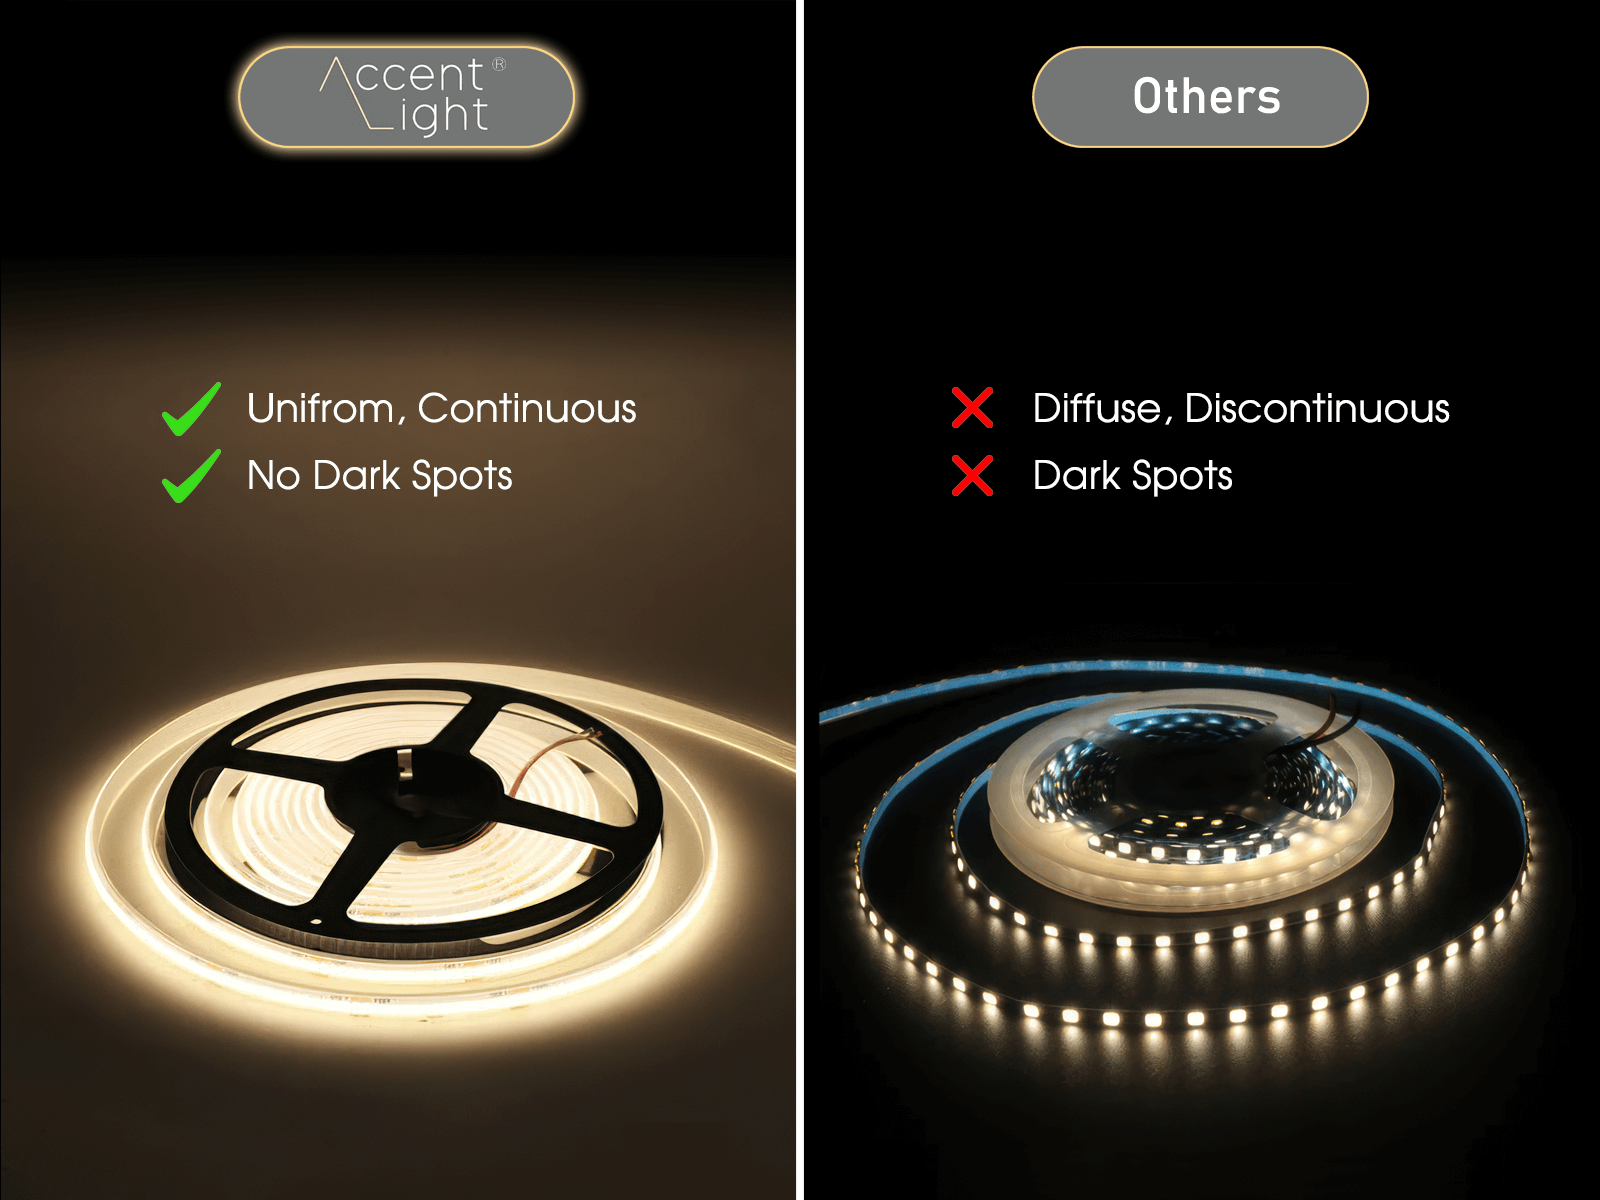
COB LED strips are versatile and ideal for various applications. Their high brightness and uniform lighting make them perfect for accent lighting in homes, offices, and retail spaces. They can be used for under-cabinet lighting in kitchens, backlighting for displays, or as mood lighting in living rooms and bedrooms. The COB LED strips are also suitable for enhancing architectural features, such as coves and alcoves, adding a touch of elegance and sophistication to any space. Please note, our LED strips are IP20 rated and suitable for indoor use only.

Additional information

Color

Warm White 3000K, Natural White 4000K, Cool White 6500K

Frequently Asked Questions

You can install WoodyWalls peel & stick wood wall planks around a code-approved fireplace, as long as they don't touch any combustible materials.

Avoid installing panels right behind the stove. Ensure adequate space between the wooden planks and the stove or fire to prevent damage or fire hazards.

Here’s why you can’t miss peel & stick wood wall paneling:

  • Flexible: Peel and stick wood wall planks provide adaptability for a range of layouts and may be used in any size space.
  • Easy DIY Installation: Peel and stick wood wall paneling installation is super easy. Just take measurements, lay out your design, take off the backing, and stick them to the wall. That's as simple as it gets!
  • Trendy: Their stunning quality and simplicity of installation are drawing in more homeowners who want to update their homes.

Peel and stick wood wall panels normally last around ten years. However, their longevity largely depends on several factors:

  • Material Quality: Choosing high-quality brands, like WoodyWalls, ensures durability.
  • Proper Installation: When installing peel and stick wood wall planks, it’s crucial to adhere to the instructions supplied by the manufacturer. Wear and tear may be prevented by carefully cleaning the surface and making sure it is aligned correctly.
  • Surface Condition: The surface has to be dry, clean, and free of any debris or dirt for the adhesive to adhere well.
  • Environmental Factors: Areas with high moisture content may be less able to cling to the panels. However, there are options for places like kitchens that could see occasional moisture.
  • Maintenance: To keep the peel and stick wood planks looking nice and lasting a long time, use gentle cleaning agents for regular care.

Installing peel and stick wood planks is a straightforward process. Here’s how to do it:

  • Step 1: Clean the wall surface to ensure the wall is free of dust, grease, and debris.
  • Step 2: Mix planks from different bundles to create a balanced look.
  • Step 3: Arrange the planks on the floor to visualize your design before installation.
  • Step 4: Draw a reference line with a level to guide your first row.
  • Step 5: Peel off the backing and position the first row along the reference line, groove side up.
  • Step 6: Use a J-roller to press down firmly for a secure bond.
  • Step 7: Mark the positions of light switches and outlets on the planks before removing the adhesive liner.
  • Step 8: Cut planks for the top and bottom rows with a jigsaw or table saw for accurate fits. Use a dust mask to protect yourself while cutting.
  • Step 9: Sand to smooth cut edges for a polished look.

For a visual guide, check out this video: DIY WoodyWalls Peel and Stick Wood Wall Planks.

Peel and stick wood wall planks are usually made from high-quality materials like American spruce, pine, fir, or reclaimed wood to add character and authenticity to your area. Notably, WoodyWalls uses 100% real pine wood, ensuring a natural and beautiful finish.

Most peel and stick wood wall panels are very thin. For example, peel and stick wood wall panels from WoodyWalls are around 3/16 inches. This slim profile allows for easy installation without adding bulk to your walls.

Removing peel and stick wood wall planks could potentially damage your wall as the strong 3M adhesive may take off some paint or harm the drywall underneath.

We advise covering the surface you wish to cover with plywood before putting the peel and stick boards to facilitate removal. This will ensure that you just have to fix the plywood and not the entire wall when you remove the panels.

You can use peel and stick wood planks in various areas of your home, but avoid damp spaces like bathrooms or saunas. They work well on smooth surfaces where traditional paneling isn't feasible, such as mirrors, tile, or concrete walls. Just ensure the area has a relative humidity of 30-65% and is dry for optimal adhesion.

Absolutely! The easiest way to cut WoodyWalls peel and stick wood wall planks is with a miter saw, but you can also use a utility knife, jigsaw, or fine-toothed hand saw. Follow these steps:

  • Step 1. Choose Your Saw: A jigsaw or table saw is recommended for clean cuts.
  • Step 2. Mark Where to Cut: Clearly mark your cut lines.
  • Step 3. Make the Cut: Carefully cut along your marked lines for precise results.

Yes, you can install peel and stick wood planks over existing tile!

Clean the tile well with your favorite cleaner and make sure it's dry before you start. As long as the tile is dust-free and level, the glue will adhere well. This is a simple and reasonably priced method of updating your area without removing the tiles. Simply avoid places that receive a lot of moisture, such as shower walls.

You May Also Like

Best Selling Products

24V COB LED Strip Light Bundle - Dual LED Strips

$189.00Select options This product has multiple variants. The options may be chosen on the product page

24V COB LED Strip Light Bundle - Single LED Strip

$109.00Select options This product has multiple variants. The options may be chosen on the product page