


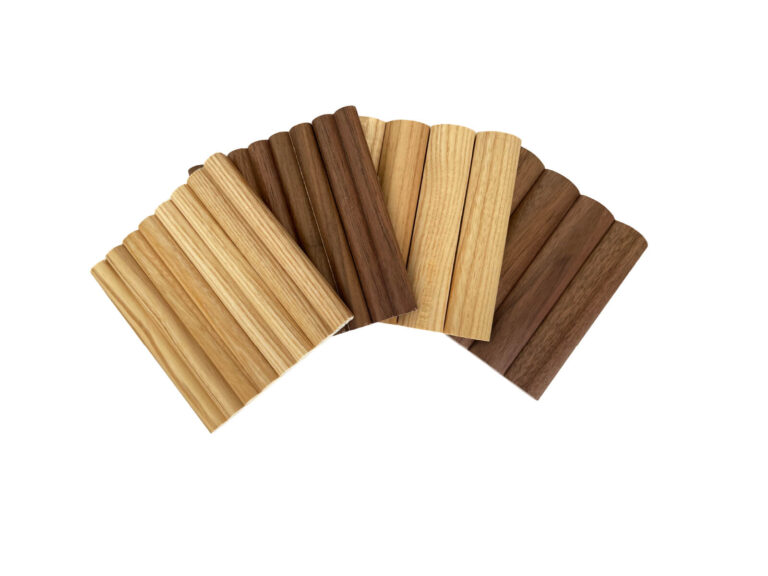


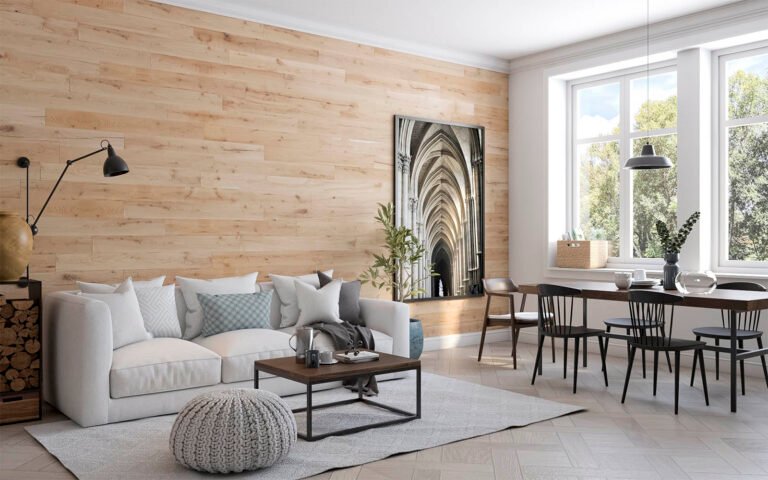

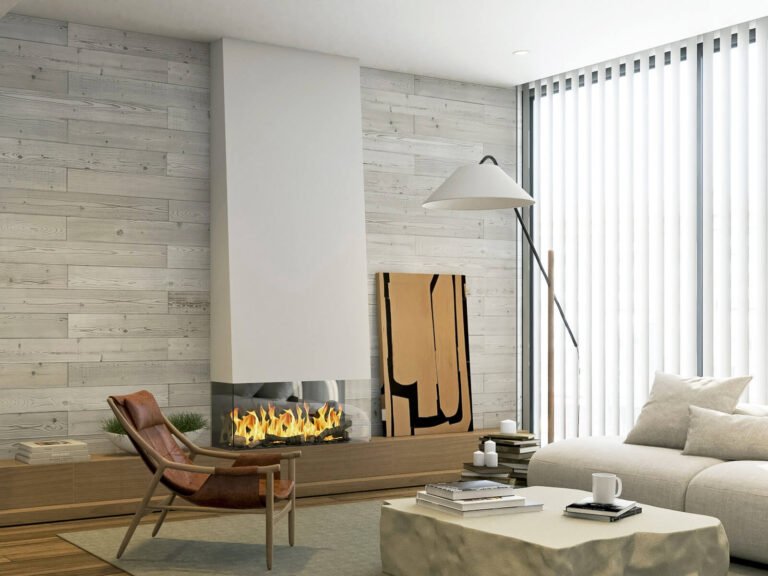

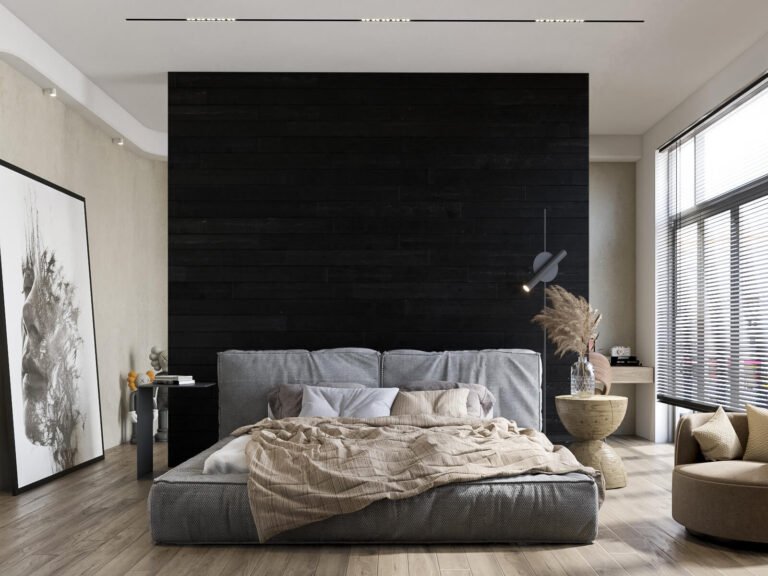

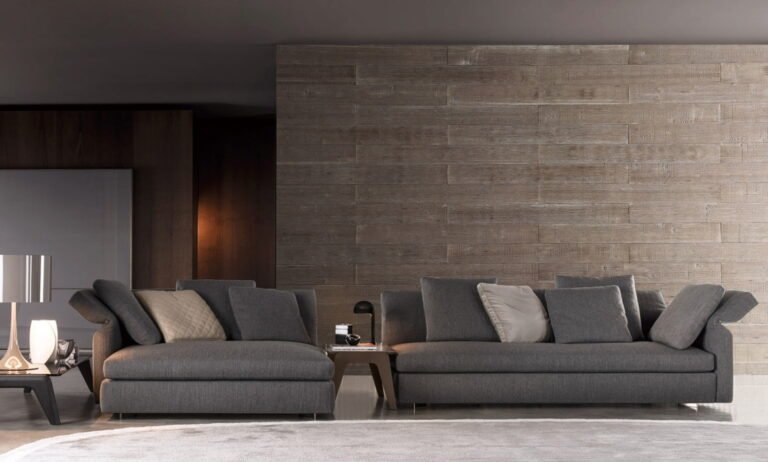


Description
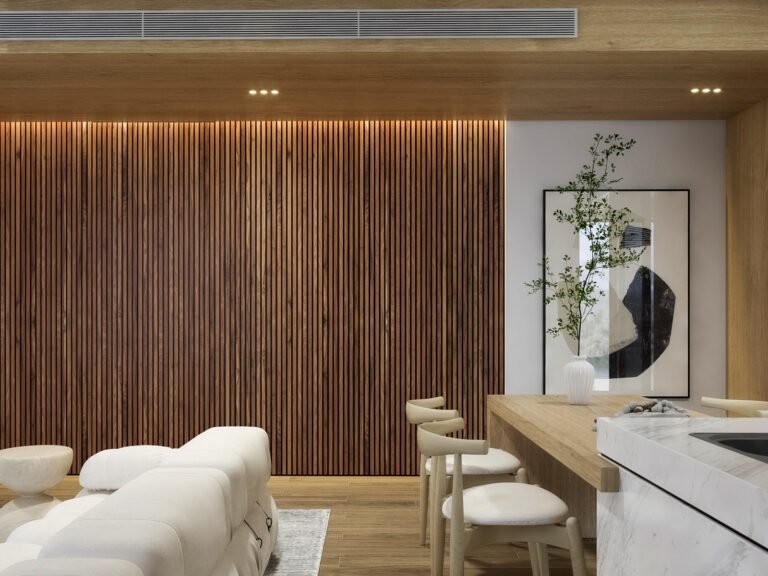
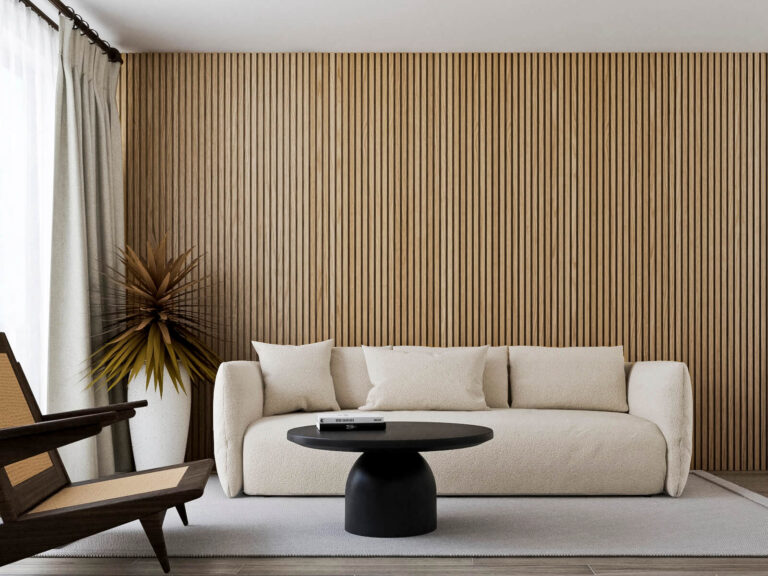
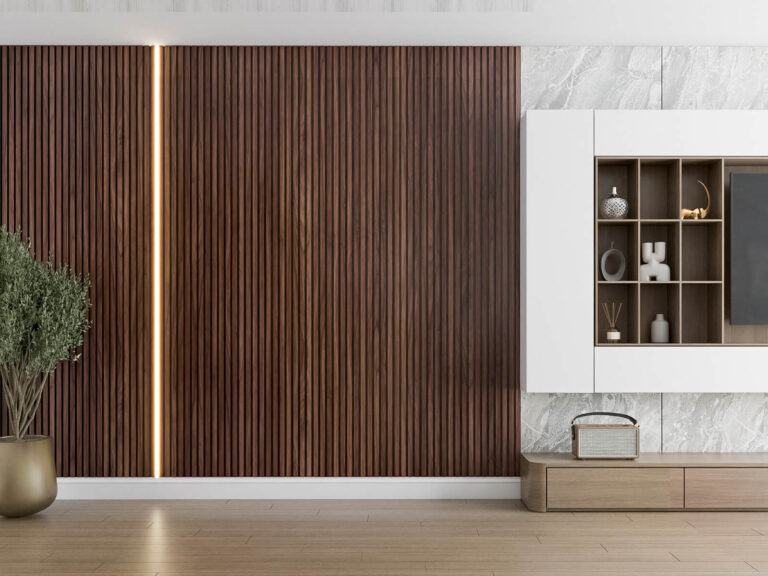
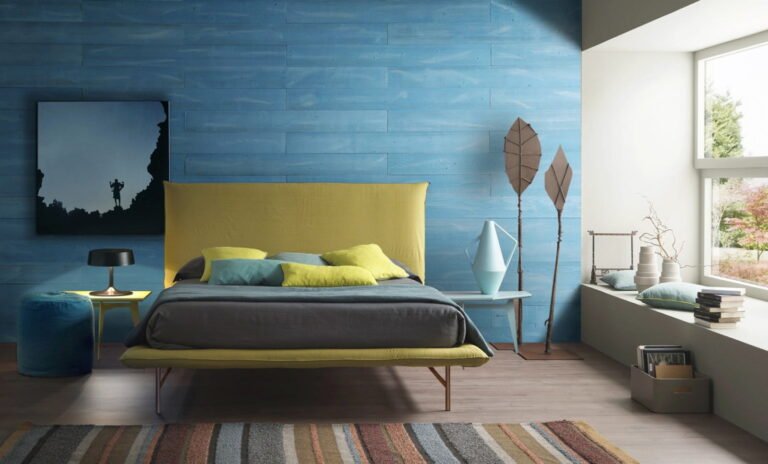
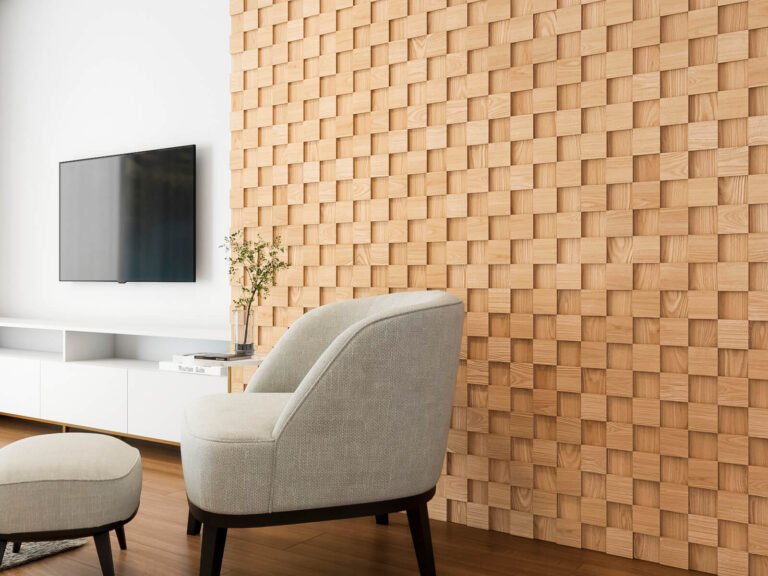
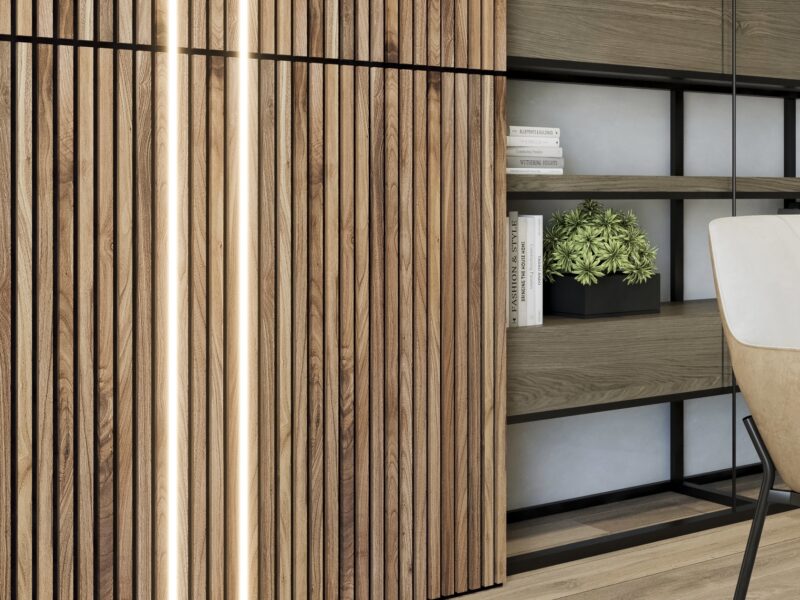
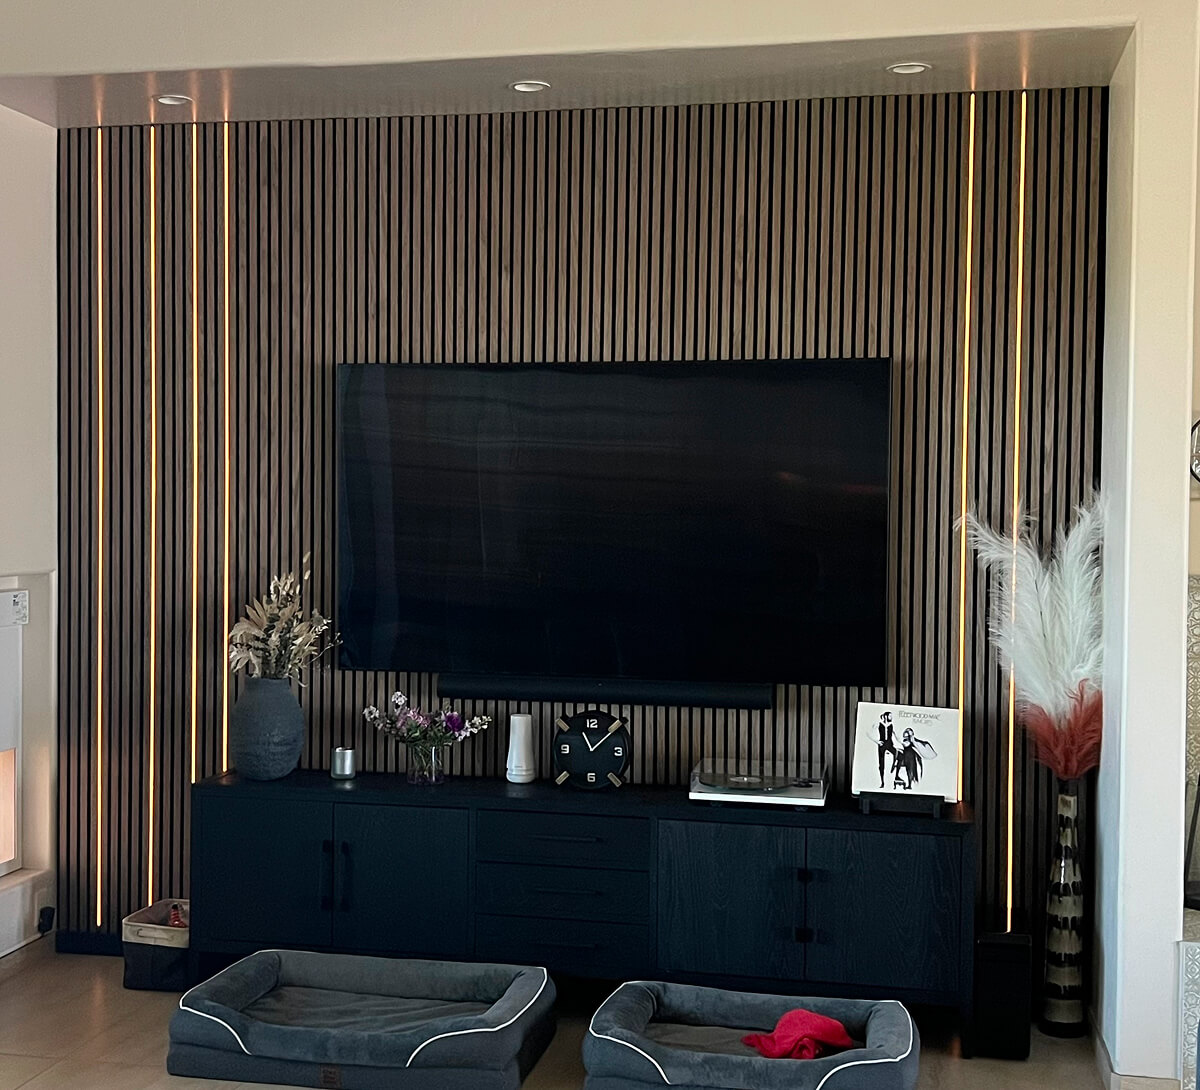
Seamless Integration with Acoustic Slat Wall Panels
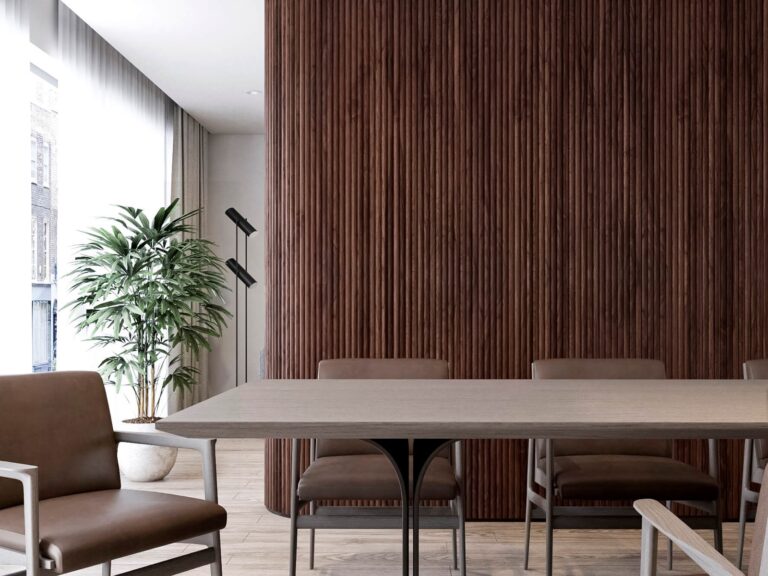
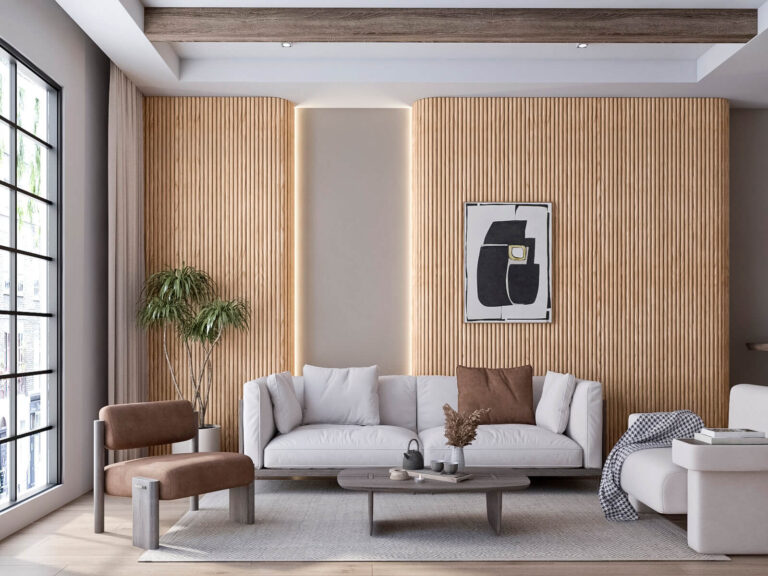
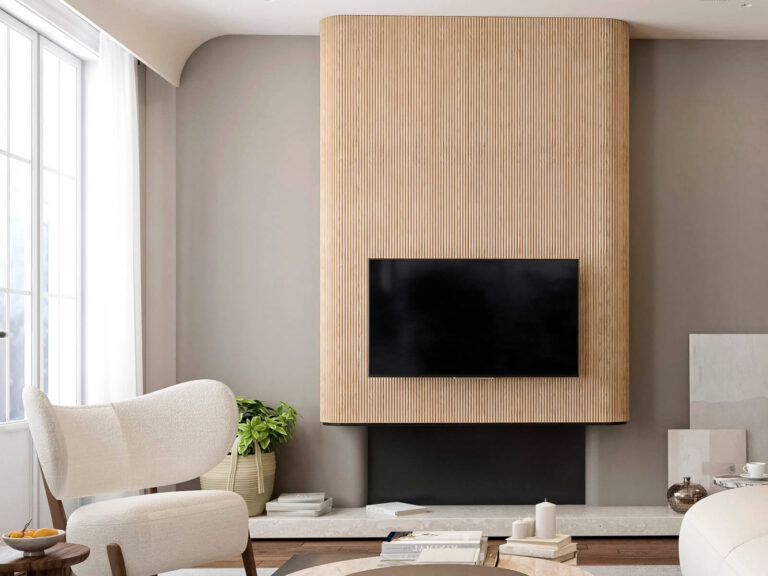
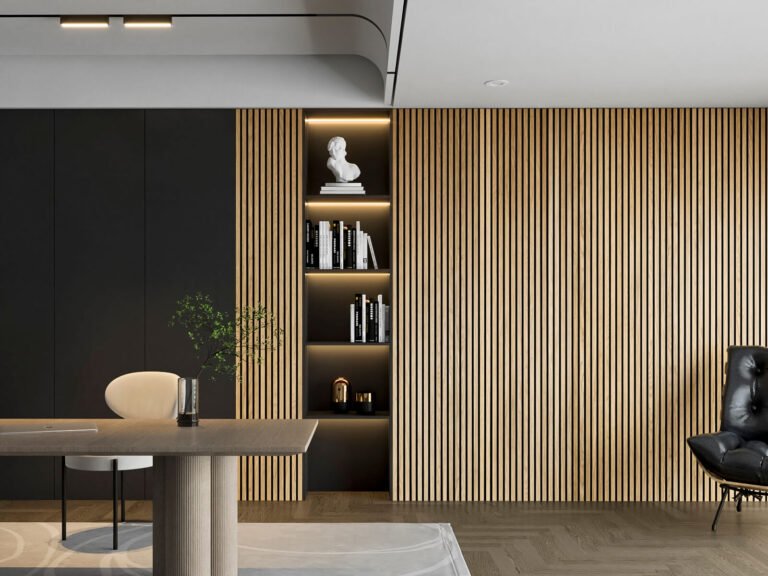
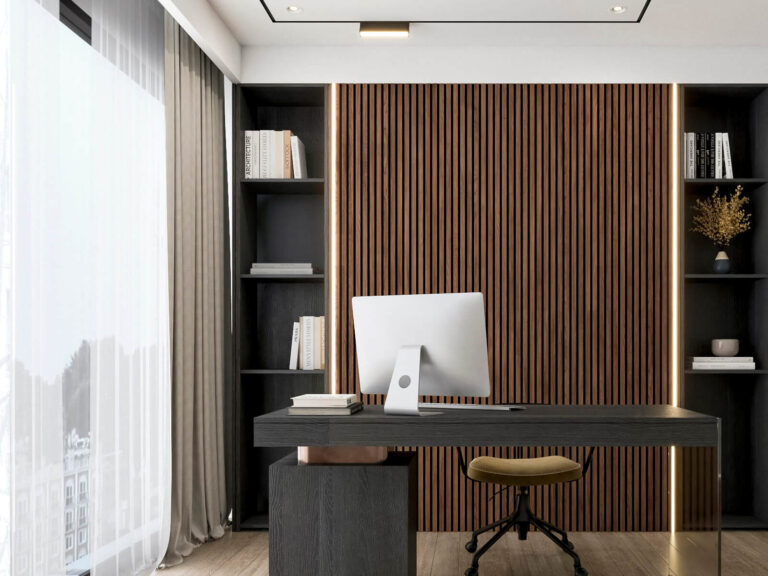
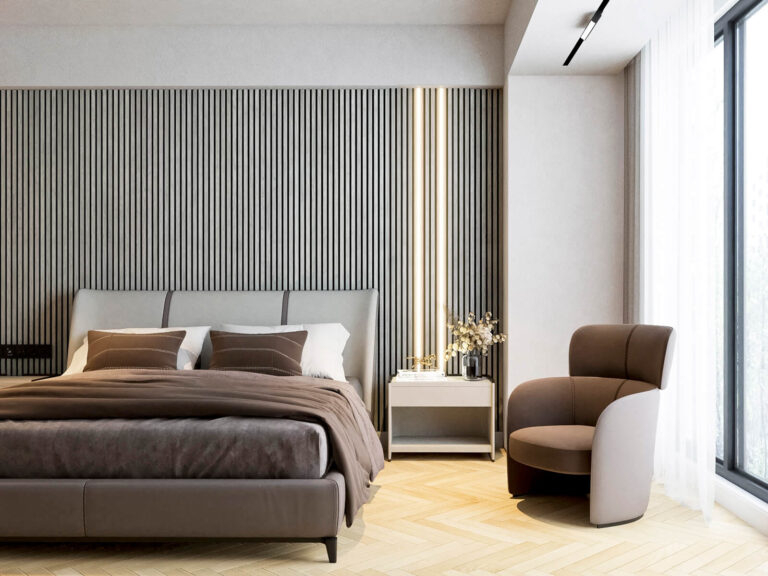
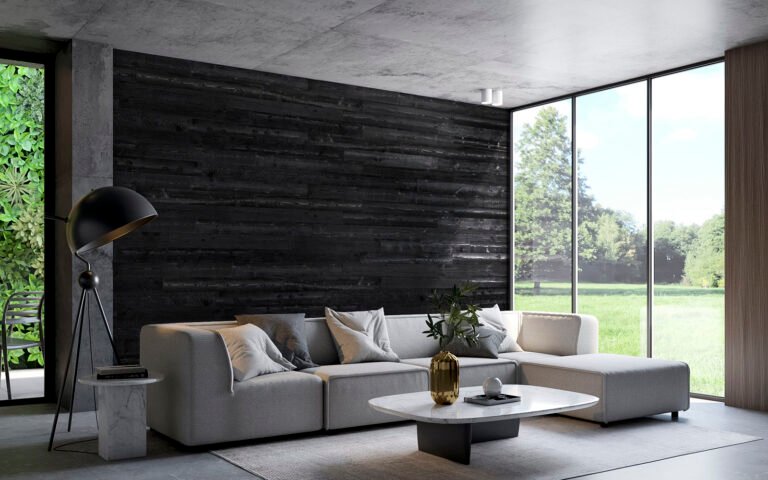
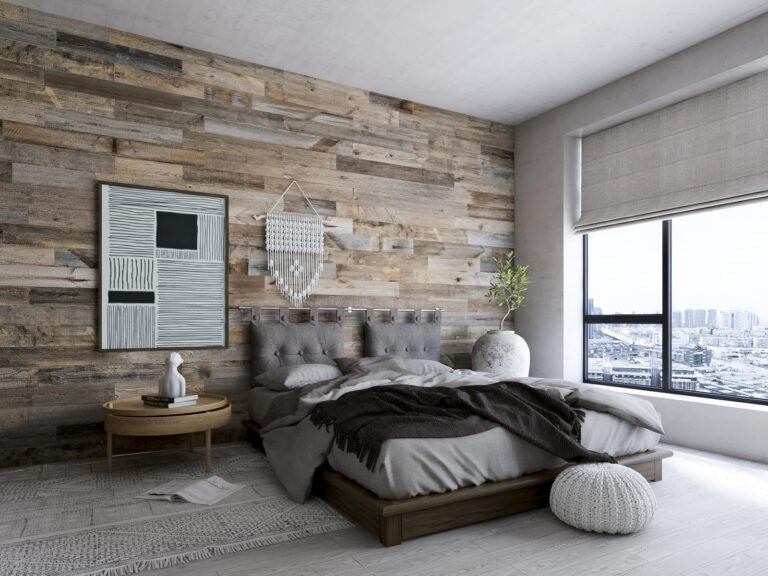
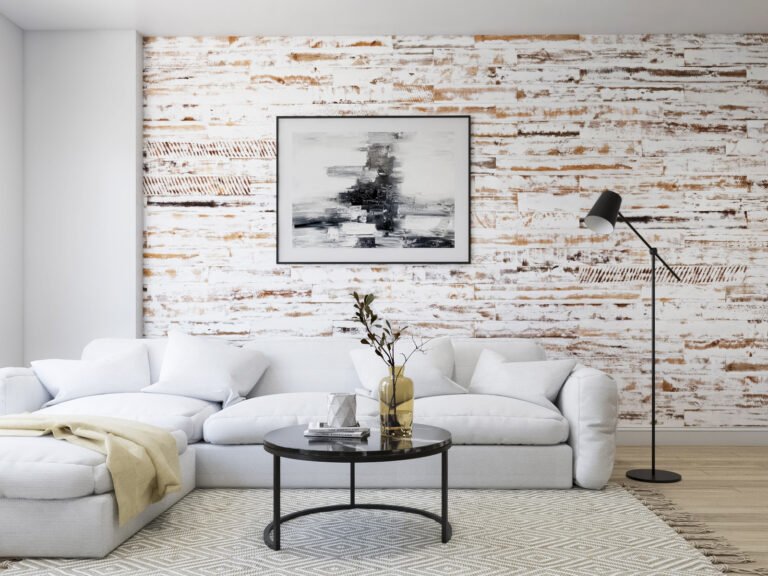
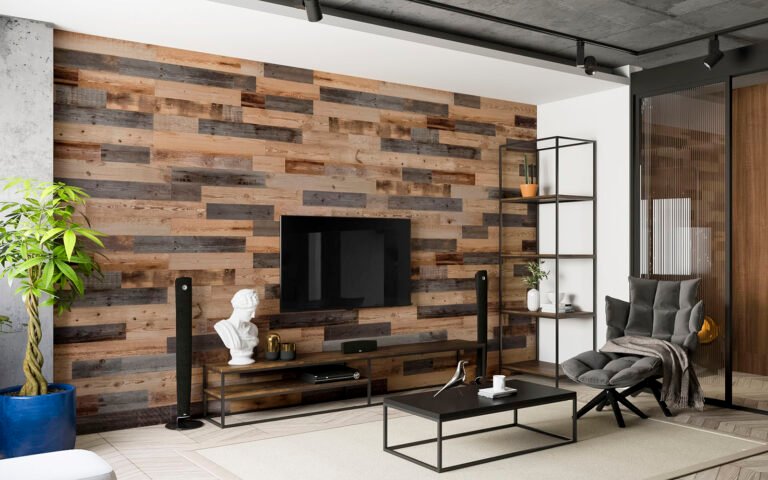
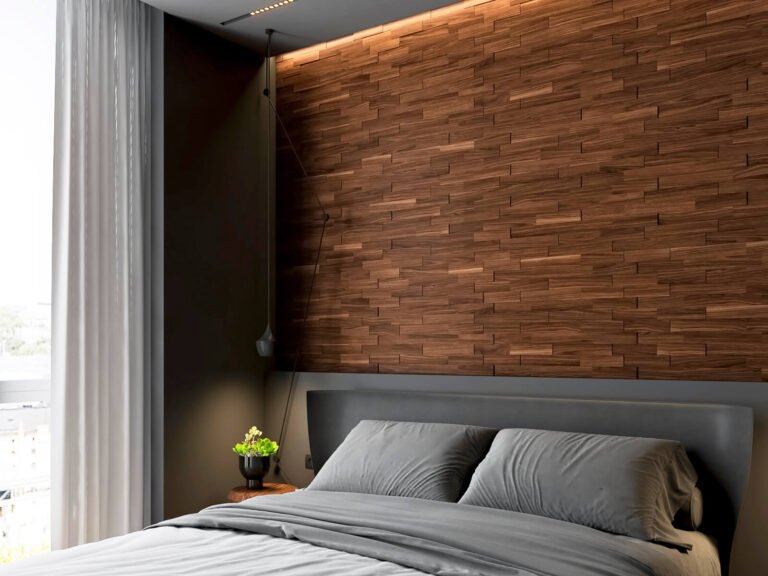
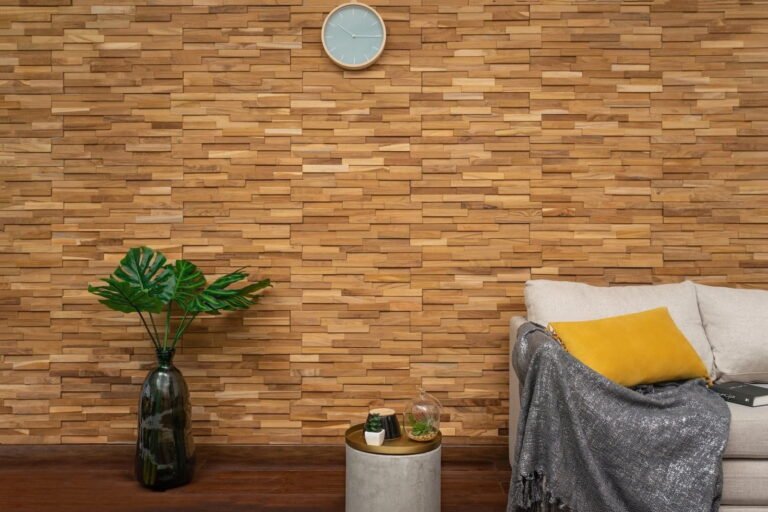
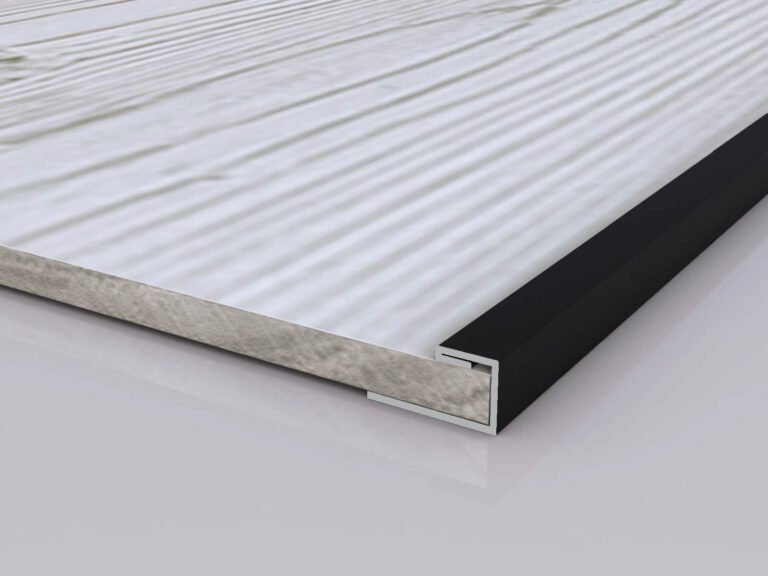
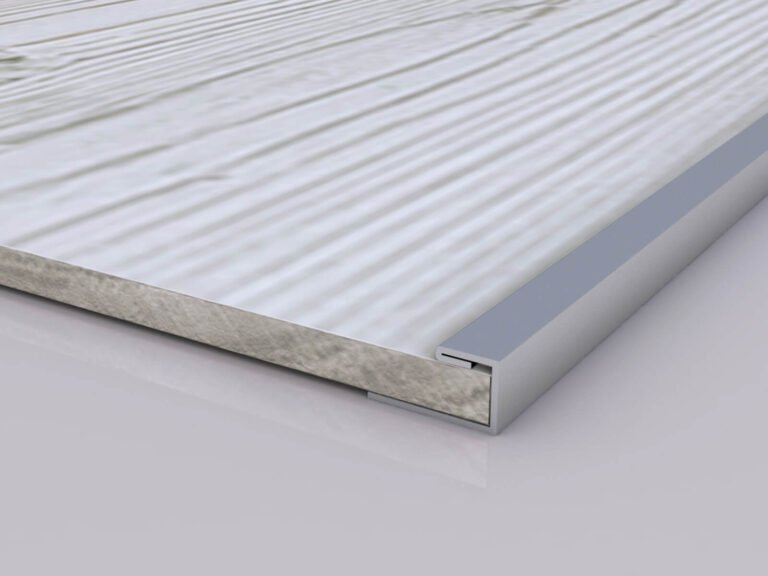
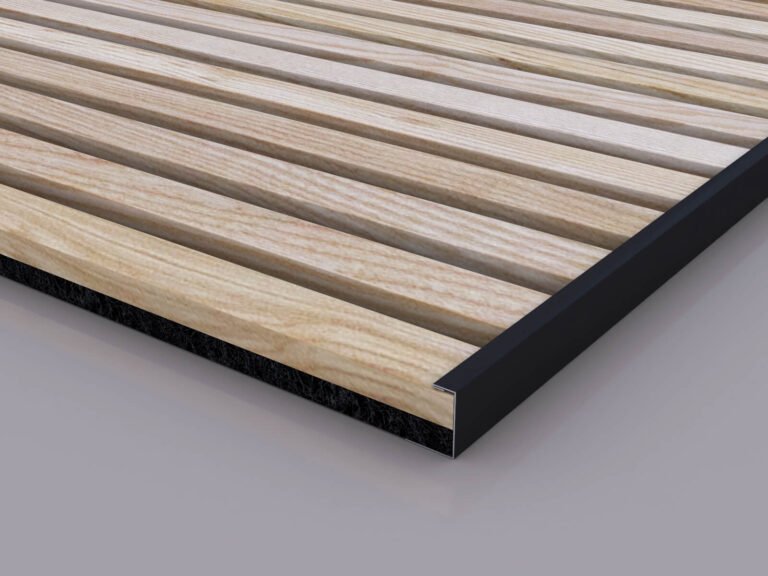
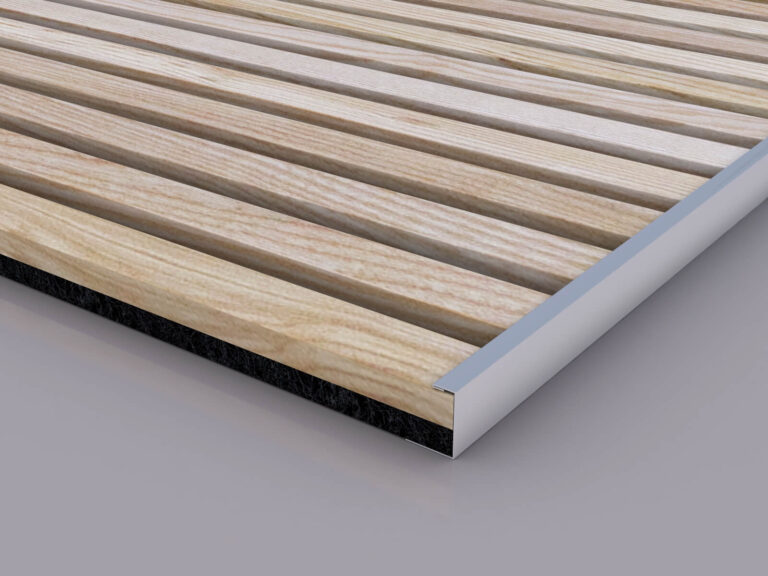
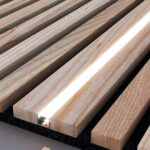
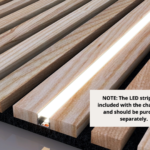
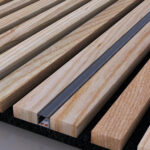
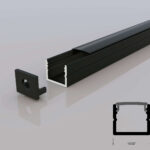
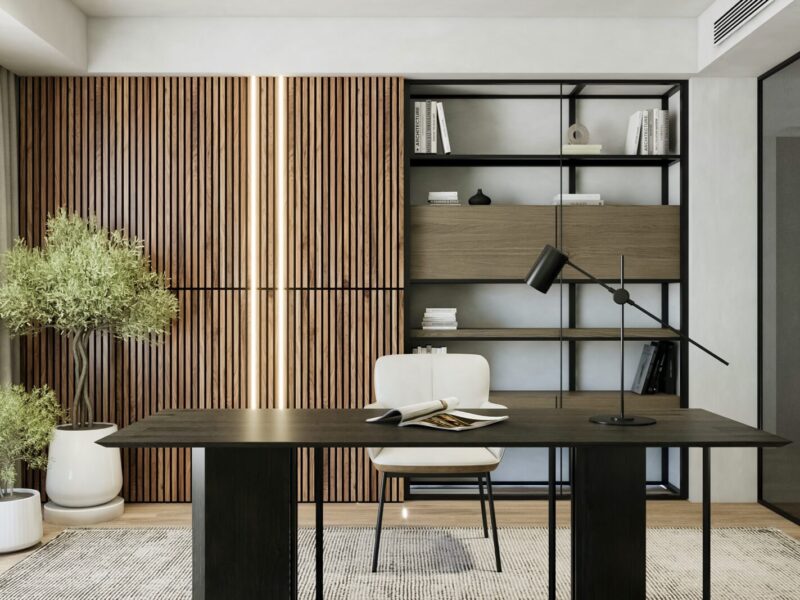
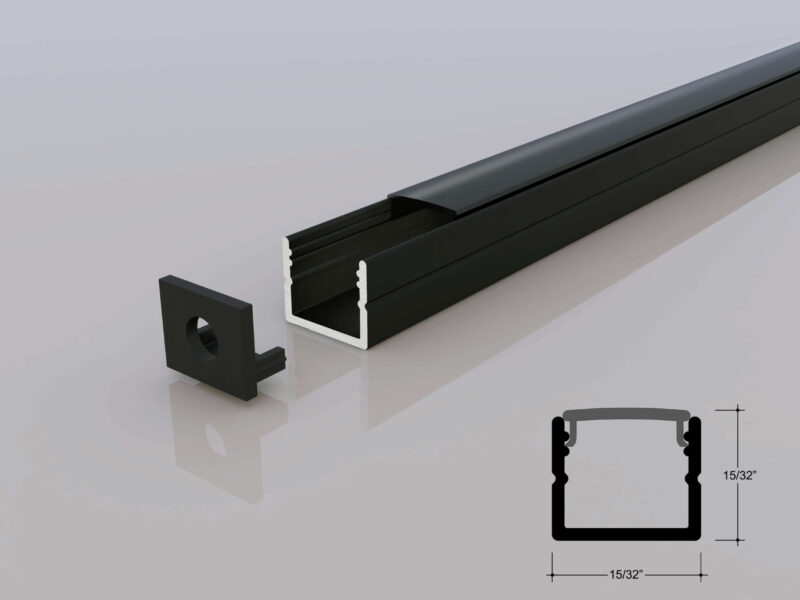
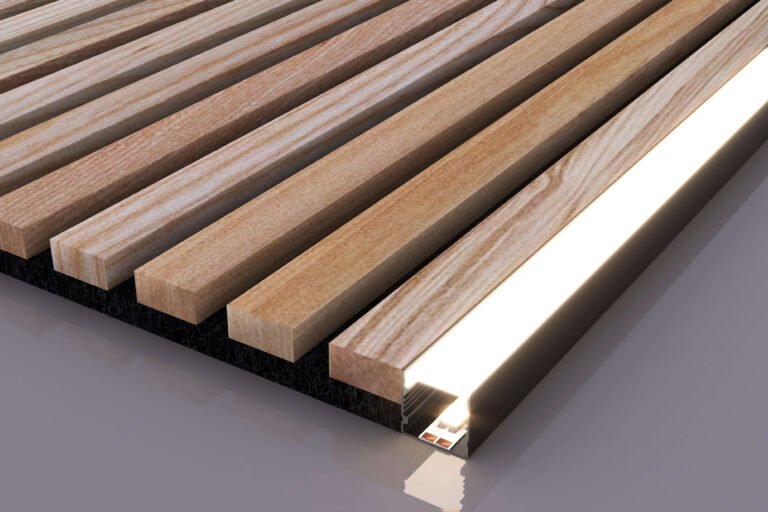
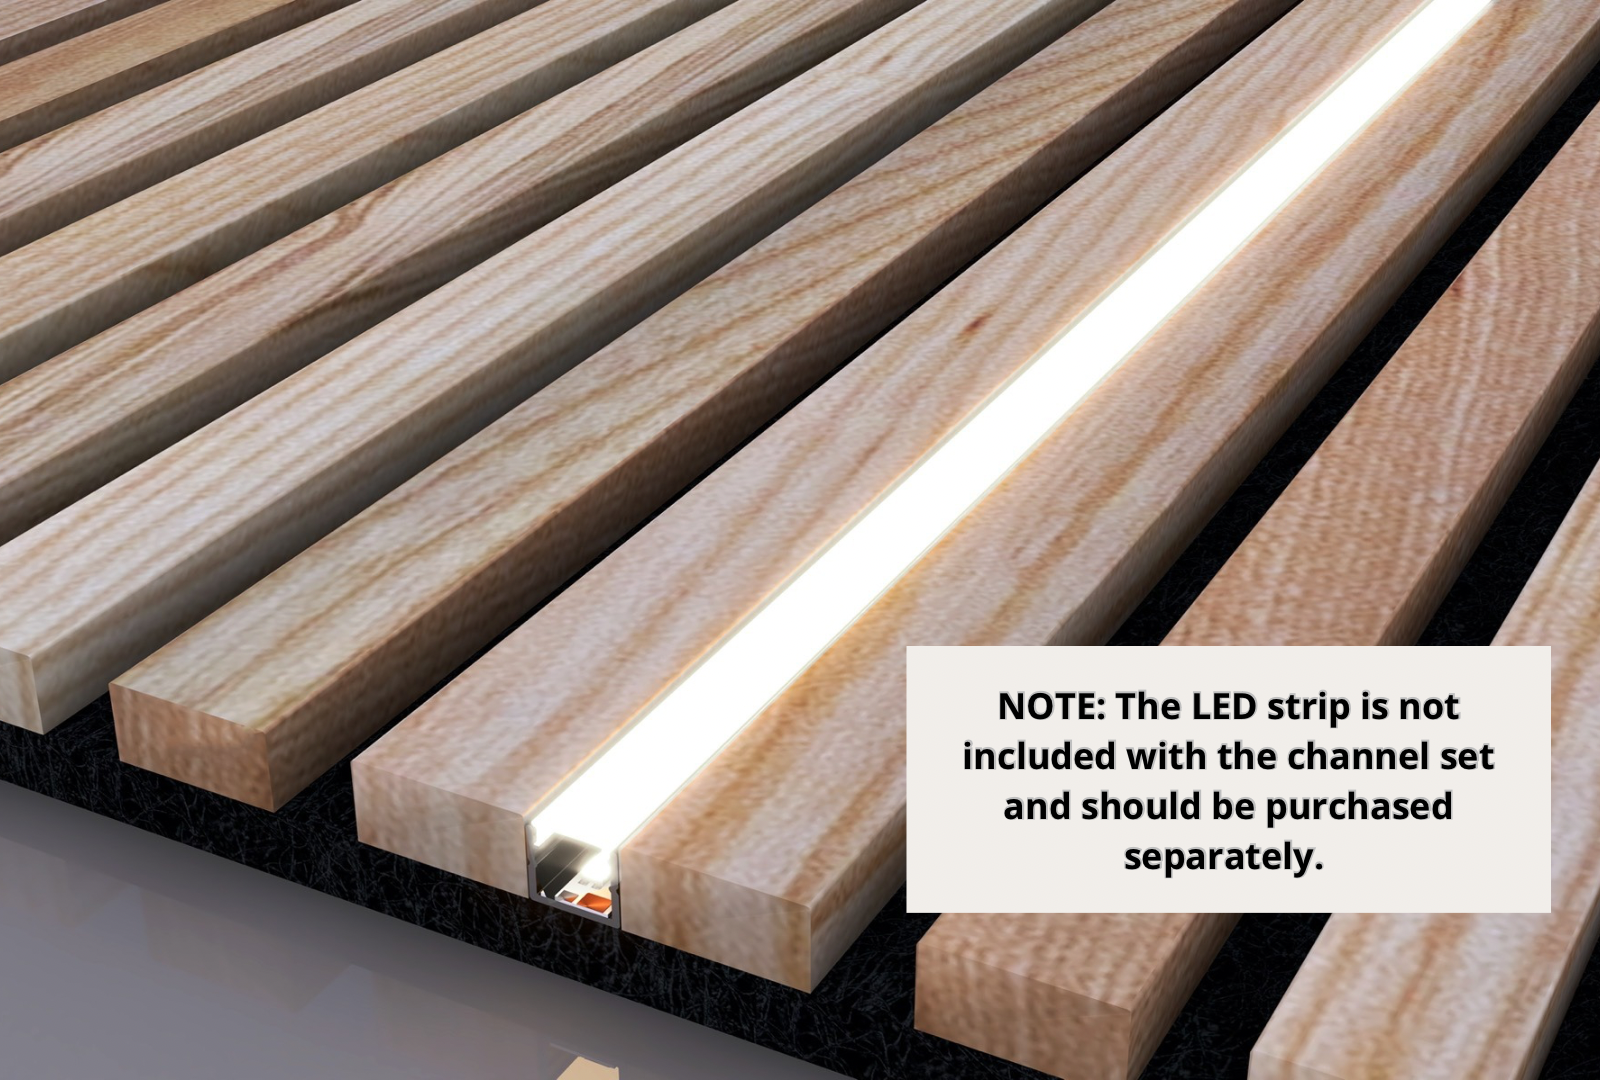
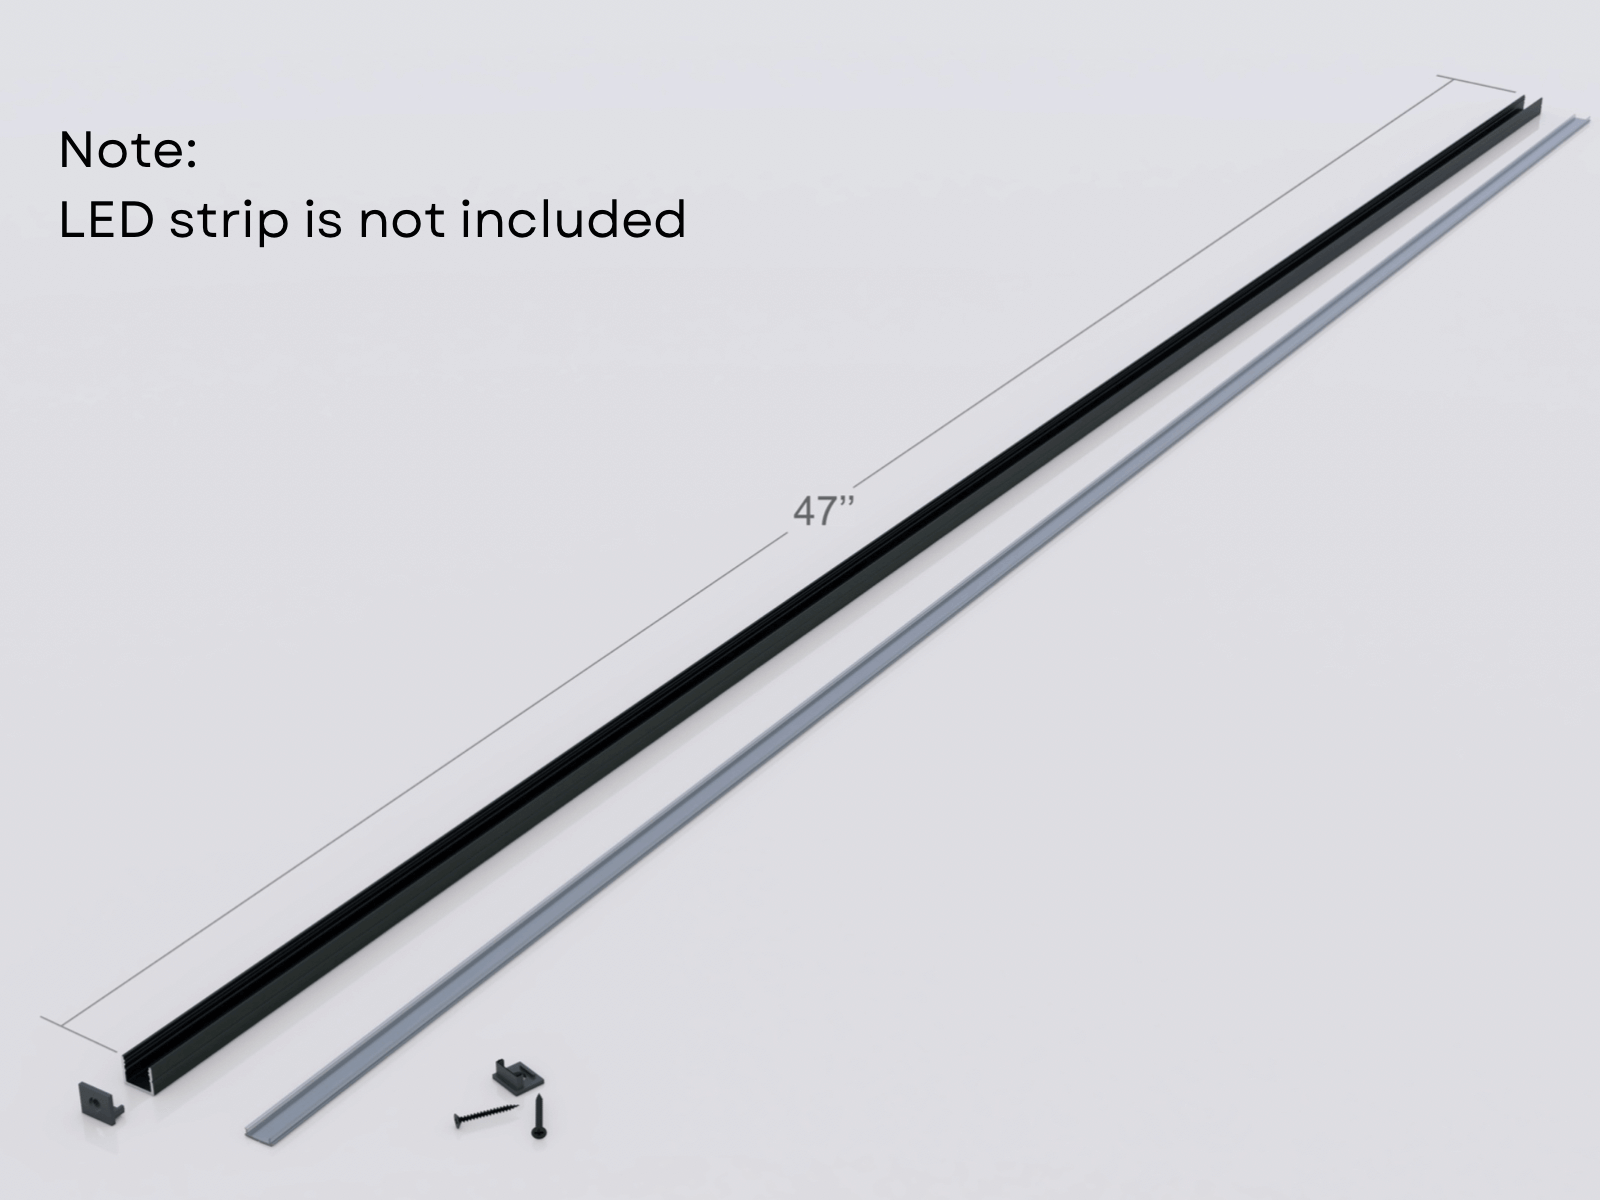
Our LED light channels are meticulously designed to seamlessly complement our Acoustic Slat Wall Panels (Oak Veneer Acoustic Wood Panels and Solid Wood Slat Panels), ensuring a flawless integration that enhances your space. The LED Channel set includes black aluminum rail and a black plastic cover, crafted with excellence to provide a sleek and sophisticated look. To guarantee a pristine finish, we provide 2 end plugs that neatly conceal the ends of the channel.
Specifications
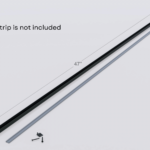
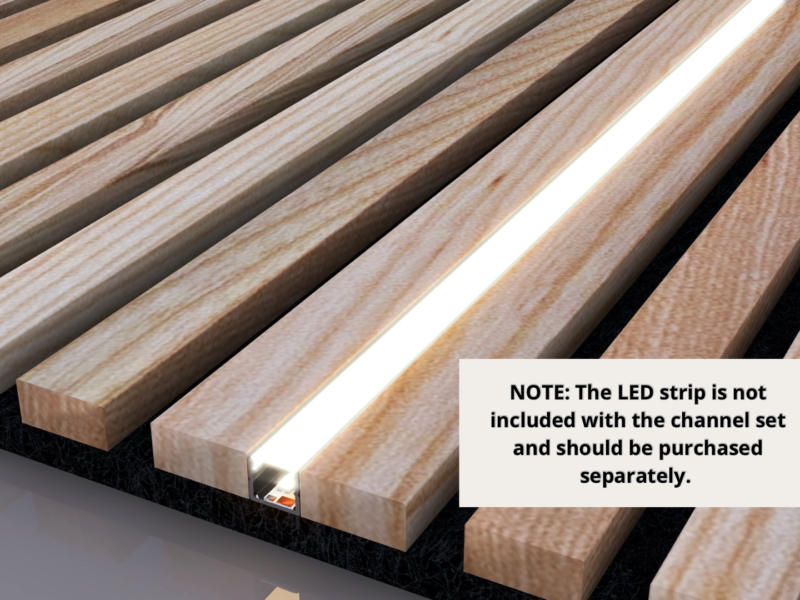
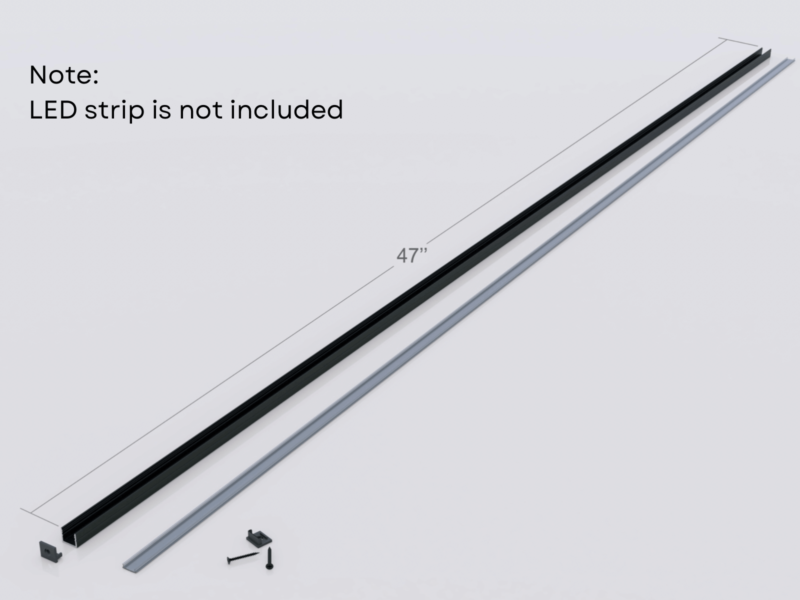
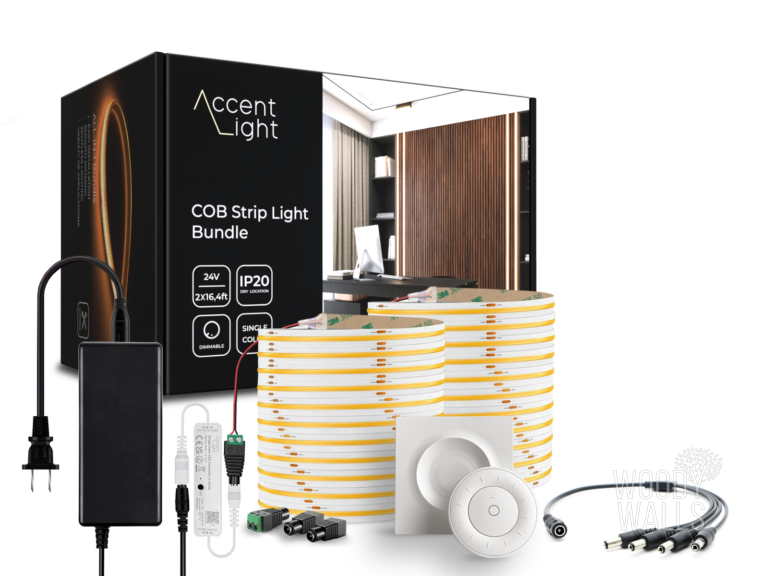
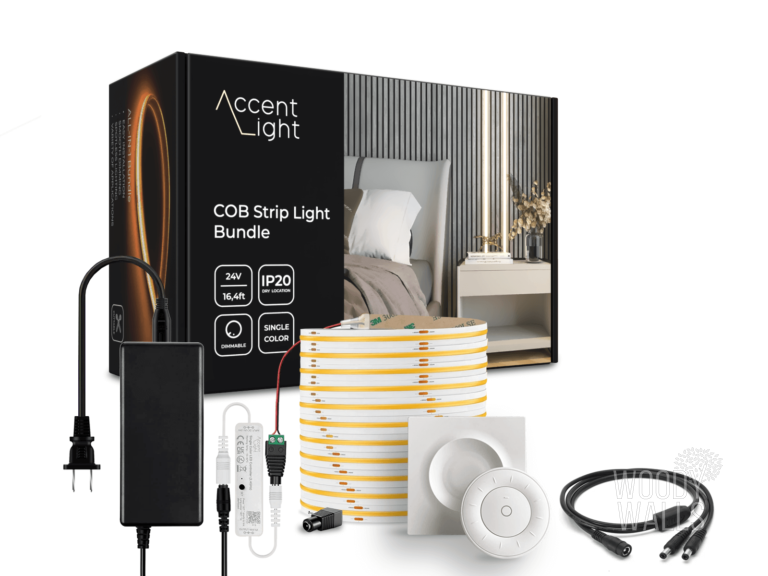
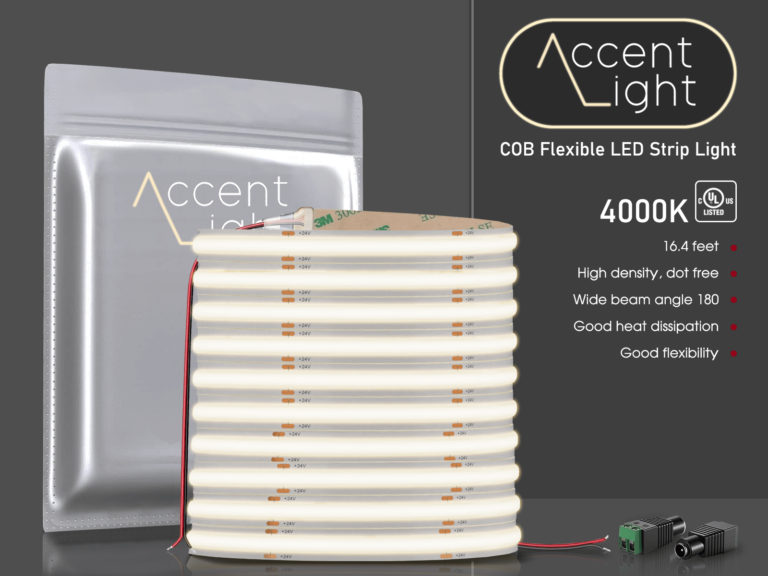
Each LED Light Channel measures 47 inches in length, and the height and width of our channel is 15/32". The width and depth of our LED channels are expertly tailored to fit our Wood Slat Wall Panels precisely, eliminating any guesswork during installation. Please note that the LED strip is not included with the channel set and should be purchased separately. We recommend opting for COB LED strips for optimal performance.
Hassle-Free Installation
Installing our LED channels is a breeze. Simply measure and cut the aluminum channel to your desired length using a miter saw. Once cut, secure the channel between two wood slats on our Acoustic Wood Panels using the included screws. Attach the LED strip (purchased separately) to the aluminum channel, ensuring proper alignment and connection. Next, snap the black plastic cover into place, providing diffusion for a soft and uniform lighting effect. Finally, complete the assembly by closing the channel with the provided end plugs, giving your LED light channel a clean and professional appearance.
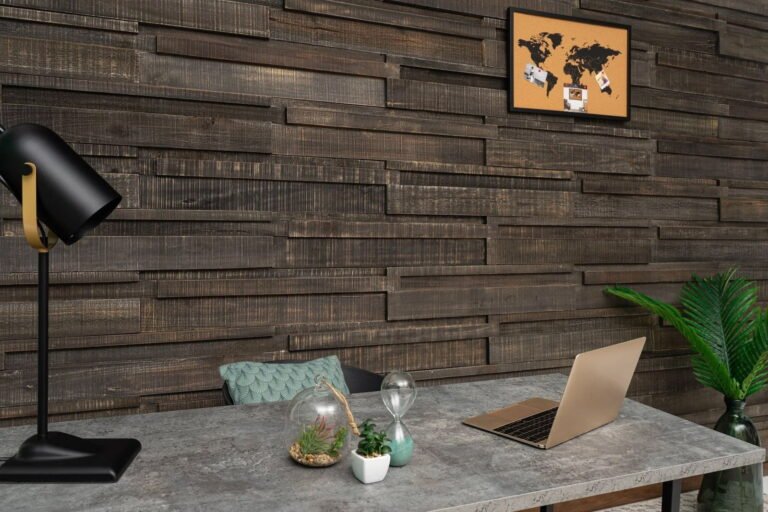
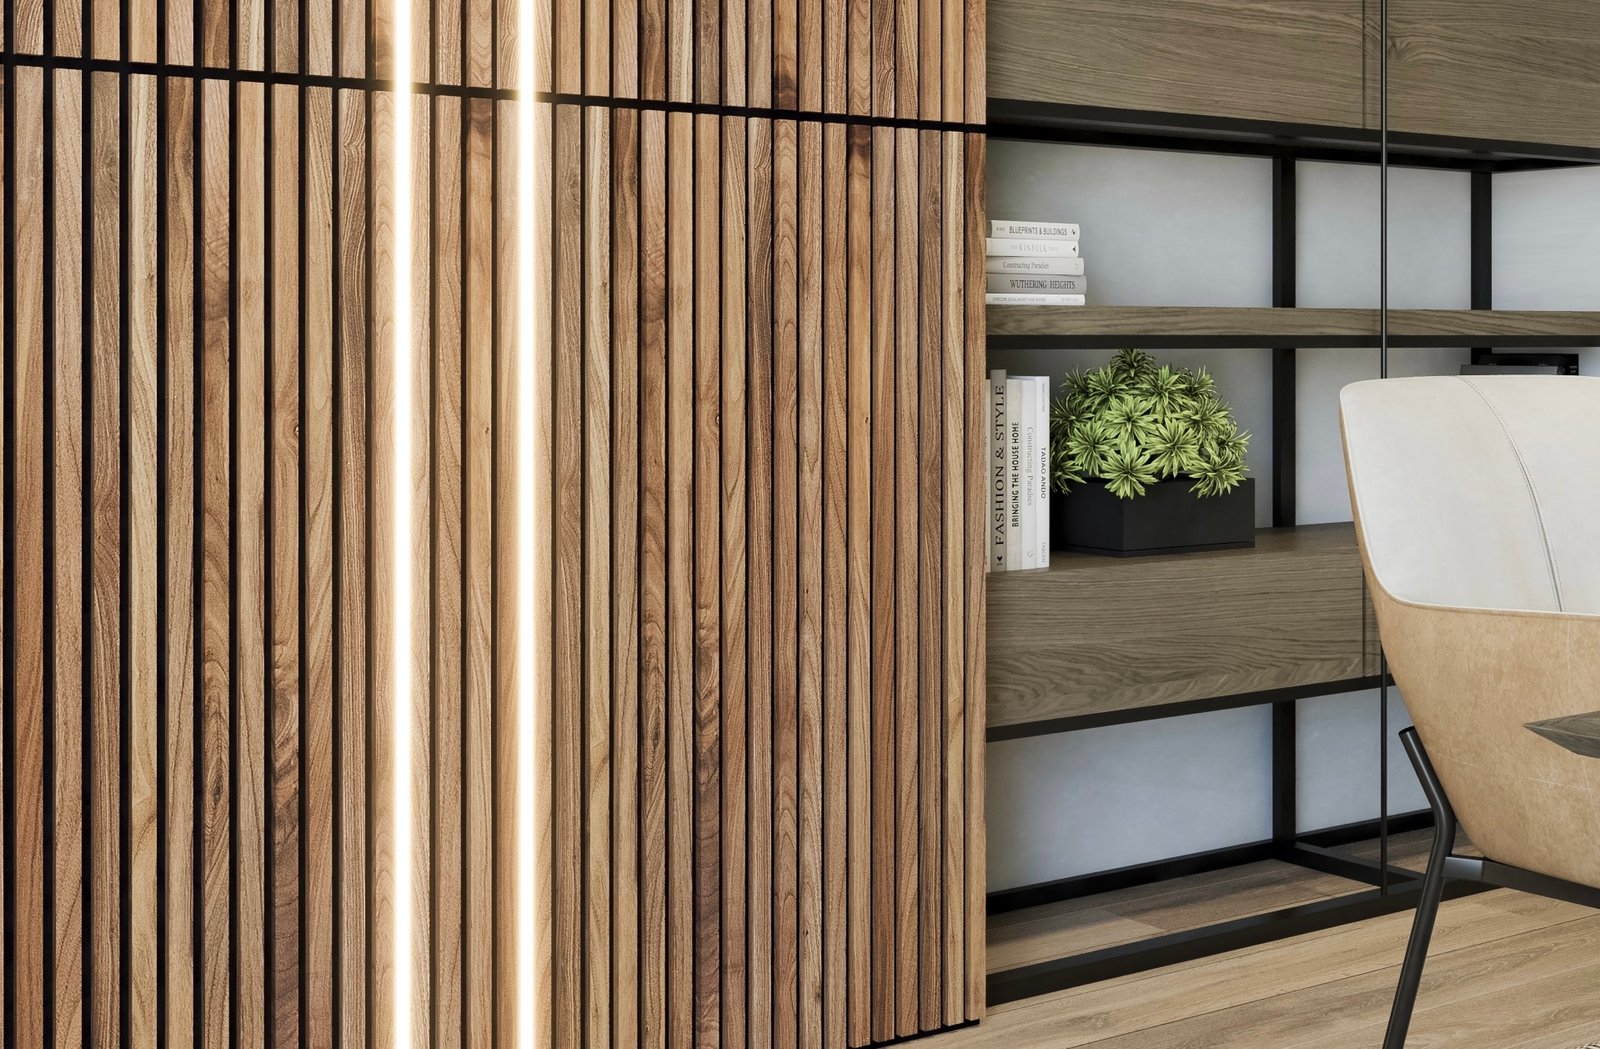
Elevate Your Home with LED Light Channels from WoodyWalls
Don't wait any longer to elevate your home with our LED accent lightning. Place your order today and add a touch of style and personality to your living space. Experience the perfect harmony of acoustic beauty and mesmerizing lighting effects with Woody Walls.


Gary Straus –
We added LED channels to our slat wall for accent lighting, and it turned out amazing! Looks great and was easy to install.
Albert Santalo –
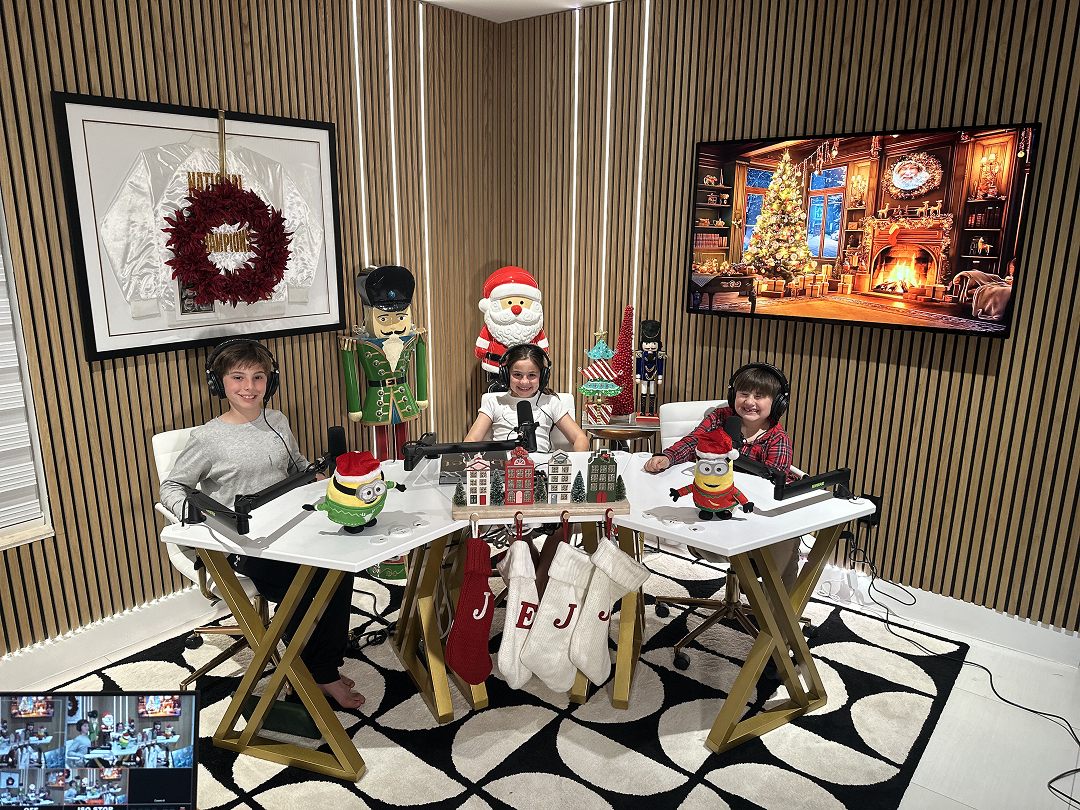
We built a home podcast studio using Oslo Slat panels, added LED lighting, and recorded a Christmas session with my grandkids and AI Santa. Super happy with the outcome!