Free USA shipping available in 48 hours

Call us

+1 (786) 615-4148
$0.00
SubscribeSubscribe_Mob
Sale!
Sale!
Oslo Full Height Wood Slat Wall PanelsOslo Full Height Wood Slat Wall Panels 2Oslo Full Height Wood Slat Wall Panels 3Oslo Full Height Wood Slat Wall Panels 4Oslo Full Height Wood Slat Wall Panels 5Oslo Full Height Wood Slat Wall Panels 6Oslo Full Height Wood Slat Wall Panels 7Oslo Full Height Wood Slat Wall Panels 8
  • Oslo Full Height Wood Slat Wall Panels 9
  • Oslo Full Height Wood Slat Wall Panels 10
  • Oslo Full Height Wood Slat Wall Panels 11
  • Oslo Full Height Wood Slat Wall Panels 12
  • Oslo Full Height Wood Slat Wall Panels 13
  • Oslo Full Height Wood Slat Wall Panels 14
  • Oslo Full Height Wood Slat Wall Panels 15
  • Oslo Full Height Wood Slat Wall Panels 16
video

Oslo Full Height Wood Slat Wall Panels

Original price was: $189.00.Current price is: $159.00.

-16%
per box
Installation:
Glue & Screws
Quantity per box:
2 panels
Material:
Wood Veneer + MDF
Size per panel:
94 1/2” x 12" x 7/8"
Visa Mastercard American Express PayPal Diners Club Discover
video
Recyclable
Recyclable
Glue and nails installation
Reclaimed wood
Reclaimed wood

Description

Oslo Full Height Wood Slat Wall Panels

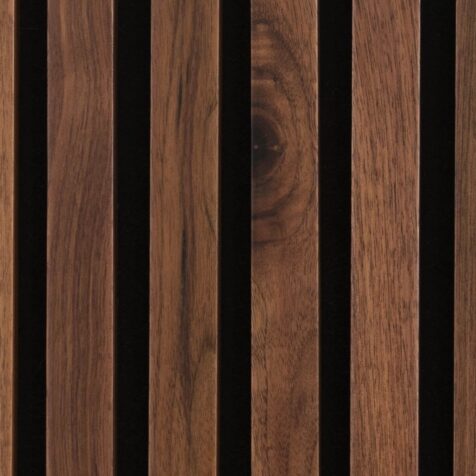
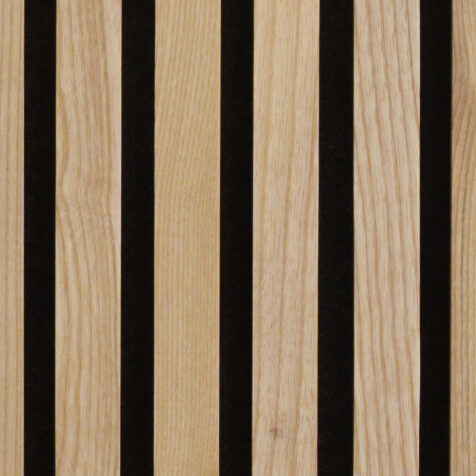
Modern Design and Eco-Conscious Composition

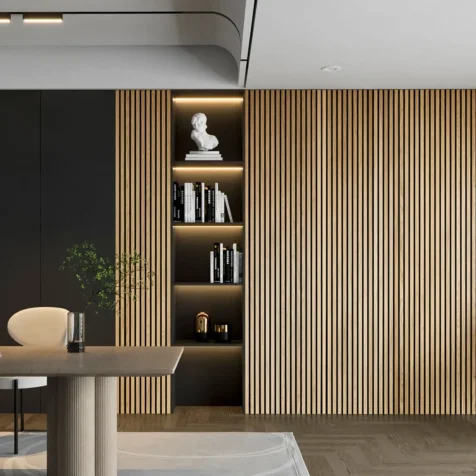
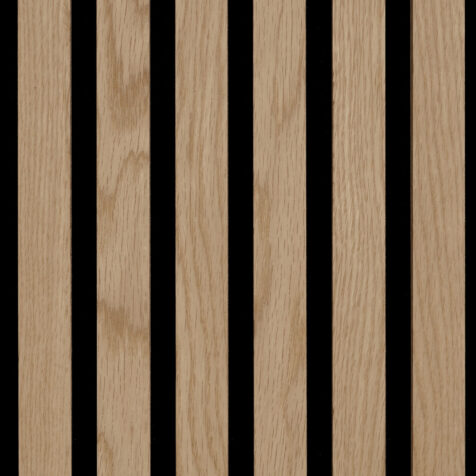
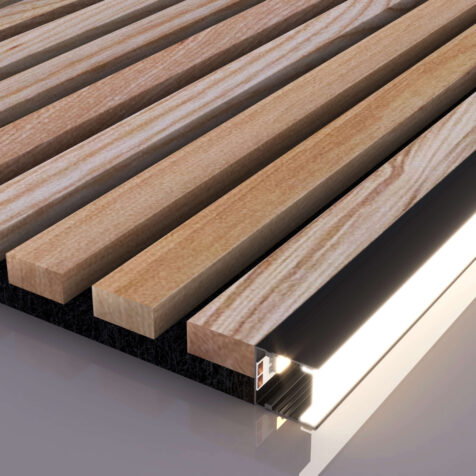
Elevate your space with Oslo Wood Slat Wall Panels from Woody Walls. Combining modern design with eco-friendly materials, our slatted wood wall panels offer versatility and style. Crafted with genuine oak-veneer MDF slats and a sound-absorbing acoustic felt backing made from recycled materials, they embody sustainability without sacrificing aesthetics.

Seamless Installation and Versatility

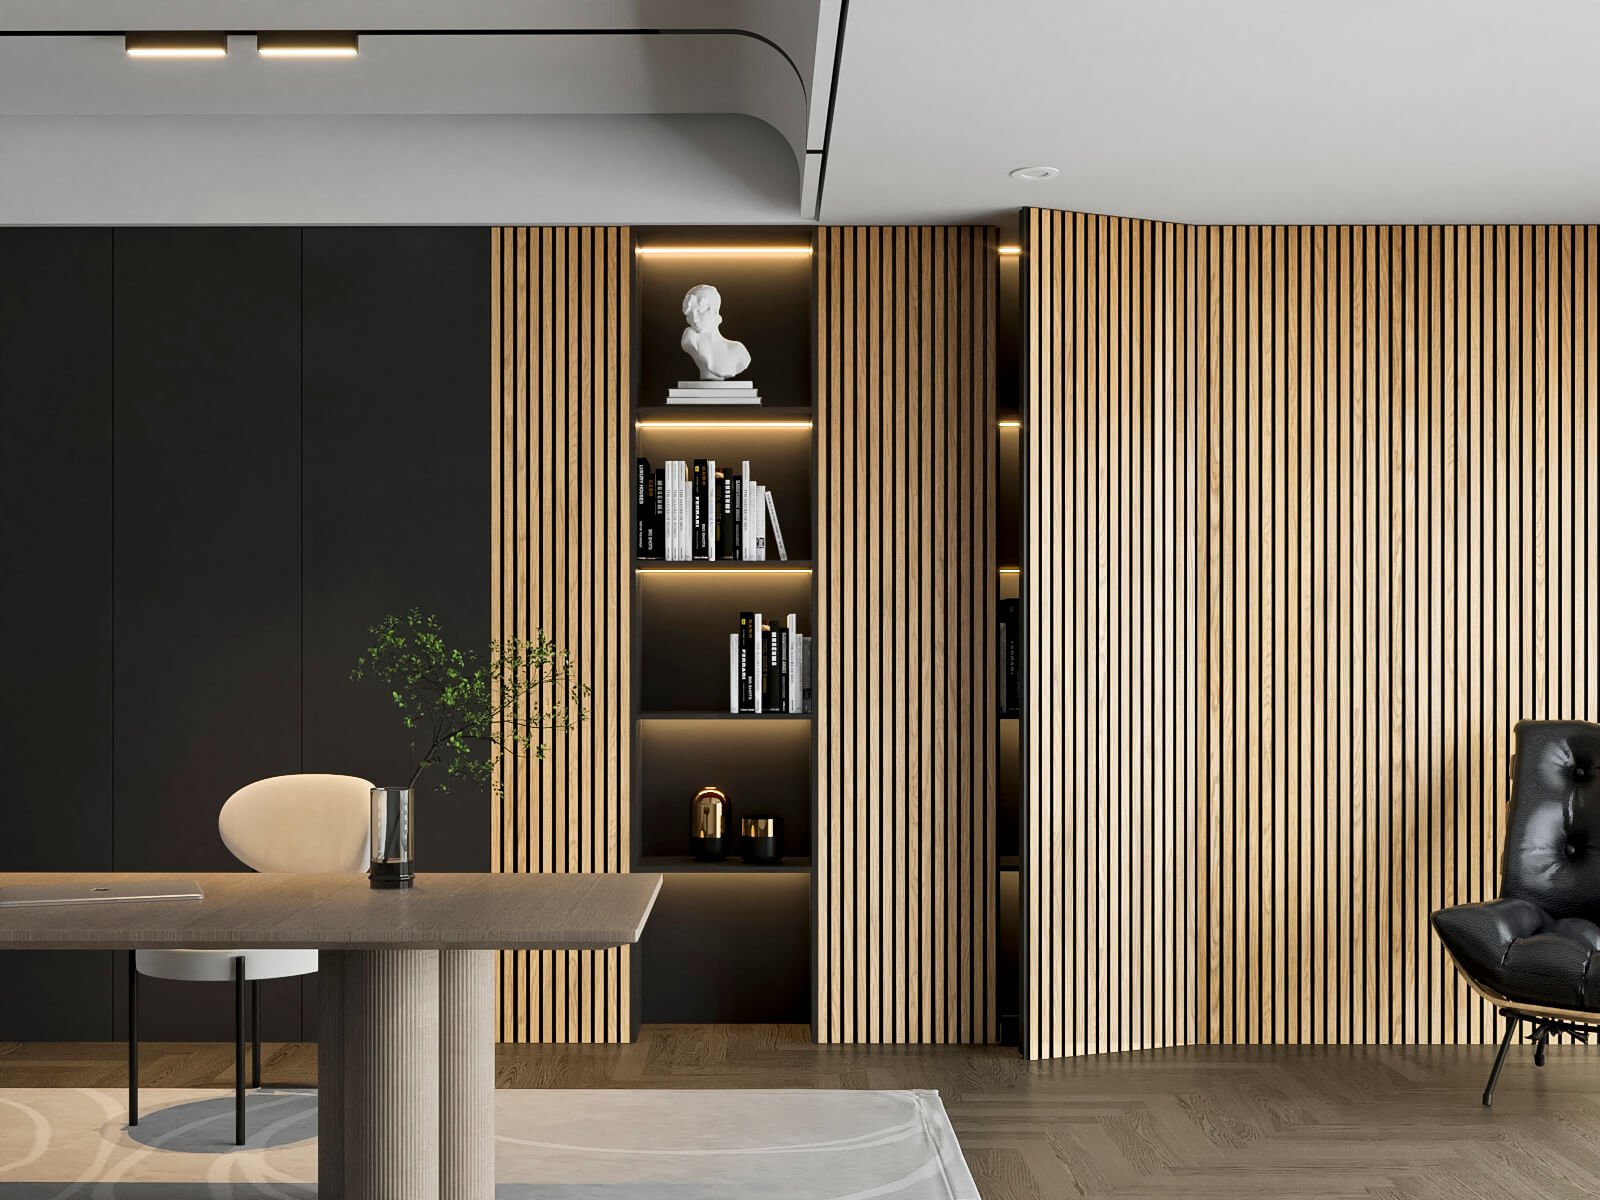
Easy to install and versatile, each slat wall panel measures 94 1/2" x 12" x 7/8" and comes in pairs per box, covering 15.75 sqft. Suitable for walls, ceilings, alcoves, and windows, our panels are designed for DIY installation, enhancing any space effortlessly. Don't forget to explore our installation video for detailed step-by-step instructions.

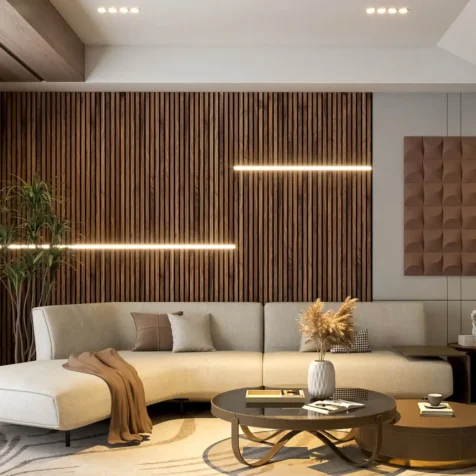
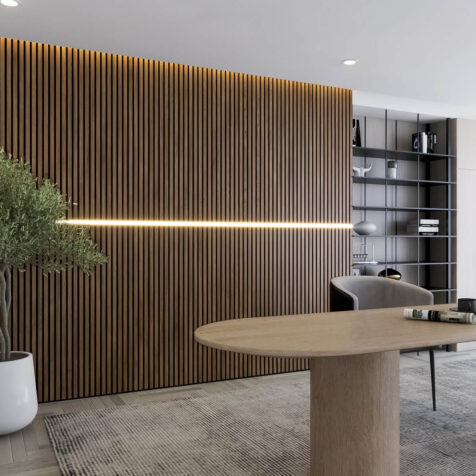
Enhanced Visual Appeal with LED Channel Lighting

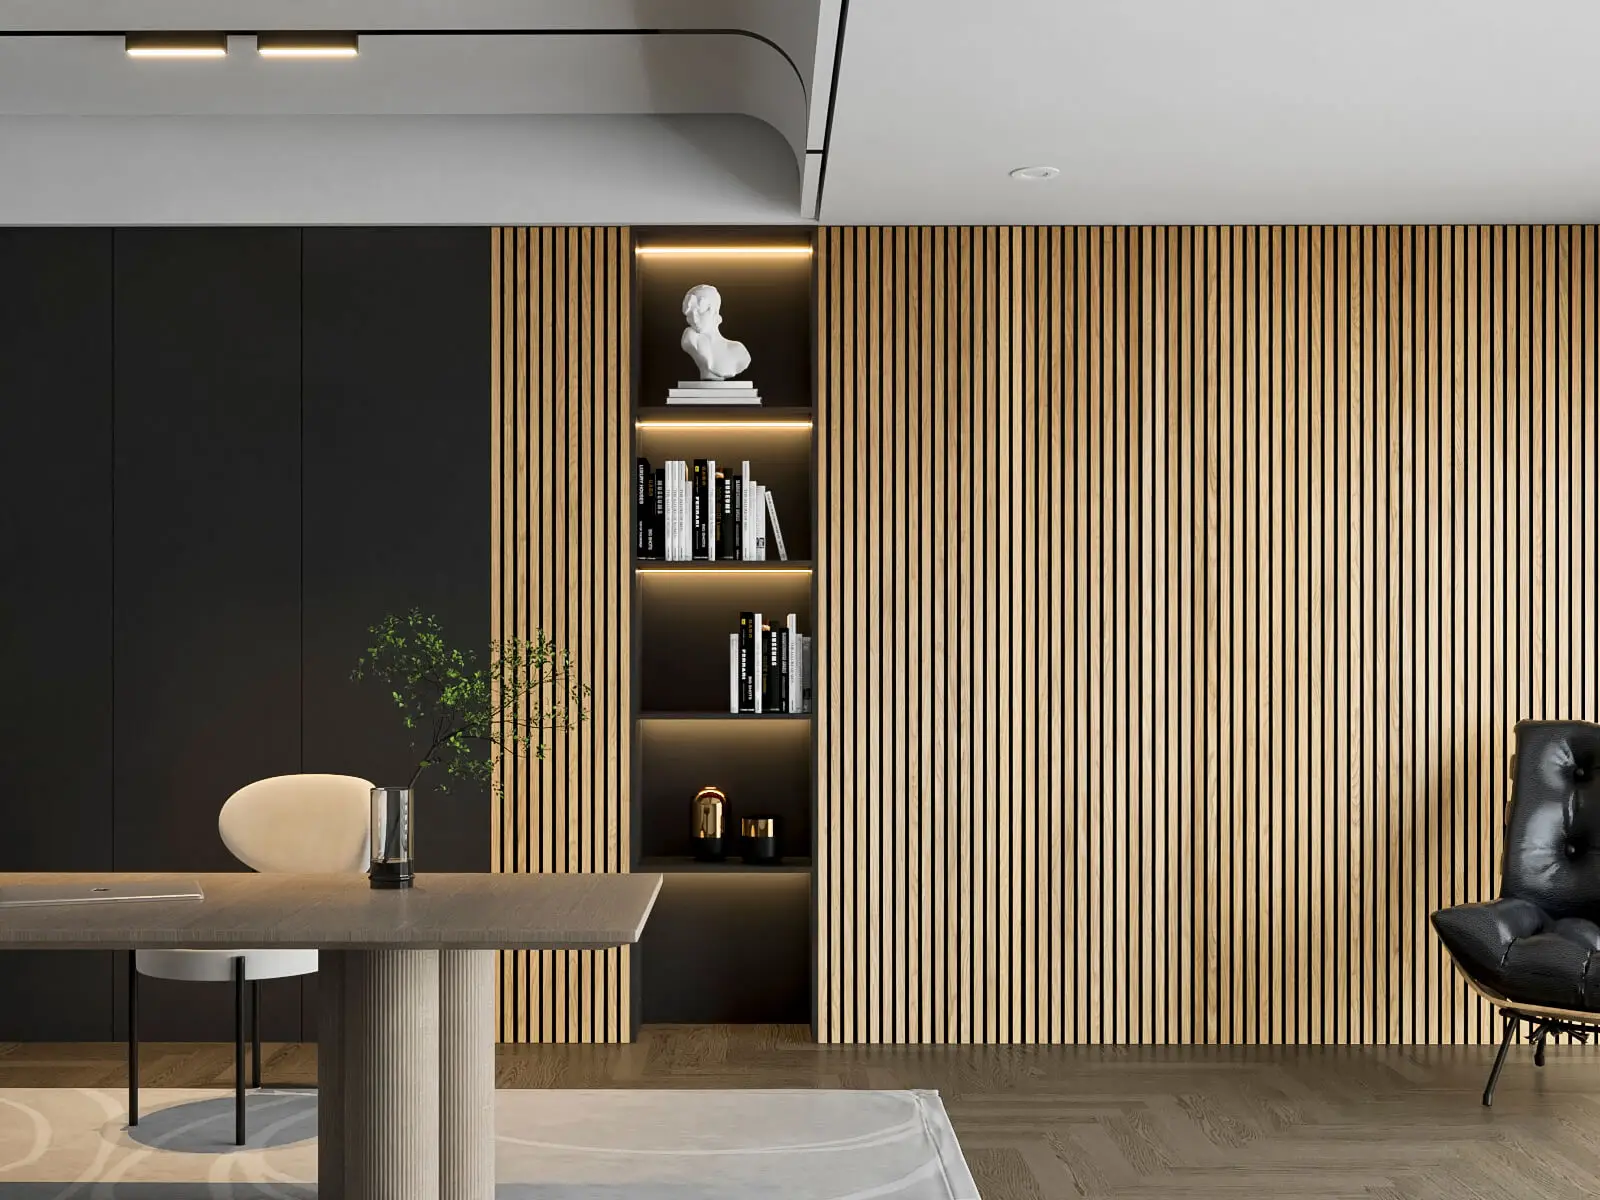
Complement your wood slat wall with our LED Channel Lighting for captivating visual effects. Designed specifically for Slat Walls, these lights seamlessly integrate with our panels, enhancing their natural beauty and adding elegance to any space.

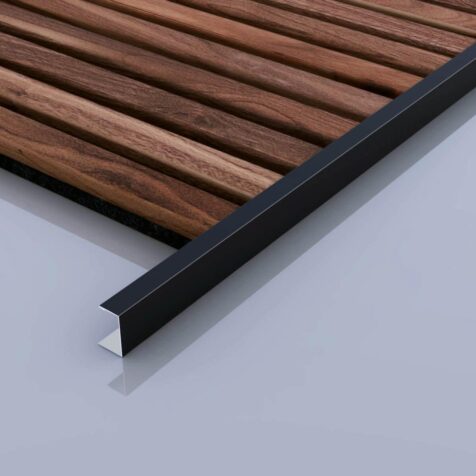
Refined Finish with Metal Edge Trim Options

Achieve a polished look with our Metal Edge Trim options, available in Black Metal or Brushed Metal. These Metal Edge Trims add a finishing touch to your project, ensuring a cohesive aesthetic.

Sustainable Sound Absorption

WoodyWalls acoustic wood panels not only enhance aesthetics but also improve sound absorption. Made from recycled materials, the acoustic felt backing aligns with our eco-friendly values while efficiently absorbing sound, making them ideal for various settings. Our slat wall panels boast an NRC rating of 0.5.

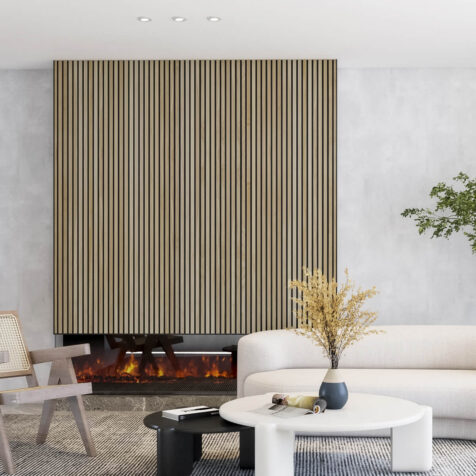
Elegant Solution for Residential Spaces

In residential settings, where traditional sound-absorbing elements may be minimal, our wood slats for walls provide an elegant solution. Incorporating our wood slat panels maintains a warm and welcoming atmosphere without sacrificing style. Whether you prefer tiled floors or minimalist decor, our wood panels ensure every room exudes comfort and sophistication.

Commitment to Sustainability

Oslo Wood Slat Wall Panels by Woody Walls offer style, functionality, and sustainability in perfect harmony. From modern design to eco-friendly composition, our wood panels enrich interiors with visual appeal and improved acoustics. Whether for homes or businesses, our wood wall paneling reflects our commitment to sustainable solutions without compromising on aesthetics or performance.

Frequently Asked Questions

You can install WoodyWalls peel & stick wood wall planks around a code-approved fireplace, as long as they don't touch any combustible materials.

Avoid installing panels right behind the stove. Ensure adequate space between the wooden planks and the stove or fire to prevent damage or fire hazards.

Here’s why you can’t miss peel & stick wood wall paneling:

  • Flexible: Peel and stick wood wall planks provide adaptability for a range of layouts and may be used in any size space.
  • Easy DIY Installation: Peel and stick wood wall paneling installation is super easy. Just take measurements, lay out your design, take off the backing, and stick them to the wall. That's as simple as it gets!
  • Trendy: Their stunning quality and simplicity of installation are drawing in more homeowners who want to update their homes.

Peel and stick wood wall panels normally last around ten years. However, their longevity largely depends on several factors:

  • Material Quality: Choosing high-quality brands, like WoodyWalls, ensures durability.
  • Proper Installation: When installing peel and stick wood wall planks, it’s crucial to adhere to the instructions supplied by the manufacturer. Wear and tear may be prevented by carefully cleaning the surface and making sure it is aligned correctly.
  • Surface Condition: The surface has to be dry, clean, and free of any debris or dirt for the adhesive to adhere well.
  • Environmental Factors: Areas with high moisture content may be less able to cling to the panels. However, there are options for places like kitchens that could see occasional moisture.
  • Maintenance: To keep the peel and stick wood planks looking nice and lasting a long time, use gentle cleaning agents for regular care.

Installing peel and stick wood planks is a straightforward process. Here’s how to do it:

  • Step 1: Clean the wall surface to ensure the wall is free of dust, grease, and debris.
  • Step 2: Mix planks from different bundles to create a balanced look.
  • Step 3: Arrange the planks on the floor to visualize your design before installation.
  • Step 4: Draw a reference line with a level to guide your first row.
  • Step 5: Peel off the backing and position the first row along the reference line, groove side up.
  • Step 6: Use a J-roller to press down firmly for a secure bond.
  • Step 7: Mark the positions of light switches and outlets on the planks before removing the adhesive liner.
  • Step 8: Cut planks for the top and bottom rows with a jigsaw or table saw for accurate fits. Use a dust mask to protect yourself while cutting.
  • Step 9: Sand to smooth cut edges for a polished look.

For a visual guide, check out this video: DIY WoodyWalls Peel and Stick Wood Wall Planks.

Peel and stick wood wall planks are usually made from high-quality materials like American spruce, pine, fir, or reclaimed wood to add character and authenticity to your area. Notably, WoodyWalls uses 100% real pine wood, ensuring a natural and beautiful finish.

Most peel and stick wood wall panels are very thin. For example, peel and stick wood wall panels from WoodyWalls are around 3/16 inches. This slim profile allows for easy installation without adding bulk to your walls.

Removing peel and stick wood wall planks could potentially damage your wall as the strong 3M adhesive may take off some paint or harm the drywall underneath.

We advise covering the surface you wish to cover with plywood before putting the peel and stick boards to facilitate removal. This will ensure that you just have to fix the plywood and not the entire wall when you remove the panels.

You can use peel and stick wood planks in various areas of your home, but avoid damp spaces like bathrooms or saunas. They work well on smooth surfaces where traditional paneling isn't feasible, such as mirrors, tile, or concrete walls. Just ensure the area has a relative humidity of 30-65% and is dry for optimal adhesion.

Absolutely! The easiest way to cut WoodyWalls peel and stick wood wall planks is with a miter saw, but you can also use a utility knife, jigsaw, or fine-toothed hand saw. Follow these steps:

  • Step 1. Choose Your Saw: A jigsaw or table saw is recommended for clean cuts.
  • Step 2. Mark Where to Cut: Clearly mark your cut lines.
  • Step 3. Make the Cut: Carefully cut along your marked lines for precise results.

Yes, you can install peel and stick wood planks over existing tile!

Clean the tile well with your favorite cleaner and make sure it's dry before you start. As long as the tile is dust-free and level, the glue will adhere well. This is a simple and reasonably priced method of updating your area without removing the tiles. Simply avoid places that receive a lot of moisture, such as shower walls.

usercartphone-handset