


Roma Wood Slat Wall Panels
$129.00 per box
Installation:
Glue & ScrewsMaterial:
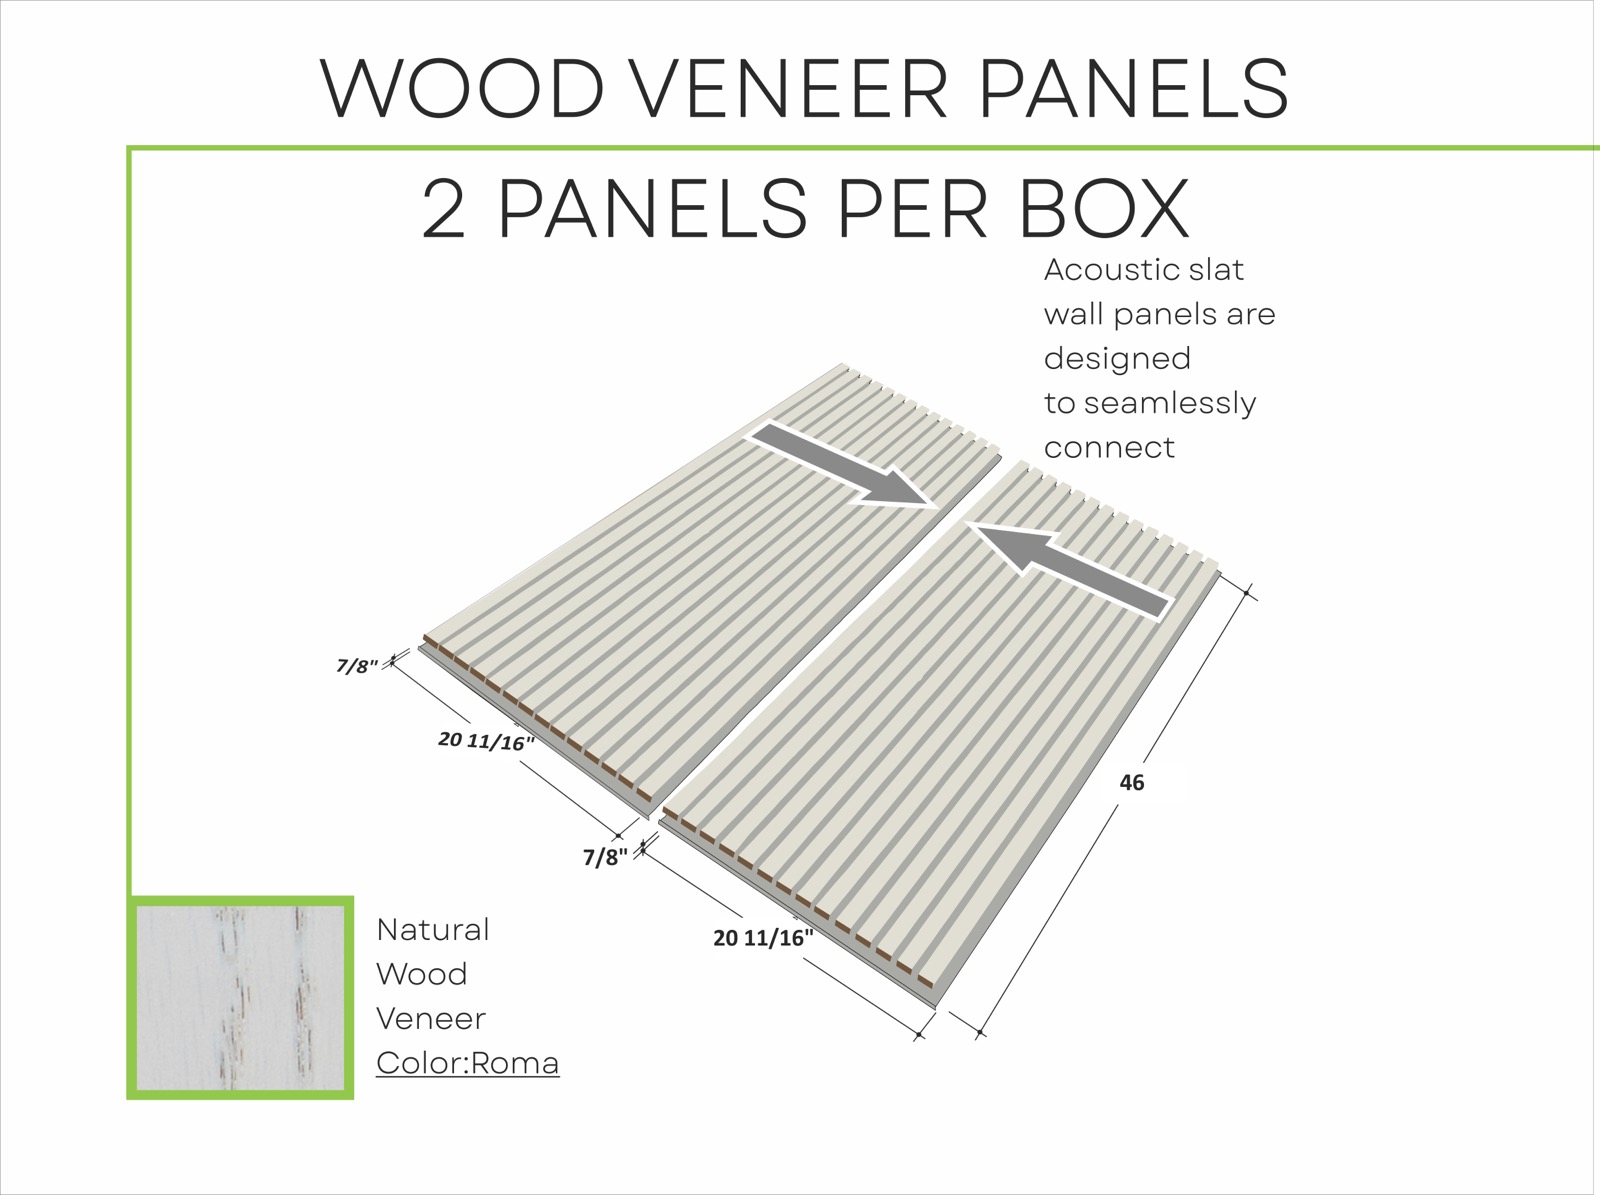
Wood Veneer + MDFQuantity per box:
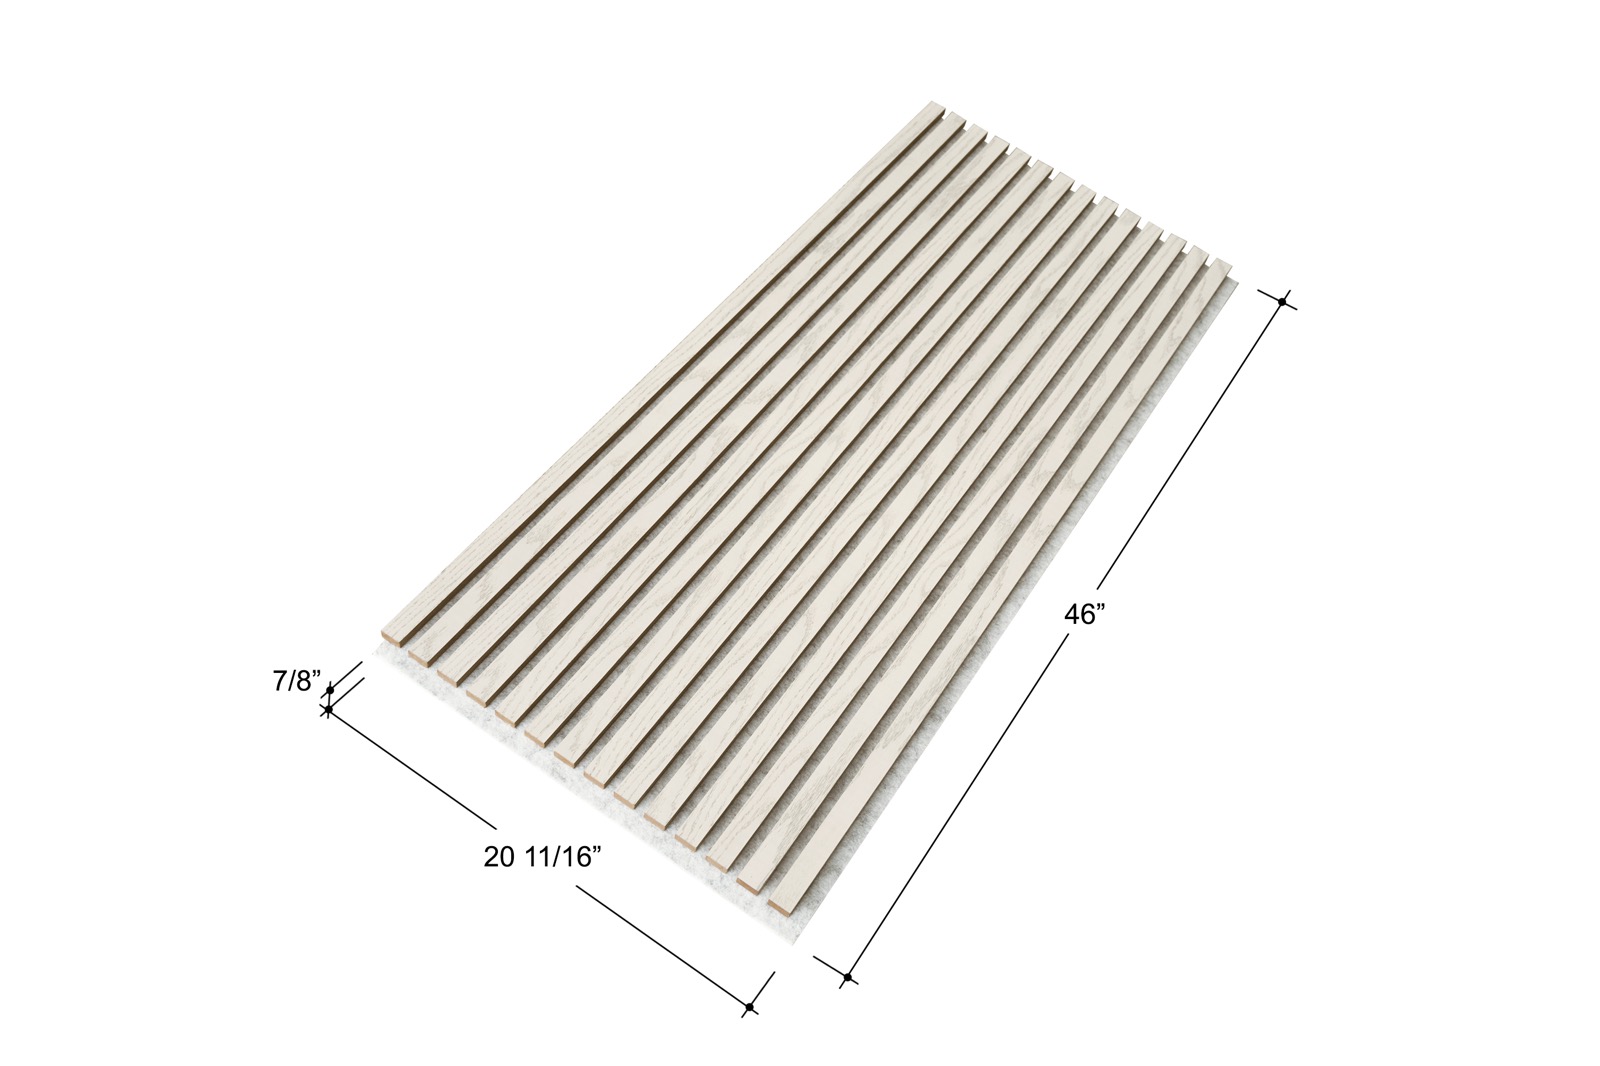
2 panelsSize per panel:
46” x 20" 11/16” x 7/8”Box Coverage Size:
46" x 41 3/8"Available sizes:
How many boxes do you need?
* All values are in inches!
Related products


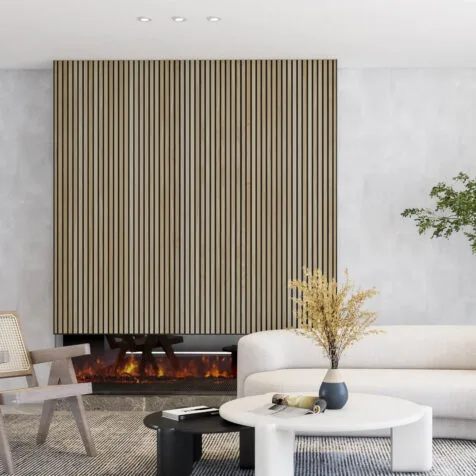

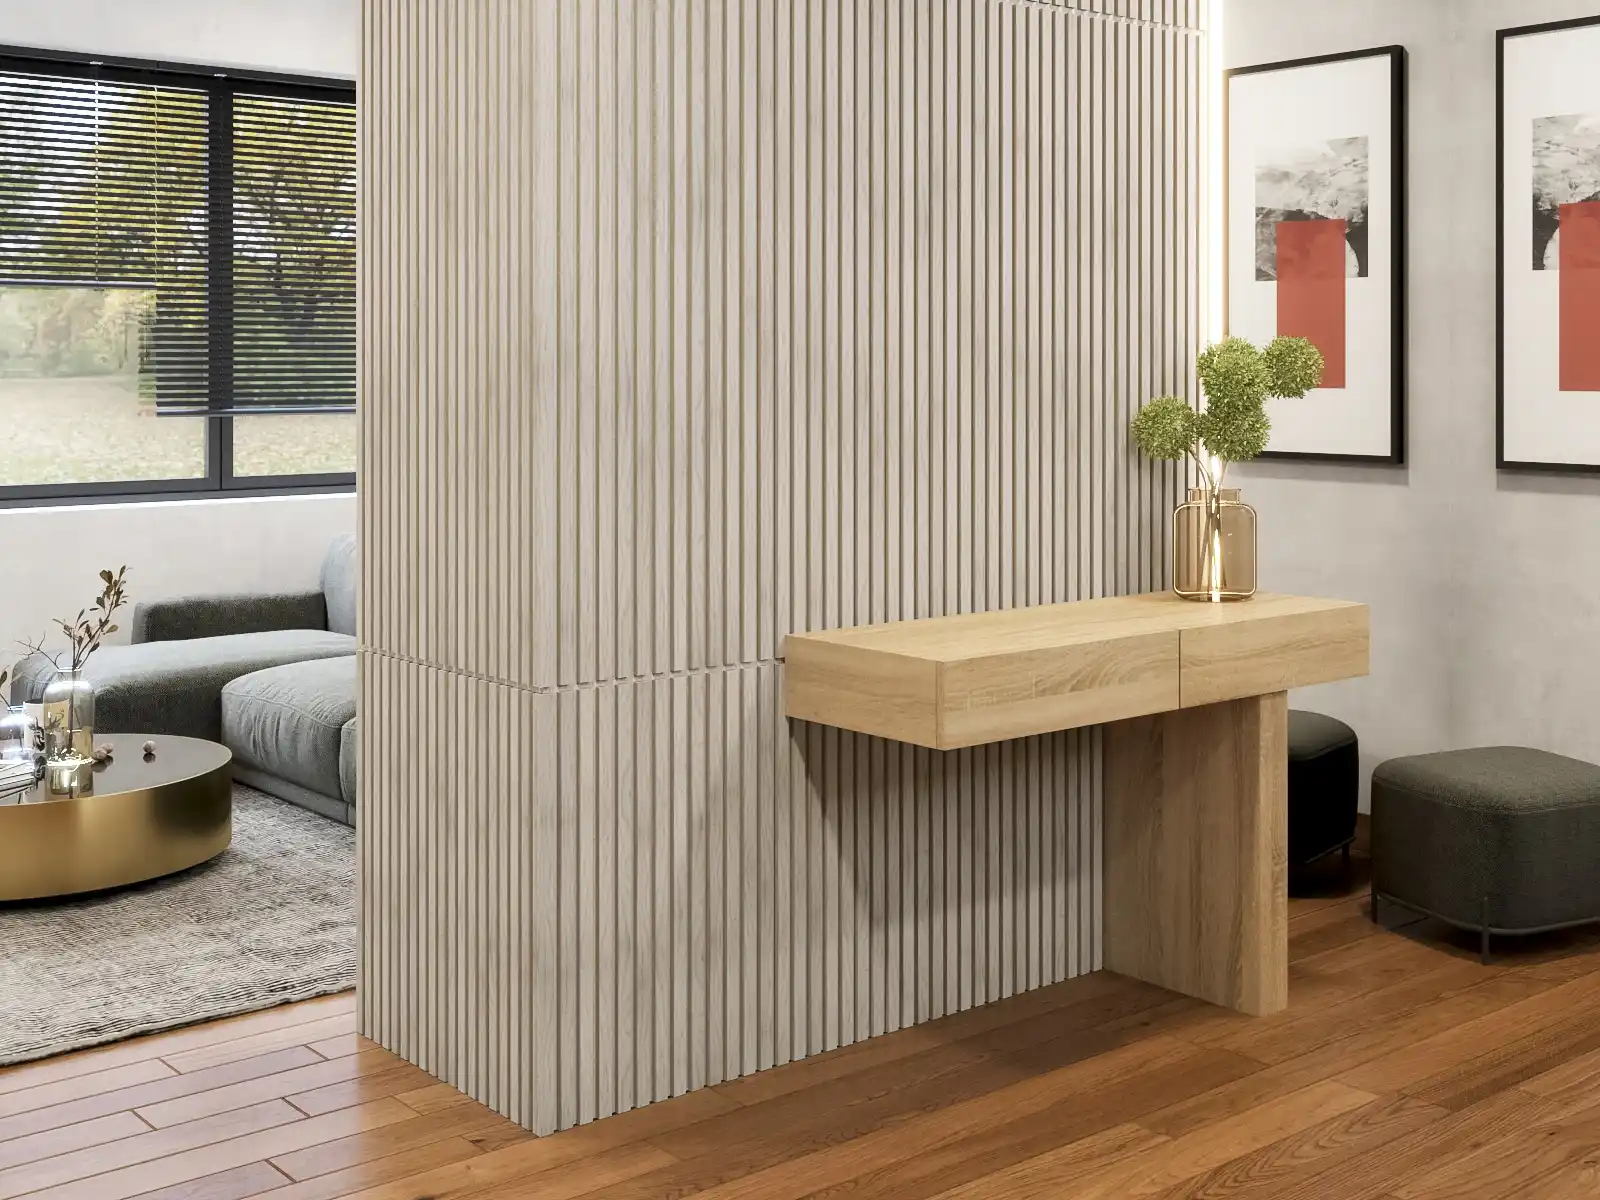
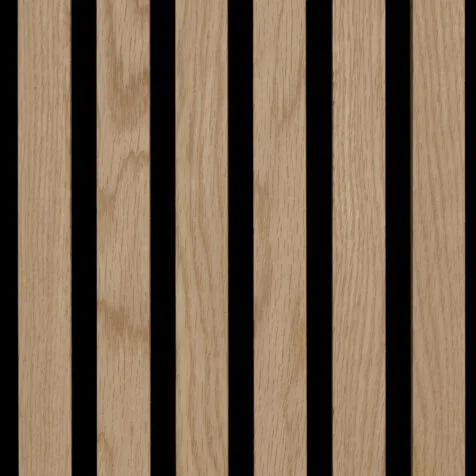
Modern & Eco-Friendly Design
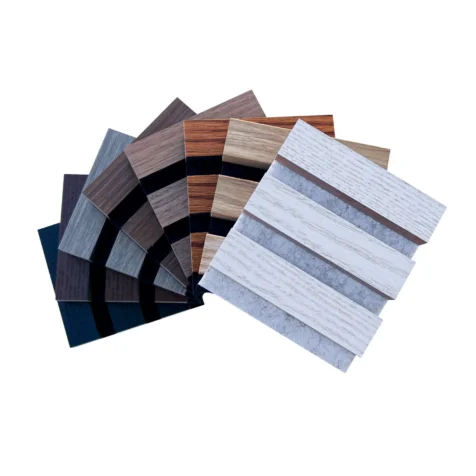
Introducing our White Slat Wall Panels – Roma, a sophisticated and eco-conscious design. These slatted wood wall panels feature genuine white oak veneer on a sound-absorbing grey felt backing, crafted from recycled materials, reflecting our commitment to sustainability. Create a modern wood slat wall with our White Wood Veneer Slat Wall Panels, offering a fusion of contemporary aesthetics and sustainable craftsmanship for an eco-conscious interior design solution.
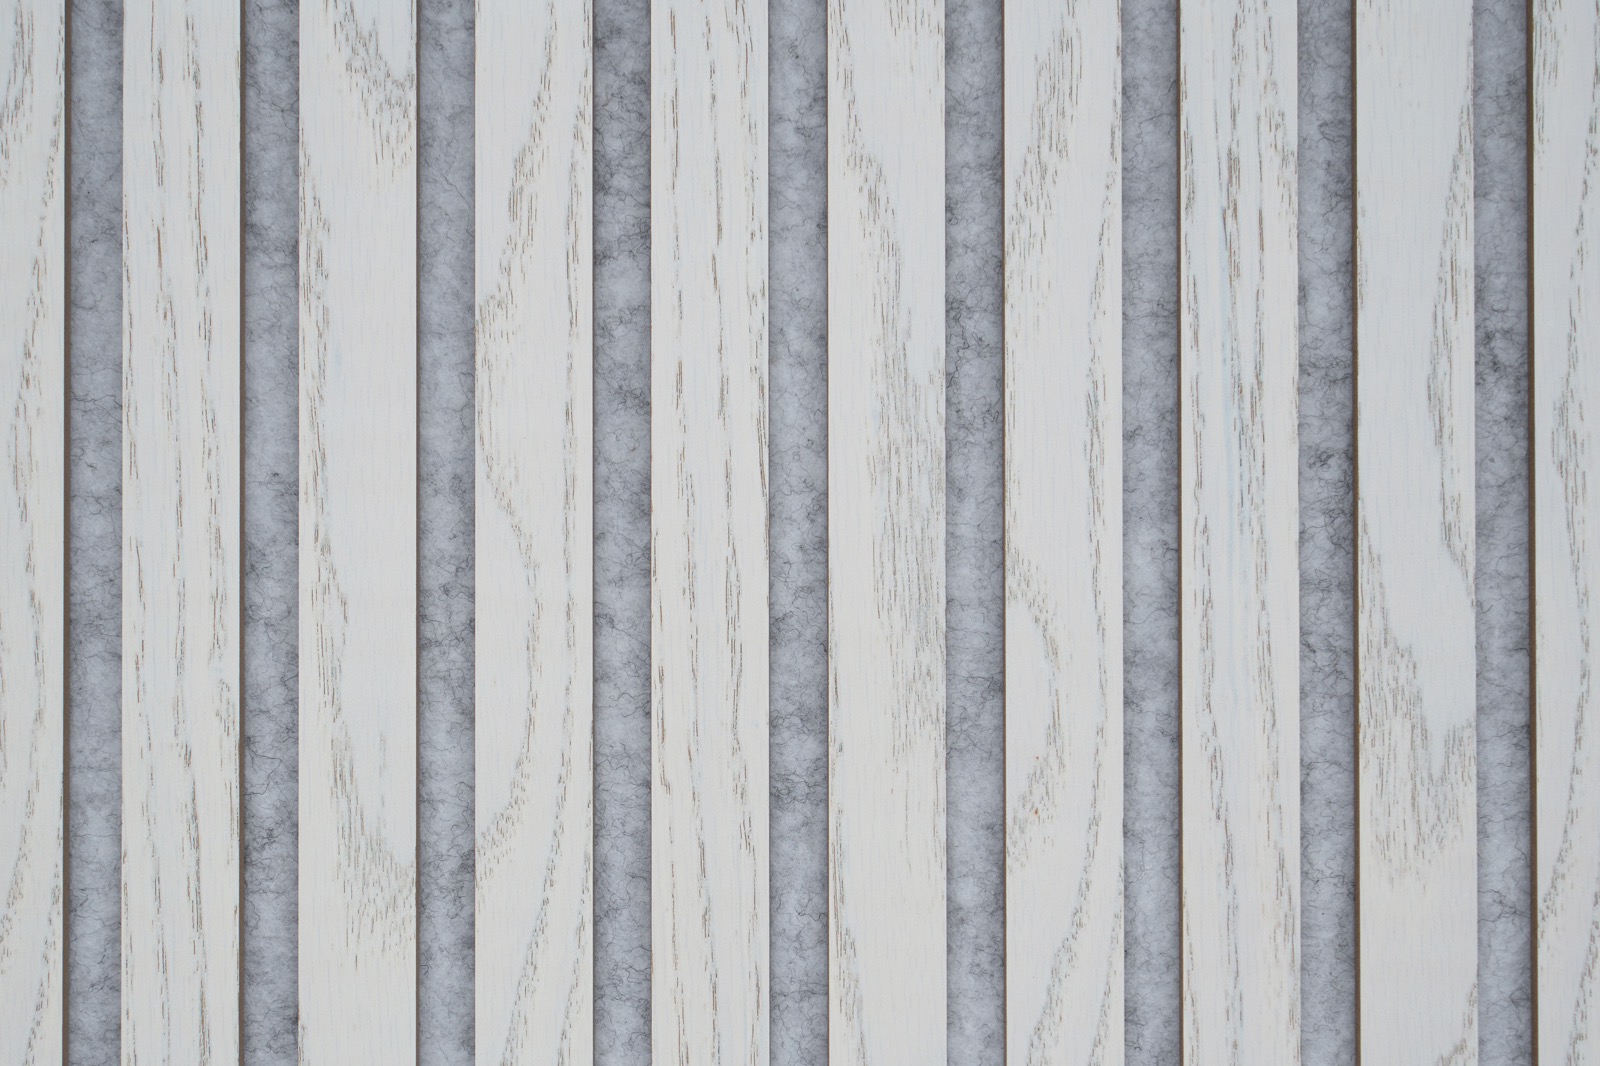
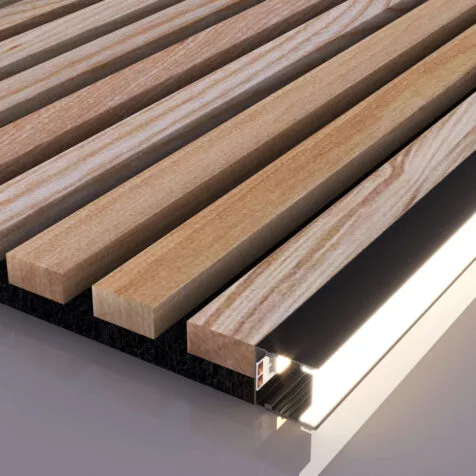
Size and composition
Each Roma wood slat panel comes in pairs, measuring 46” x 20 11/16” x 7/8”, designed for effortless DIY installation. Crafted with a combination of natural oak veneer and beige MDF, these wood wall panels seamlessly adorn standard walls, ceilings, alcoves, windows, and even curved surfaces, enhancing both aesthetics and acoustics.
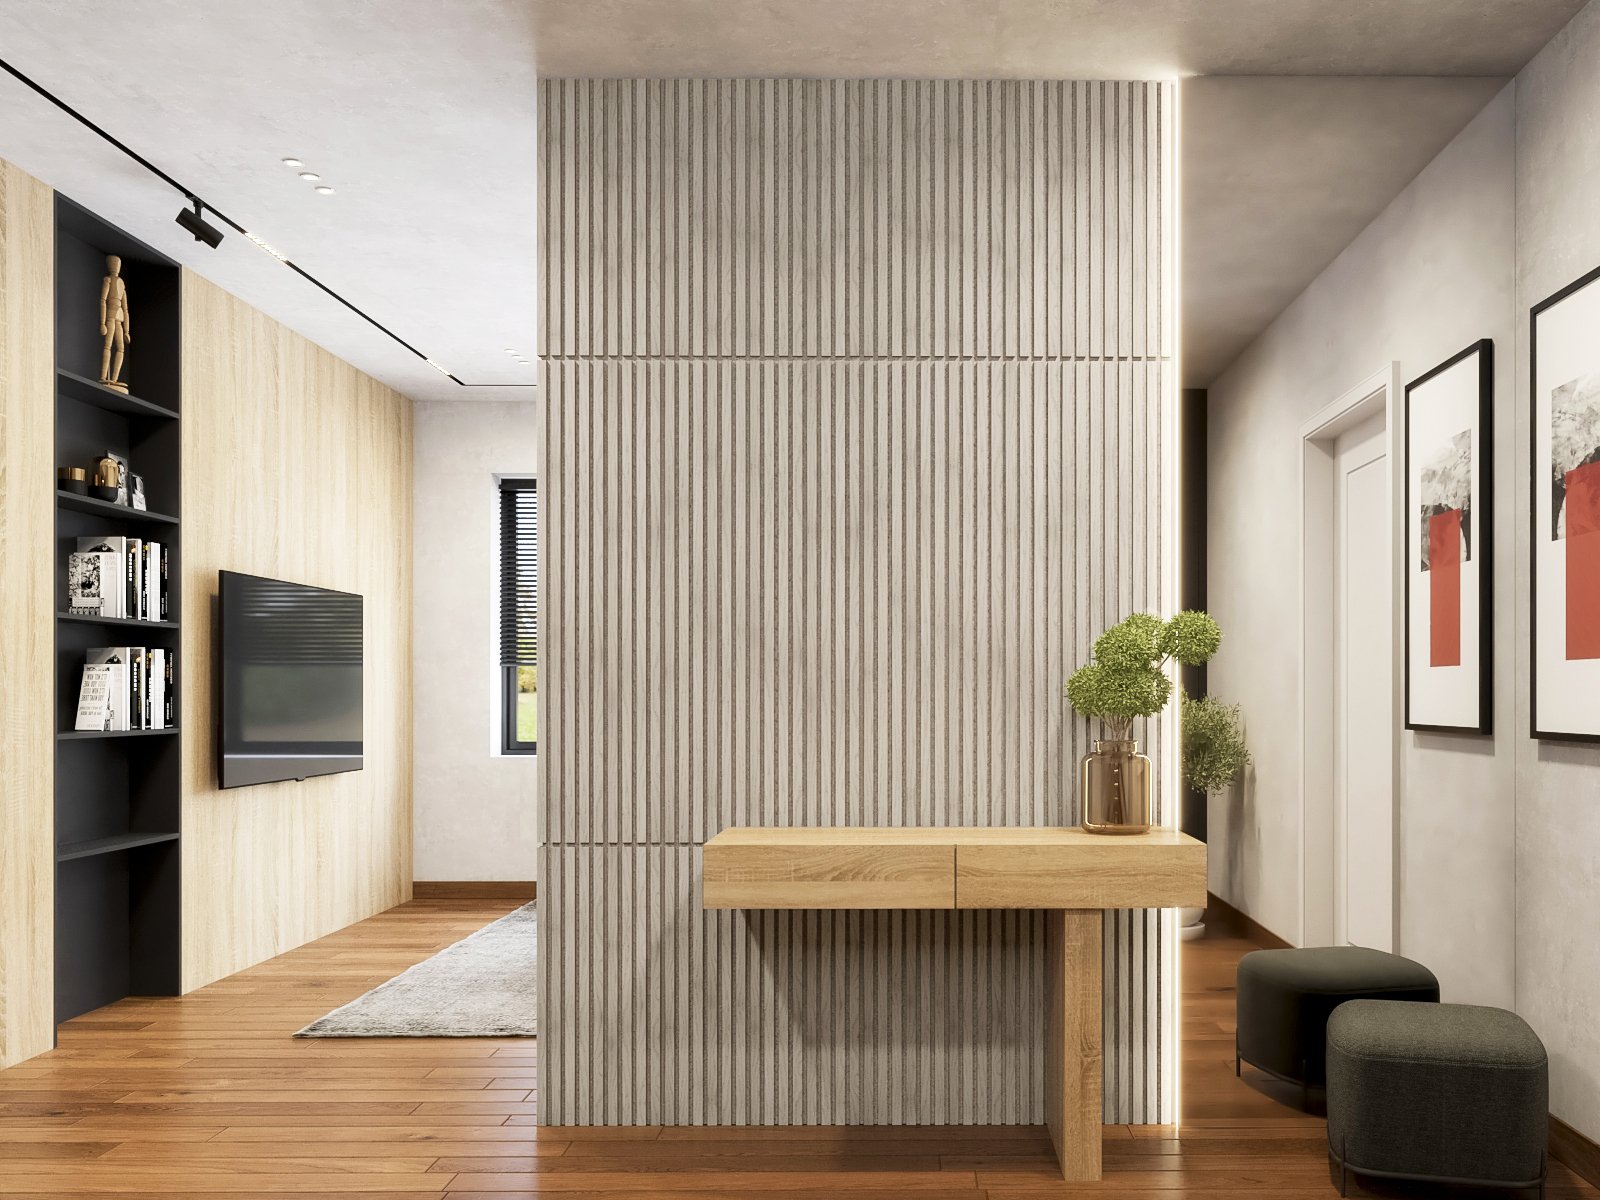
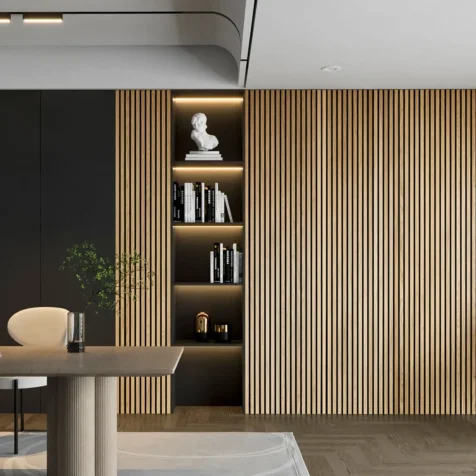
Easy Installation for Versatility
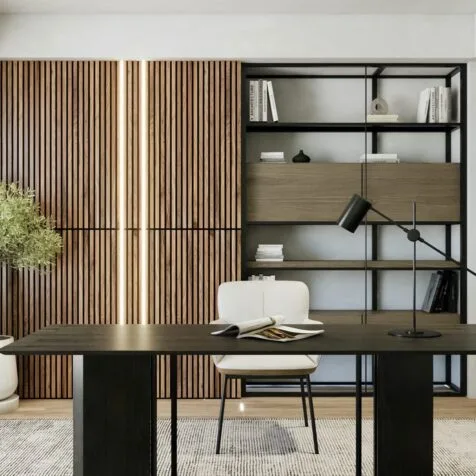
Versatile and adaptable, our Roma Wood Slat Panels seamlessly fit into a range of settings, be it your home, office, or public spaces. With just basic DIY skills, you can effortlessly turn any room into a sophisticated and sonically pleasing environment. To further simplify the installation process, we offer a comprehensive video guide that walks you through each step with clear instructions. Bid farewell to installation complexities and usher in the exquisite charm of Roma Wood Veneer Panels into your space effortlessly.
Enhance Your Wood Slat Wall with our LED Channel Lighting
Elevate Woody Walls White Wood Slat Panels even further by enhancing them with our accent lighting LED channels and LED channels for Wood Slat Wall edging. These LED channels seamlessly integrate with wood slat panels, allowing you to create captivating lighting effects that complement the sophisticated design.
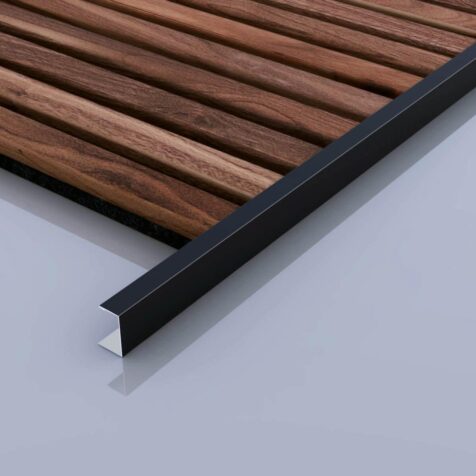
Elevate Your DIY Project with Slat Wall Panels and Stylish Metal Edge Trim
Create a flawless DIY project effortlessly by combining Slat Wall Panels with either Black Metal Edge Trim or Brushed Metal Edge Trim. While acoustic wood panels offer flexibility for various interior ideas and DIY endeavors, achieving a polished edge finish can be a daunting task. Our Edge Trim provides an ideal solution, resolving edge-finishing challenges and adding a sophisticated touch to your creative projects. Furthermore, this combination facilitates versatile applications ranging from accent walls to wainscoting, guaranteeing a unified and polished result across your entire space.
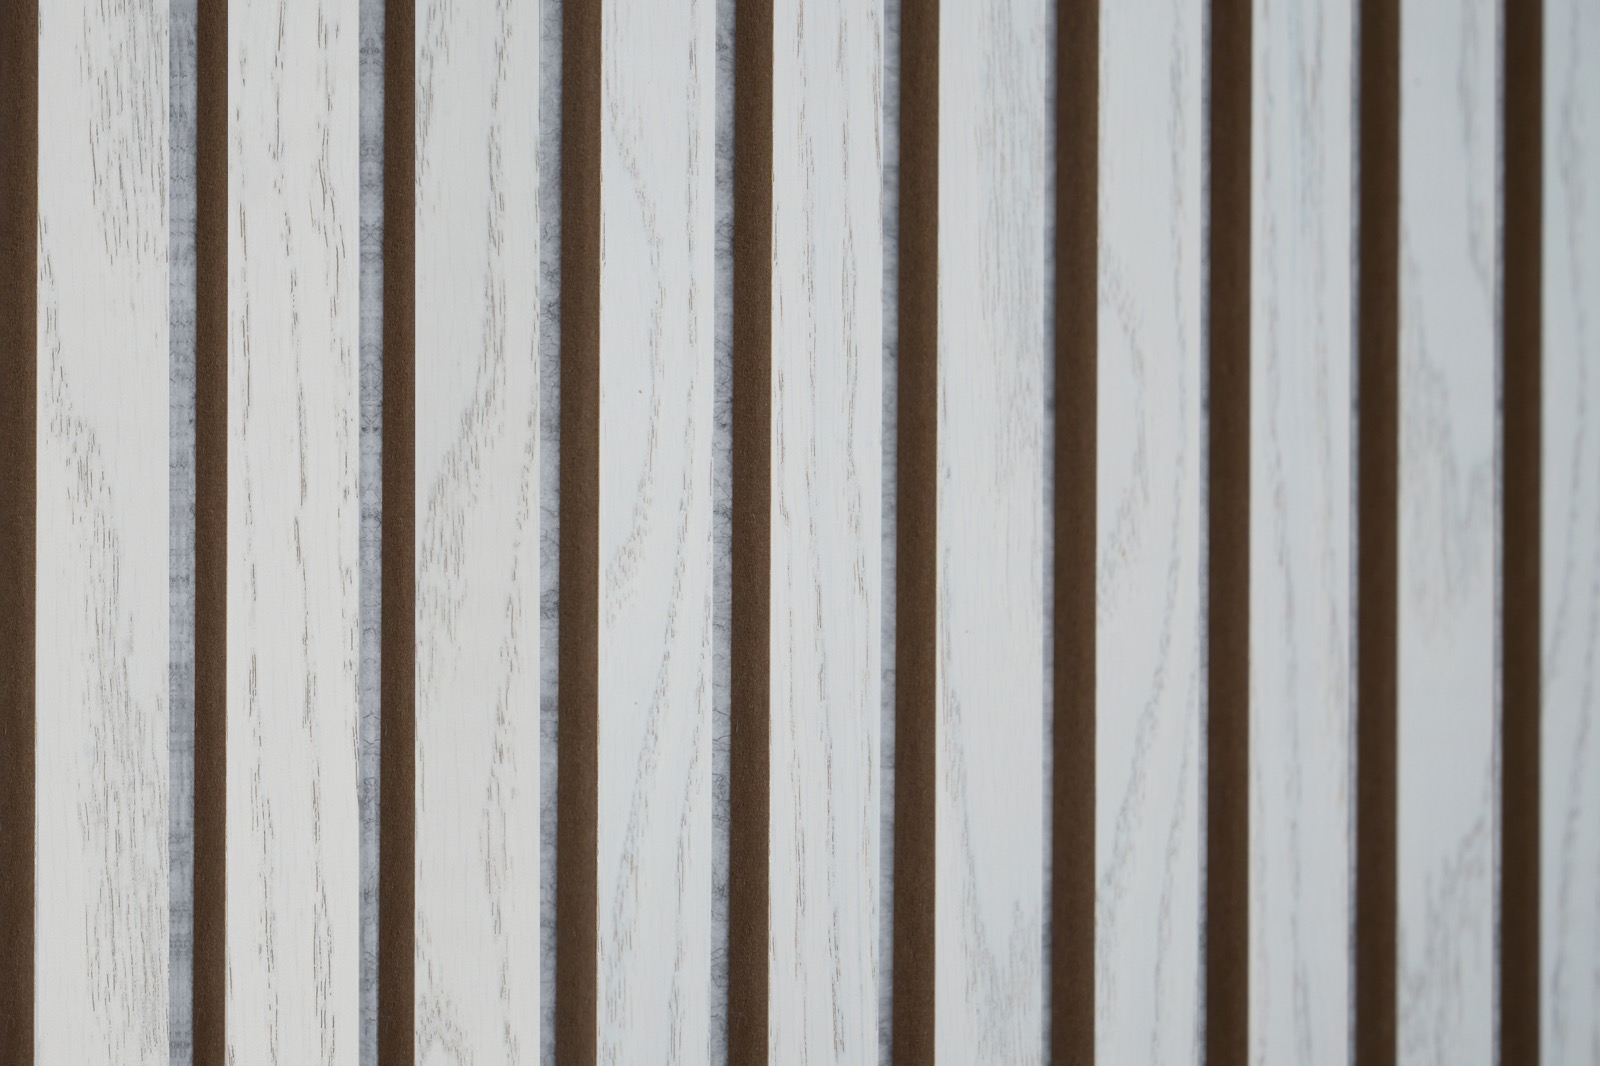
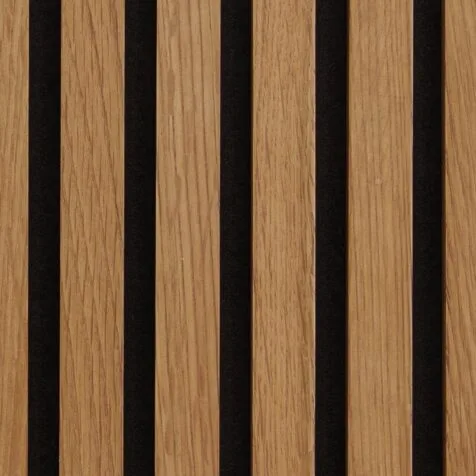
Stylish & Effective Acoustic Wood Panels
In spaces where traditional sound-absorbing elements like curtains and carpets are scarce, Roma Wood Veneer Panels offer an innovative solution. Enjoy the blend of style and function, achieving the warm and inviting acoustic ambiance your spaces deserve. Perfect for music studios, conference rooms, home theaters, and more, these wood panels deliver remarkable sound absorption efficiency. Our slat wall panels boast an NRC rating of 0.5.
Elevate your space with Roma Slatted Wood Wall Panels for an exquisite auditory experience.
Reviews
You must be logged in to post a comment.


1 review for Roma Wood Slat Wall Panels
The Acoustic Slat Wall Panels were a fantastic addition to my home office! They not only look sleek and modern, but the sound insulation is noticeably better. Installing ... The Acoustic Slat Wall Panels were a fantastic addition to my home office! They not only look sleek and modern, but the sound insulation is noticeably better. Installing them was simple, and the natural wood finish adds a warm, professional touch. Definitely worth the investment for both aesthetics and functionality.
Rosy Flatcher Verified Buyer