


Description
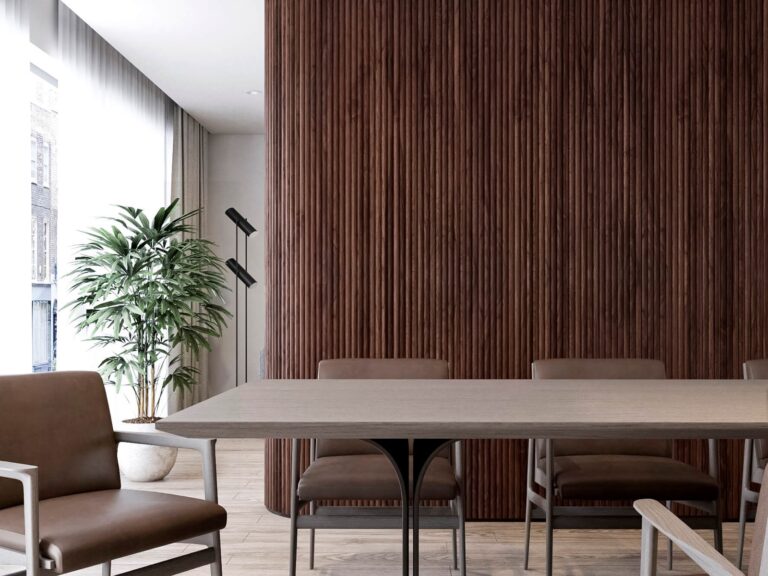
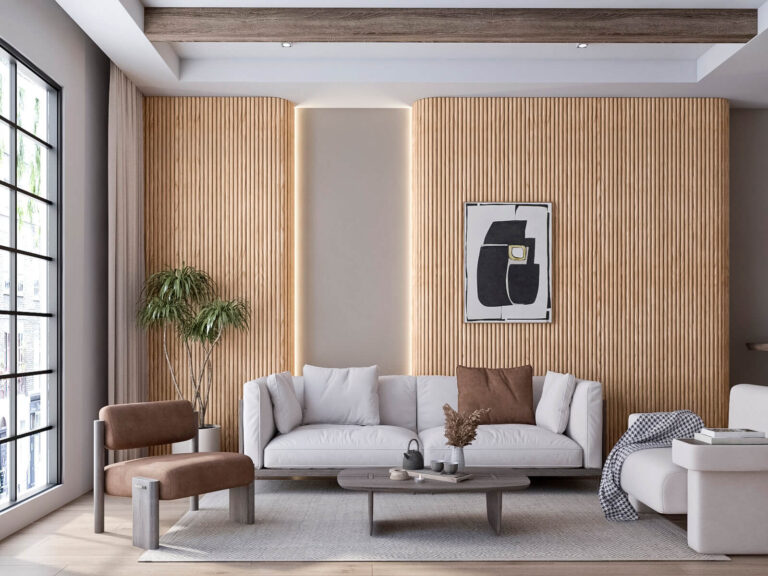
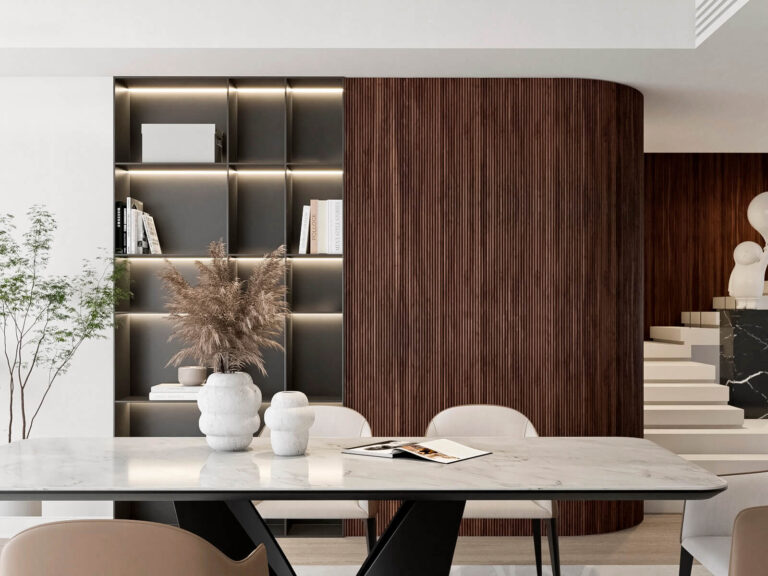
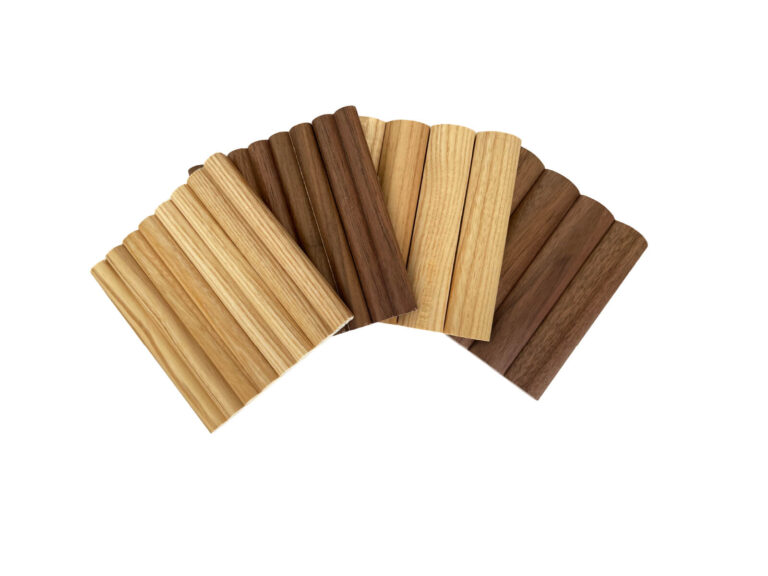
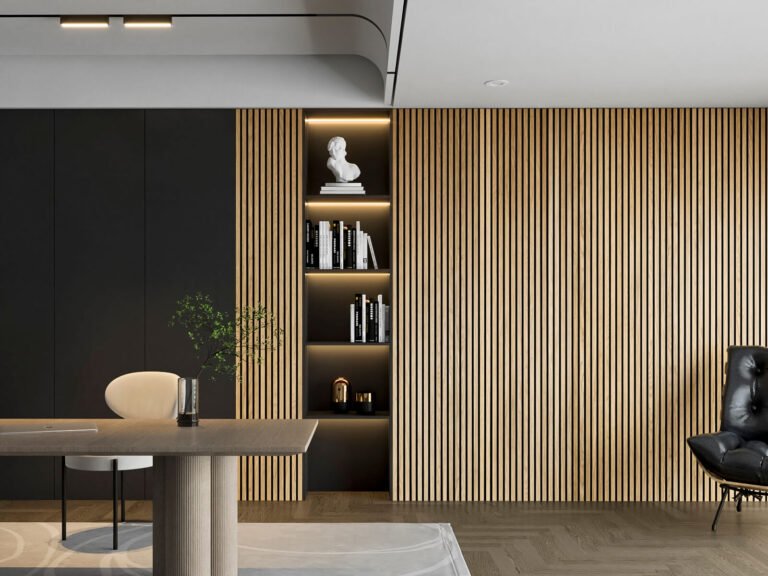
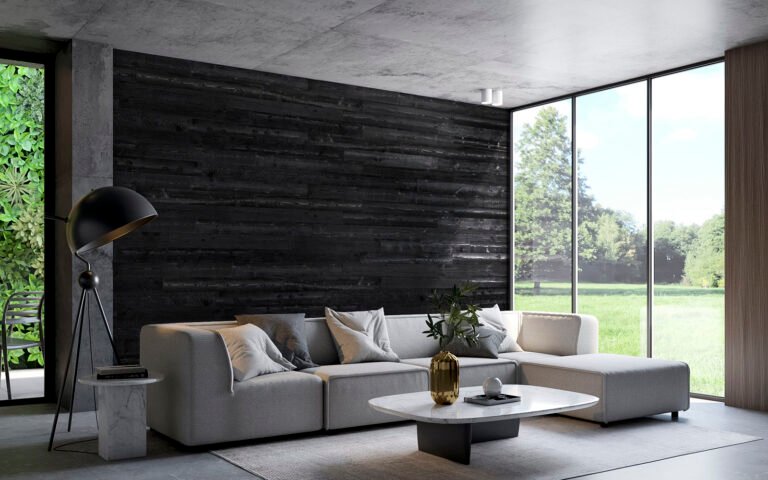
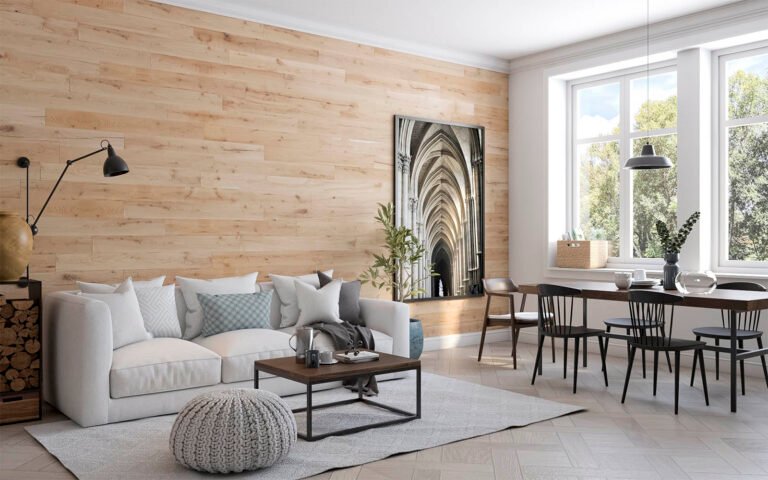
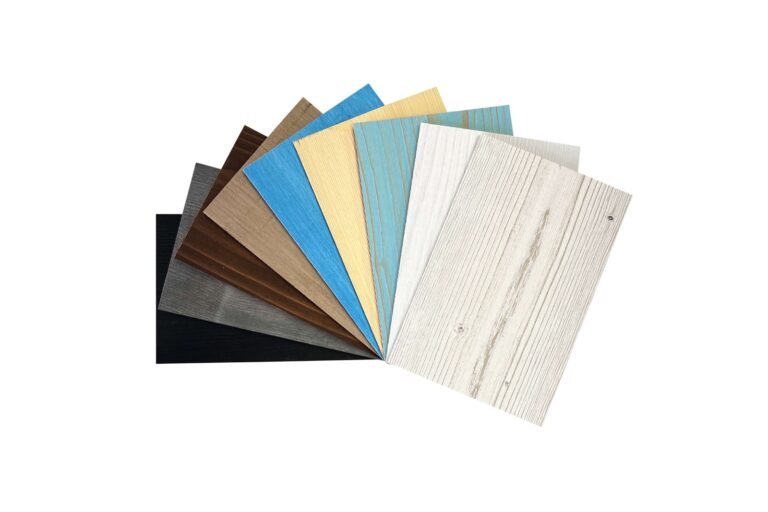
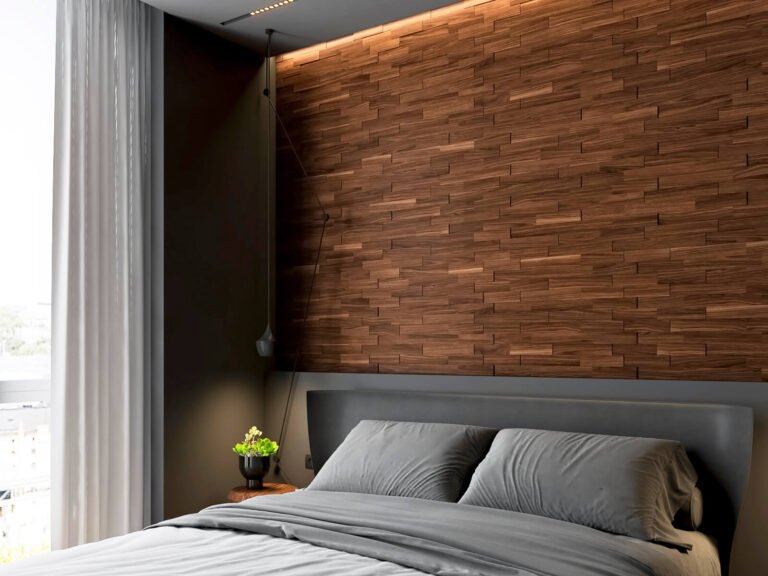
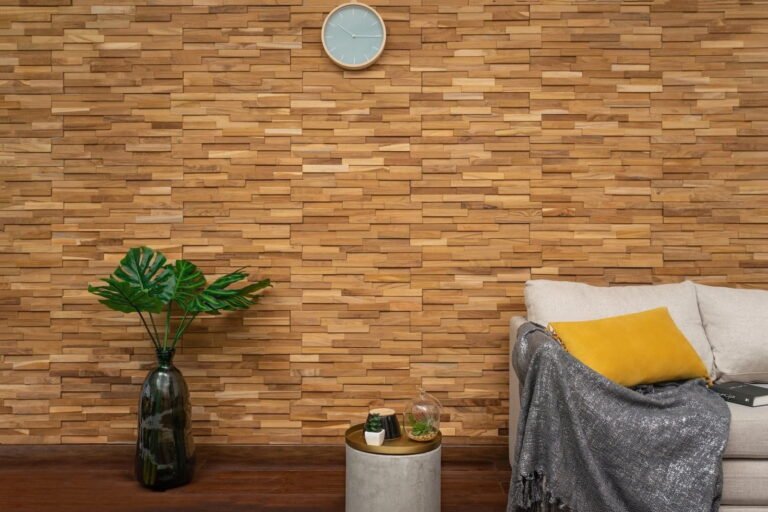
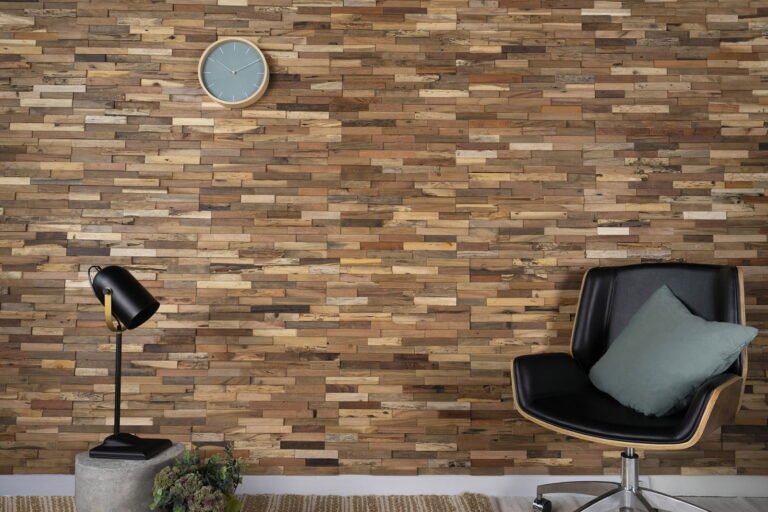
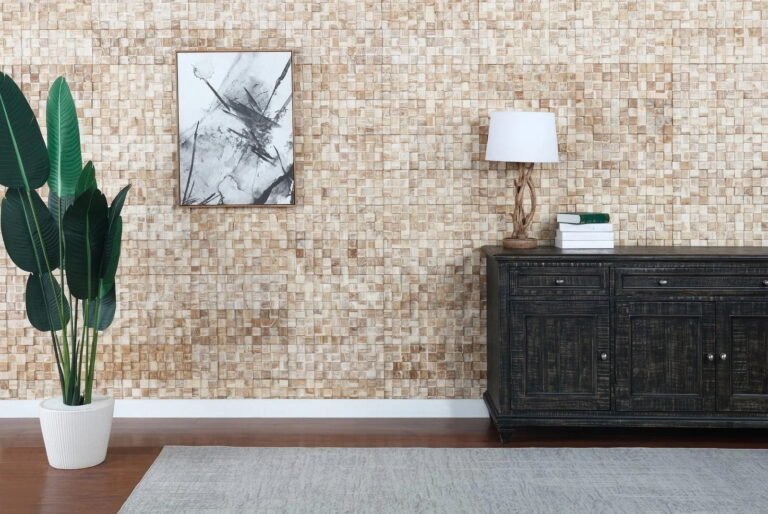
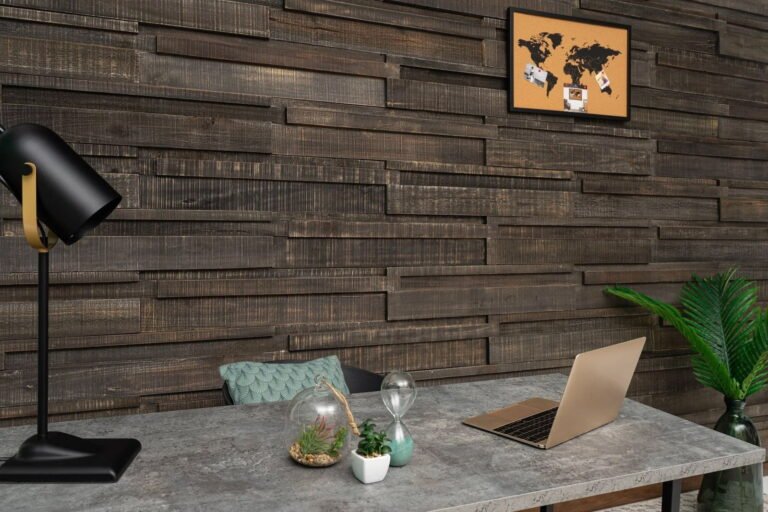
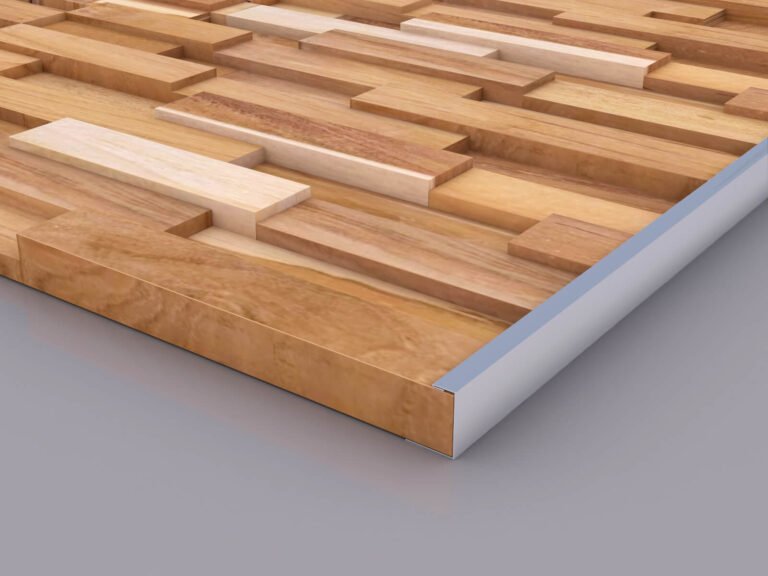
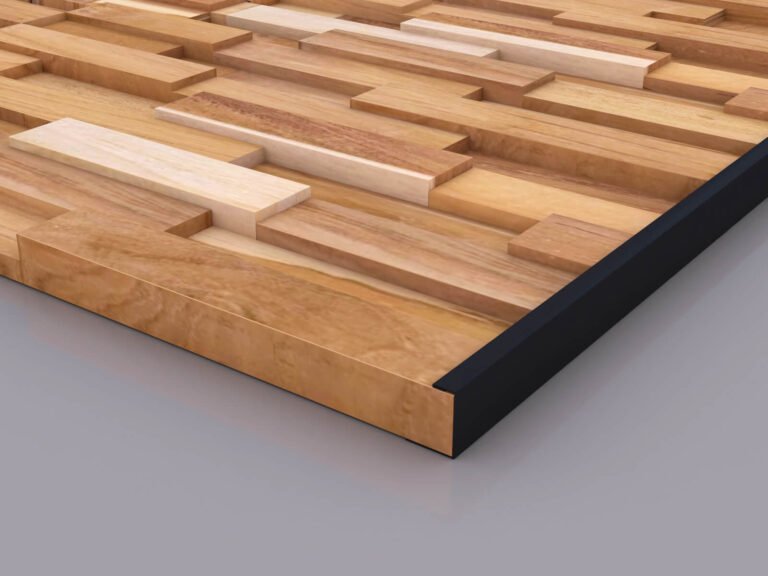
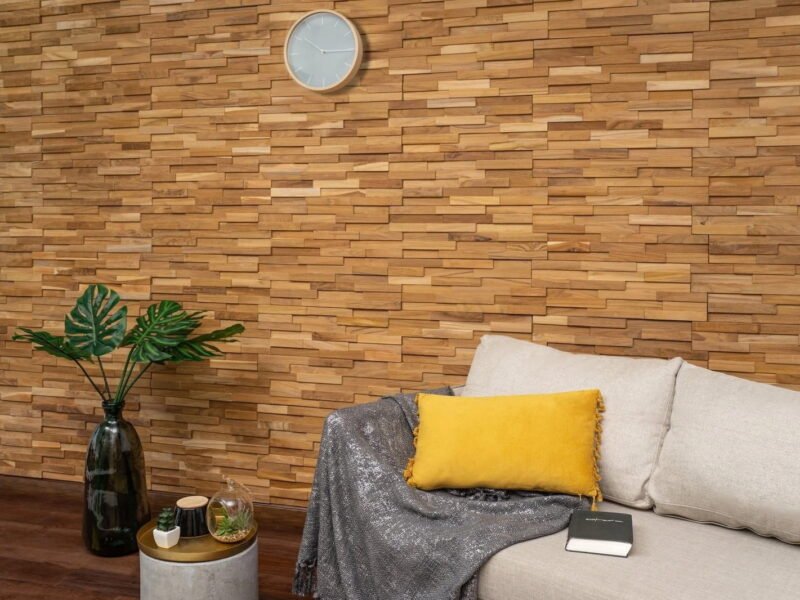
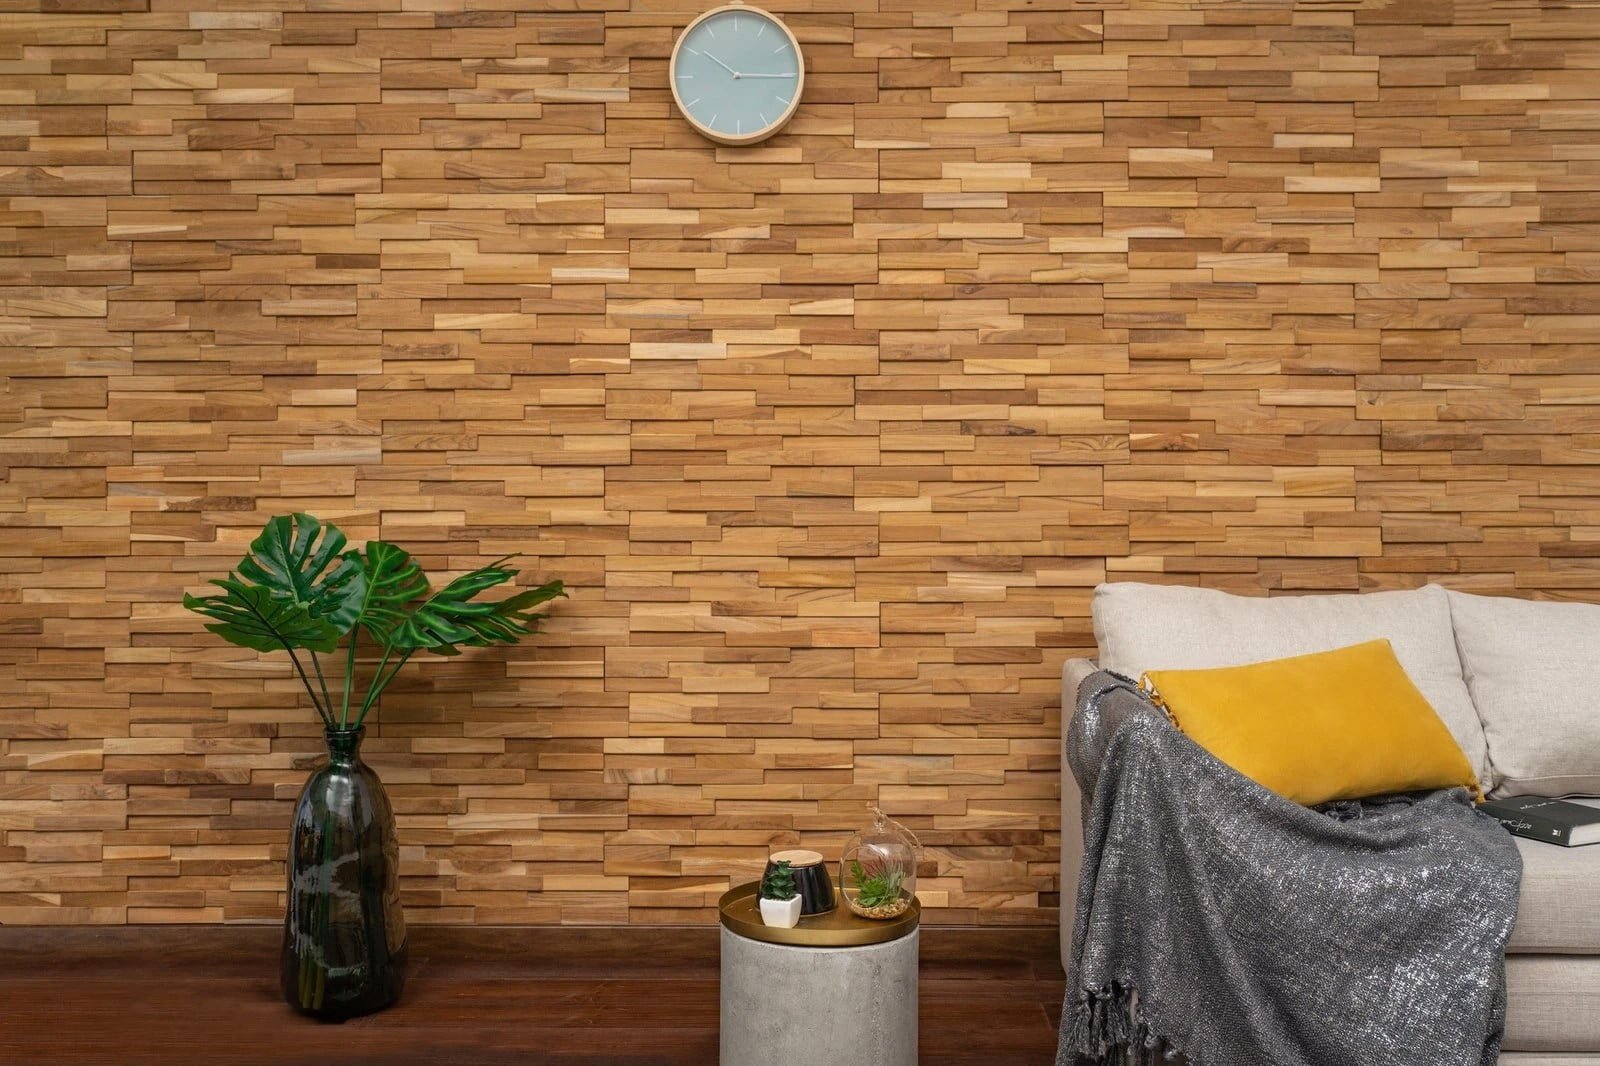
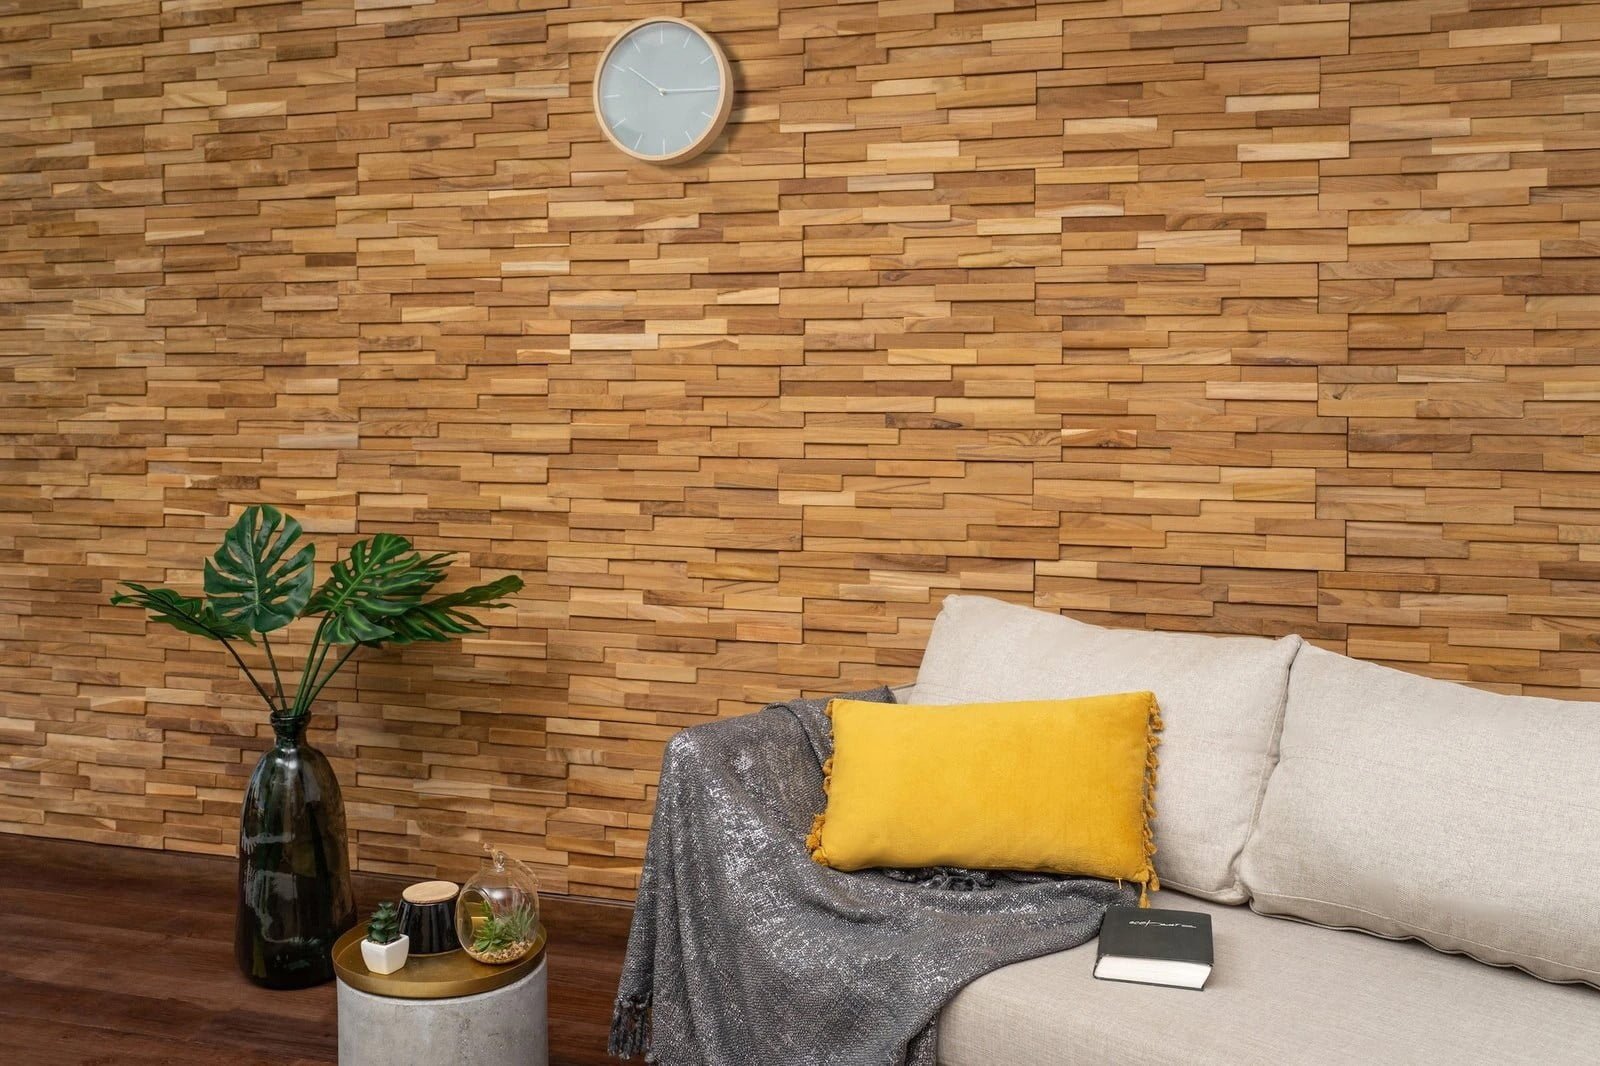
Natural Teak 3D Wall Panels
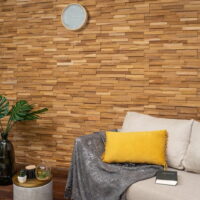
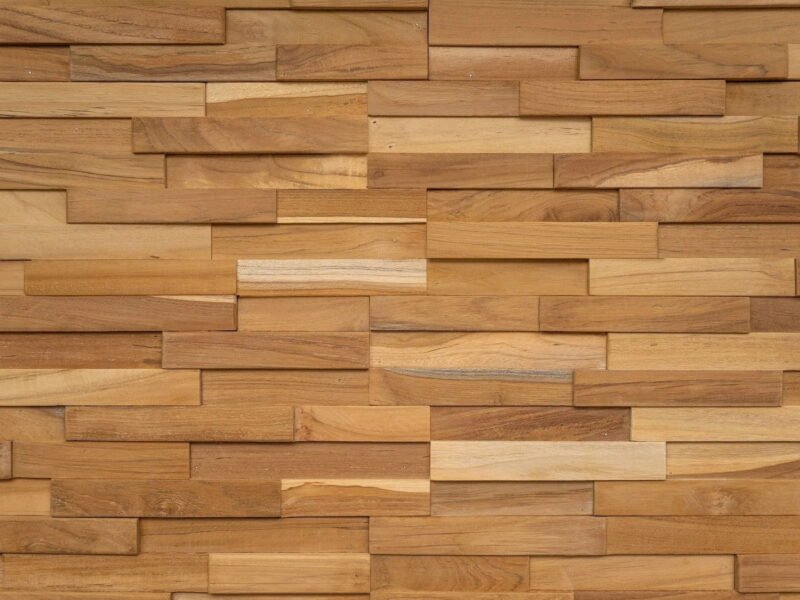
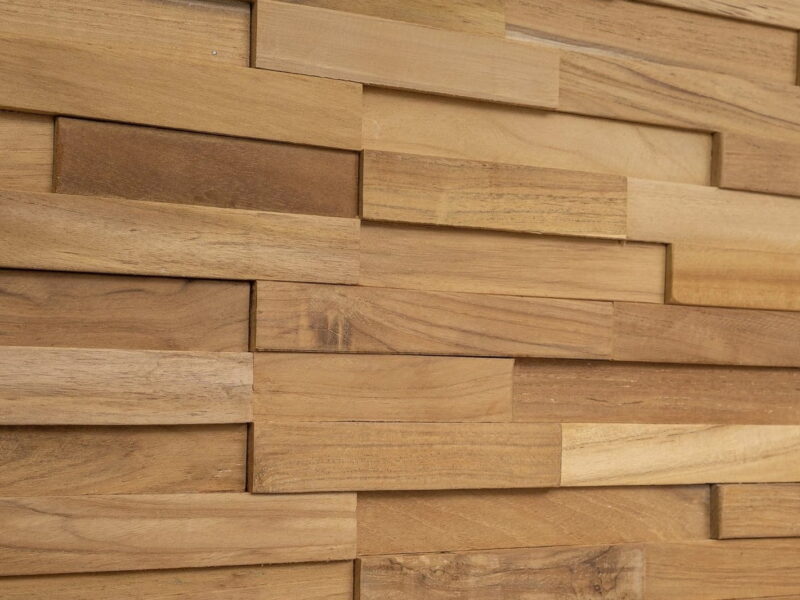
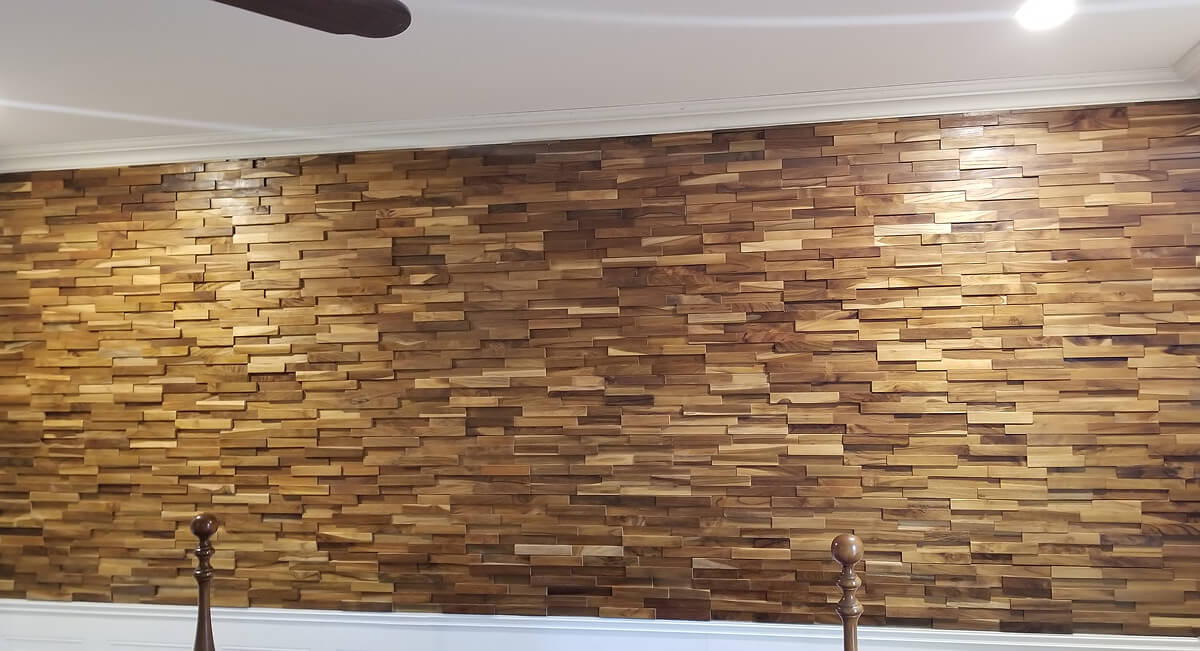
Nothing beats the look of natural wood, and teak, in particular, has a unique look and feel to it. Here at Woody Walls we only choose the very highest quality teak for our 3D wood wall panels.
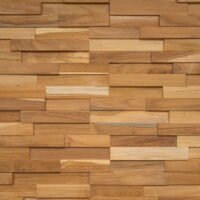
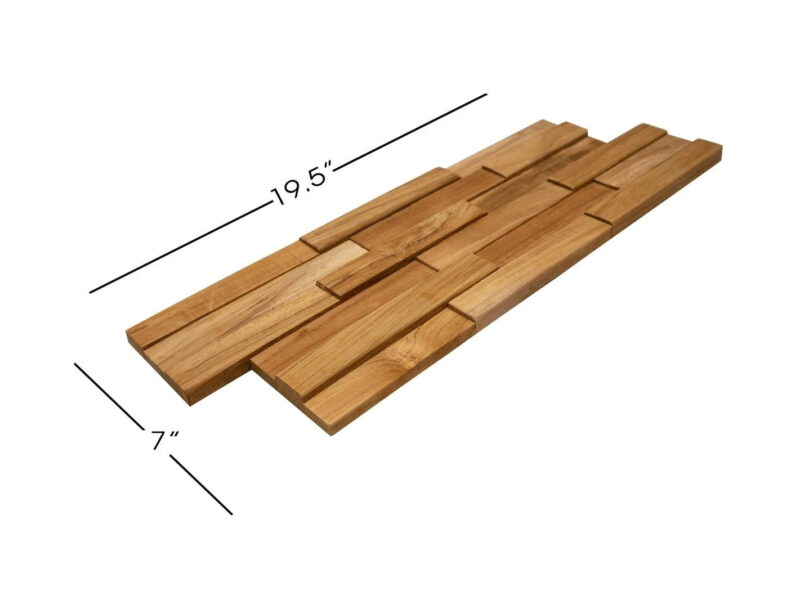
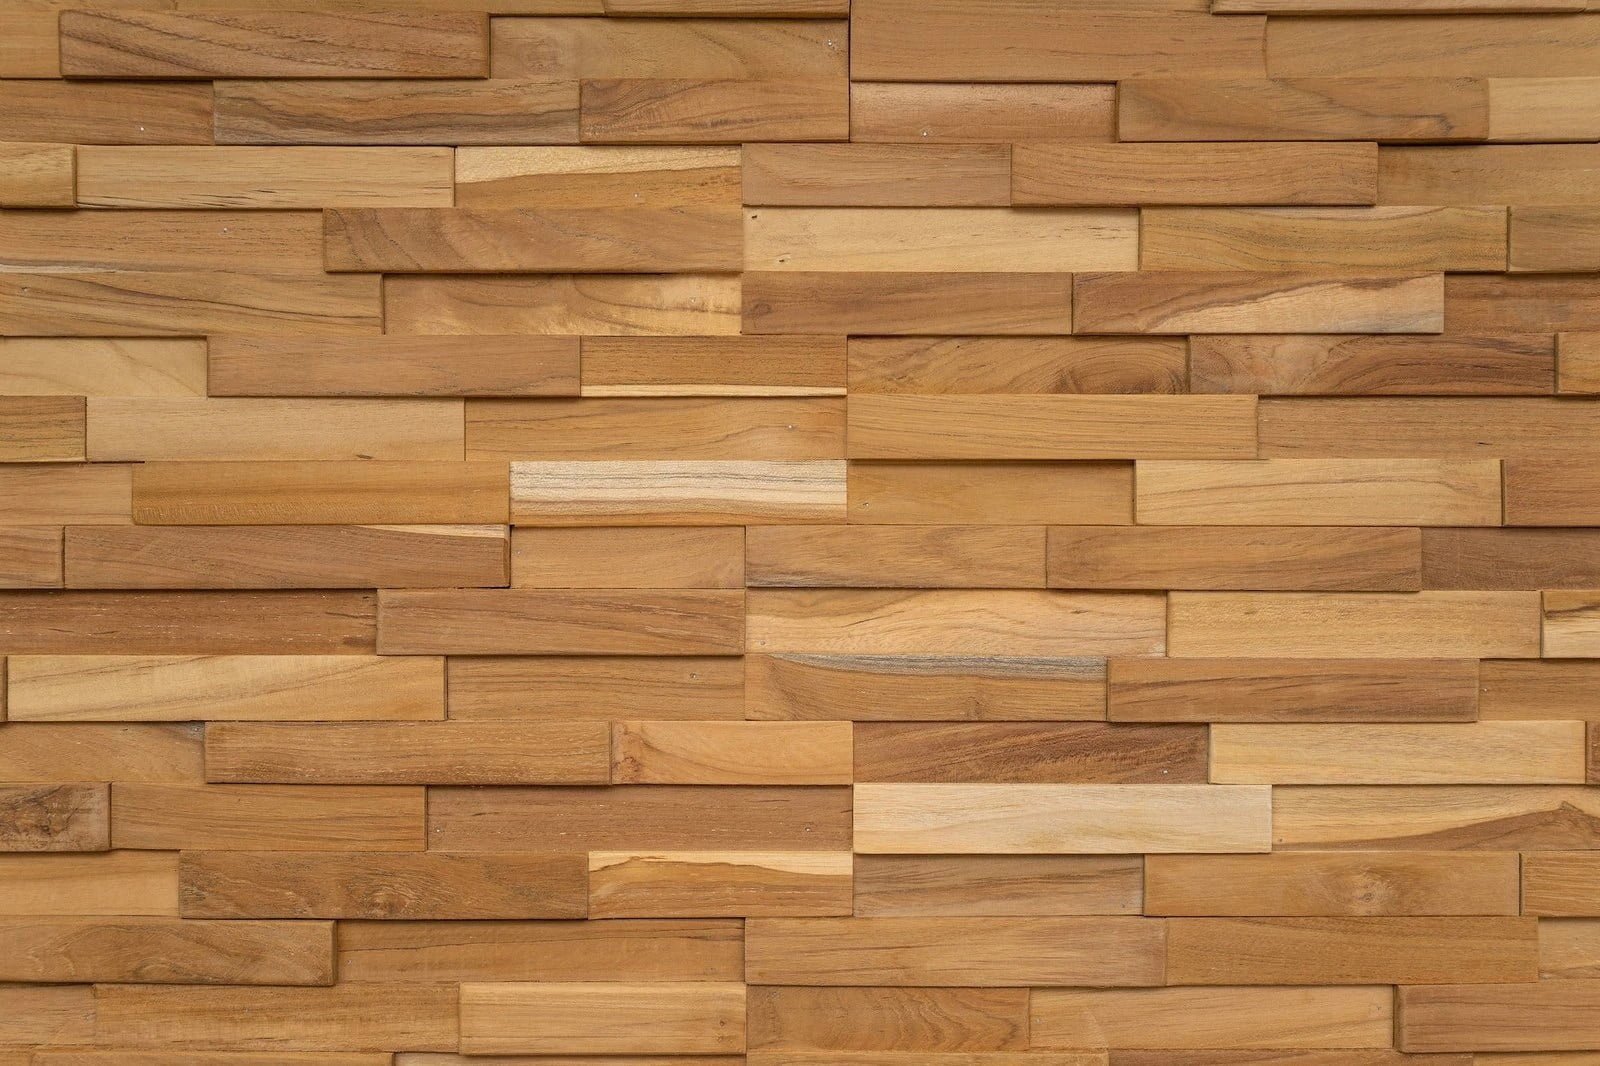
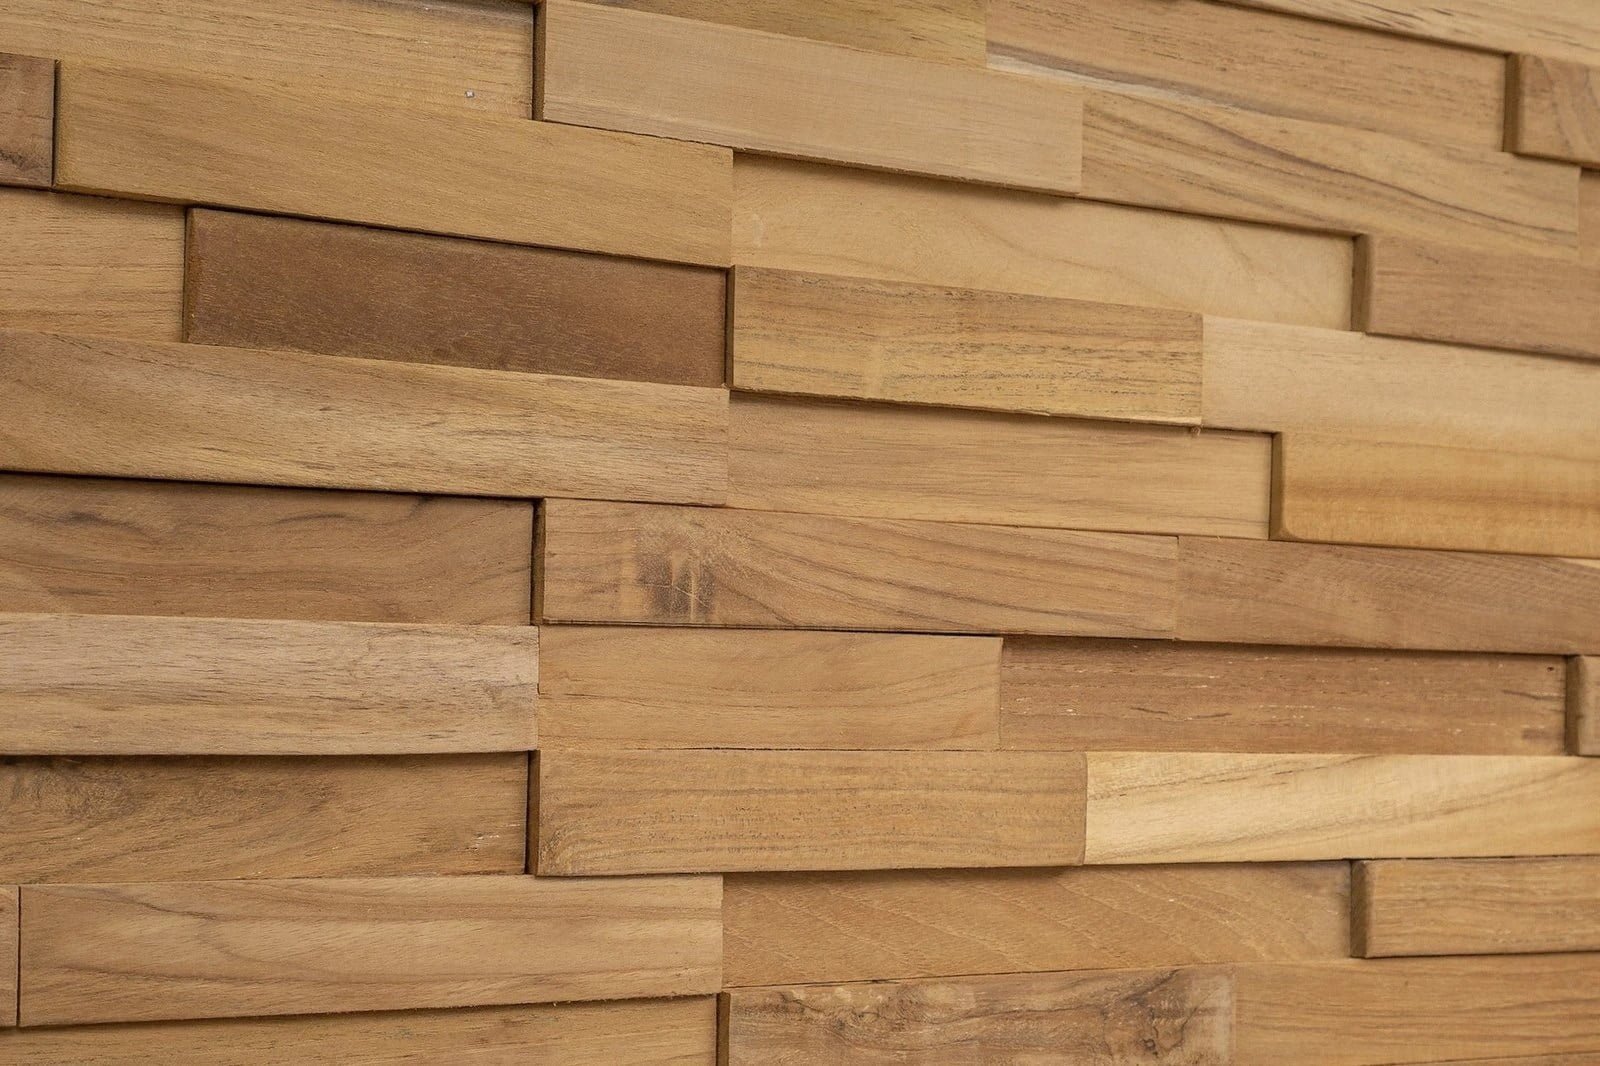
SPECIFICATIONS OF OUR TEAK WALL PANELS
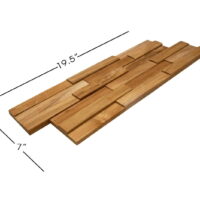
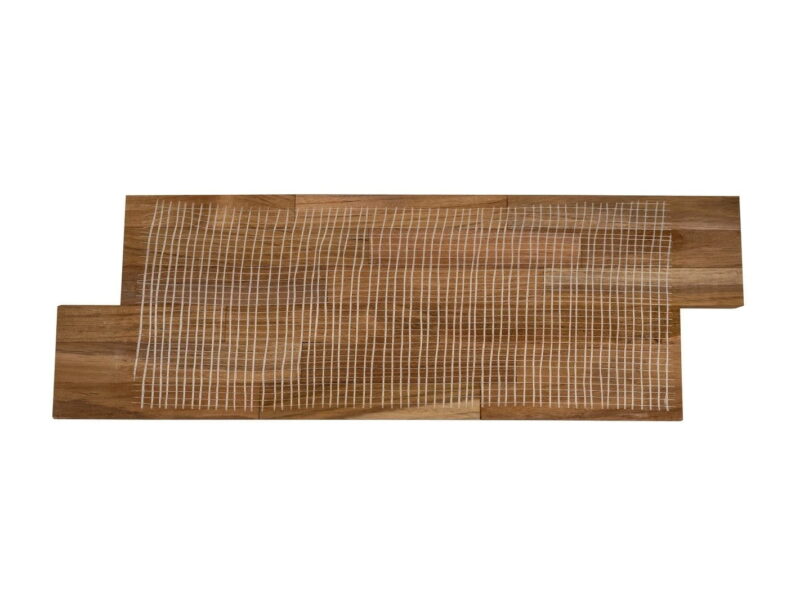
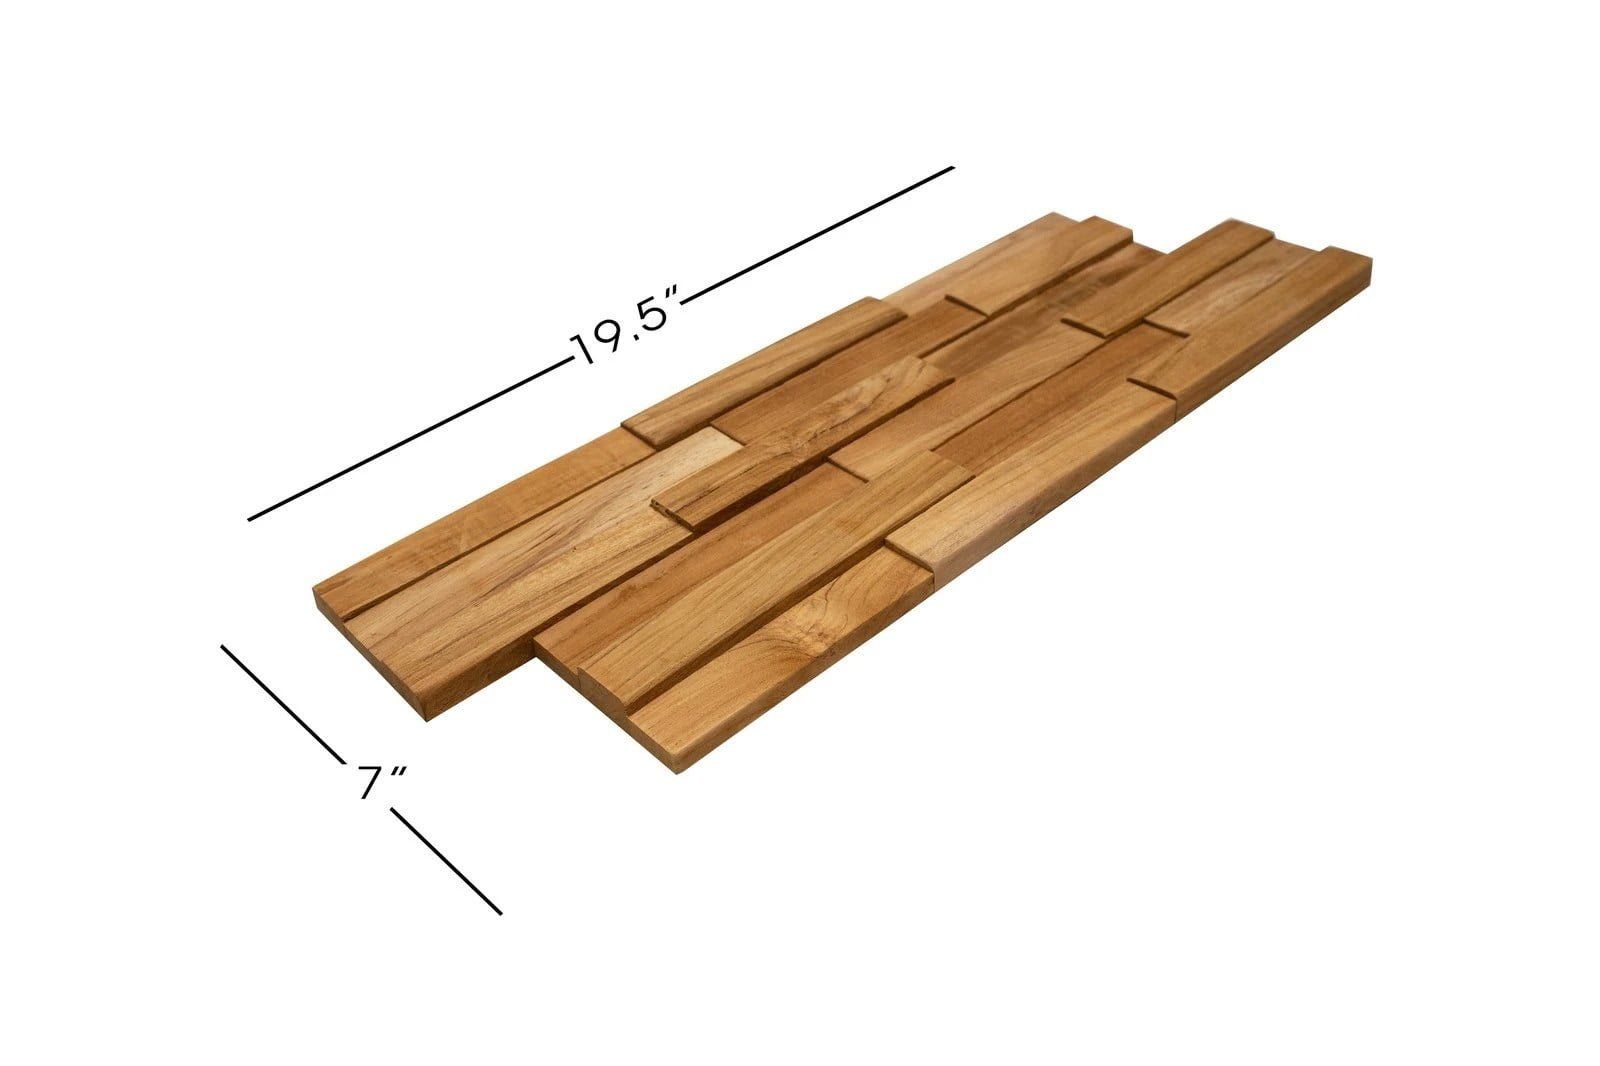
Each 3D wall panel is 19.5” by 7”, there are 10 wood panels per box with a total coverage area of 9.5 square feet. Our 3D wall panels vary in thickness and depths measuring between 0.3’’-0.75”. Our 3D wood wall panels are made of natural Teak Wood.
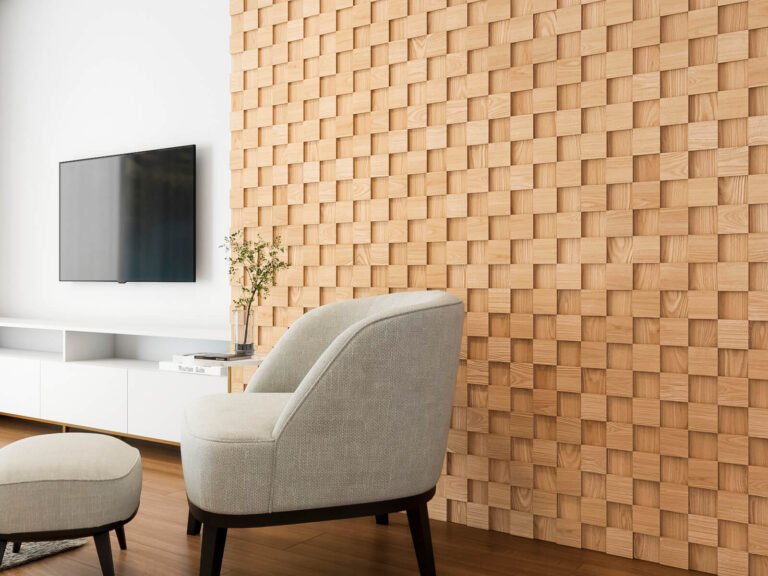
NO POWER TOOLS OR EXPERIENCE NEEDED TO INSTAL TEAK WALL PANELS
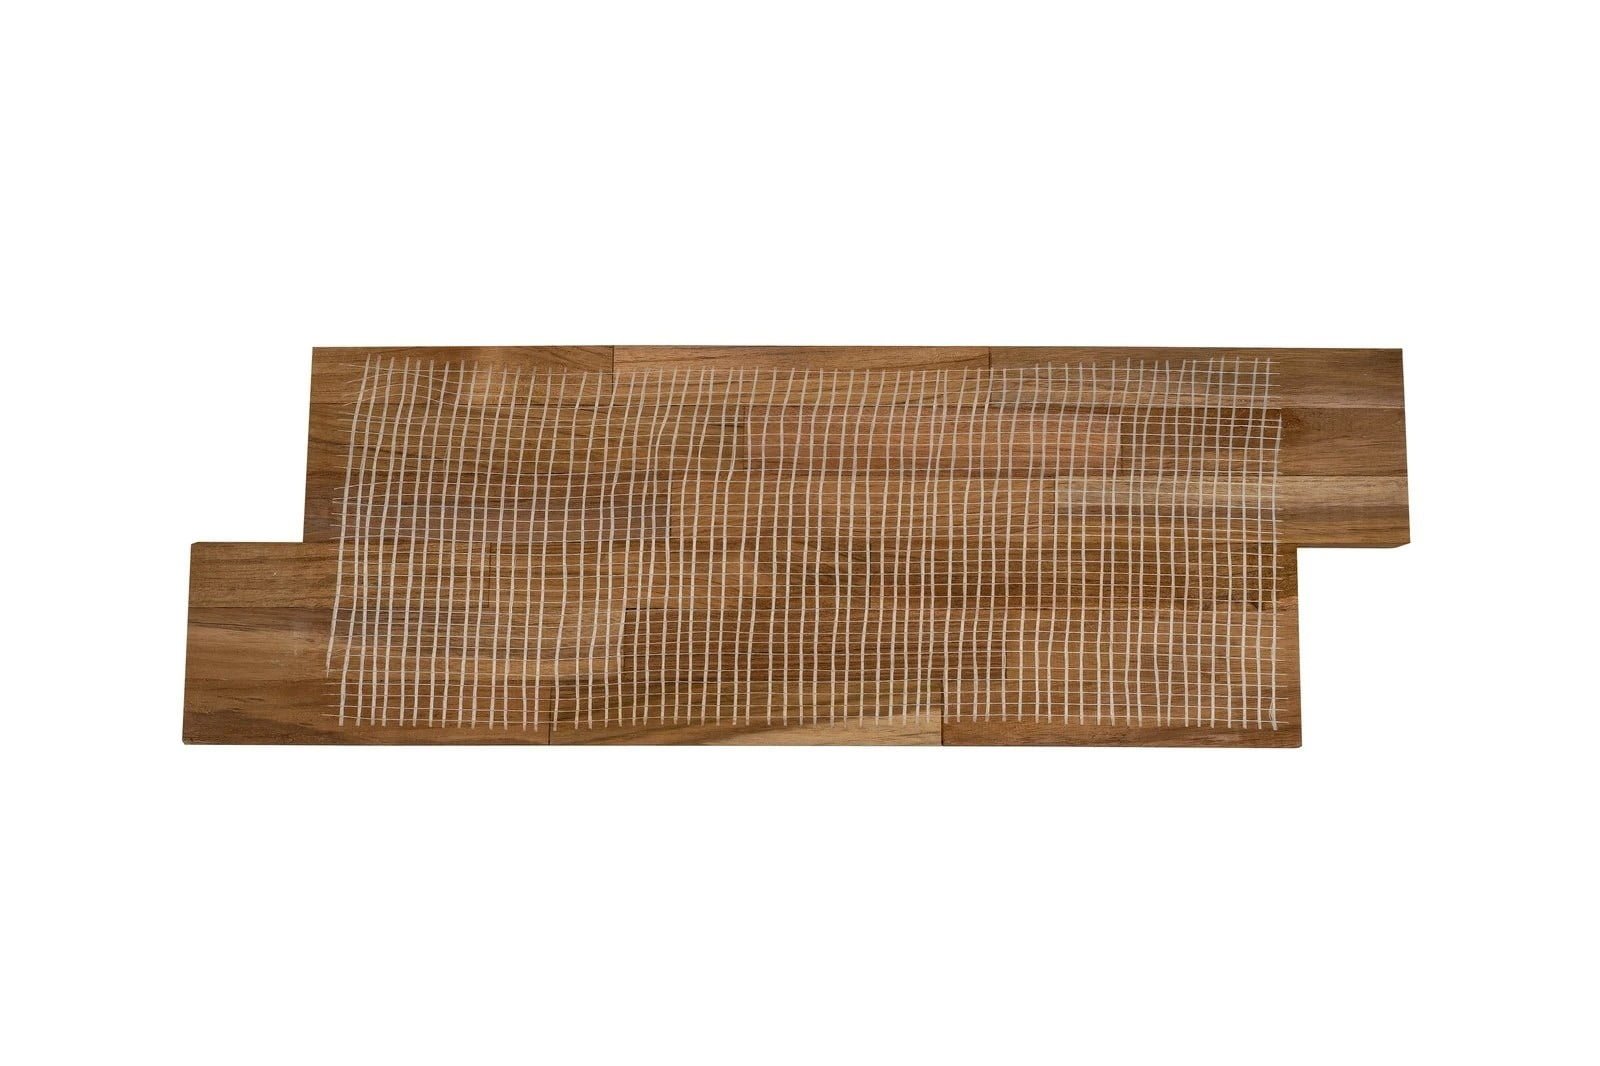
Easy glue and nails installation. No heavy tools or complex mounting hardware needed. Check out our installation video and you’ll quickly see how easy it is to do. Each 3D wall panel has a seamless fit. We cut them precisely to fit each other perfectly making installation process seamless and fun. 3D wall panels are suitable for DIY projects and commercial installation.
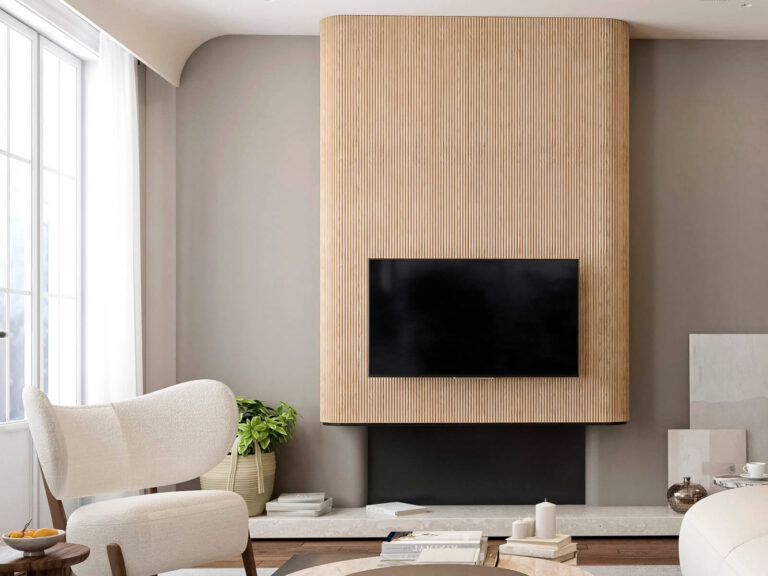
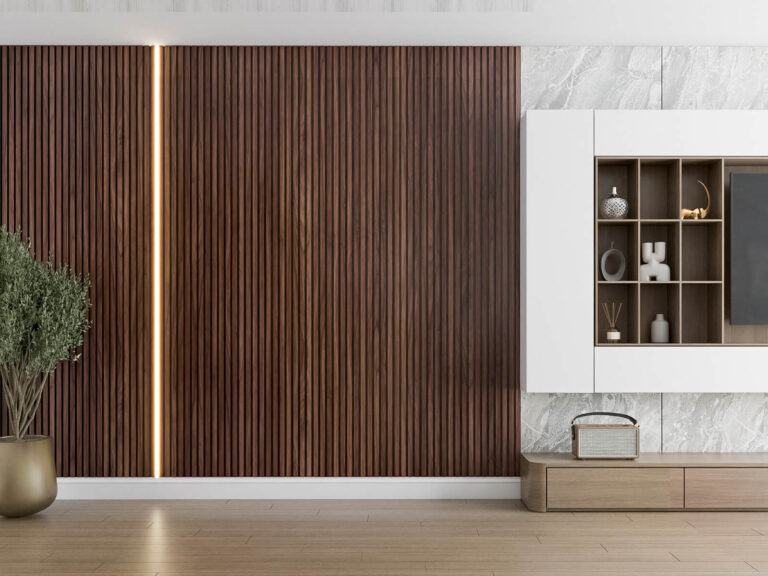
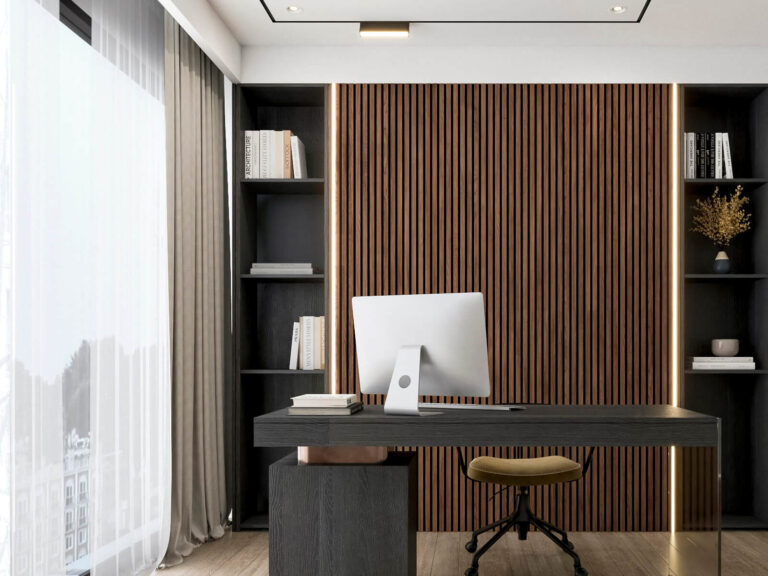
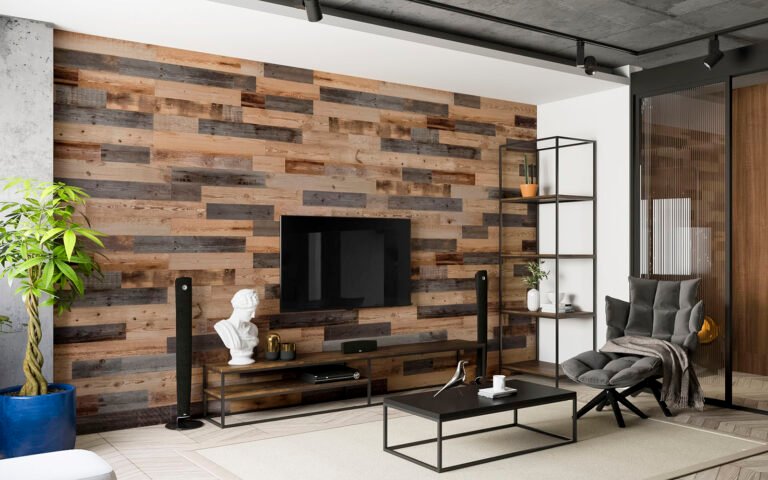
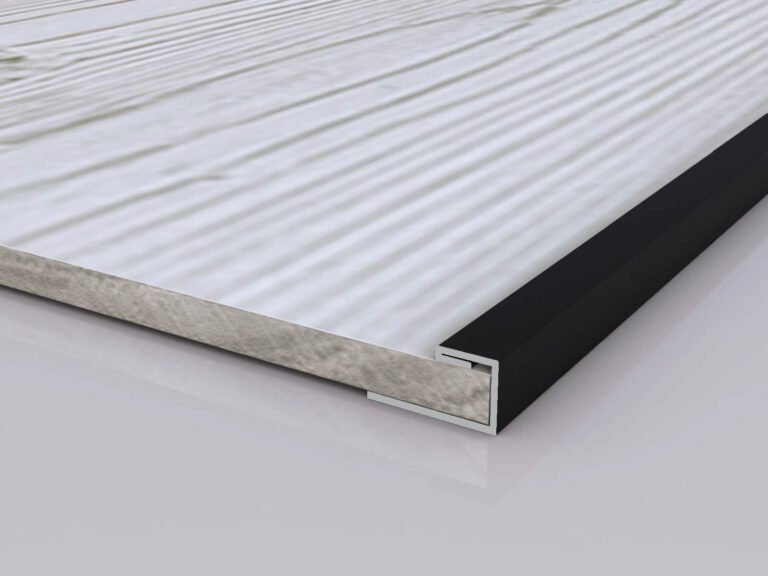
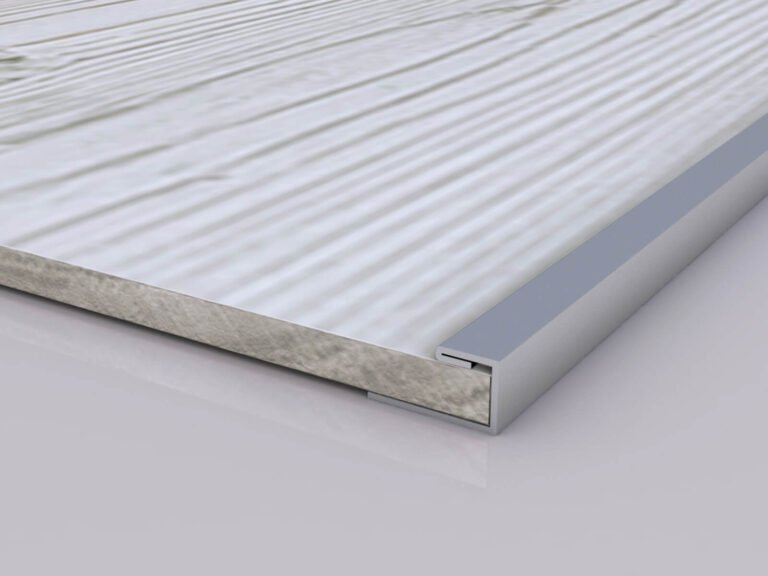
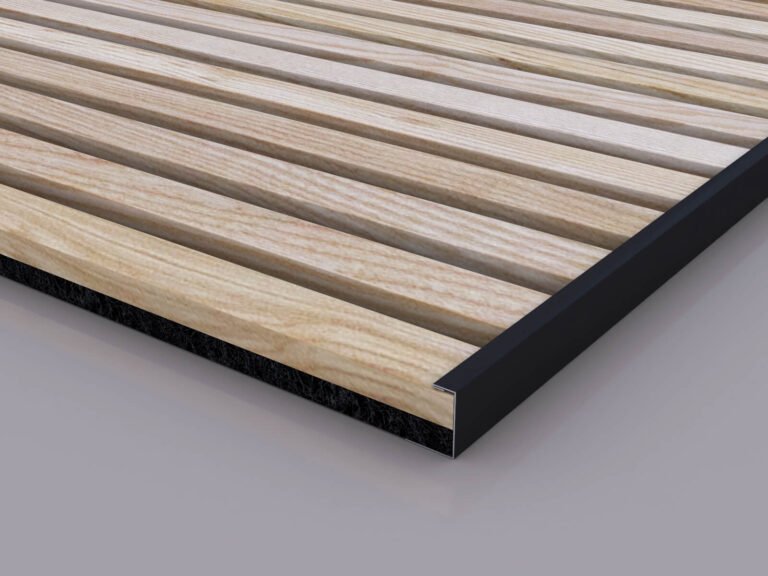
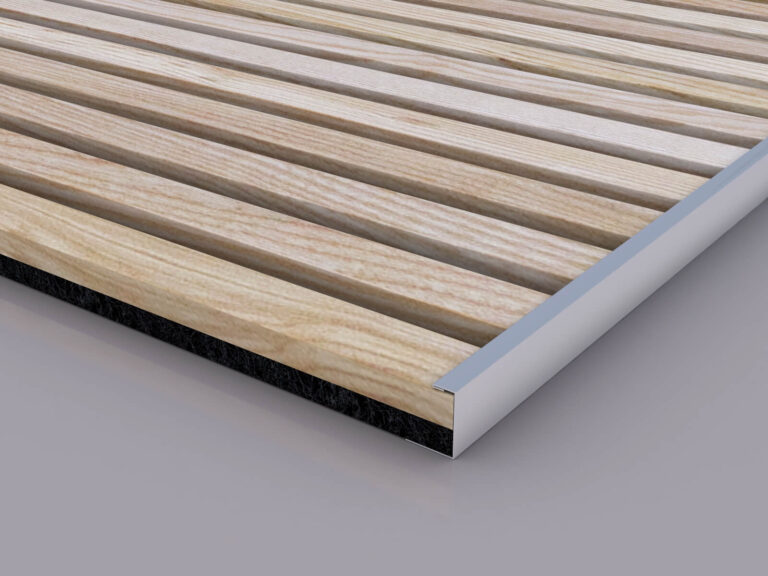
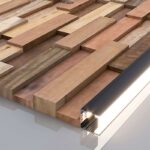
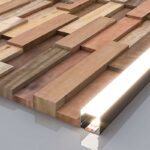
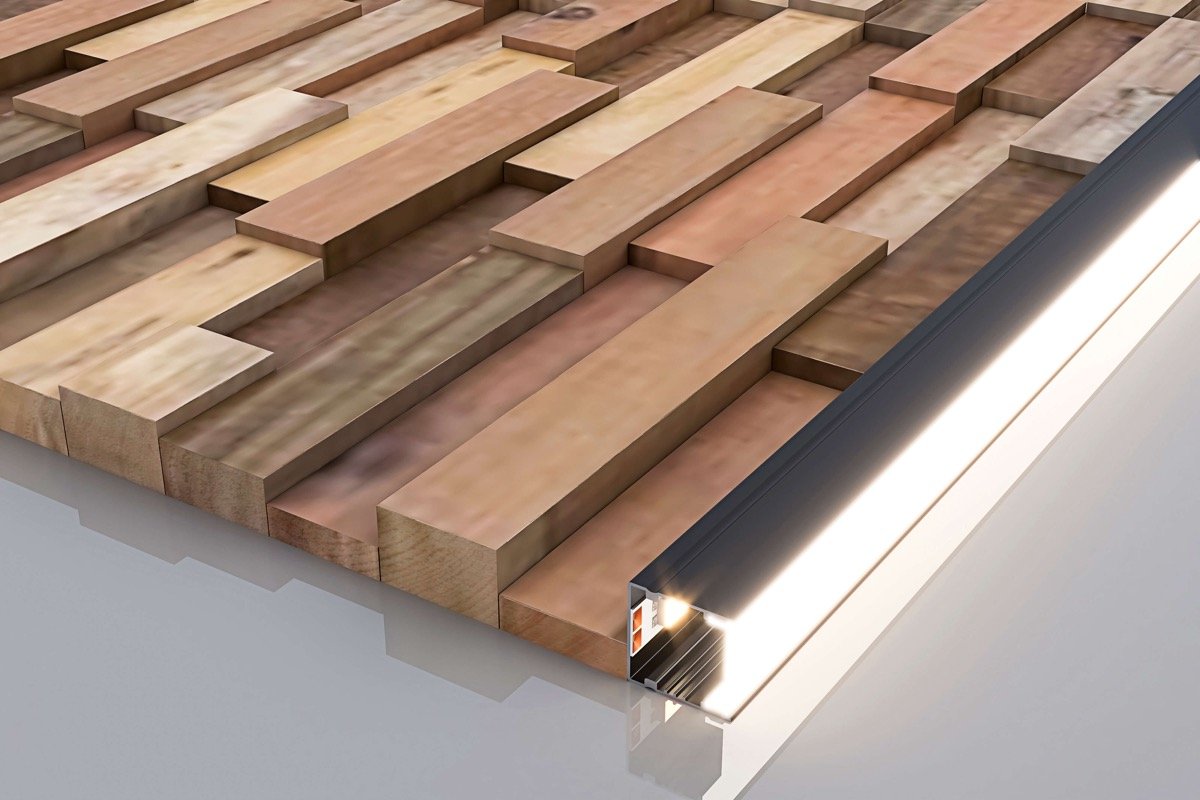
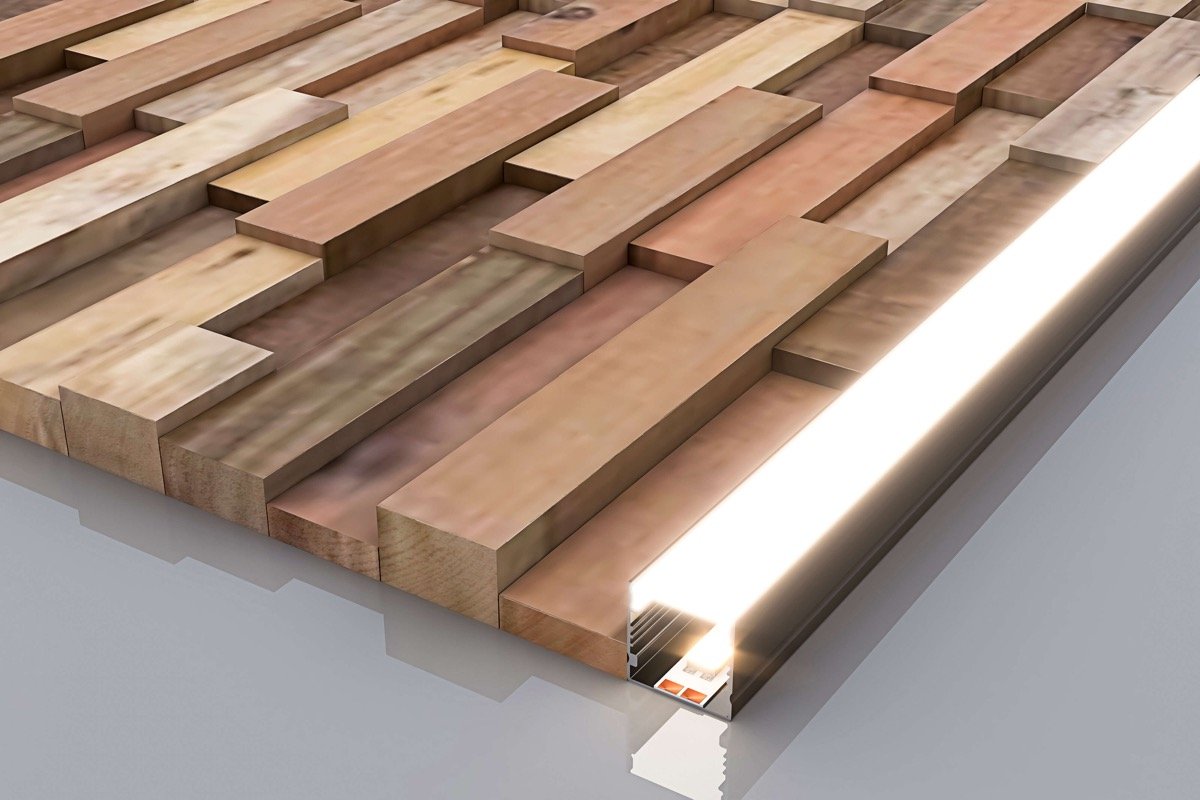
ELEVATE YOUR WOOD ACCENT WALL's CHARM WITH OUR LED CHANNEL FOR WOOD WALL EDGING
Elevate the aesthetic appeal of Woody Walls 3D wood wall panels with our remarkable LED accent lighting. Designed exclusively for 3D wood walls, our lighting solutions will take your 3D wood wall panels to the next level. Our seamlessly integrated Edge Lighting Channels effortlessly complement our 3D wood wall panels, allowing you to effortlessly create captivating lighting effects that amplify the inherent beauty of your wood accent wall, while also adding a touch of elegance and sophistication.
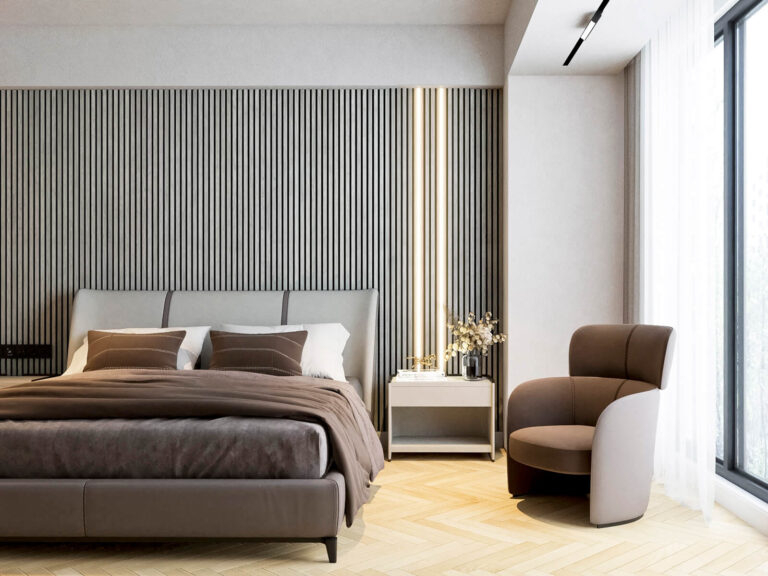
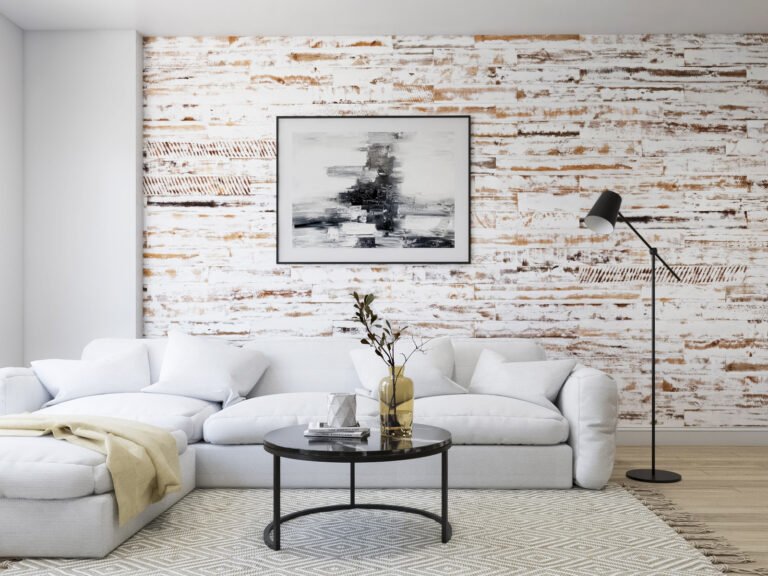
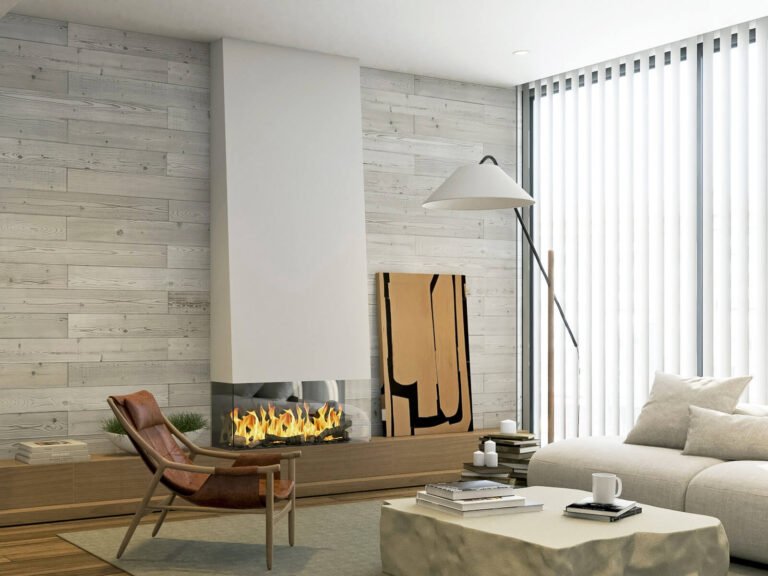
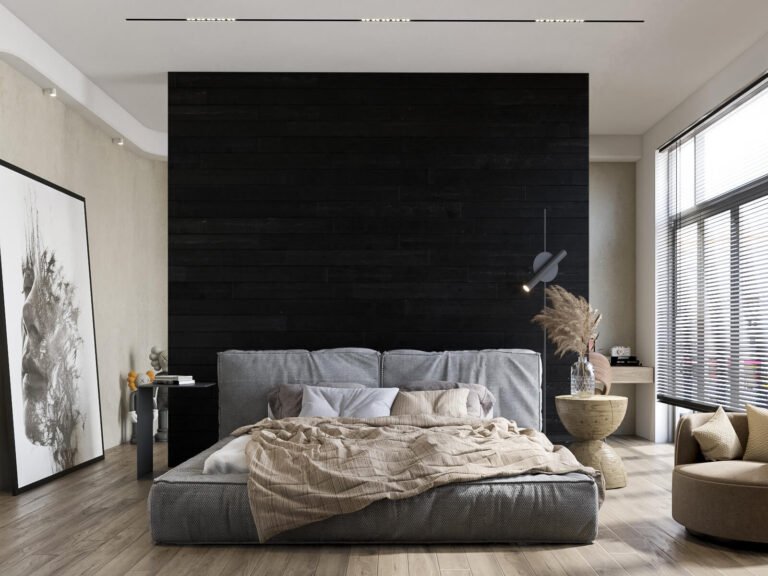
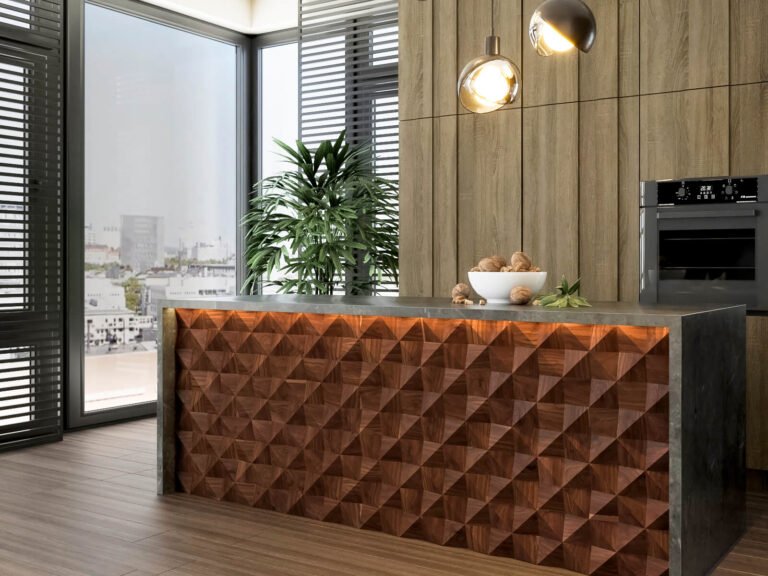
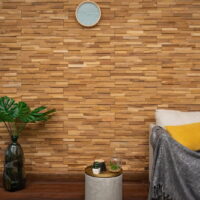
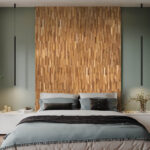
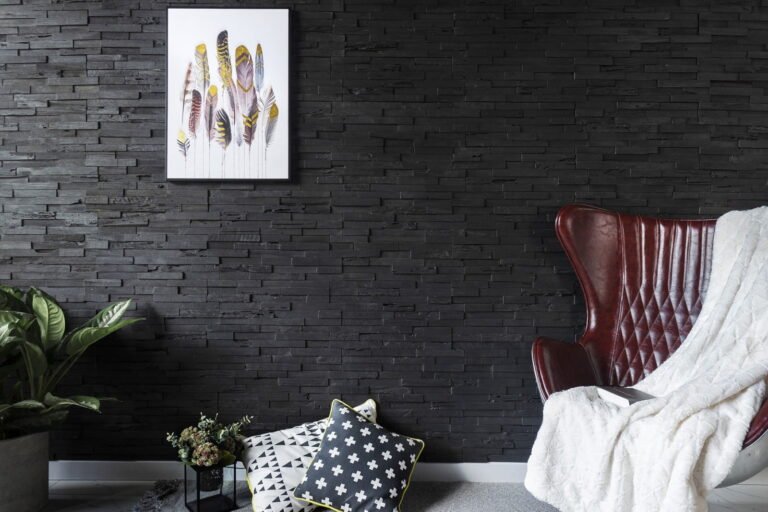
THESE 3D WALL PANELS CAN BE ATTACHED TO ANY STABLE WALL FINISH
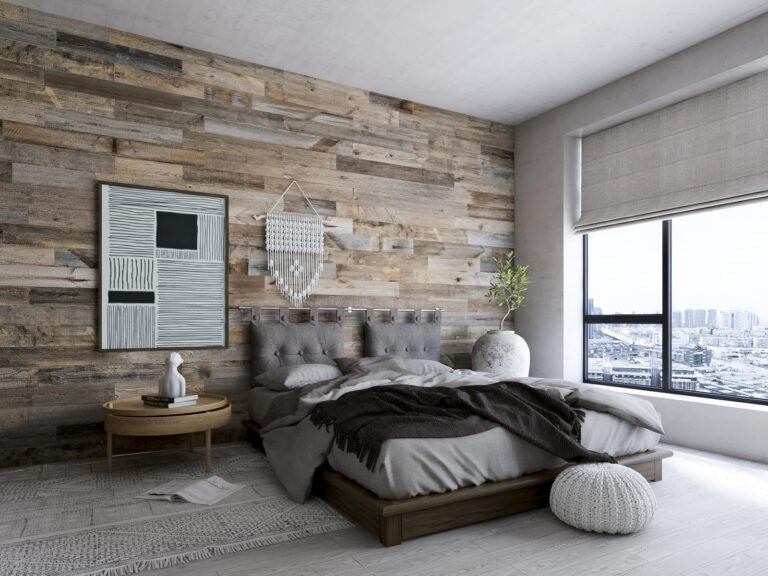
3D wall panels for interior wall decor can be installed on different type of surfaces including textured walls, backsplashes and headboards. Teak wall panels are suitable for installation in places with higher humidity (avoid areas where wood panels could be directly exposed to moisture). It is important to be sure the application surface is completely dry and clear of dust/debris to ensure proper adhesion. We recommend using high-quality construction adhesive and 18-gauge brad nails.
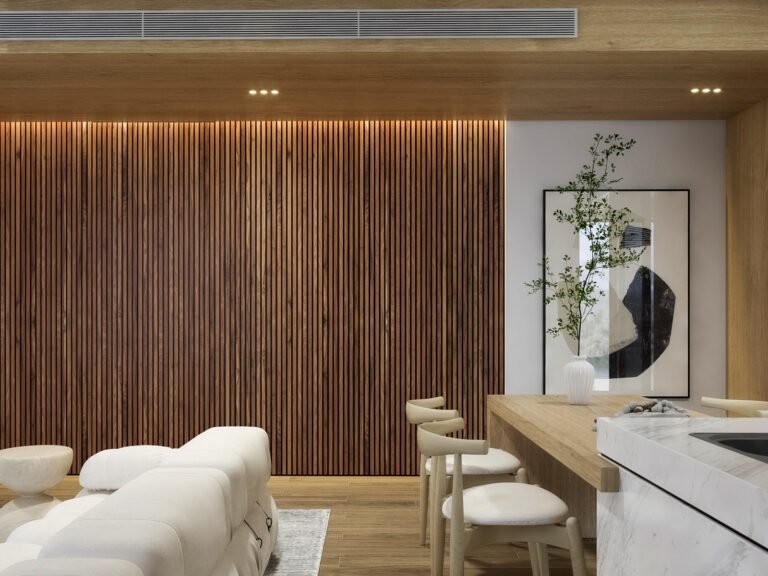
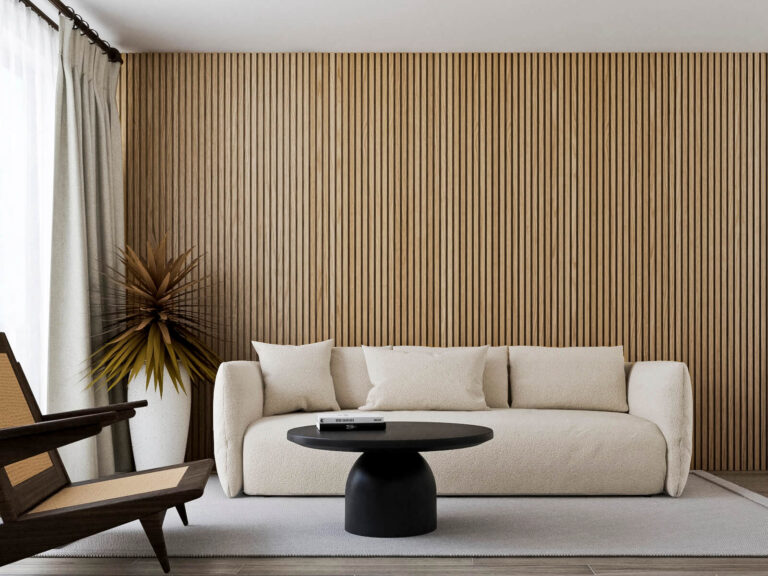
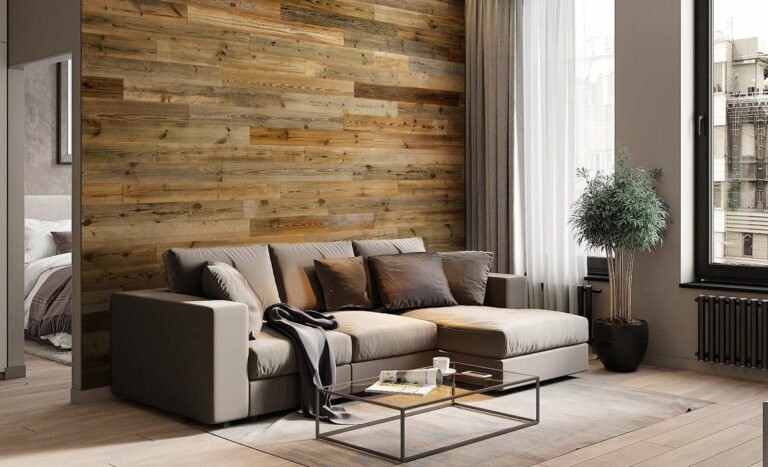
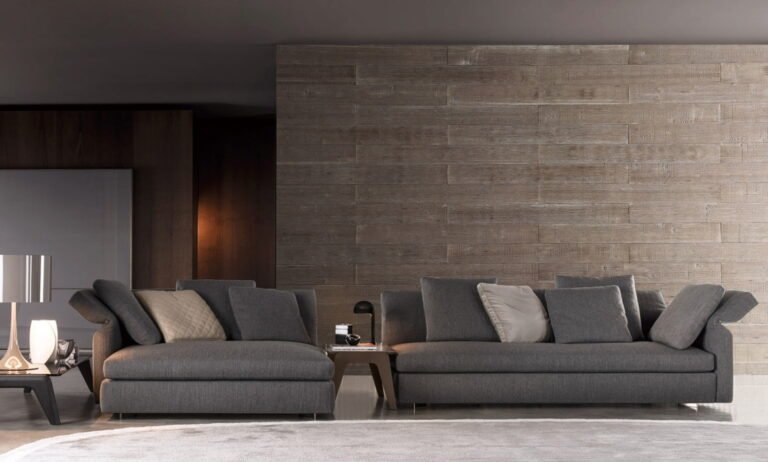
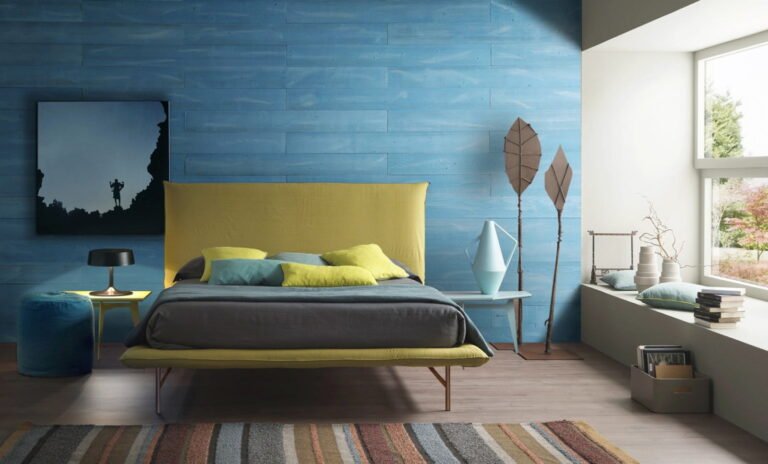
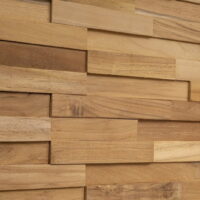
UNMISTAKABLE LUXURY AND CLASSIC APPEAL
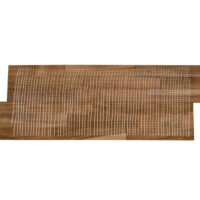
With a rich, golden brown color and distinctive grain pattern, our authentic teak wood wall panels are ultra-durable and naturally resistant to insects, moisture, and decay. This wood wall cladding radiates an air of luxury that will elevate any space.
GUARANTEED QUALITY FOR ALL WOODY WALLS NATURAL 3D TEAK WALL PANELS
All products are responsibly sourced, fully recyclable and 100% free of harmful pollutants. We always use only non-toxic adhesives. The result is a creation of completely unique spaces and a product you feel good about bringing into your home or office. Our 3D wood wall panels also have a class B fire rating.


Daniel –
Bought and installed 3D teak wall panels 7x19 tiles on the main wall in my master bedroom. I urethaned all pieces with a semi gloss urethane before installing. Out gives a much richer and warmer look.
Lori Astle –
Couldn’t be happier with these teak wood panels. Installation was super easy. Our fireplace TV wall turned out more beautiful than I could imagine. Worth every Penny
Eric M –
This was very quick and easy to install using liquid nails and a brad nailer. I was able to cut any pieces easily and cleanly with a miter saw when needed. I only wish I didn't wait so long to use and realize I need more with it out of stock.
Solomon –
Highly recommended. Do yourself a favor and buy this product!
Anna –
Amazing product. Looks great and easy to install. Just as explained.
Michelle –
Very easy to install overall (we secured with nails to the wall). We trimmed the top and bottom to have a straight edge. Love the variation of wood and texture this adds to the space. This wall has a height of 9ft to give you an idea so we have a few inches left in the bottom that’s left blank. Would be great it they sold the planks of wood individually but other than that it’s a great product!
Tamara H. –
What a wonderful way to make a statement in our foyer! Pics attached are what I started with to what I ended up with. I have to say, I am more than satisfied with the outcome and the ease of installation. I love putting together puzzles and this was like putting together a puzzle. It took two boxes and I used every piece with maybe the exception of about three inches. I am very happy with my purchase.
Ilya –
IT looks even better than I had imagined. This wall completely transformed our living are and gives our home such a warm, welcoming feeling. The new wall completely changed my living room and created a brand new look to it, better than I imagined!. A MUST for everyone who is looking to get their living space refreshed into a more sophisticated look.