Free USA shipping available in 48 hours!

SubscribeSubscribe_Mob
New!
Walnut Extra Long Wood Slat Wall PanelsWalnut Extra Long Wood Slat Wall Panels 2Walnut Extra Long Wood Slat Wall Panels 3Walnut Extra Long Wood Slat Wall Panels 4Walnut Extra Long Wood Slat Wall Panels 5Walnut Extra Long Wood Slat Wall Panels 6Walnut Extra Long Wood Slat Wall Panels 7
  • Walnut Extra Long Wood Slat Wall Panels 8
  • Walnut Extra Long Wood Slat Wall Panels 9
  • Walnut Extra Long Wood Slat Wall Panels 10
  • Walnut Extra Long Wood Slat Wall Panels 11
  • Walnut Extra Long Wood Slat Wall Panels 12
  • Walnut Extra Long Wood Slat Wall Panels 13
  • Walnut Extra Long Wood Slat Wall Panels 14
video

Walnut Extra Long Wood Slat Wall Panels

$559.00

per box
Installation:
Glue & Screws
Quantity per box:
2 panels
Material:
American Walnut
Size per panel:
142 1/4” x 12" x 7/8"
Available sizes:

• All Extra Long Panels (over 142") require a minimum order of 6 boxes
• For smaller quantities, please contact us at info@woodywalls.com

Estimated shipping date: May 15, 2025
Visa Mastercard American Express PayPal Diners Club Discover
video
Recyclable
Recyclable
Glue and nails installation
Reclaimed wood
Reclaimed wood

Description

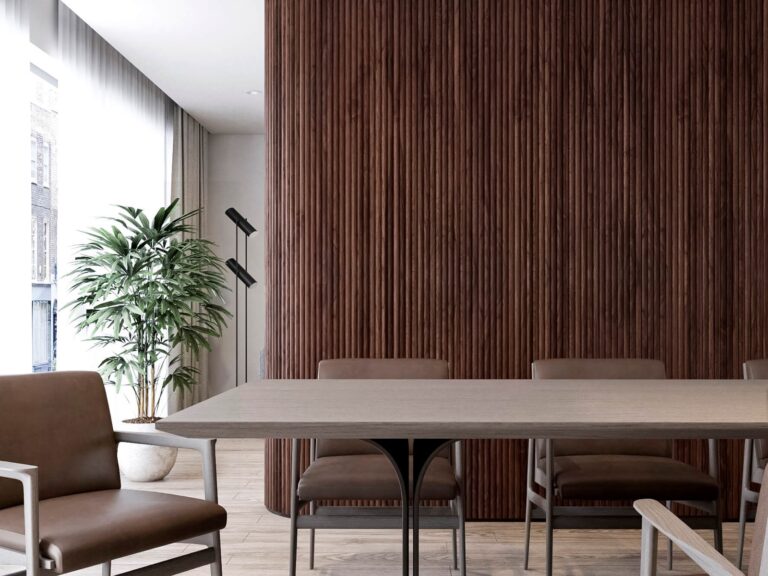
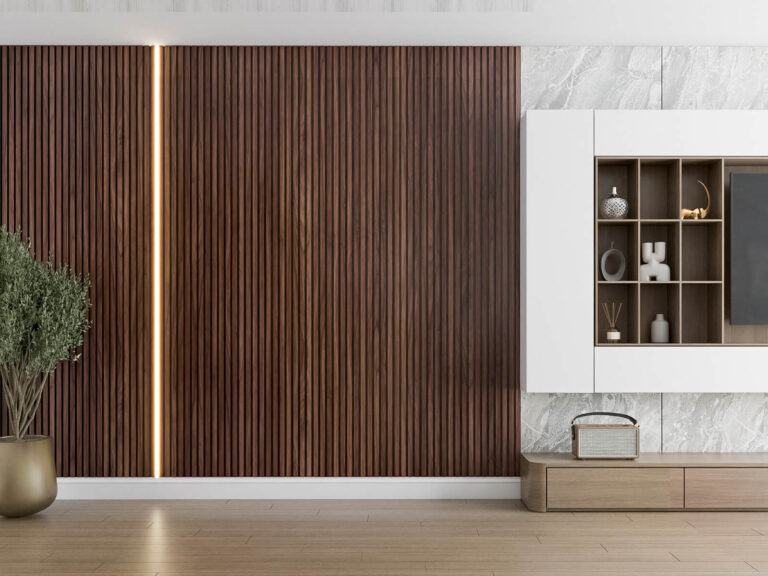
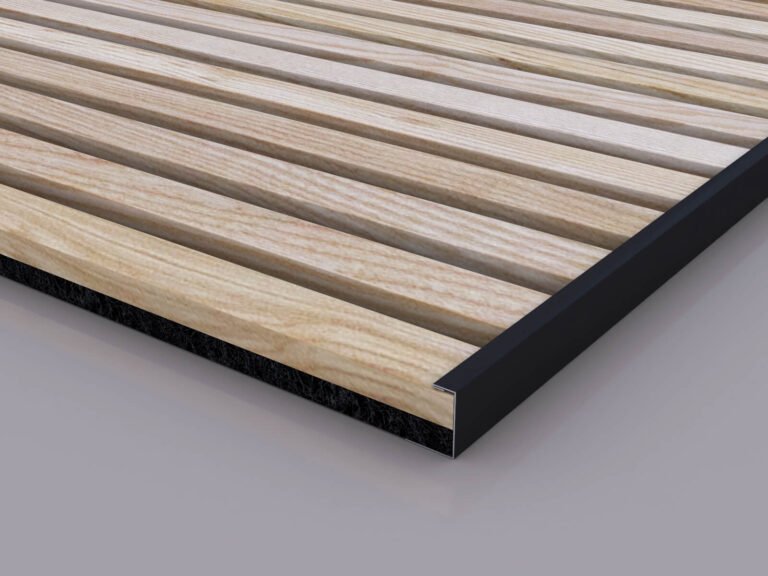
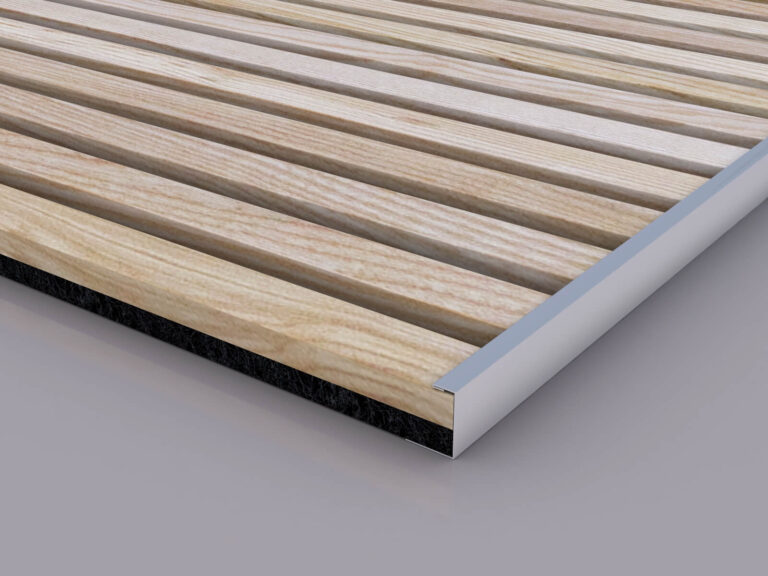
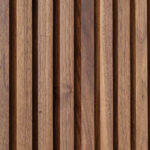
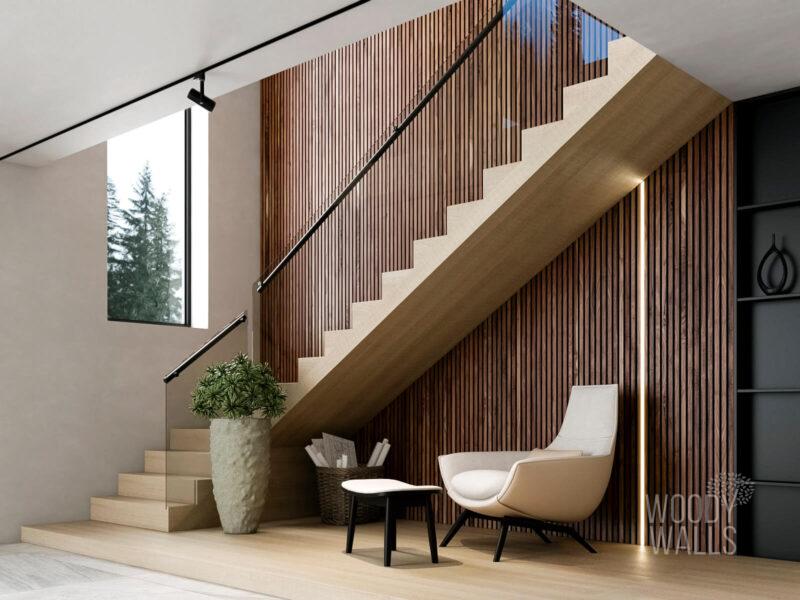
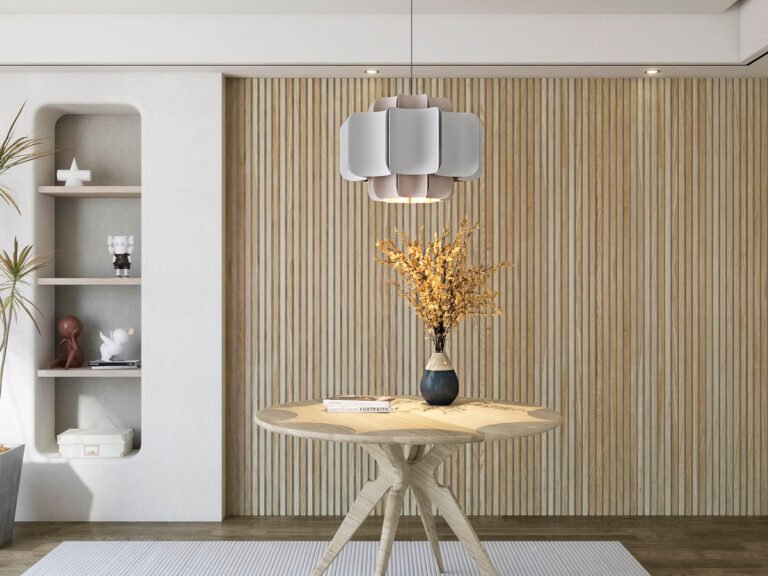
Elevate Your Space with Walnut Extra Long Wood Slat Wall Panels

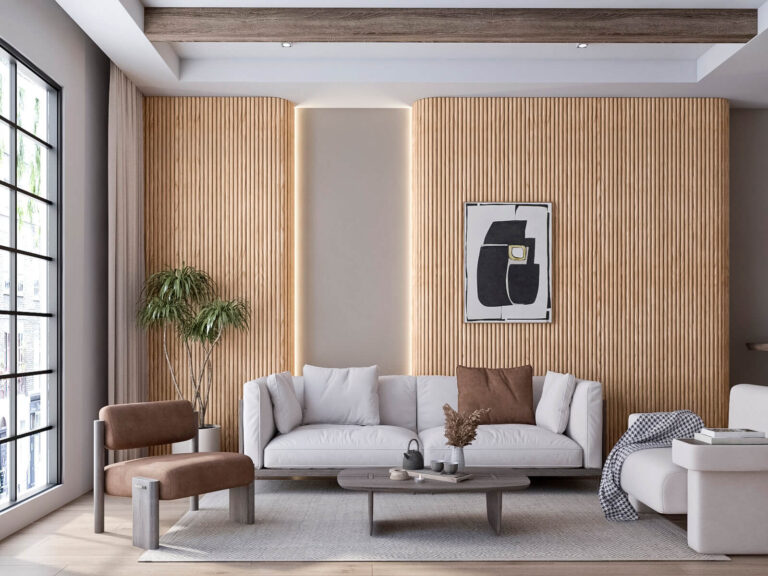
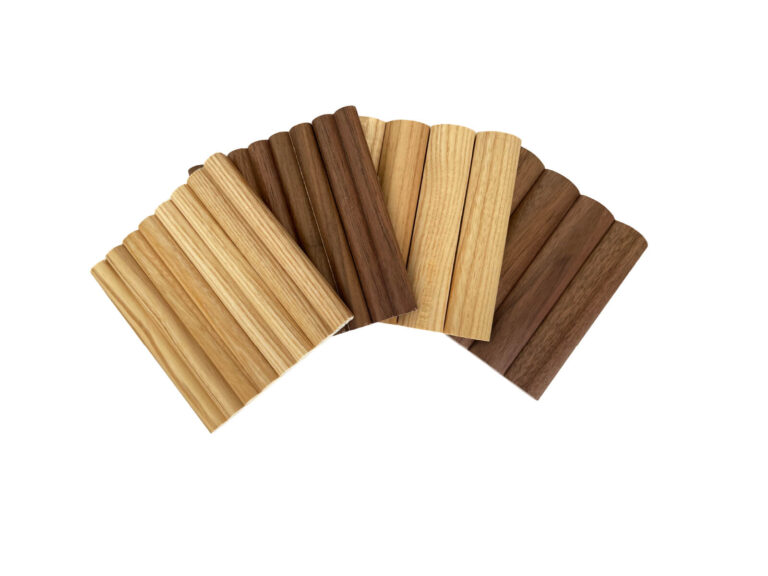
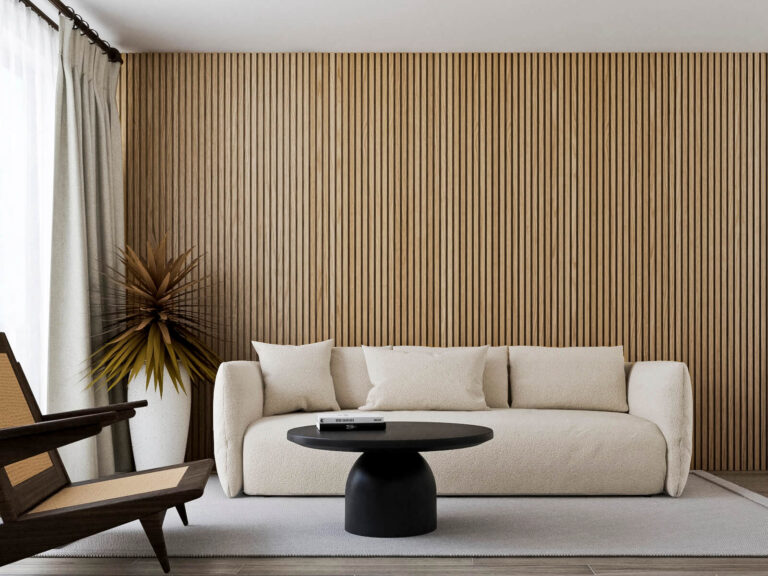
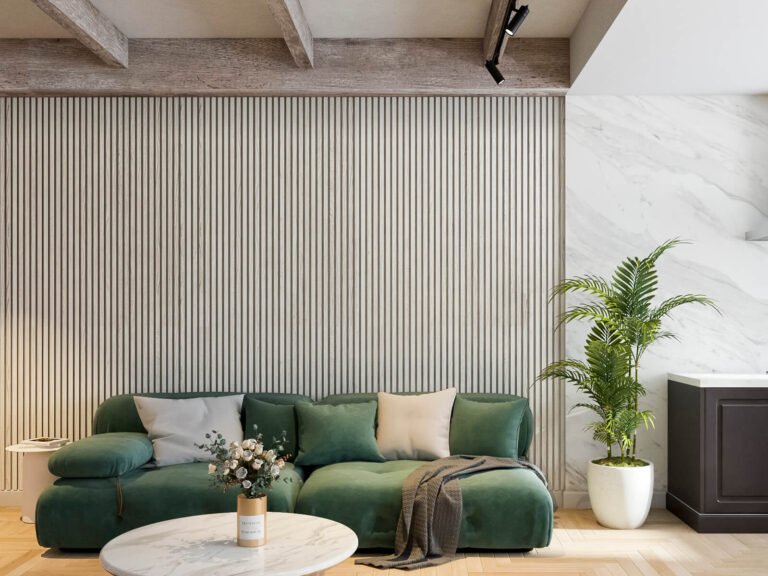
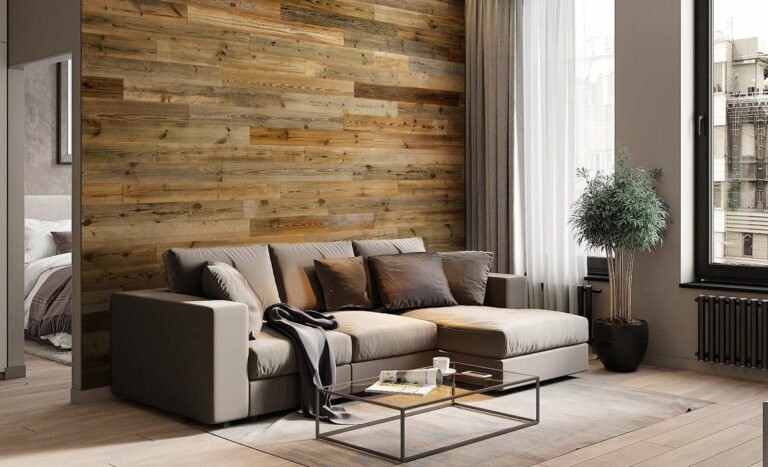
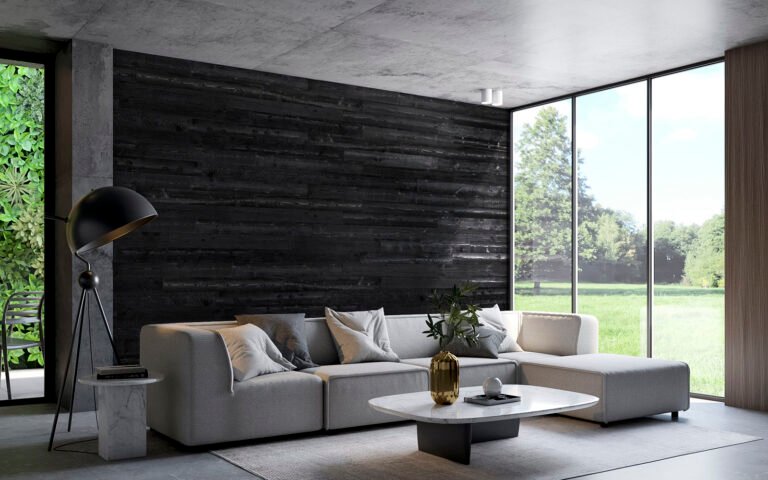
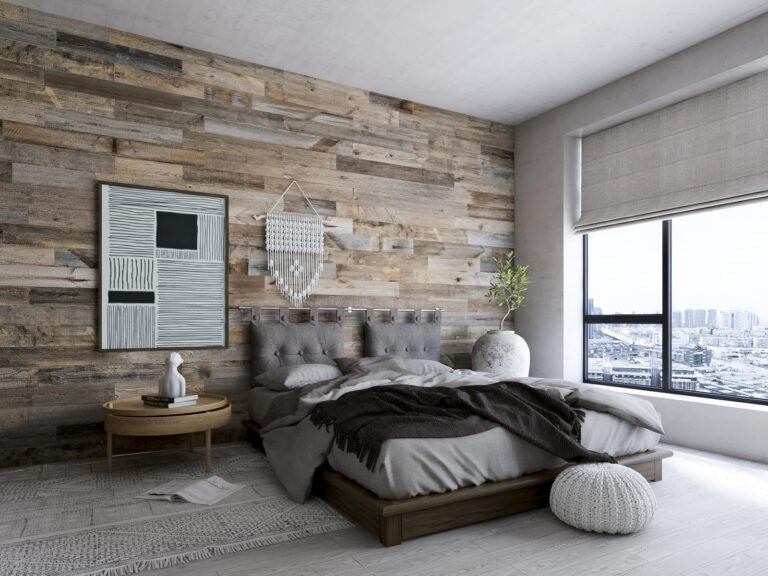
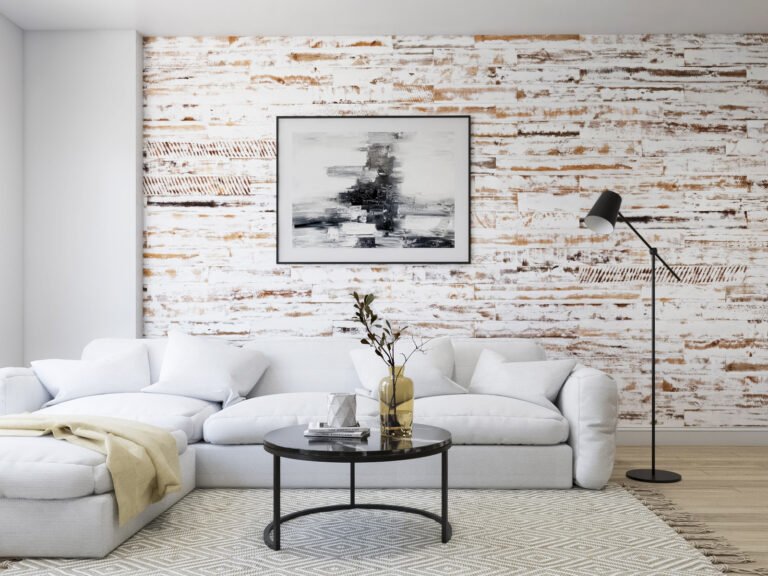
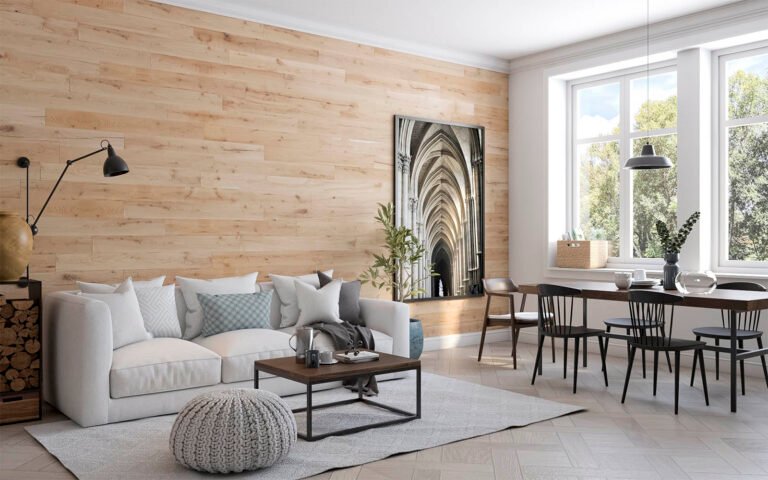
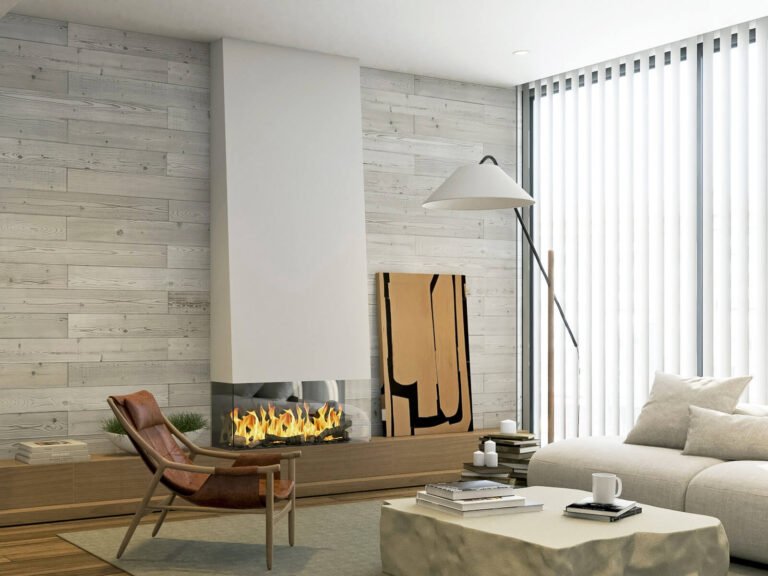
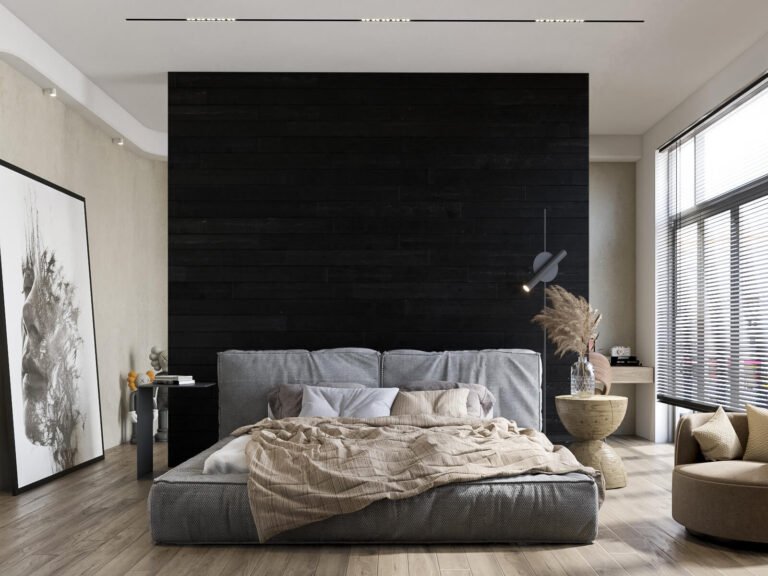
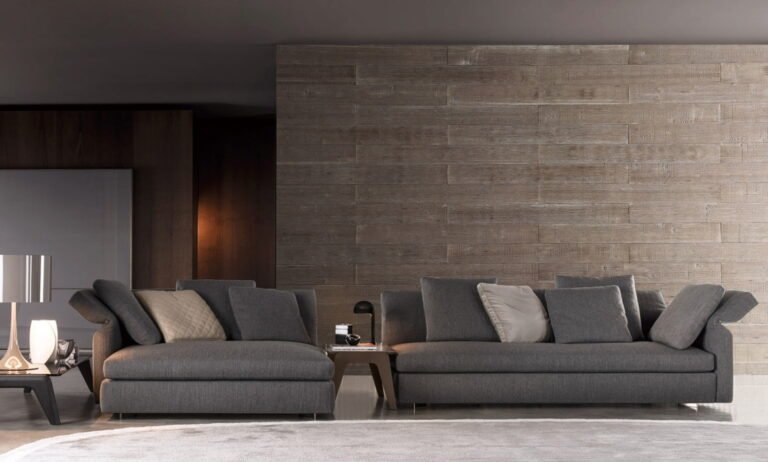
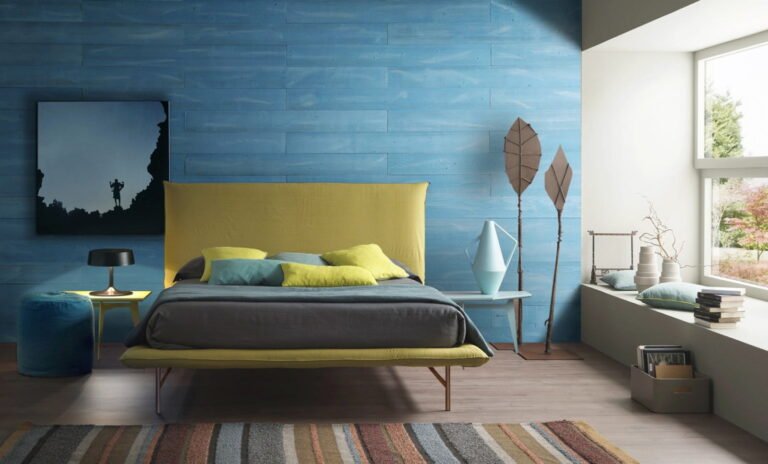
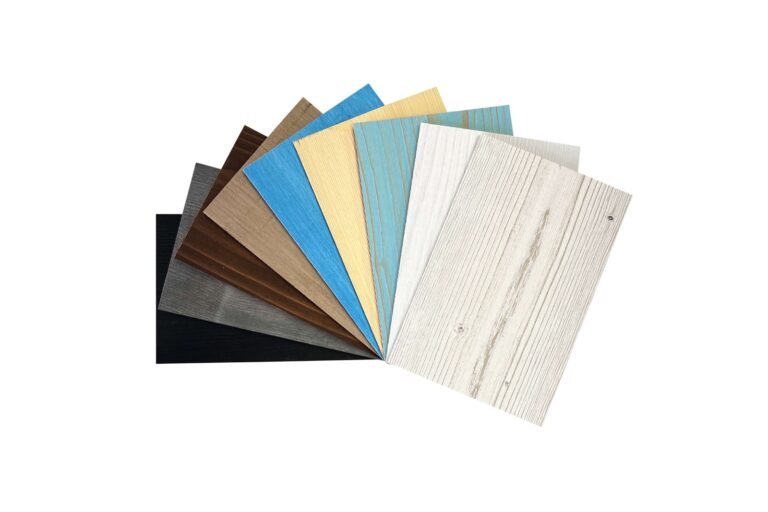
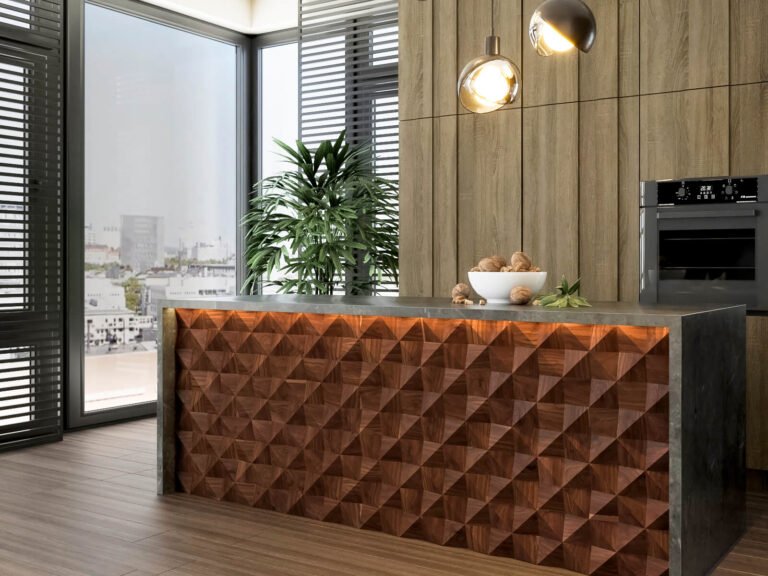
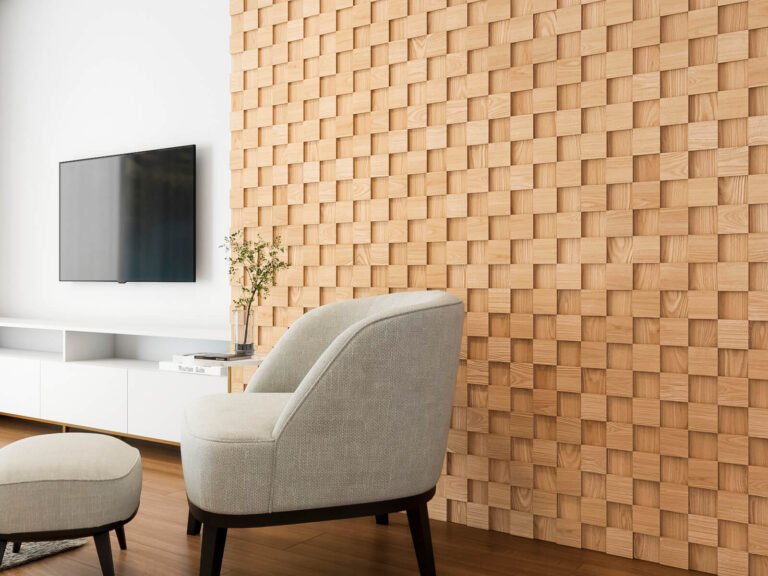
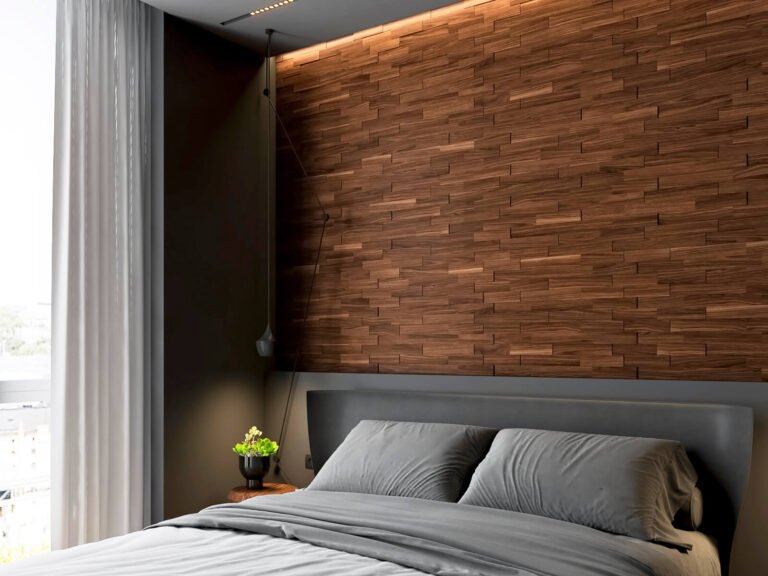
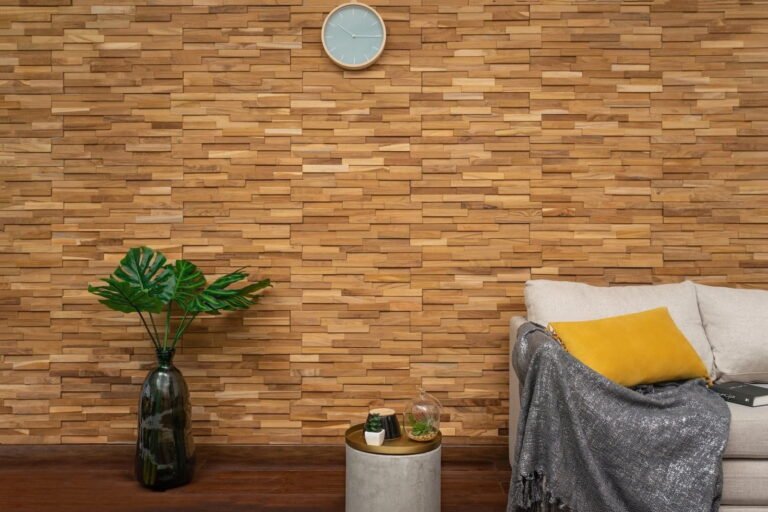
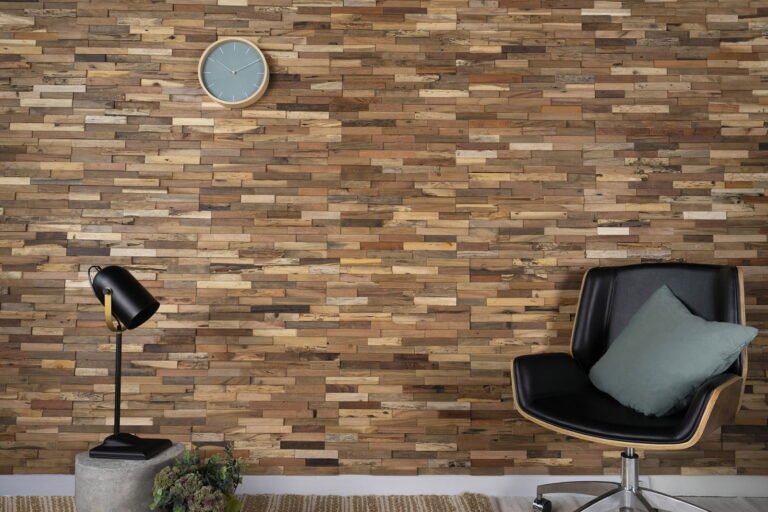
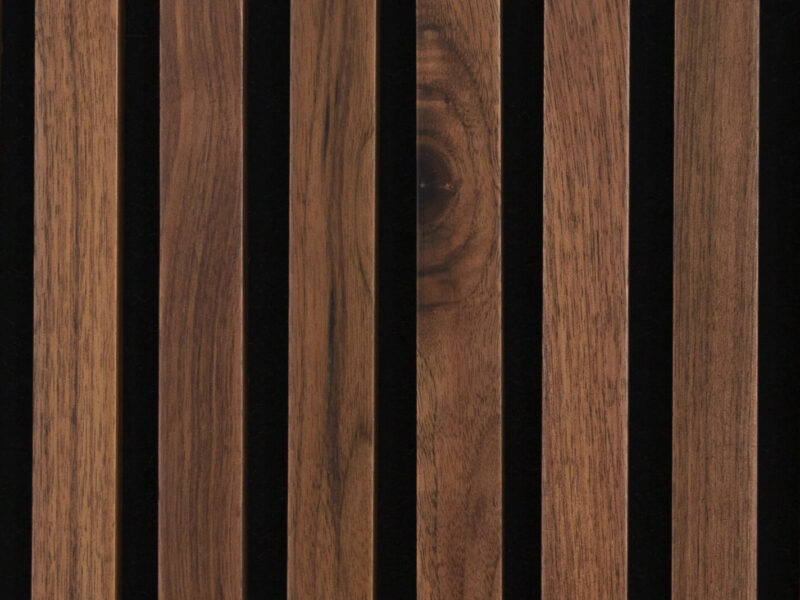
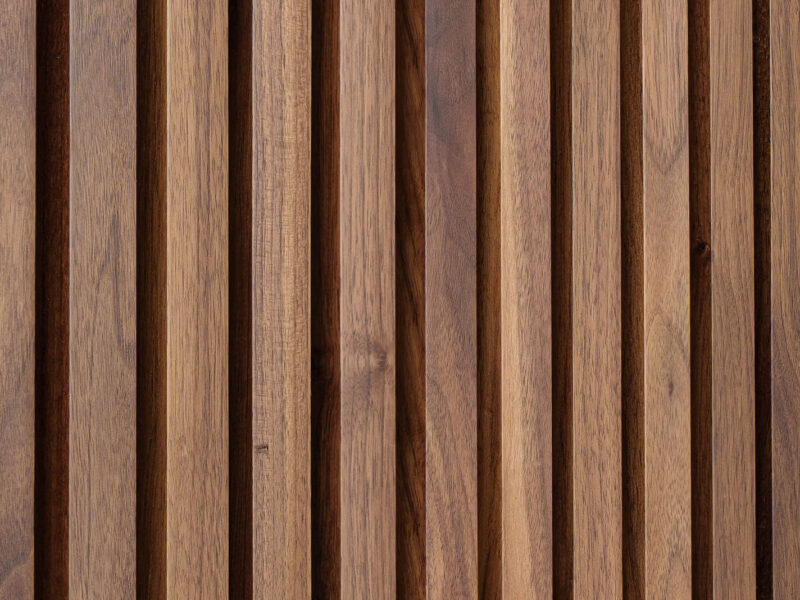
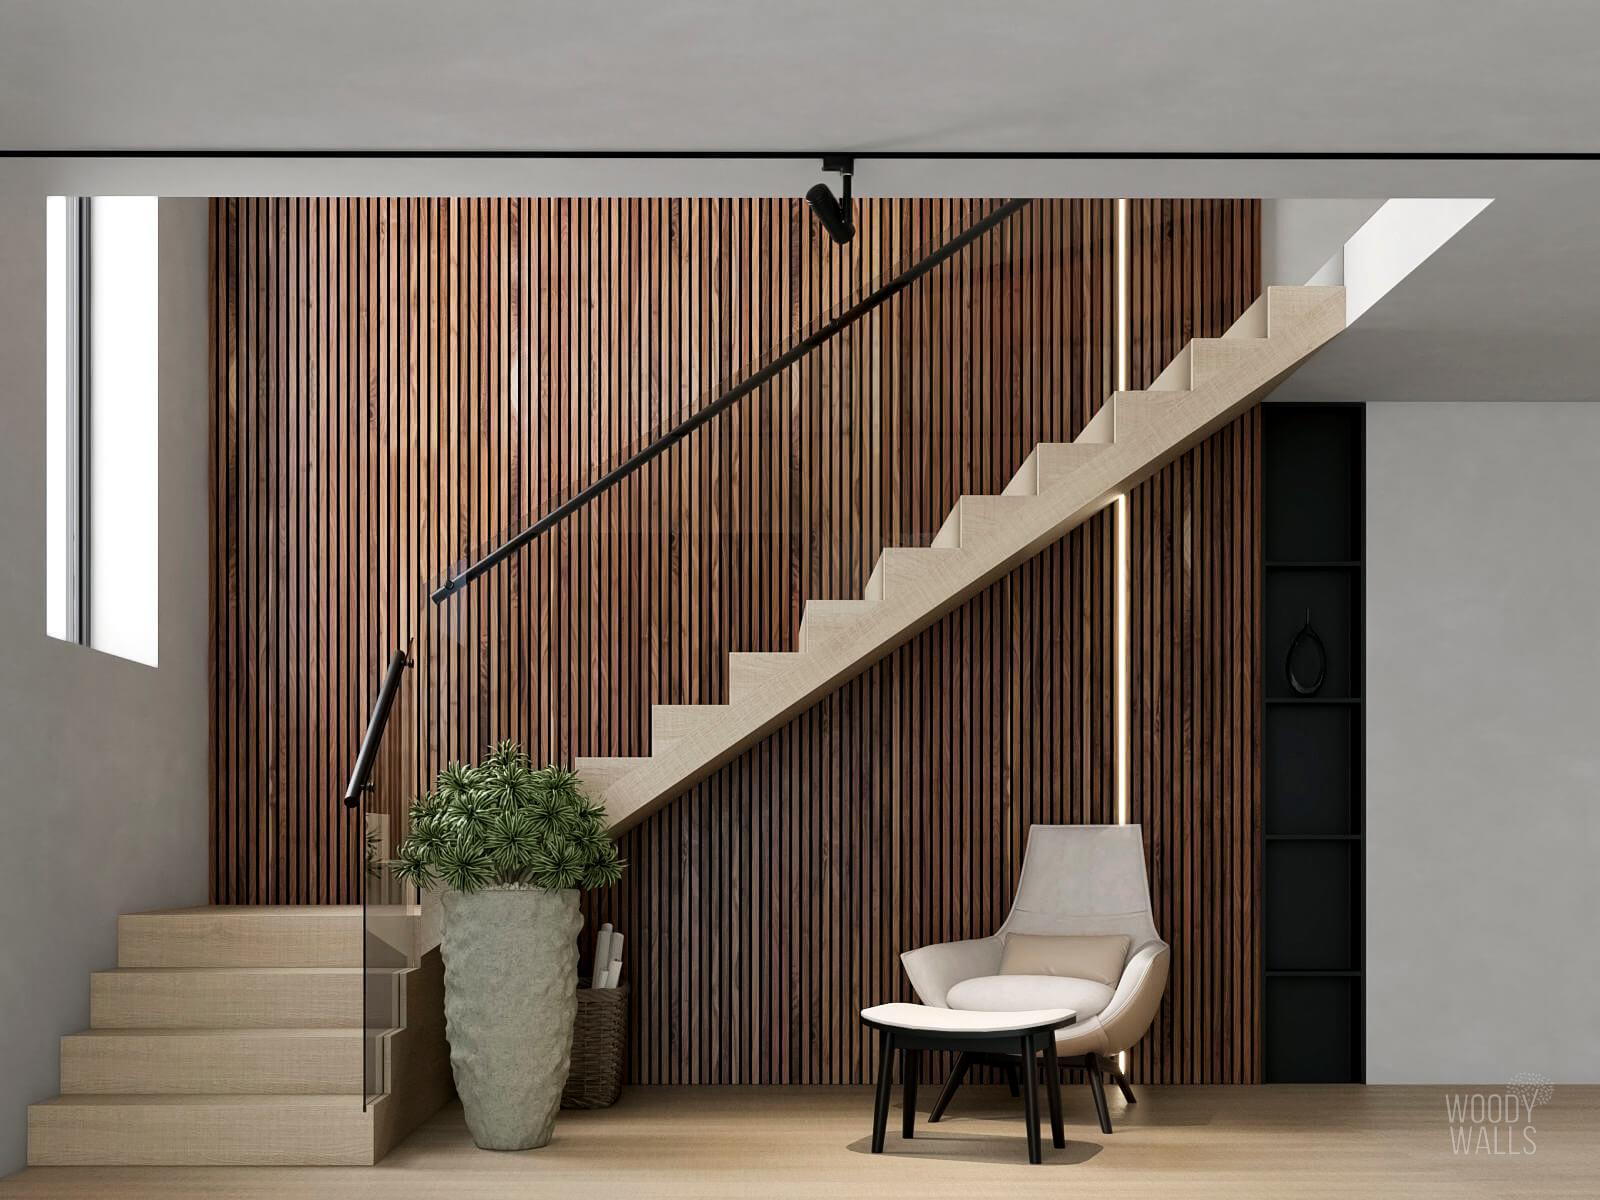
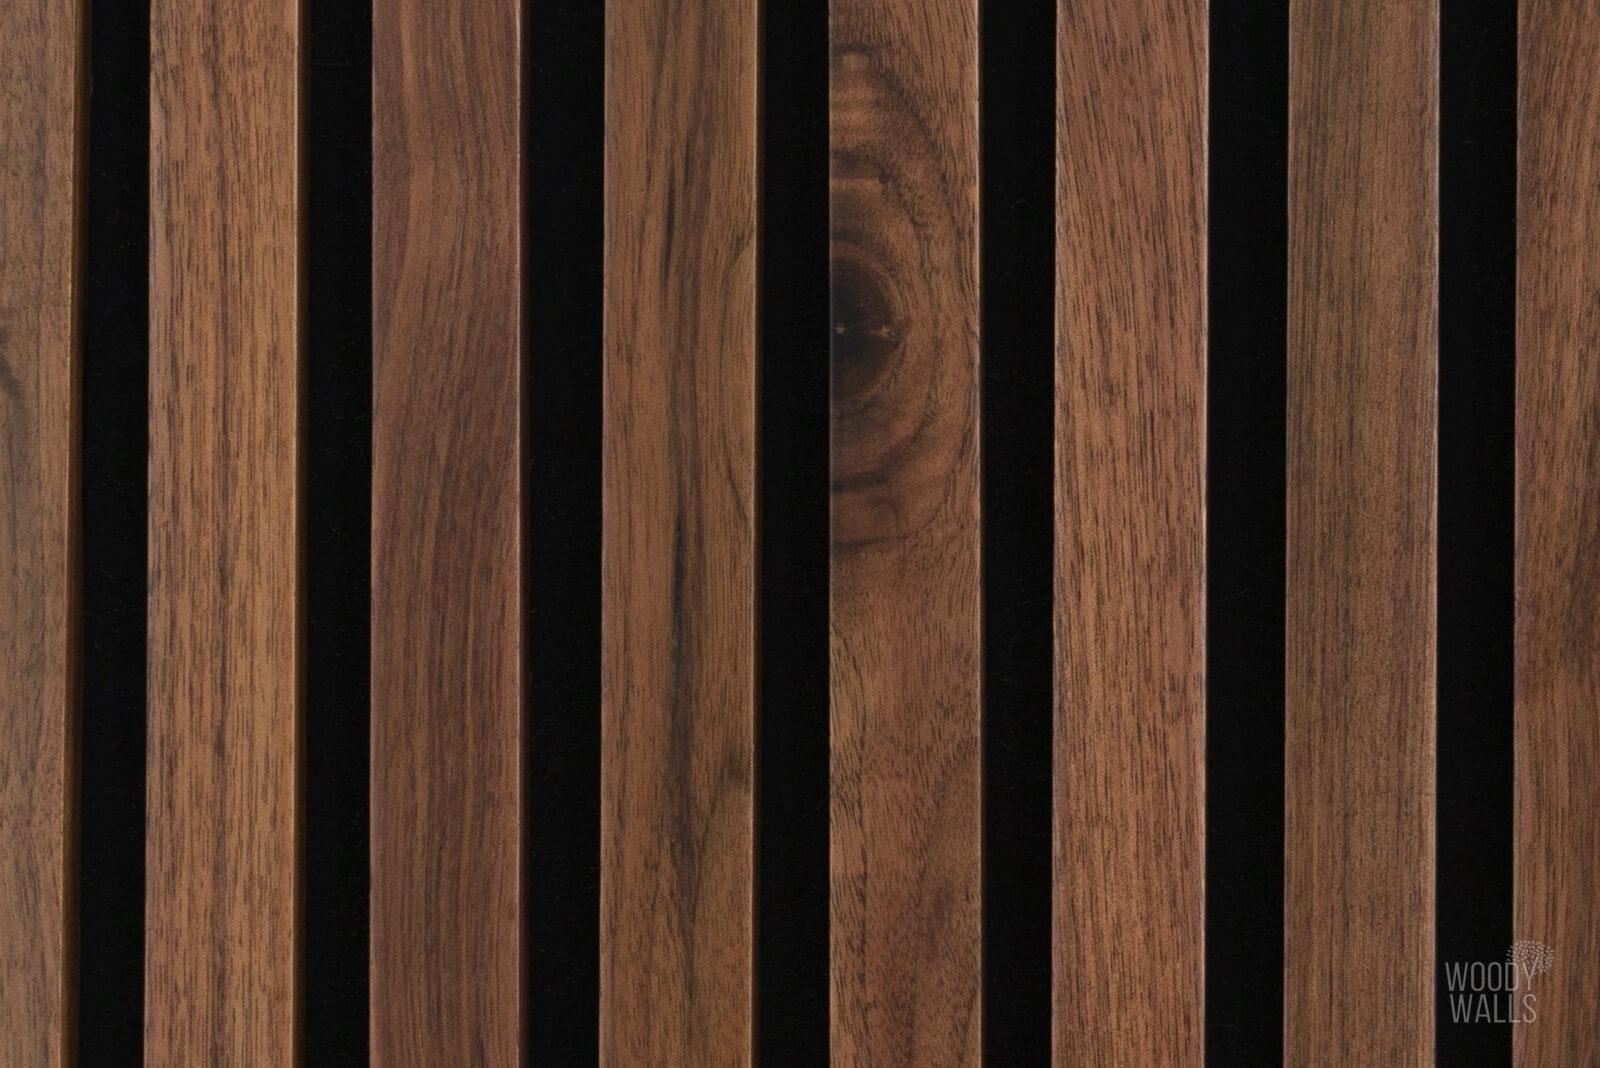
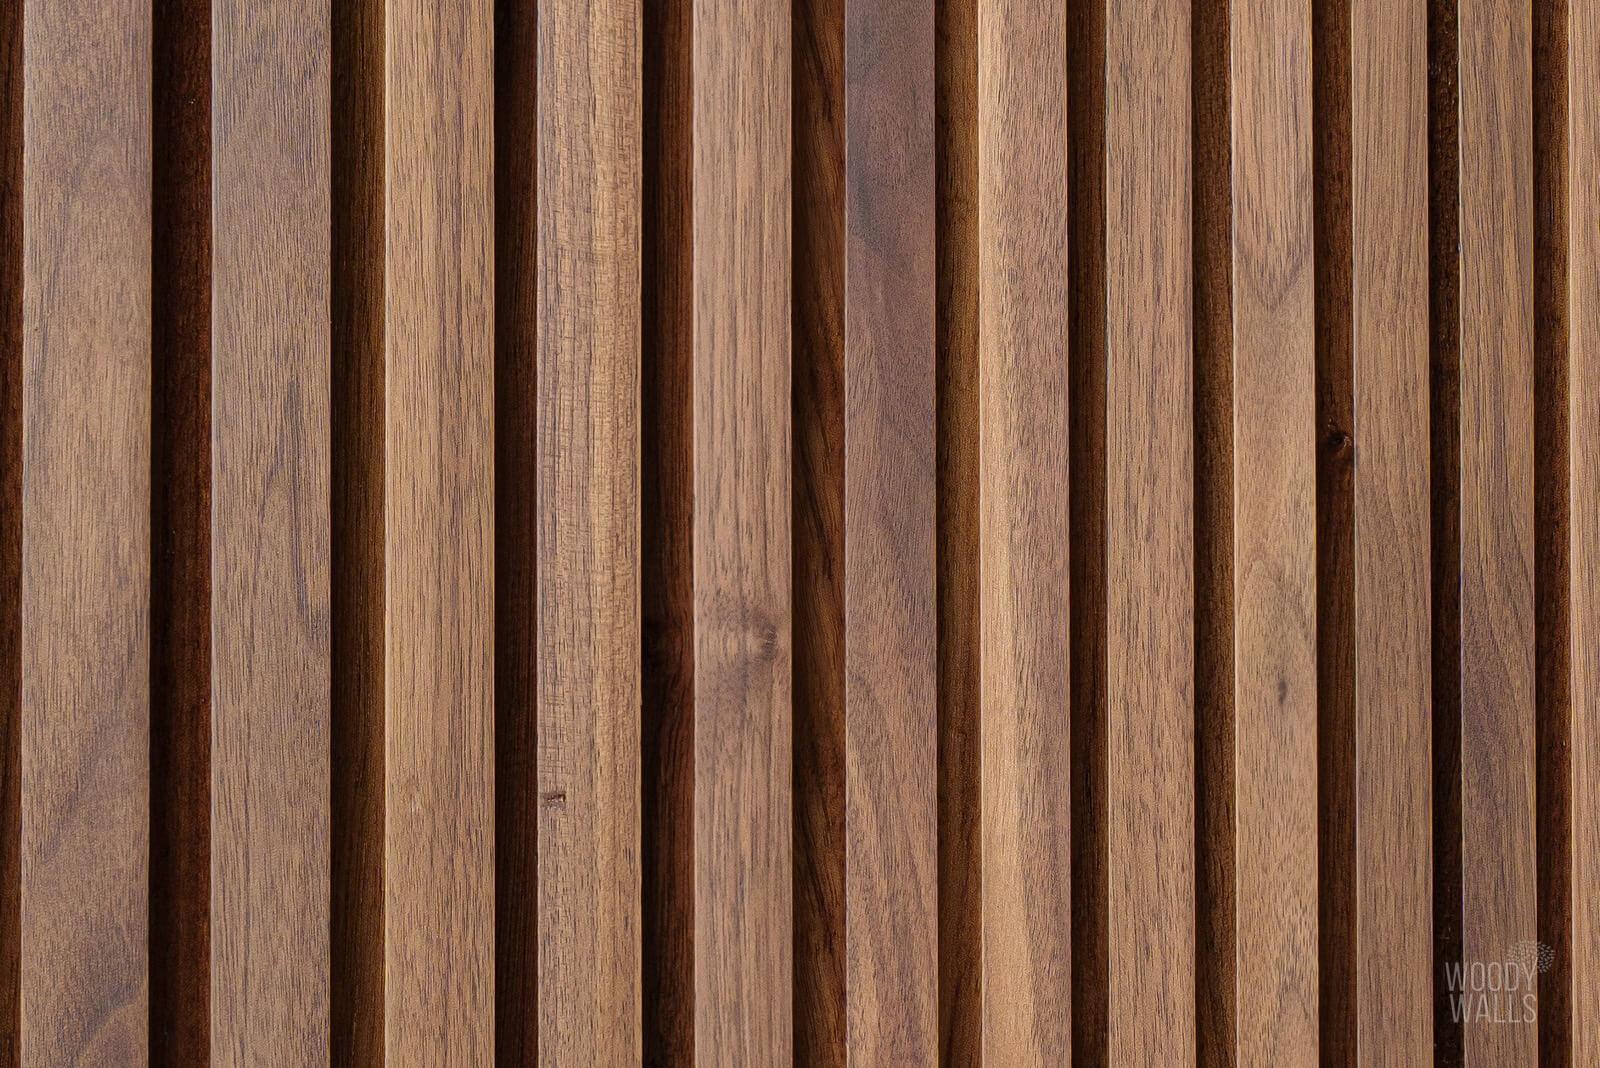
Bring timeless sophistication into your interior with our Walnut Extra Long Wood Slat Wall Panels. These beautifully crafted slat wall panels showcase the deep mocha tones, natural grain patterns, and characteristic knots and waves that make Walnut a highly sought-after hardwood for upscale design. Their warm, refined appearance complements a variety of interior styles, making them an ideal choice for both classic and contemporary spaces.
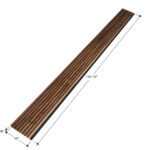
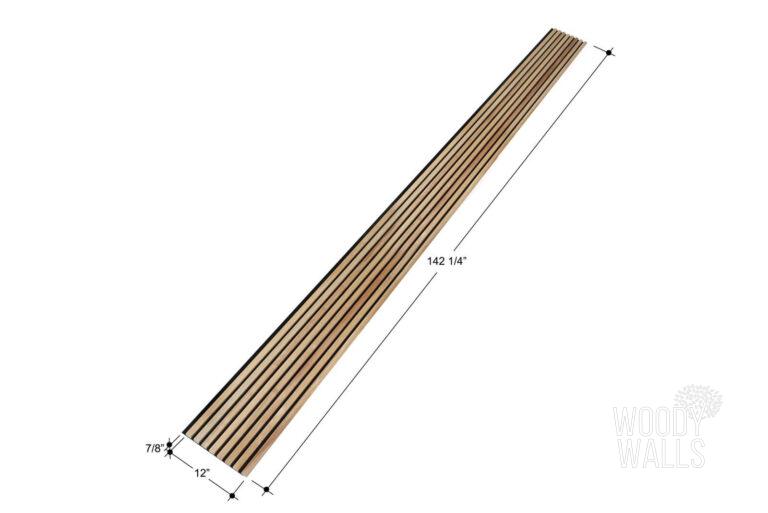
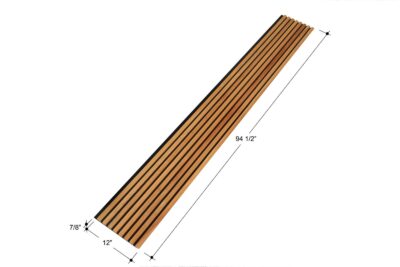
Specifications

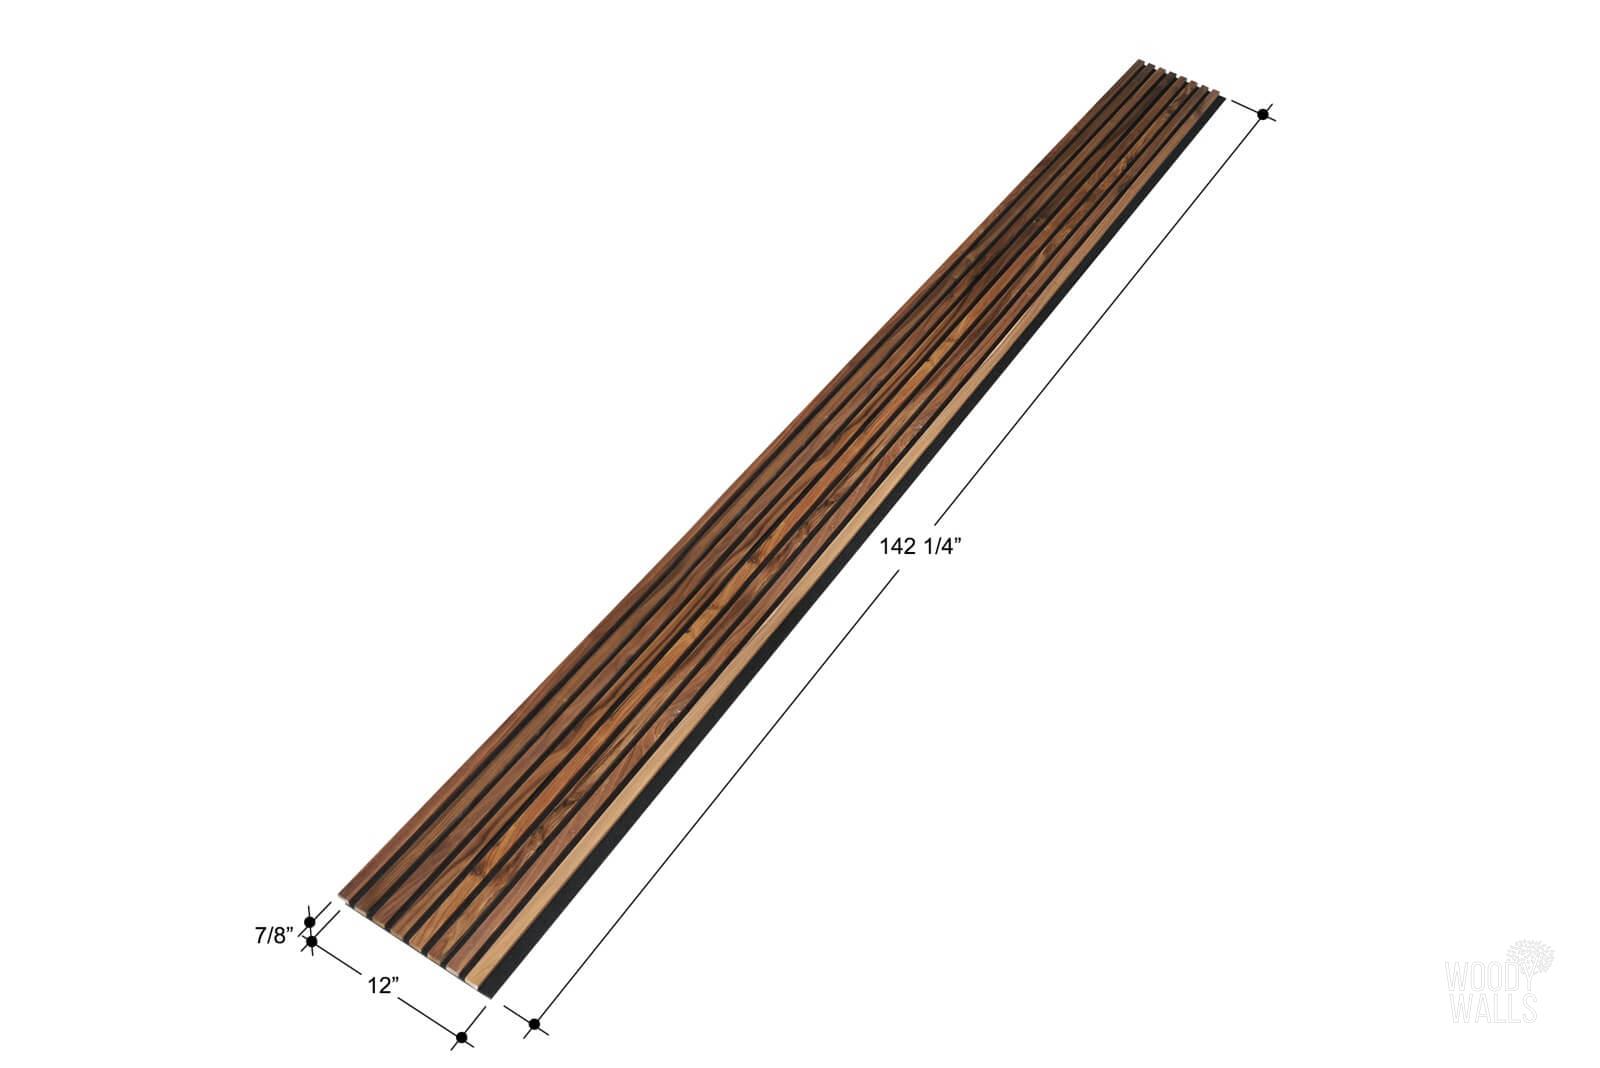
Made from genuine solid American Walnut, each wood panel is carefully hand-finished to enhance its natural beauty and long-lasting durability. Every box includes two extra-long panels, each measuring 142 1/4" x 12" x 7/8", covering a total area of 23.70 square feet per box. Designed for a seamless fit, these panels create a continuous, elegant wood slat wall with minimal effort.

Ideal for DIY Projects and Professional Installations

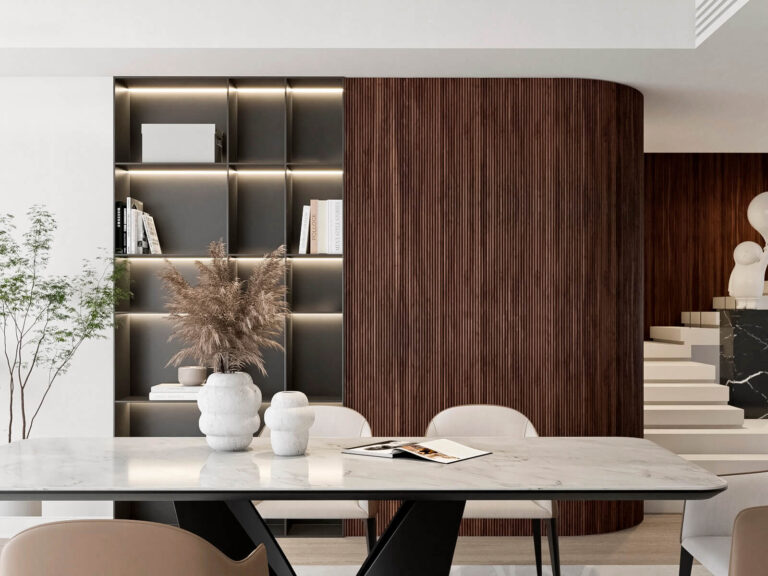
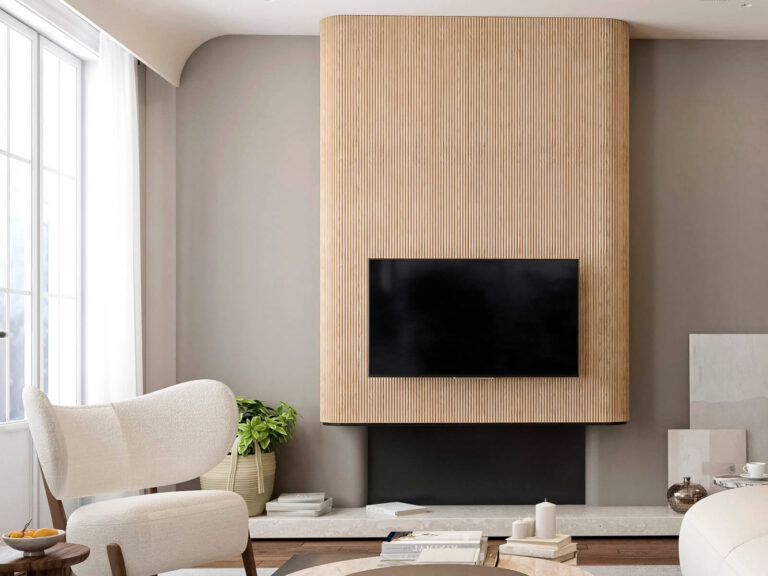
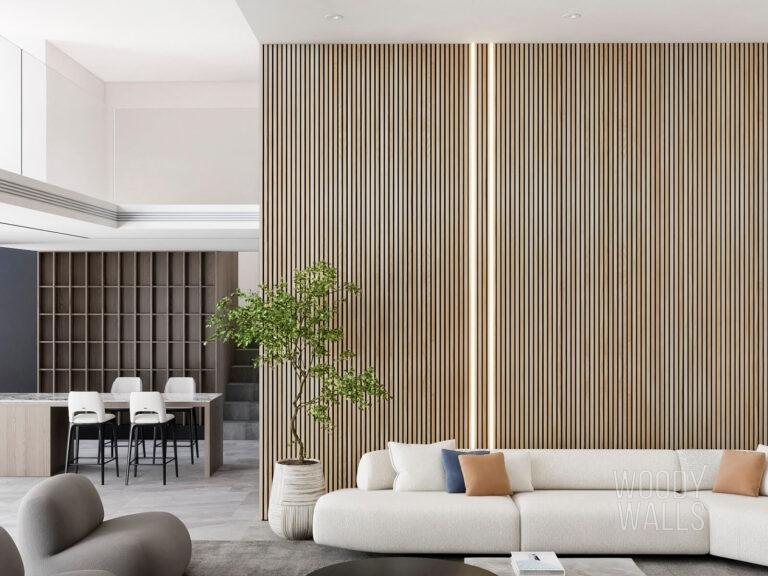
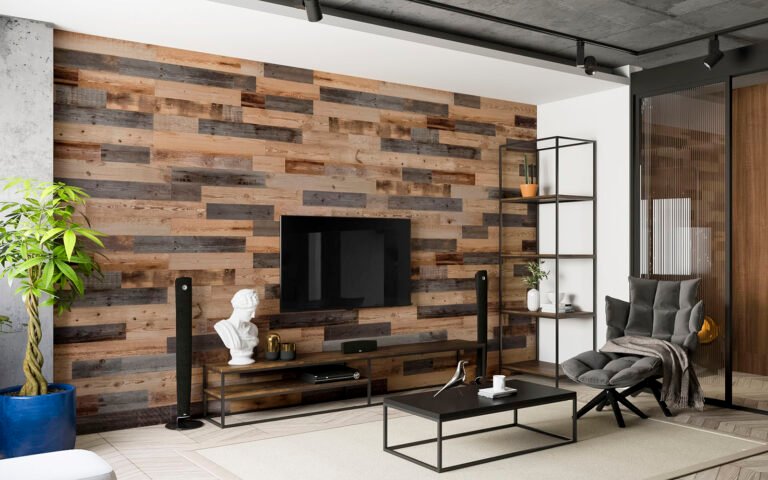
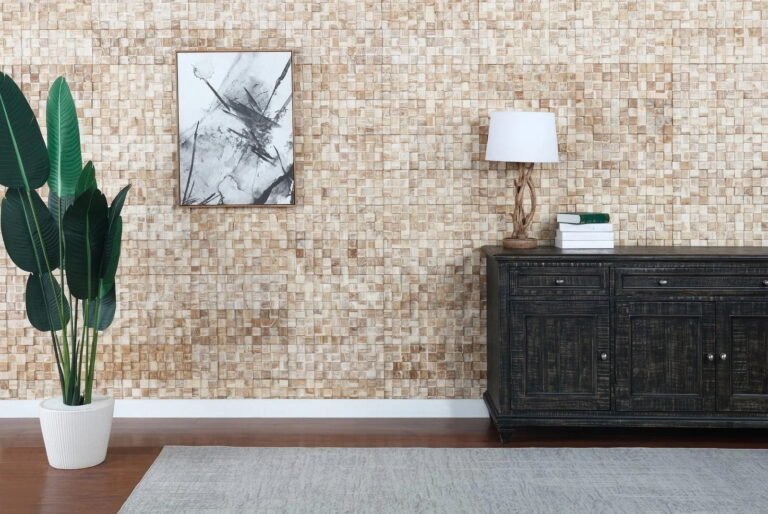
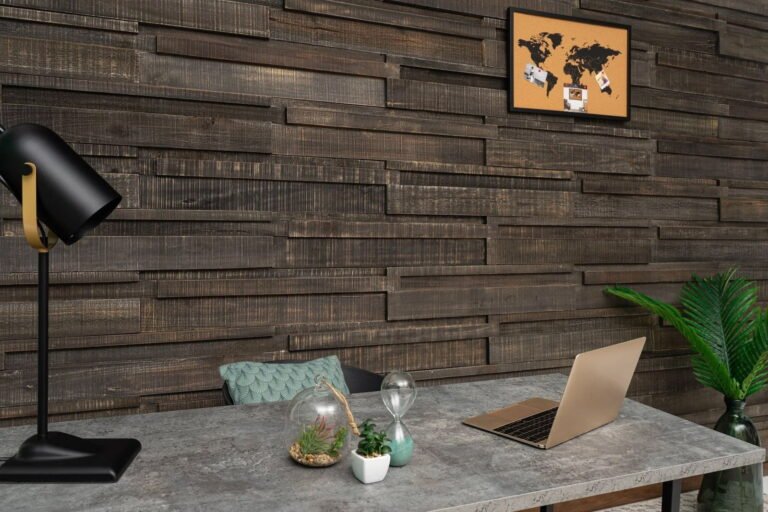
At WoodyWalls, we make it easy for both DIYers and professionals to achieve flawless results. Our Walnut Extra Long Wood Slat Wall Panels can be installed using basic tools such as a circular saw, screws, and construction adhesive. Whether you're updating a wall, ceiling, alcove, or even a curved surface, these versatile panels open the door to limitless design possibilities. For added guidance, visit our 'How to Install' page for step-by-step instructions and a helpful video.

Enhance with LED Accent Lighting

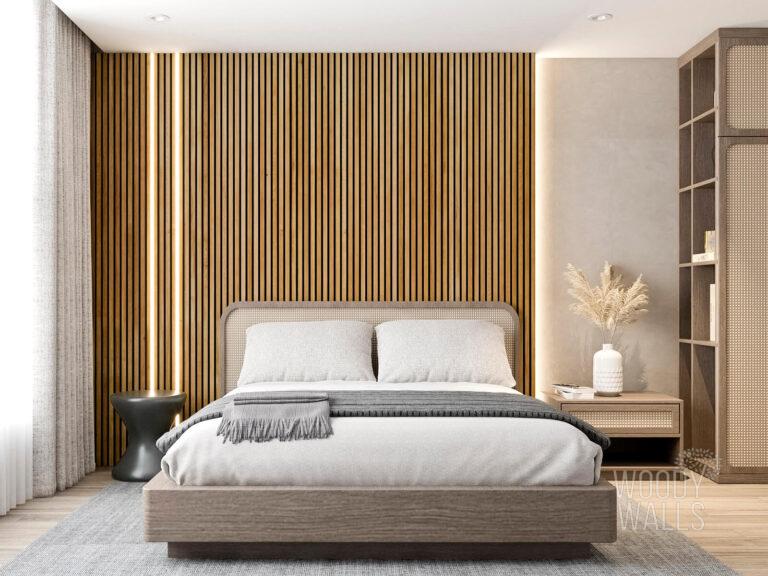
Take your wood accent wall to the next level with our LED channel lighting systems, specifically designed to integrate with our slat panels. These spot-free, high-density LED strips fit effortlessly into our LED channels and edge lighting channels, providing smooth, even illumination that highlights the natural character of the wood while adding a sleek, modern touch to your space.

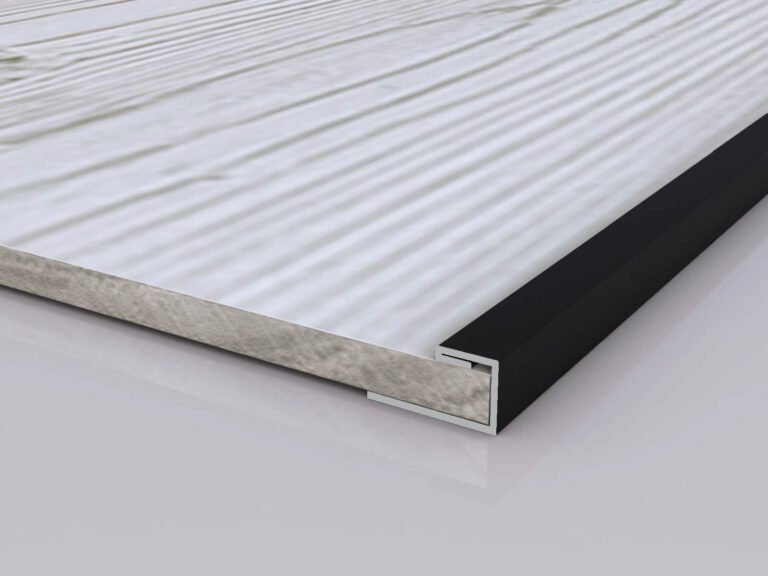
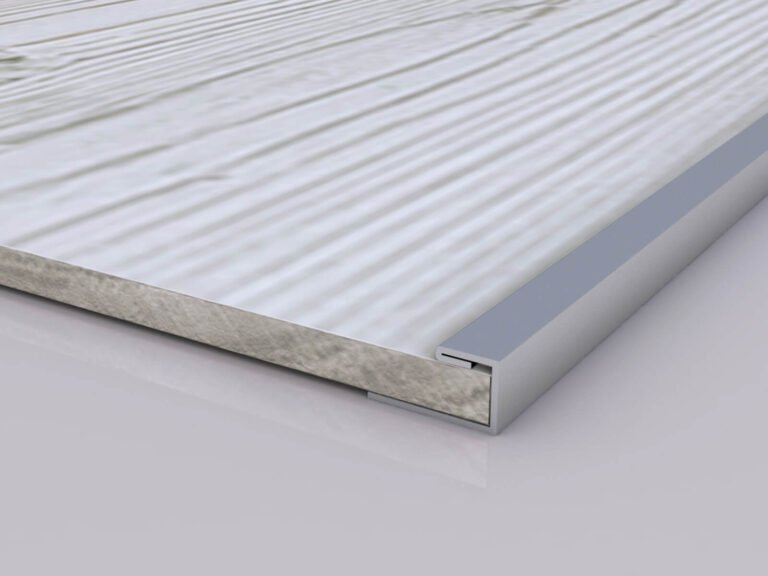
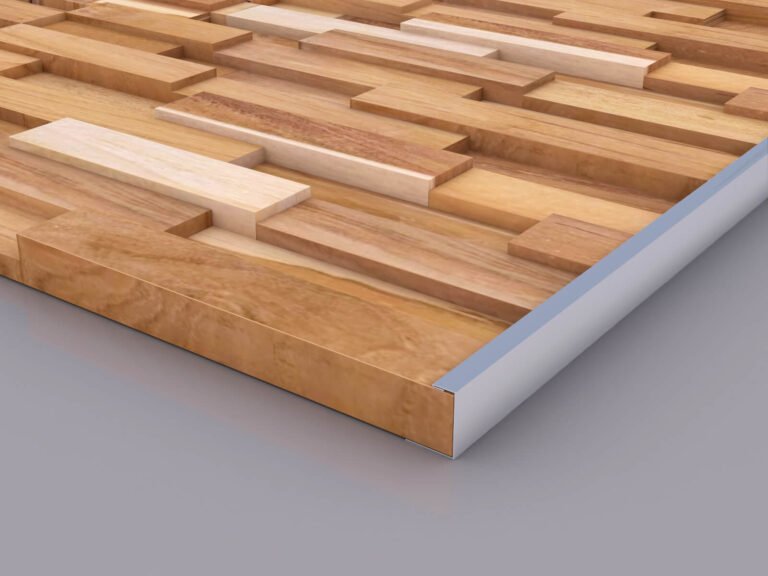
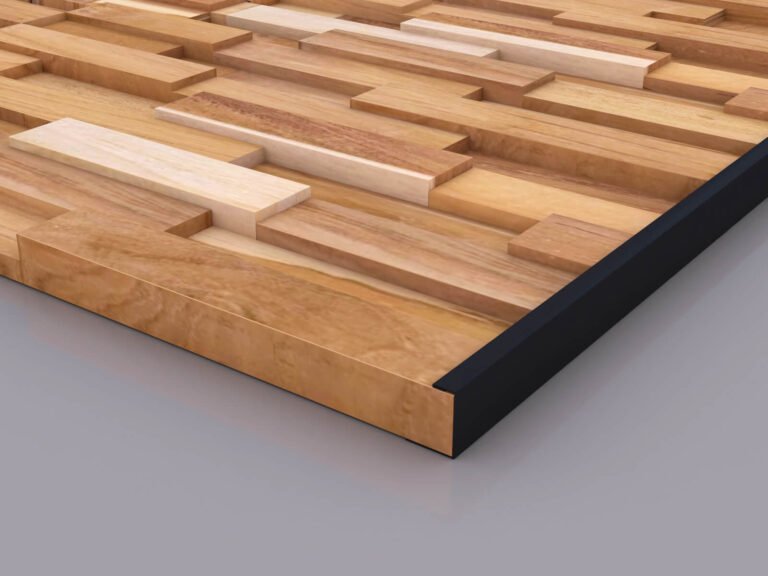
Finish with Elegance Using Edge Trim

Achieve a clean, refined finish by pairing your Walnut Extra Long Wood Slat Wall Panels with our Black Metal Edge Trim. These trims are the perfect finishing touch, solving edge-detail challenges while enhancing the overall design with sophistication. Whether you’re finishing off a wall, ceiling, or wainscoting, the edge trim ensures a cohesive and polished look.

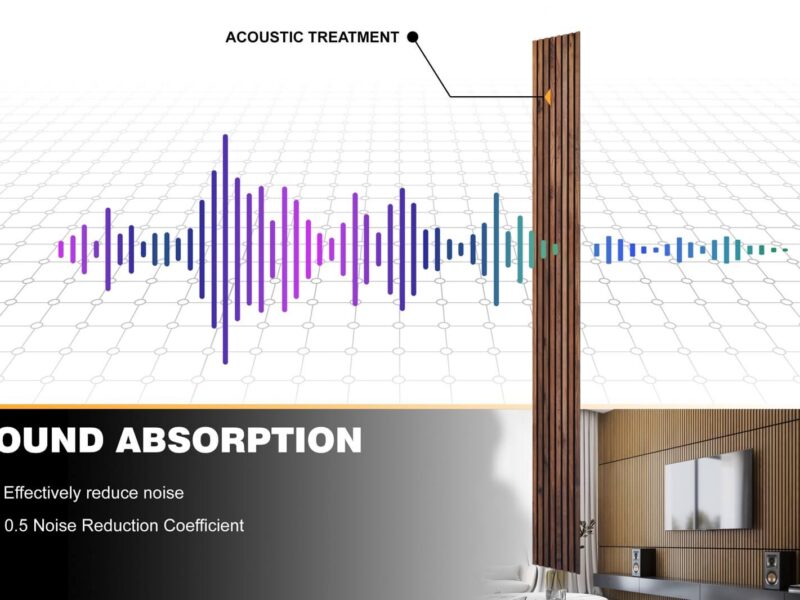
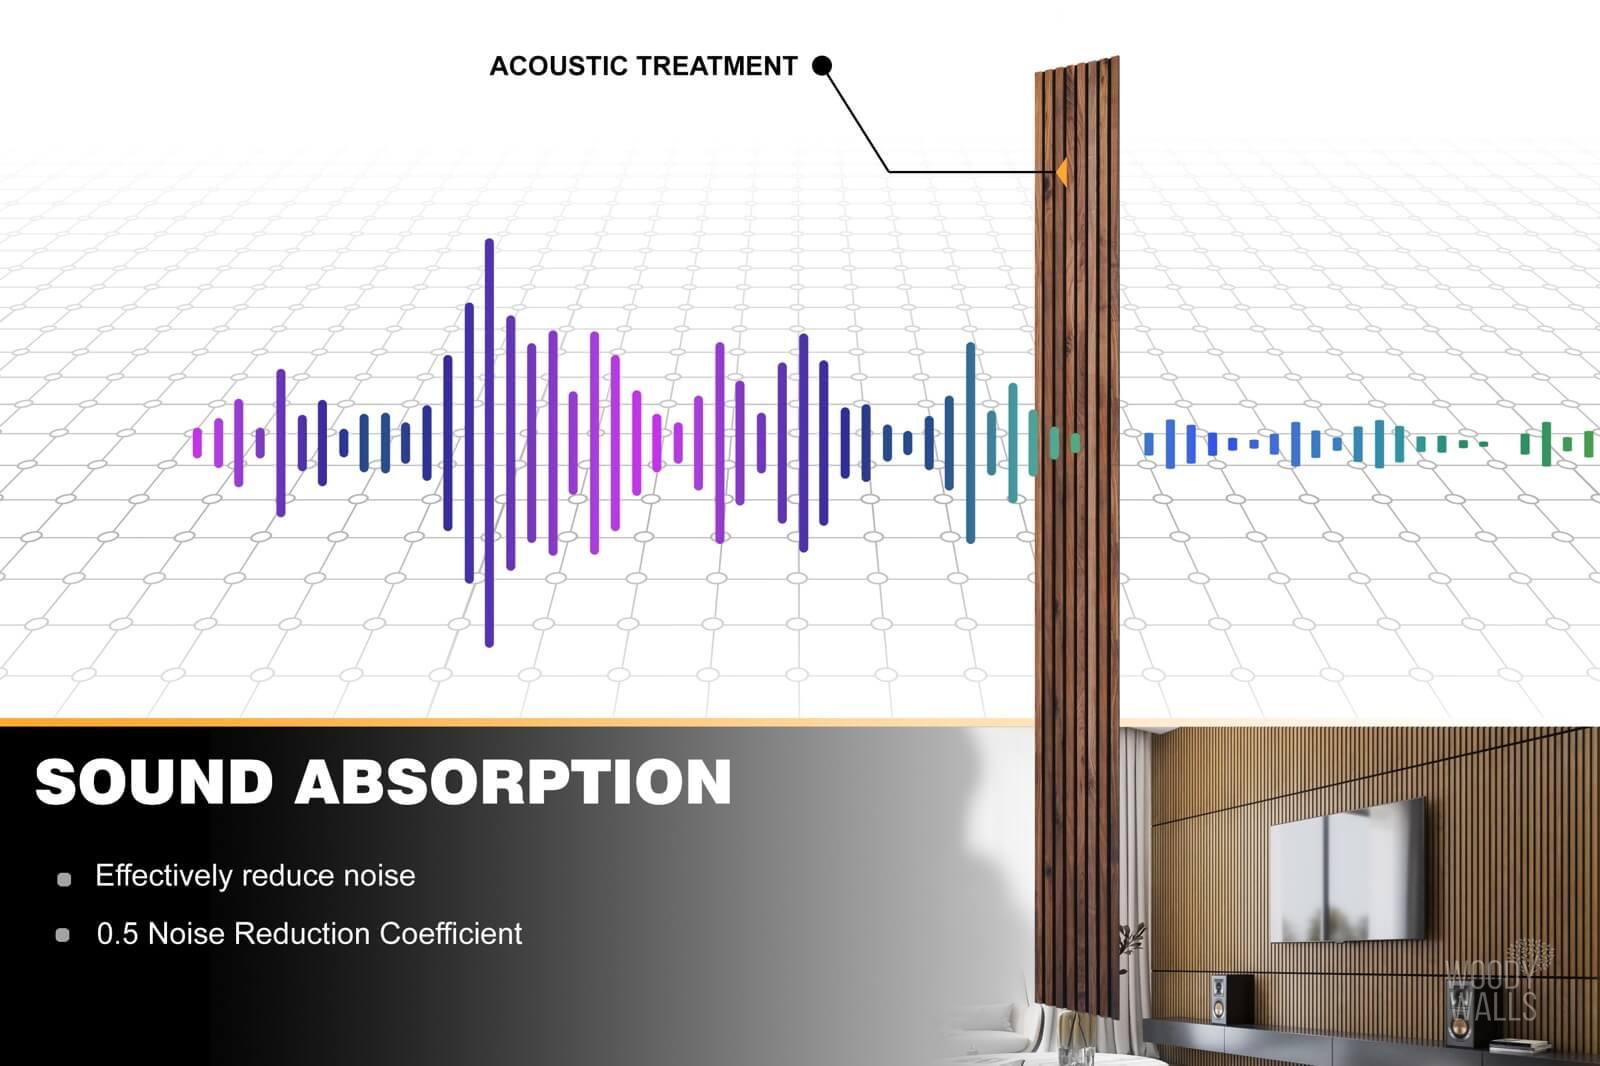
Acoustic Benefits for Comfort and Quiet

In addition to their visual appeal, these panels are engineered for acoustic performance. With a noise reduction coefficient (NRC) of 0.5, our Walnut Extra Long Slat Wall Panels help reduce echo and absorb ambient noise, creating a more peaceful and comfortable environment in any room.

Express Your Style with Natural American Walnut

Crafted for those who appreciate authentic materials and timeless design, our Walnut Extra Long Slat Wall Panels let you express your unique taste while transforming your space. Their adaptability makes them ideal for a wide range of applications—offering both style and substance in one elegant solution.

Frequently Asked Questions

You can install WoodyWalls peel & stick wood wall planks around a code-approved fireplace, as long as they don't touch any combustible materials.

Avoid installing panels right behind the stove. Ensure adequate space between the wooden planks and the stove or fire to prevent damage or fire hazards.

Here’s why you can’t miss peel & stick wood wall paneling:

  • Flexible: Peel and stick wood wall planks provide adaptability for a range of layouts and may be used in any size space.
  • Easy DIY Installation: Peel and stick wood wall paneling installation is super easy. Just take measurements, lay out your design, take off the backing, and stick them to the wall. That's as simple as it gets!
  • Trendy: Their stunning quality and simplicity of installation are drawing in more homeowners who want to update their homes.

Peel and stick wood wall panels normally last around ten years. However, their longevity largely depends on several factors:

  • Material Quality: Choosing high-quality brands, like WoodyWalls, ensures durability.
  • Proper Installation: When installing peel and stick wood wall planks, it’s crucial to adhere to the instructions supplied by the manufacturer. Wear and tear may be prevented by carefully cleaning the surface and making sure it is aligned correctly.
  • Surface Condition: The surface has to be dry, clean, and free of any debris or dirt for the adhesive to adhere well.
  • Environmental Factors: Areas with high moisture content may be less able to cling to the panels. However, there are options for places like kitchens that could see occasional moisture.
  • Maintenance: To keep the peel and stick wood planks looking nice and lasting a long time, use gentle cleaning agents for regular care.

Installing peel and stick wood planks is a straightforward process. Here’s how to do it:

  • Step 1: Clean the wall surface to ensure the wall is free of dust, grease, and debris.
  • Step 2: Mix planks from different bundles to create a balanced look.
  • Step 3: Arrange the planks on the floor to visualize your design before installation.
  • Step 4: Draw a reference line with a level to guide your first row.
  • Step 5: Peel off the backing and position the first row along the reference line, groove side up.
  • Step 6: Use a J-roller to press down firmly for a secure bond.
  • Step 7: Mark the positions of light switches and outlets on the planks before removing the adhesive liner.
  • Step 8: Cut planks for the top and bottom rows with a jigsaw or table saw for accurate fits. Use a dust mask to protect yourself while cutting.
  • Step 9: Sand to smooth cut edges for a polished look.

For a visual guide, check out this video: DIY WoodyWalls Peel and Stick Wood Wall Planks.

Peel and stick wood wall planks are usually made from high-quality materials like American spruce, pine, fir, or reclaimed wood to add character and authenticity to your area. Notably, WoodyWalls uses 100% real pine wood, ensuring a natural and beautiful finish.

Most peel and stick wood wall panels are very thin. For example, peel and stick wood wall panels from WoodyWalls are around 3/16 inches. This slim profile allows for easy installation without adding bulk to your walls.

Removing peel and stick wood wall planks could potentially damage your wall as the strong 3M adhesive may take off some paint or harm the drywall underneath.

We advise covering the surface you wish to cover with plywood before putting the peel and stick boards to facilitate removal. This will ensure that you just have to fix the plywood and not the entire wall when you remove the panels.

You can use peel and stick wood planks in various areas of your home, but avoid damp spaces like bathrooms or saunas. They work well on smooth surfaces where traditional paneling isn't feasible, such as mirrors, tile, or concrete walls. Just ensure the area has a relative humidity of 30-65% and is dry for optimal adhesion.

Absolutely! The easiest way to cut WoodyWalls peel and stick wood wall planks is with a miter saw, but you can also use a utility knife, jigsaw, or fine-toothed hand saw. Follow these steps:

  • Step 1. Choose Your Saw: A jigsaw or table saw is recommended for clean cuts.
  • Step 2. Mark Where to Cut: Clearly mark your cut lines.
  • Step 3. Make the Cut: Carefully cut along your marked lines for precise results.

Yes, you can install peel and stick wood planks over existing tile!

Clean the tile well with your favorite cleaner and make sure it's dry before you start. As long as the tile is dust-free and level, the glue will adhere well. This is a simple and reasonably priced method of updating your area without removing the tiles. Simply avoid places that receive a lot of moisture, such as shower walls.