


Description
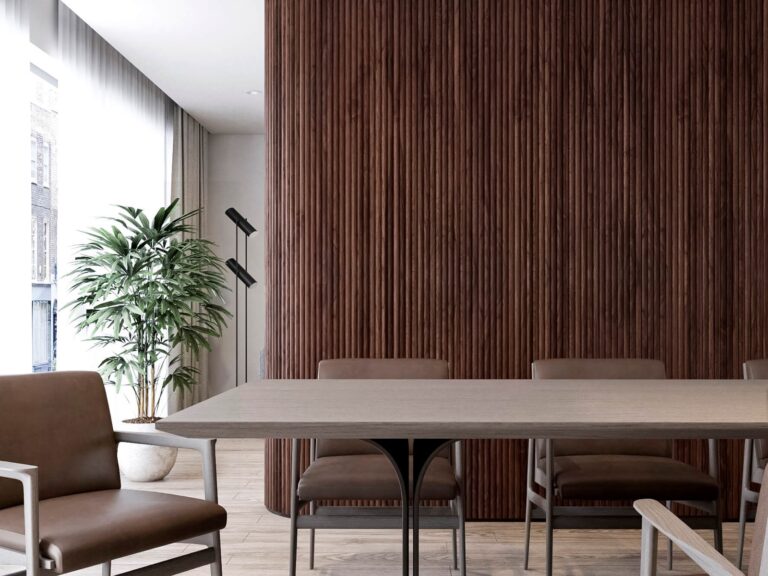
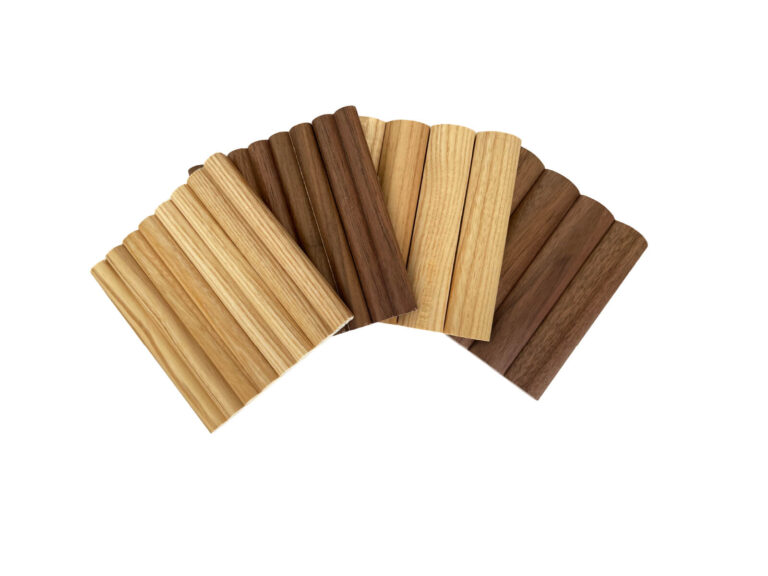
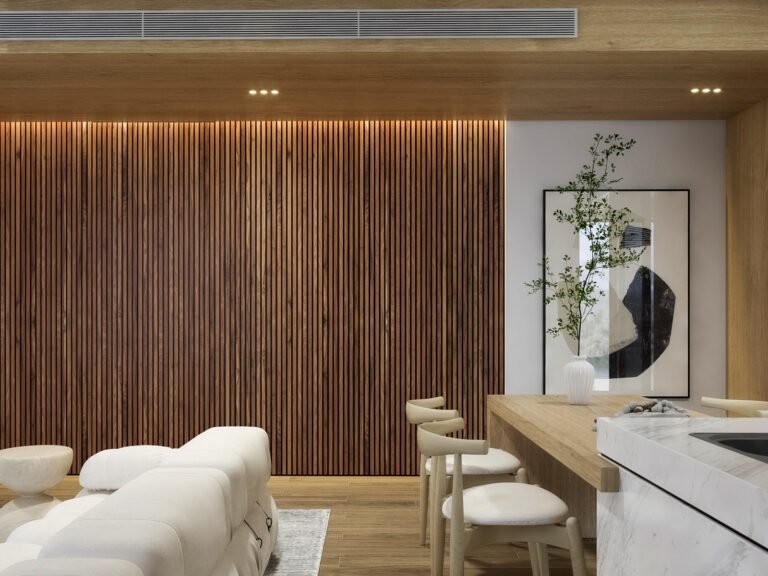
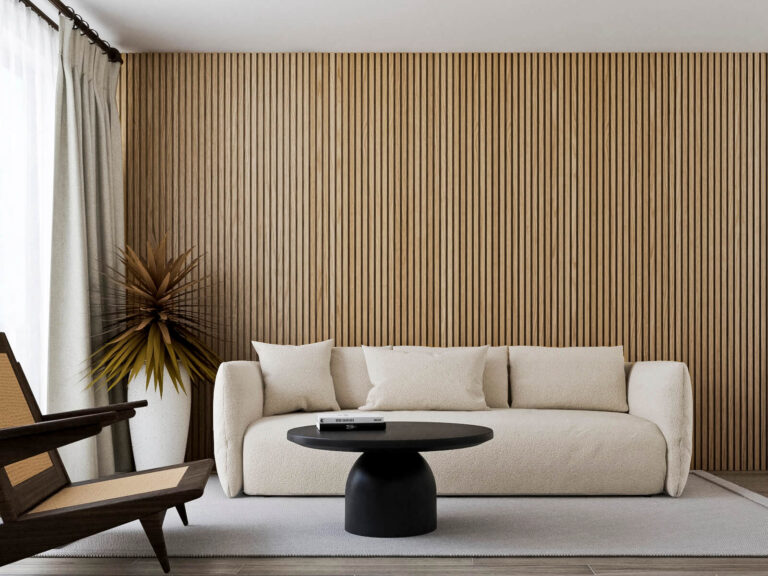
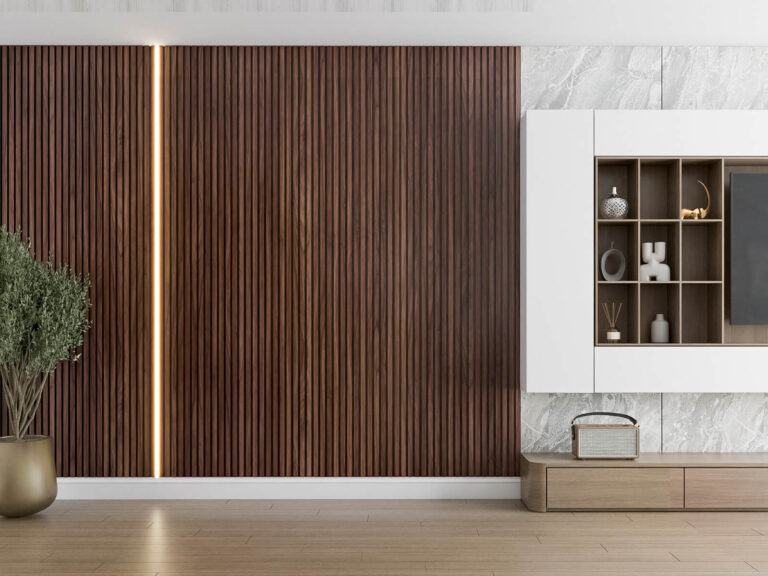
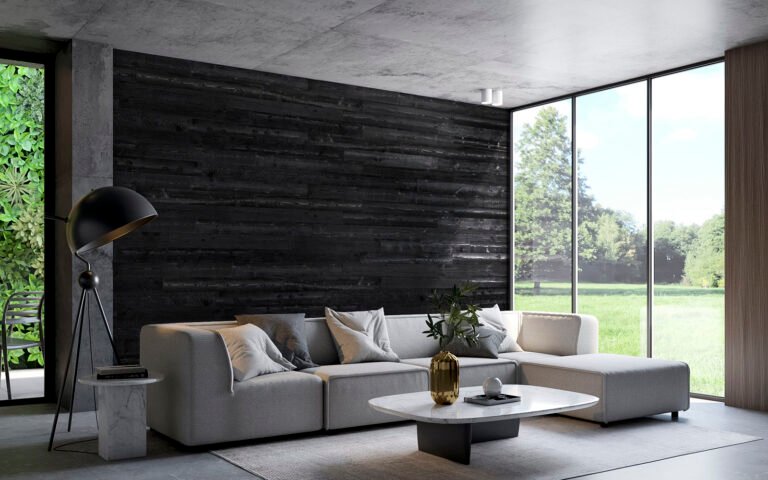
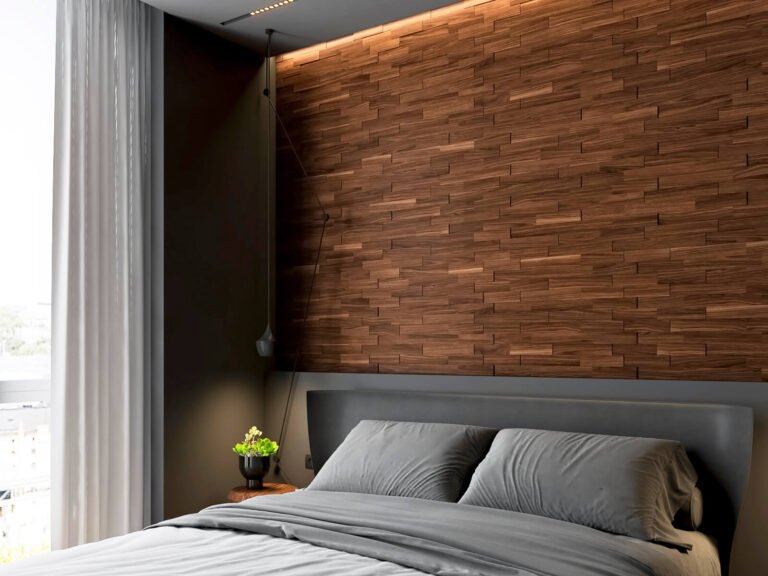
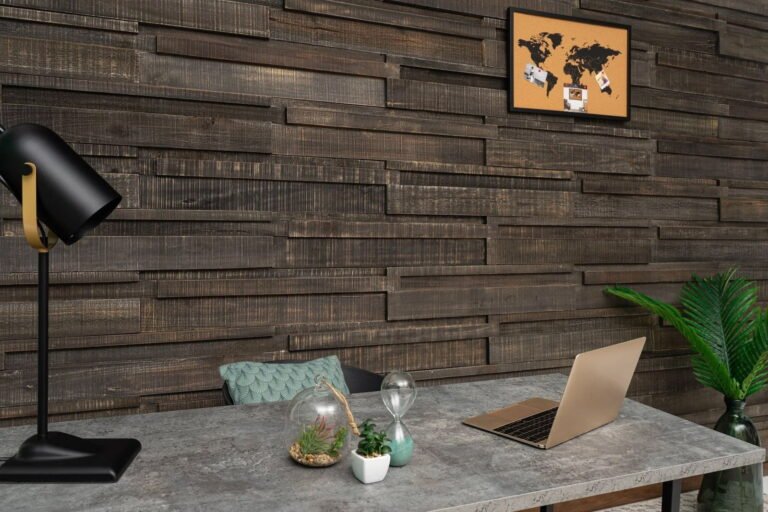
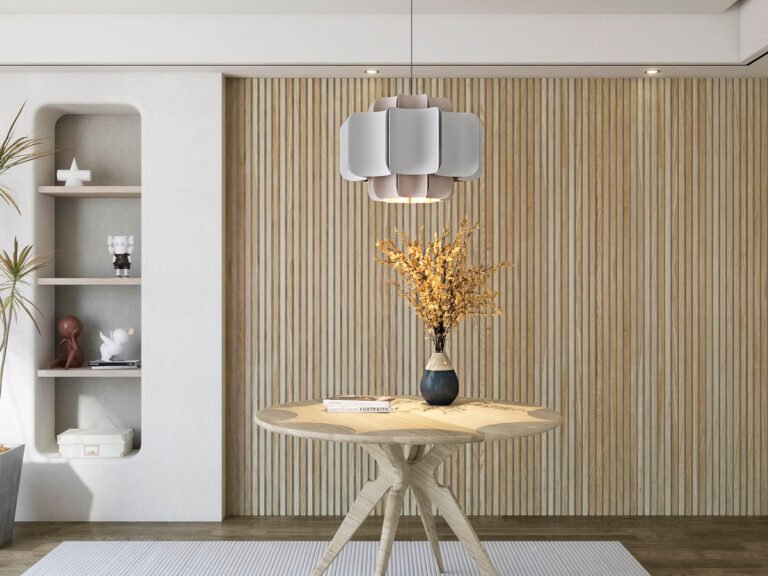
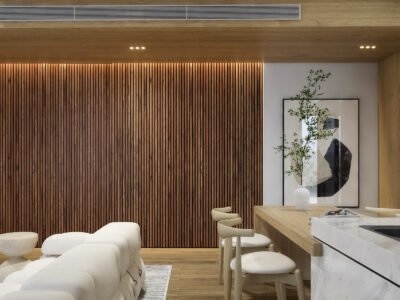
Smoked Ash Solid Wood Slat Wall Panels
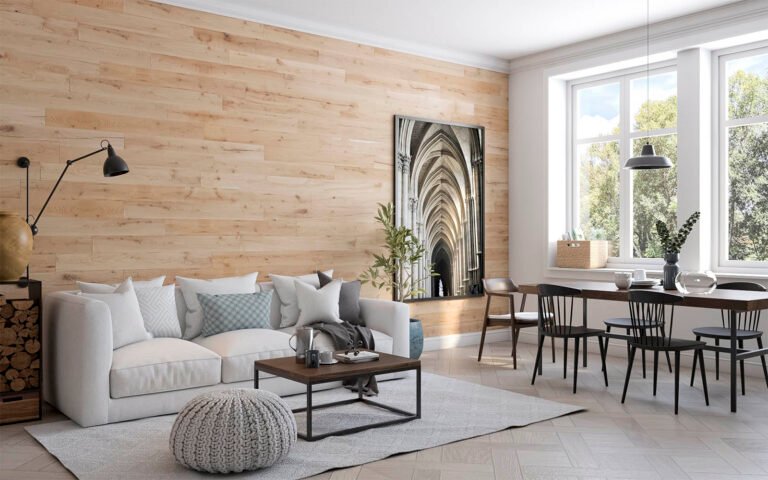
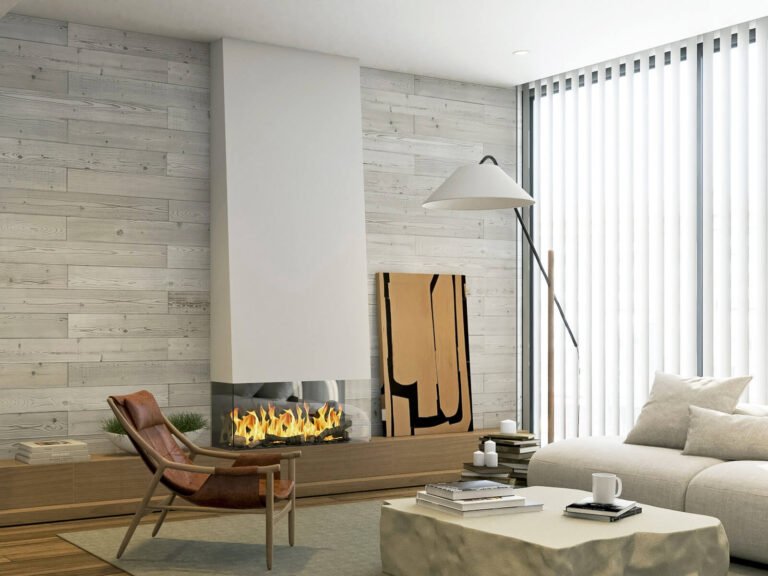
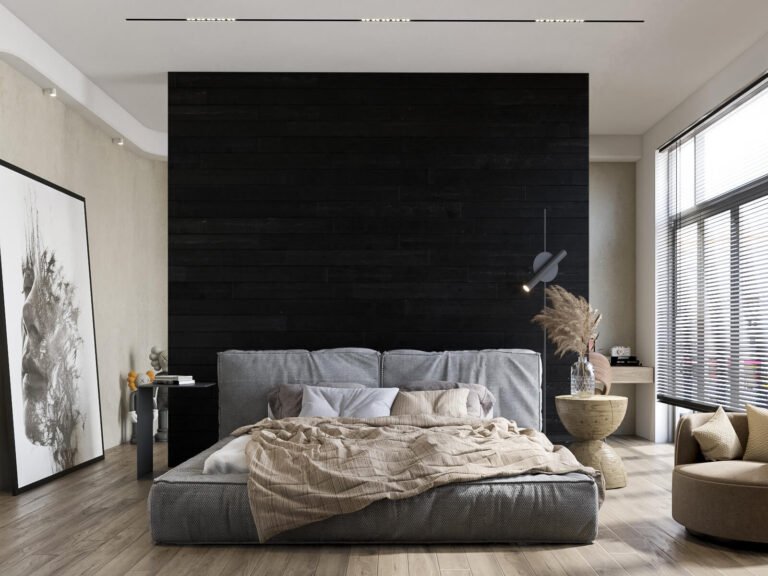
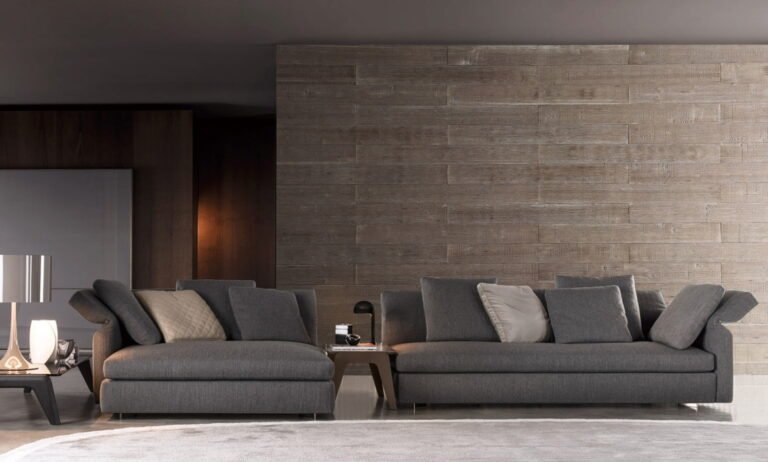
Ash is one of the premier species of hard wood for interior décor and furnishings. Our Smoked Ash variation has the durability and attractive smooth, straight grain you expect, tempered with a bold and sophisticated smoky color that's ideal for dramatic modern décor styles.
Specification
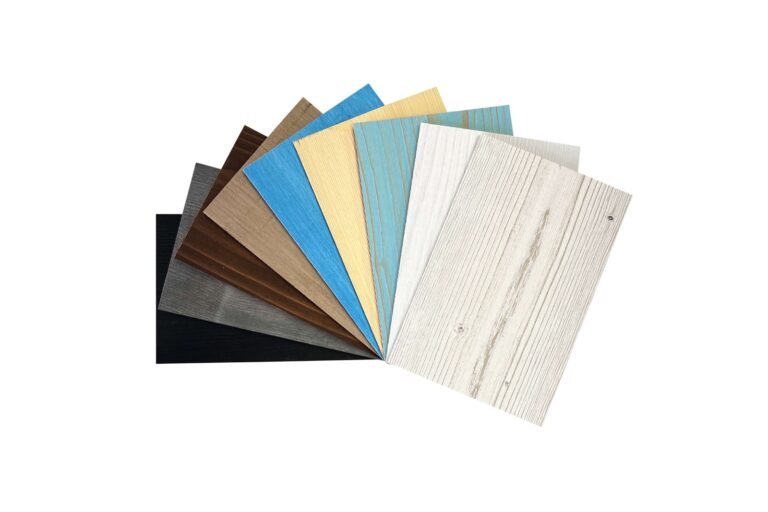
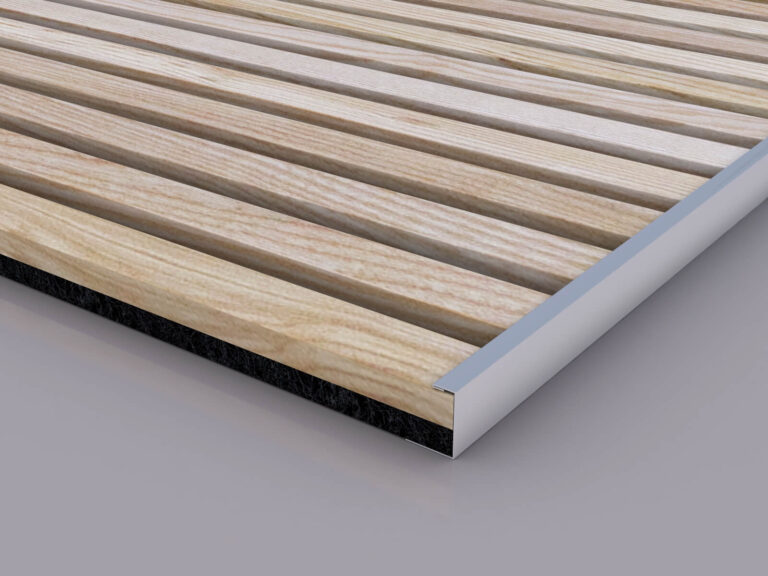
These Solid Wood Slat Panels are made from 100% solid White Ash wood, hand-treated for rich color, maximum beauty, and superb wear-resistance. Wood wall panels come in (2 panels per box) and each wood slat wall panel measures 46 x 20 11/16 x 7/8 inches; multiple wood panels can be joined together seamlessly to create a professional-looking DIY wood slat wall.
For DIYers & Pros
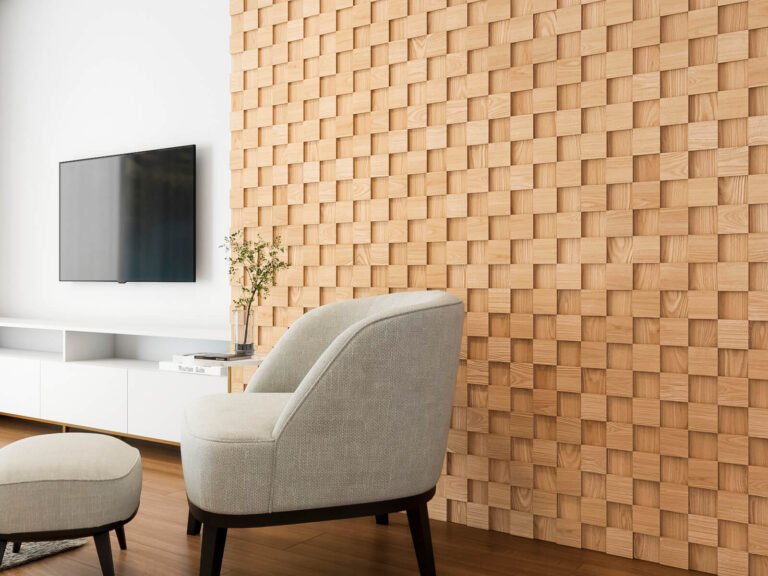
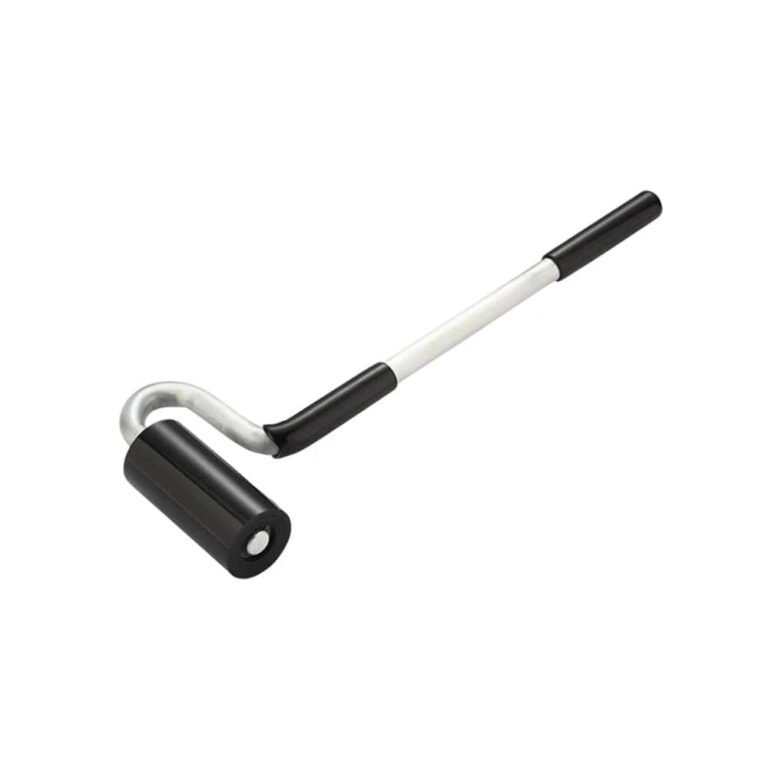
High quality home DIY projects don't get any easier or more rewarding than this. All you need are a handful of common tools: a circular saw, screws and/or construction adhesive. To get professional looking results. Upgrade walls, ceilings, around alcoves and windows, and even gently curved surfaces. Visit our How To Install page for instructions and a video demonstration.
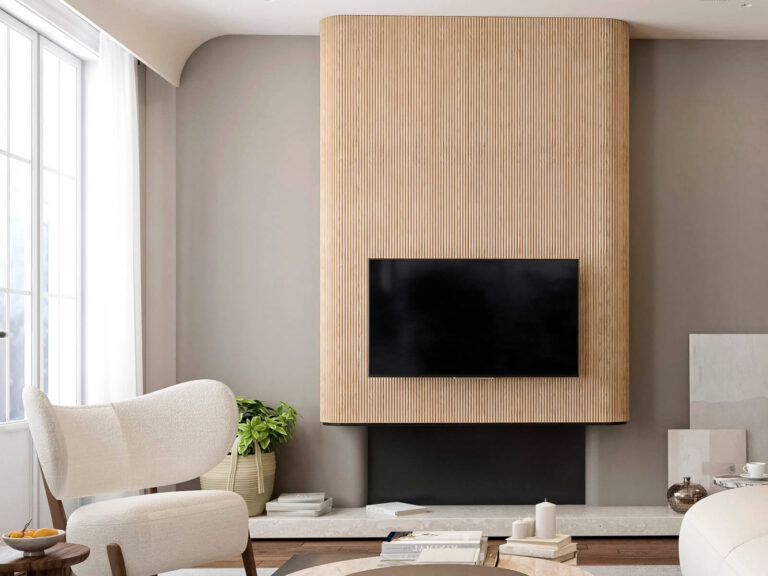
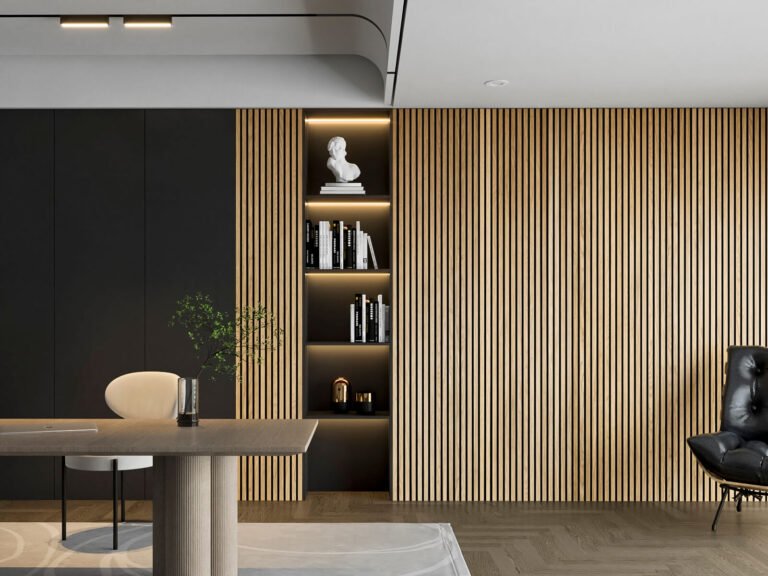
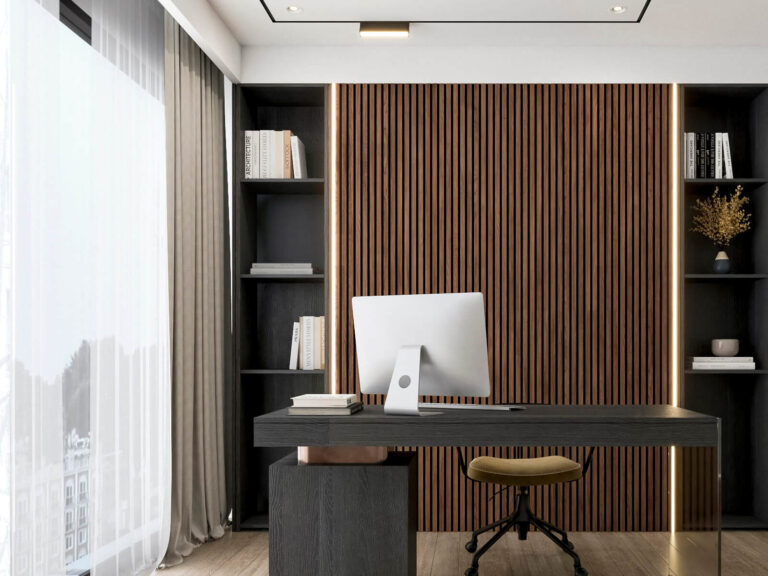
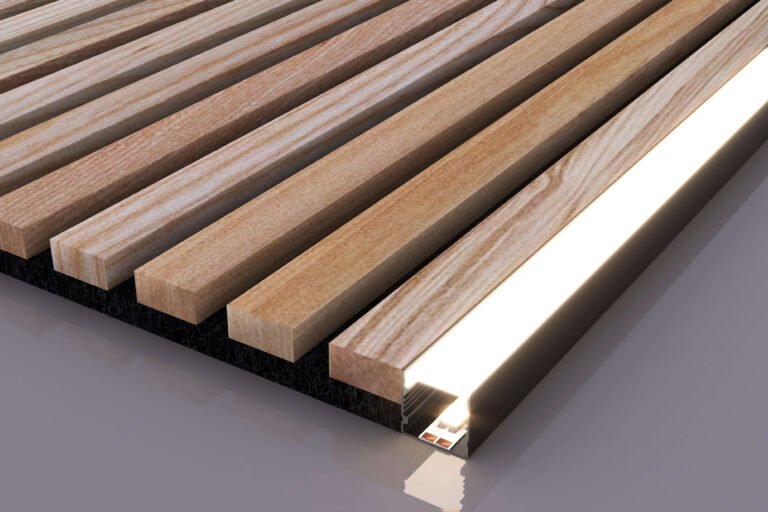
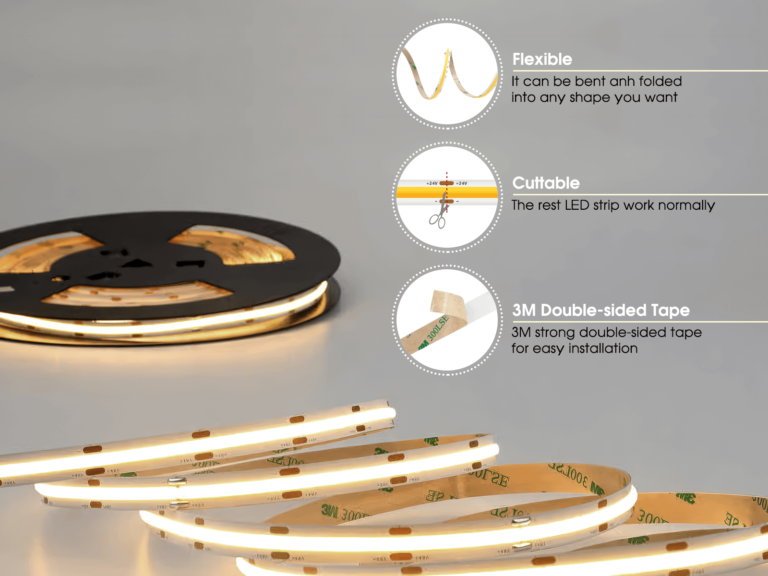
Elevate the elegance of your Wood Slat Wall with our LED Channel Lighting
Revitalize the visual appeal of Woody Walls Wood Slat Wall with our exceptional LED accent lighting. Specifically crafted for Wood Slat Walls, our accent lighting solutions will enhance the visual allure of our Acoustic Slat Wall Panels. Our seamlessly integrated LED channels and Edge lighting channels seamlessly merge with our slat wall panels, enabling you to effortlessly craft mesmerizing lighting effects that accentuate the innate charm of your wood slat wall while introducing a touch of sophistication.
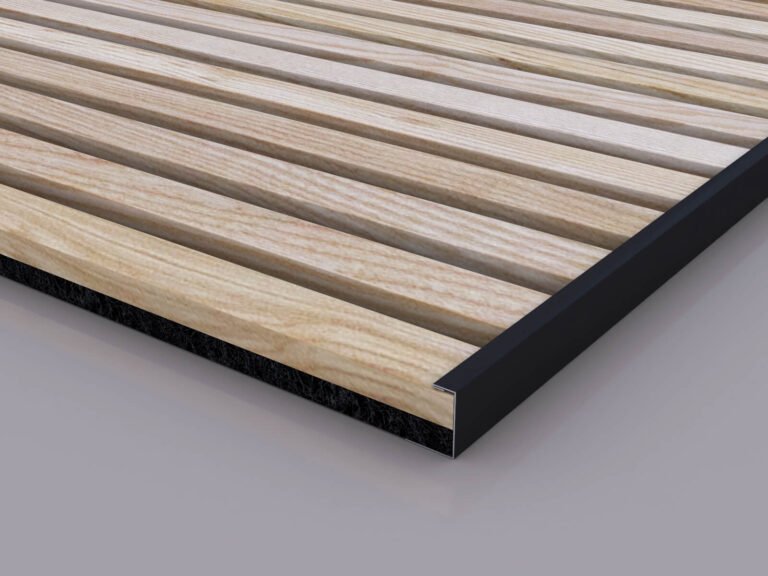
Perfect Pairing: Wood Slat Wall and Edge Trim for an Elegant DIY Project
Create a seamlessly polished DIY project by combining wood slat wall panels with either Black Metal Edge Trim or Brushed Metal Edge Trim. While acoustic wood slat panels offer versatility for various interior ideas and DIY projects, achieving a polished edge finish can pose a challenge. Our Edge Trim provides an ideal solution, addressing edge-finishing dilemmas and adding a sophisticated touch to your creative endeavors. Additionally, our Edge Trim is the perfect solution for enhancing the aesthetics of wood accent walls, ceilings, and wainscoting, ensuring a cohesive and refined result for your entire space.
Improve Sound Quality
The Woody Walls Smoked Ash Solid Wood Slat Wall Panels are meticulously crafted to offer exceptional acoustic performance. These acoustic wood panels effectively diminish echoes and reverberation, absorbing and dispersing stray noise to elevate the overall sound quality of any space. With an NRC rating of 0.5, our slat wall panels excel in delivering superior acoustic capabilities.
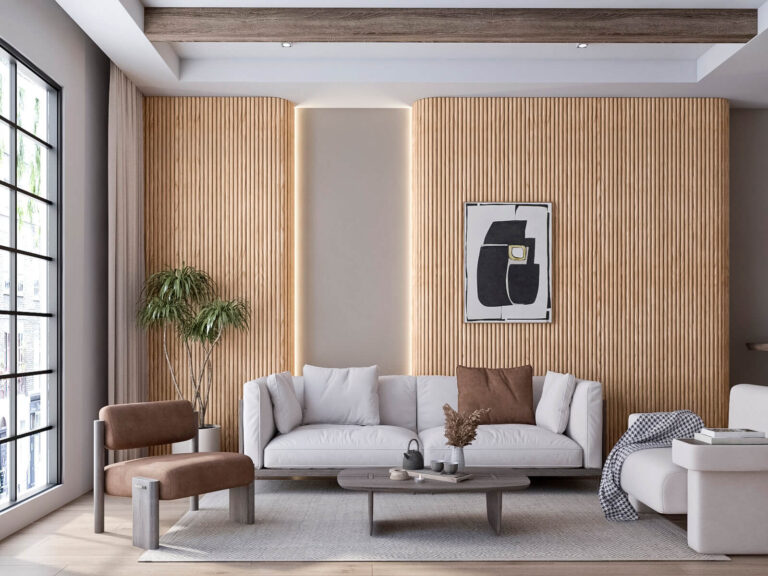
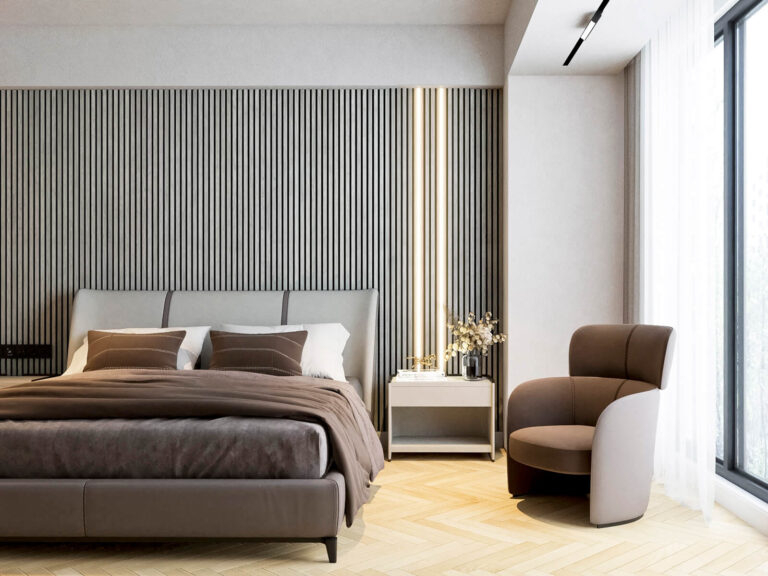
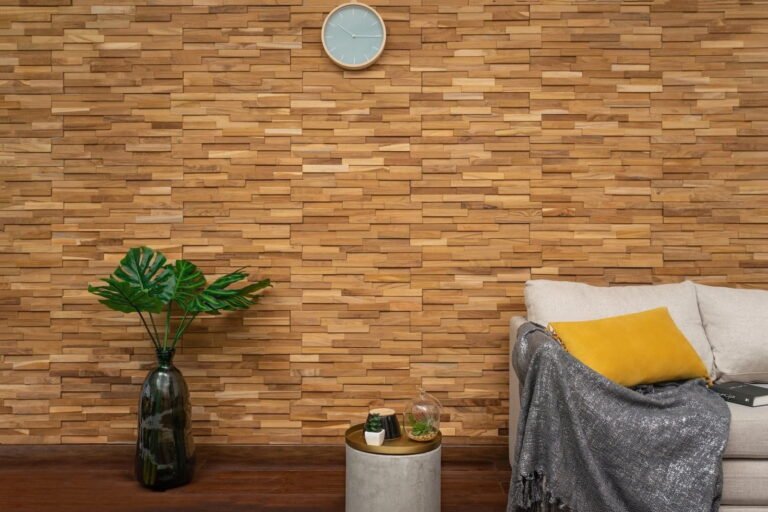
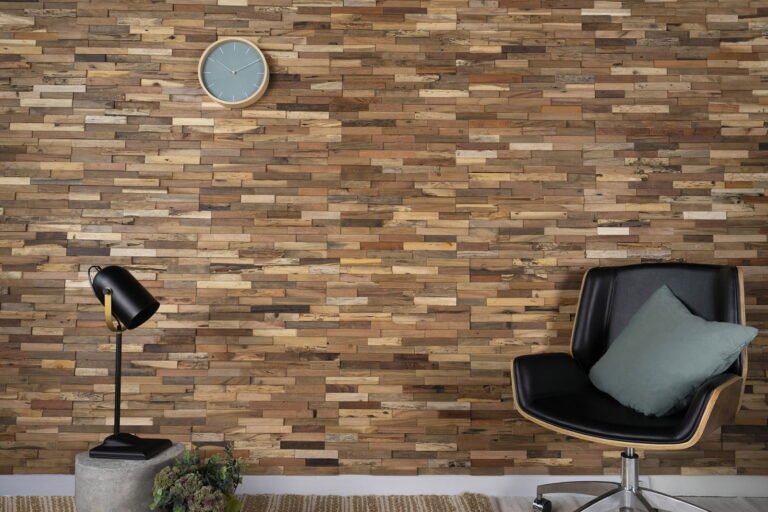
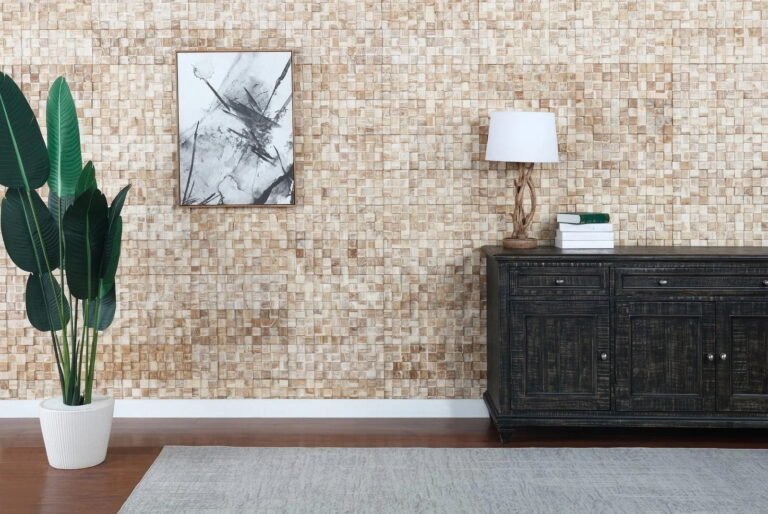
Bring Your Dream Décor Style to Life
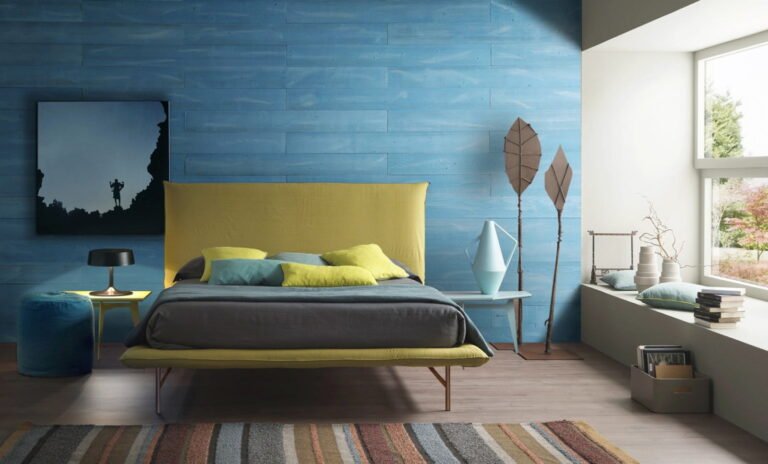
Smoked Ash is an ideal choice for any luxury décor style that benefits from the beauty of natural wood in a darker palette. You don't need to uproot your entire home for a renovation—Woody Walls are the perfect way to upgrade your walls at a fraction of the cost and hassle.


Marvin Smith –
I recently installed Woody Walls’ Solid Wood Slat Wall Panels in my study, and they have added such a unique, rustic touch. The quality of the wood is top-notch, with beautiful natural textures and colors. It was surprisingly easy to install, even for someone like me who’s not very handy. Great product and excellent service!