


White Ash Solid Wood Slat Wall Panels
$189.00 per box
Installation:
Glue & ScrewsMaterial:
American White AshQuantity per box:
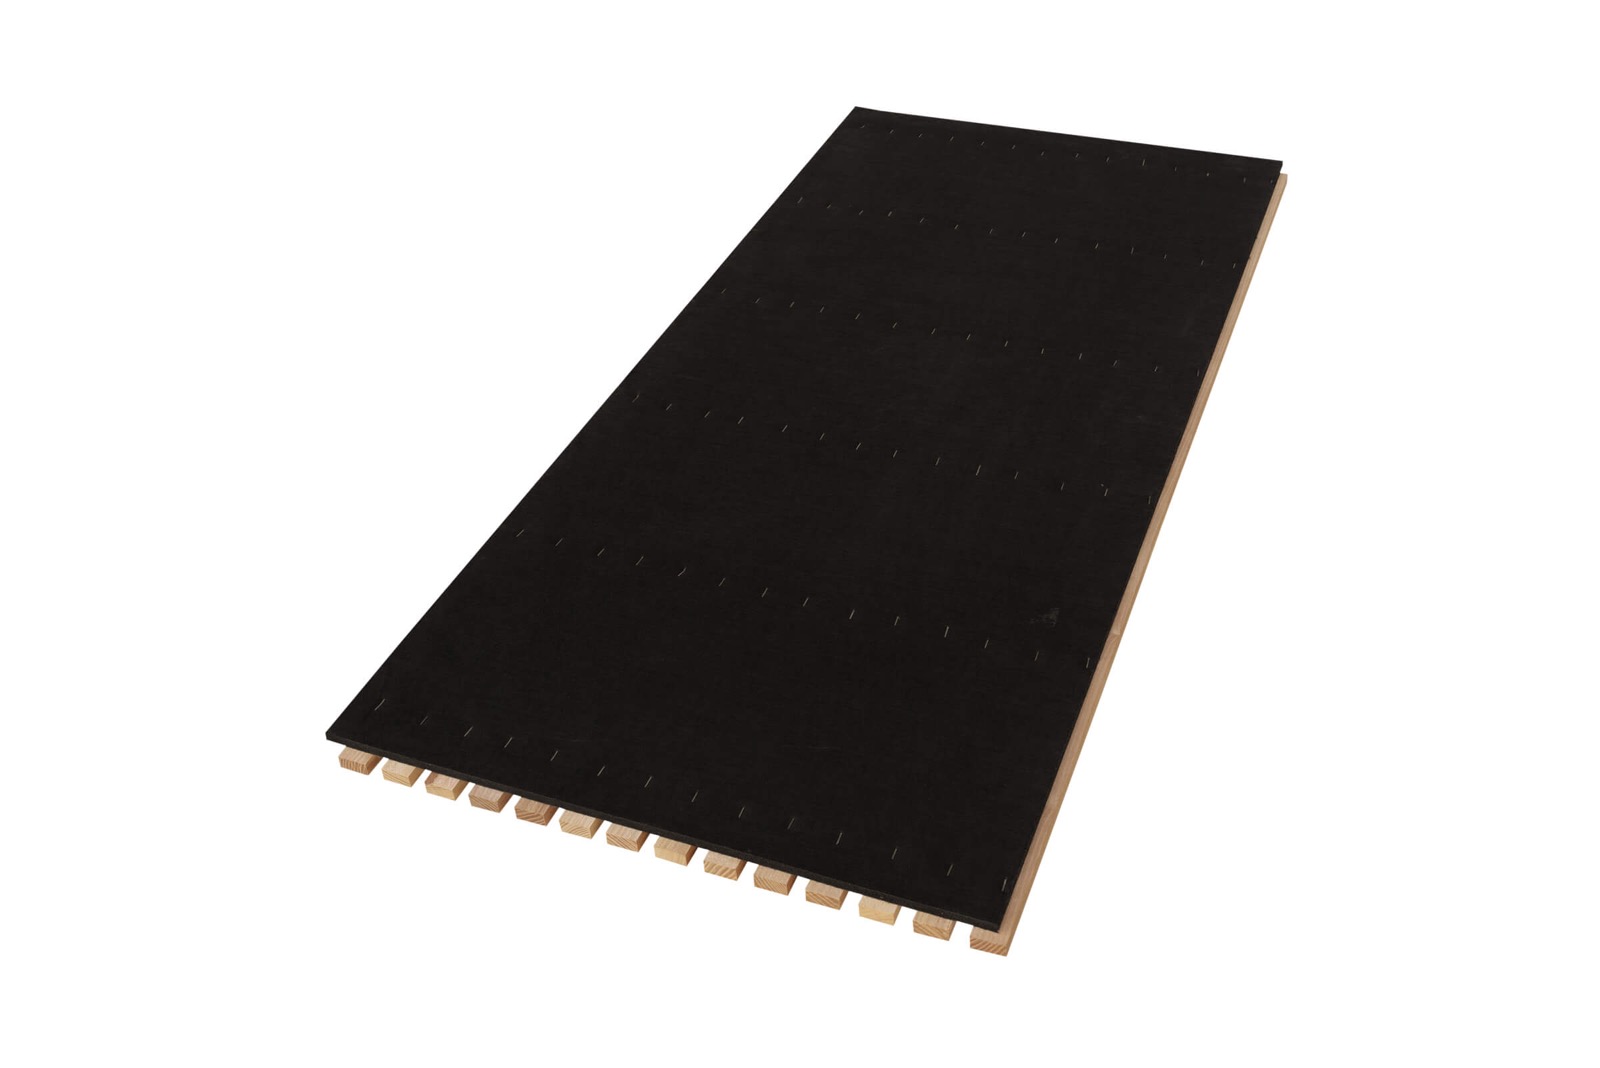
2 panelsSize per panel:
46” x 20" 11/16” x 7/8”Box Coverage Size:
46" x 41 3/8"Available sizes:
How many boxes do you need?
* All values are in inches!
Related products


White Ash Solid Wood Slat Wall Panels
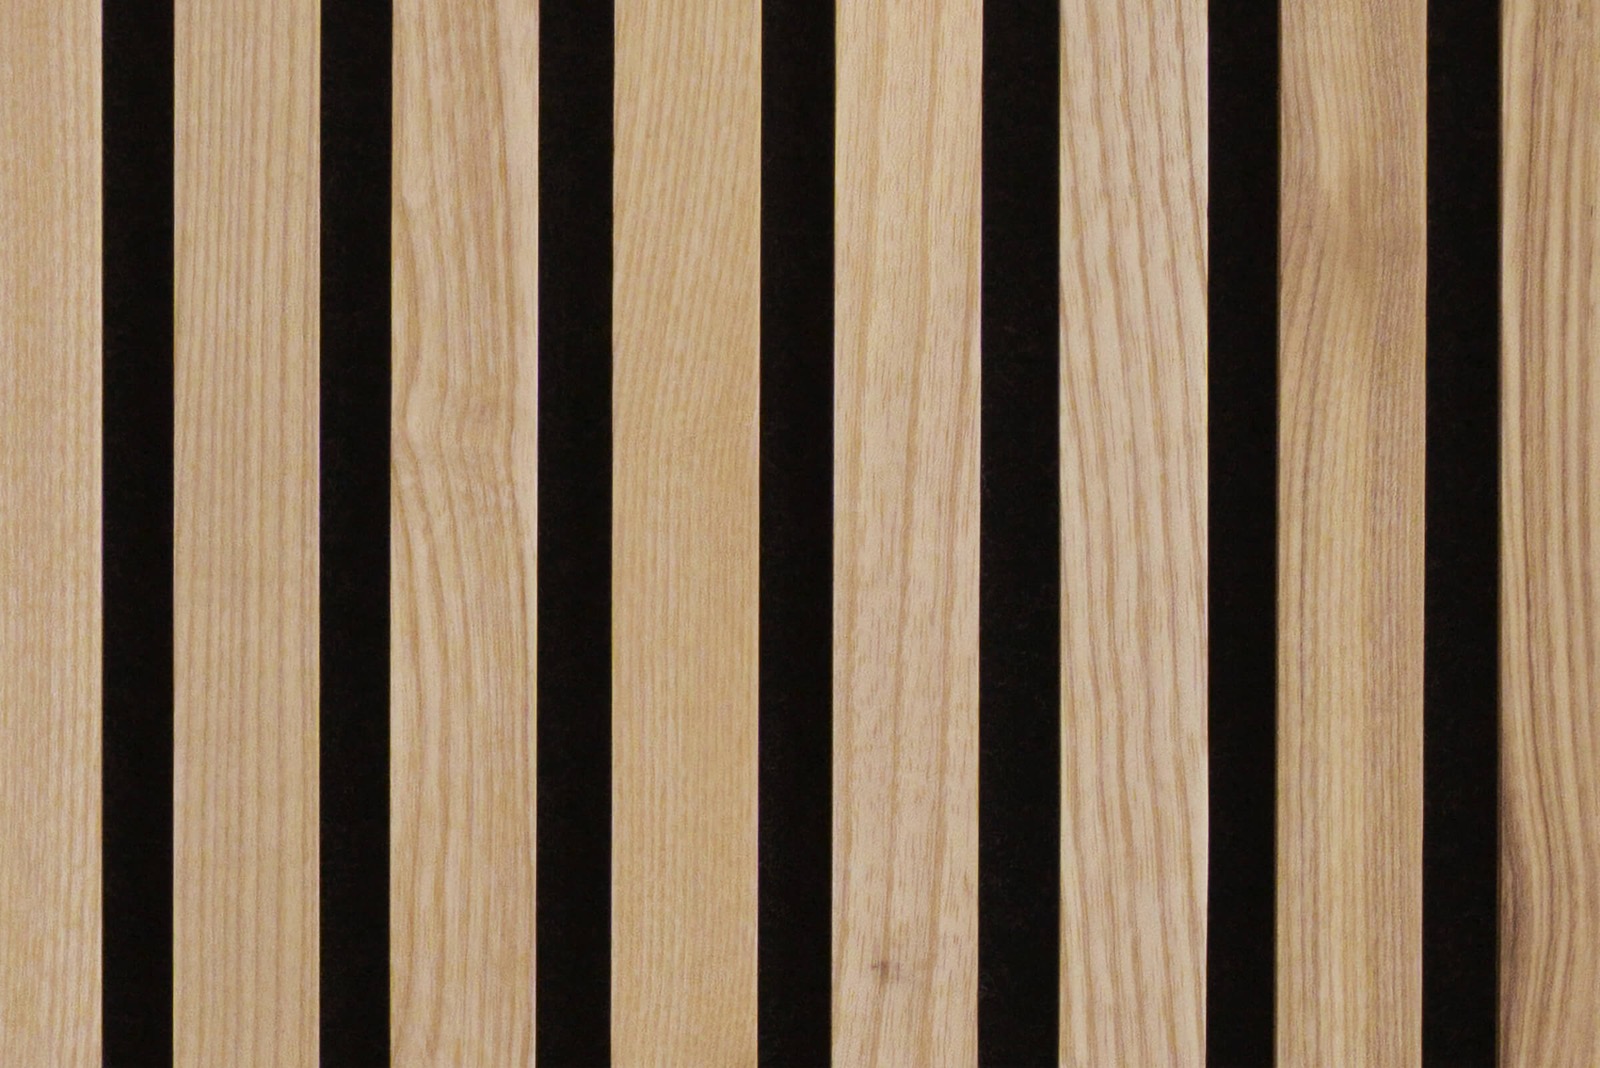
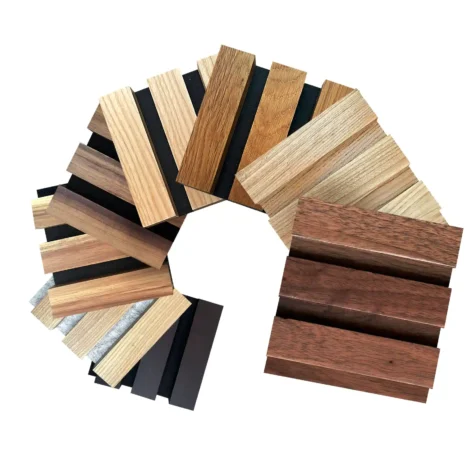
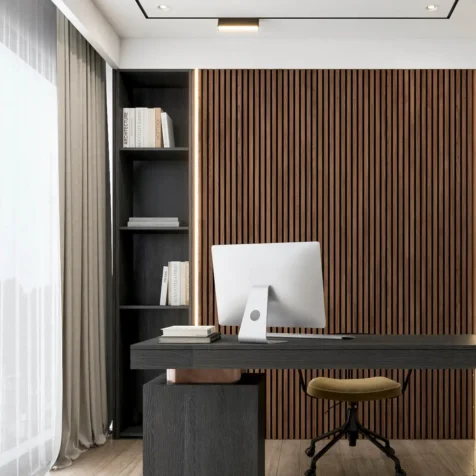
One of the premier species of hard wood for interior décor and furnishings, White Ash is very durable with a beautiful beige color and attractive smooth, straight grain. The look is perfect for a variety of styles, including contemporary and mid-century modern.
Specification
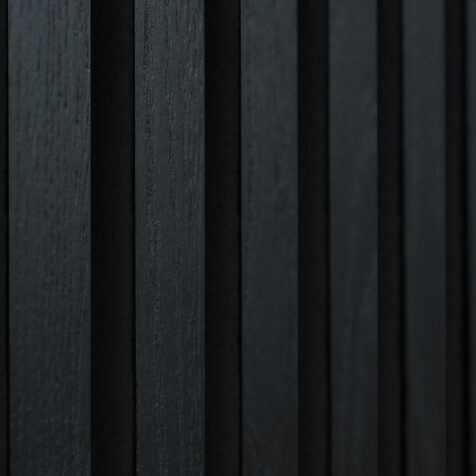
Our Solid Wood Slat Wall Panels are made from 100% solid American White Ash wood, hand-treated for maximum beauty and wear-resistance. Wood panels come in pairs (2 panels per box) and each wood slat wall panel measures 46 x 20 11/16 x 7/8 inches; multiple panels can be joined together seamlessly to create a professional-looking DIY wood slat wall.
For DIYers & Pros
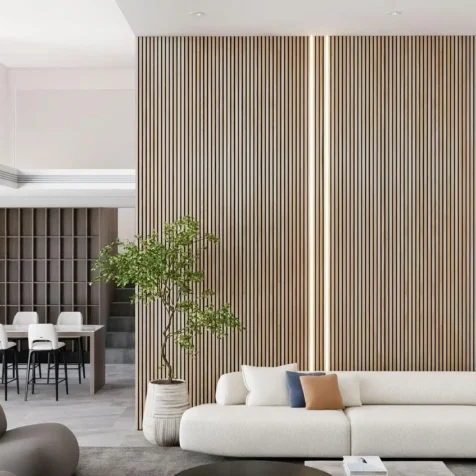
We’ve engineered these slatted wood wall panels to be an easy DIY home project. All you need are a handful of common tools: a circular saw, screws and/or construction adhesive. They’re ideal for walls as well as other surfaces, including ceilings, around alcoves and windows, and even gently curved surfaces. Visit our How To Install page for instructions and a video demonstration.
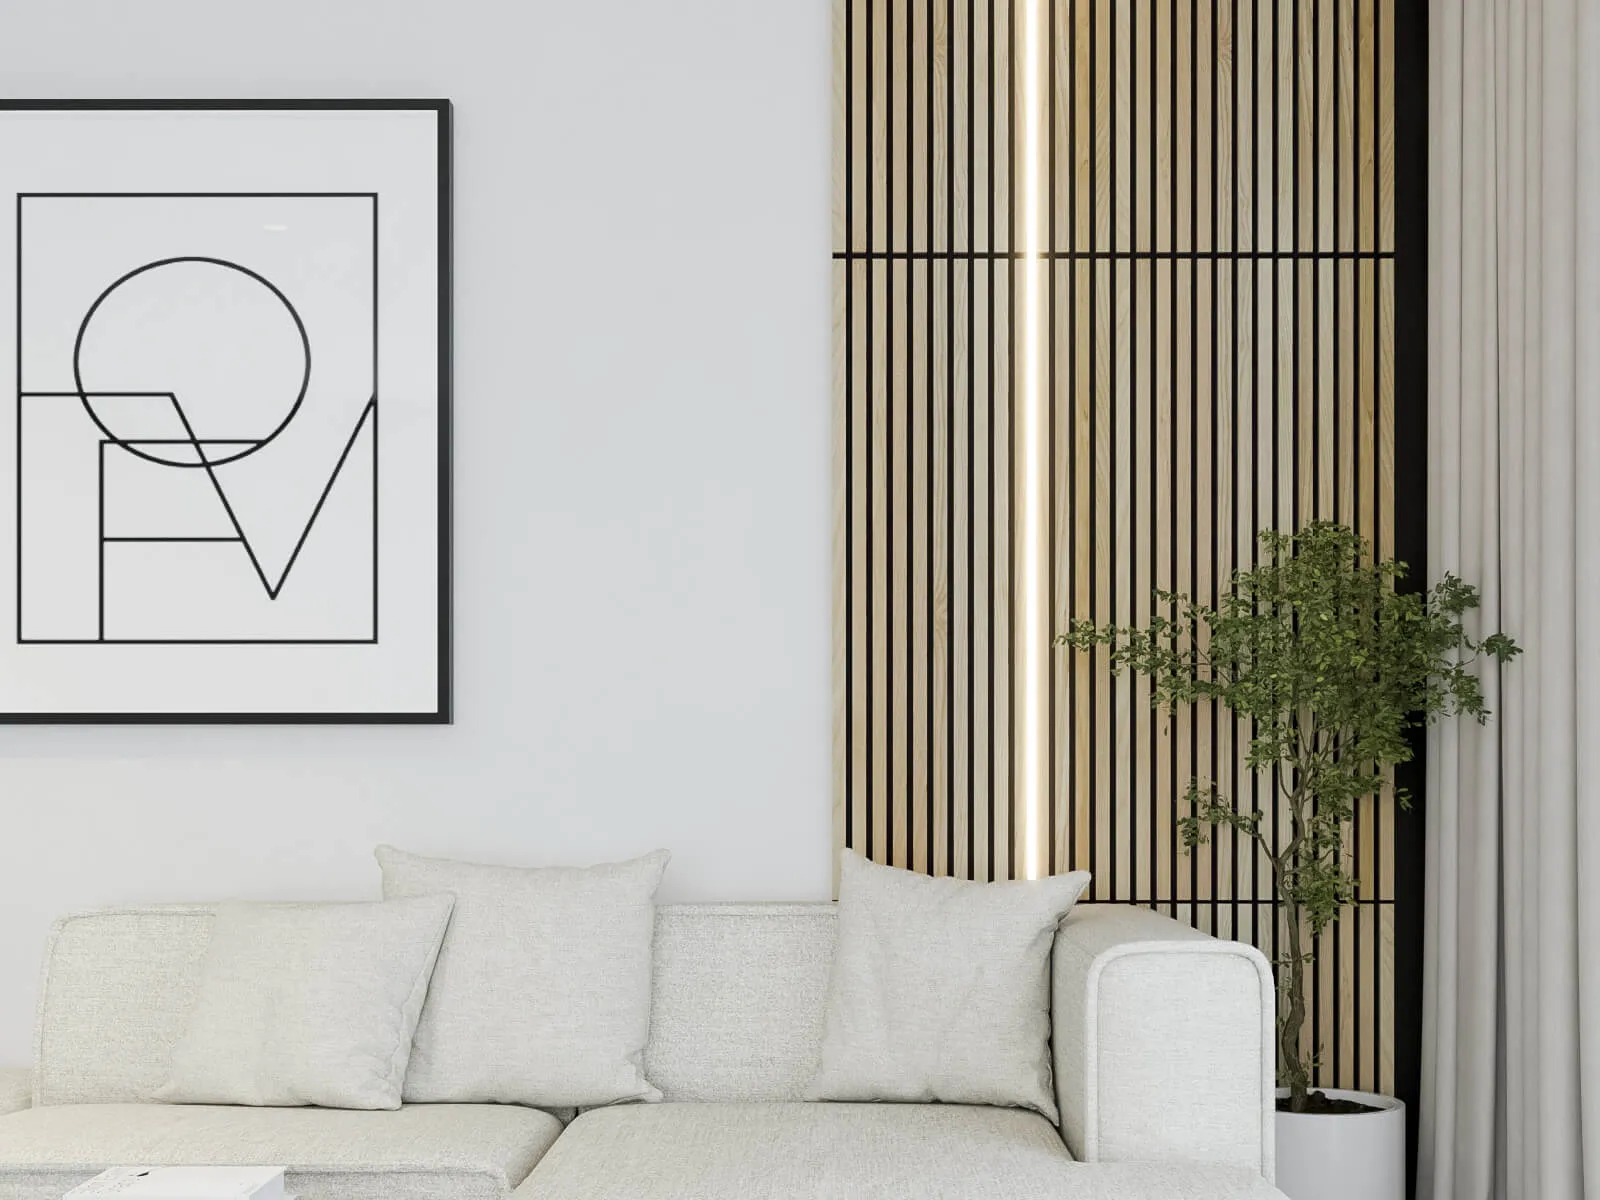
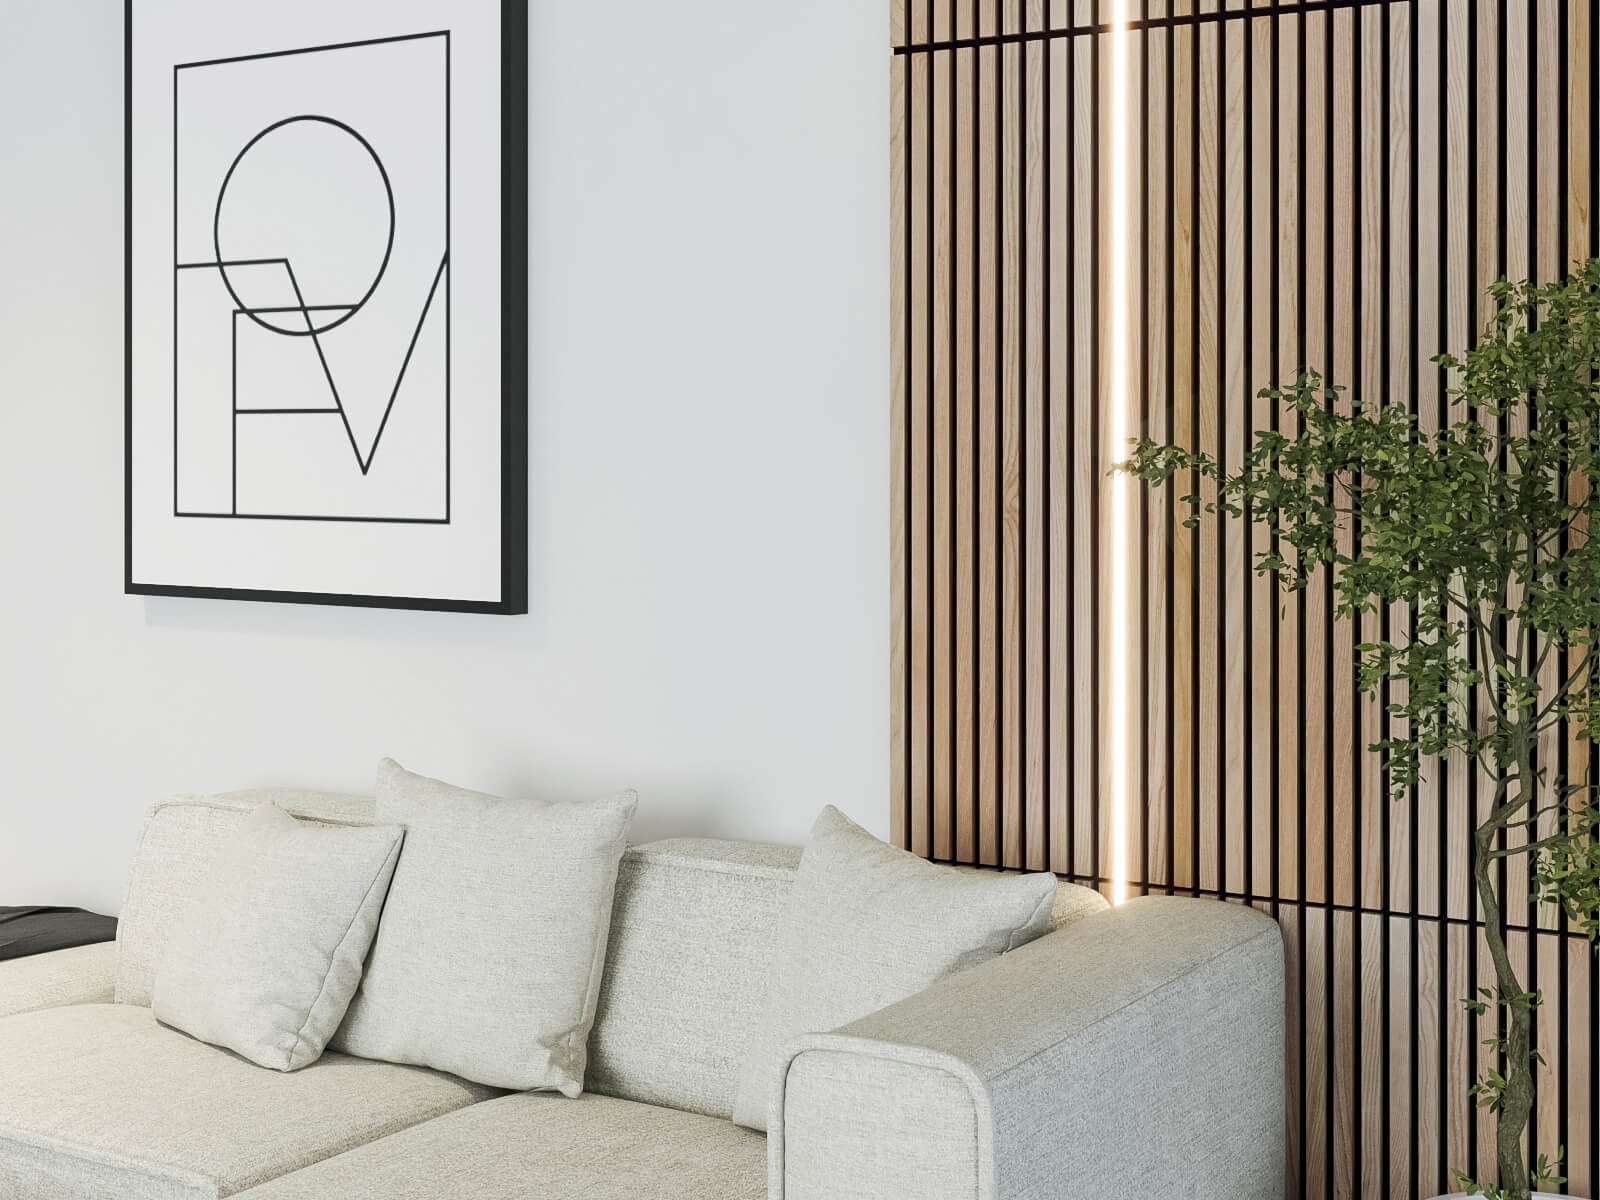
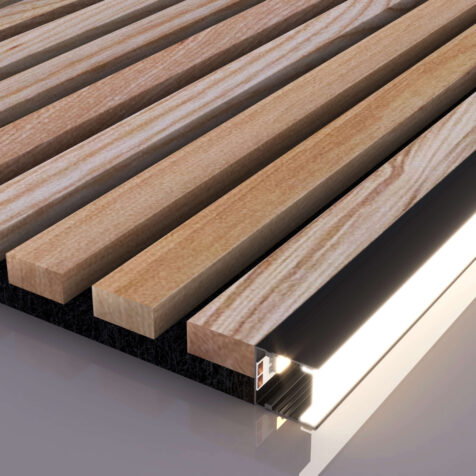
Elevate the sophistication of your Wood Slat Wall with LED Channel Lighting
Renew and enrich the visual aesthetics of your Woody Walls Wood Slat Wall with our outstanding LED accent lighting. Designed exclusively for Wood Slat Walls, our accent lighting solutions will elevate the visual appeal of our Acoustic Slat Wall Panels. Our seamlessly integrated LED channels and Edge lighting channels blend harmoniously with our slat wall panels, allowing you to effortlessly create enchanting lighting effects that highlight the inherent charm of your wood slat wall while adding a touch of sophistication.
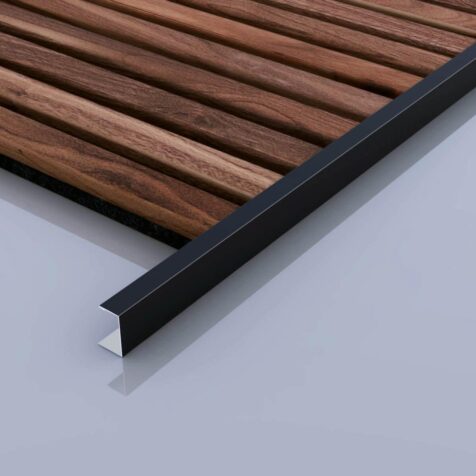
Perfect Pairing: Wood Slat Wall and Edge Trim for an Elegant DIY Project
Improve Sound Quality
Bring Your Dream Décor Style to Life
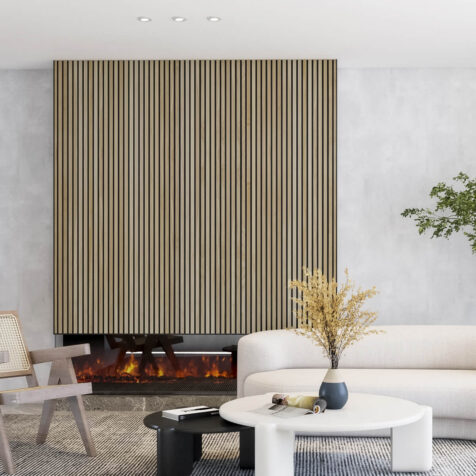
The attractive, genuine wood beauty of these acoustic slat wood wall panels creates a gorgeous look. Whether you’re going for a contemporary or classic mid-century modern, these are the perfect way to upgrade your walls at a fraction of the cost of a traditional renovation.
Reviews
You must be logged in to post a comment.


3 reviews for White Ash Solid Wood Slat Wall Panels
We used WoodyWalls White Ash slat panels for our kitchen island, and they were so easy to install. It instantly changed the look and made the space feel brand new! We used WoodyWalls White Ash slat panels for our kitchen island, and they were so easy to install. It instantly changed the look and made the space feel brand new!
Michael Zadnik Verified Buyer
The noise reduction in my gaming room has improved significantly after installing the Acoustic Slat Wall Panels. They’re easy to put up and look absolutely stunning. It’s ... The noise reduction in my gaming room has improved significantly after installing the Acoustic Slat Wall Panels. They’re easy to put up and look absolutely stunning. It’s a perfect mix of function and aesthetics!
David Parker Verified Buyer
I installed the Solid Wood Slat Panels from Woody Walls in my bedroom, and the transformation is incredible. The panels look and feel like real wood because they are! The ... I installed the Solid Wood Slat Panels from Woody Walls in my bedroom, and the transformation is incredible. The panels look and feel like real wood because they are! The ease of installation was a huge plus for me, and the result is a cozy, rustic vibe that I love. Excellent product and company!
Benjamin Carter Verified Buyer