


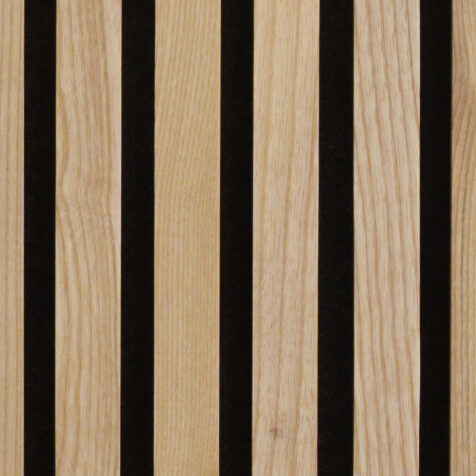
White Ash with Grey Felt Solid Wood Slat Wall Panels
$189.00 per box
Installation:
Glue & ScrewsMaterial:
American White AshQuantity per box:
2 panelsSize per panel:
46” x 20" 11/16” x 7/8”Box Coverage Size:
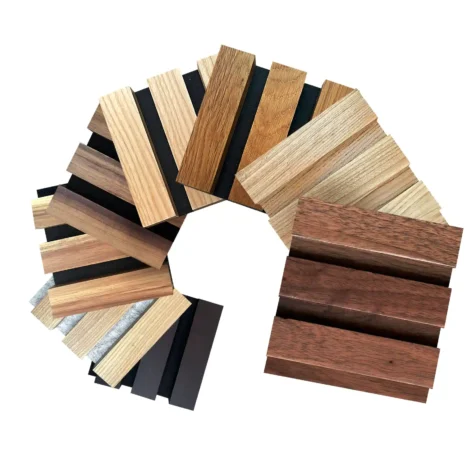
46" x 41 3/8"Available sizes:
How many boxes do you need?
* All values are in inches!
Related products


White Ash with Grey Felt Solid Wood Slat Wall Panels
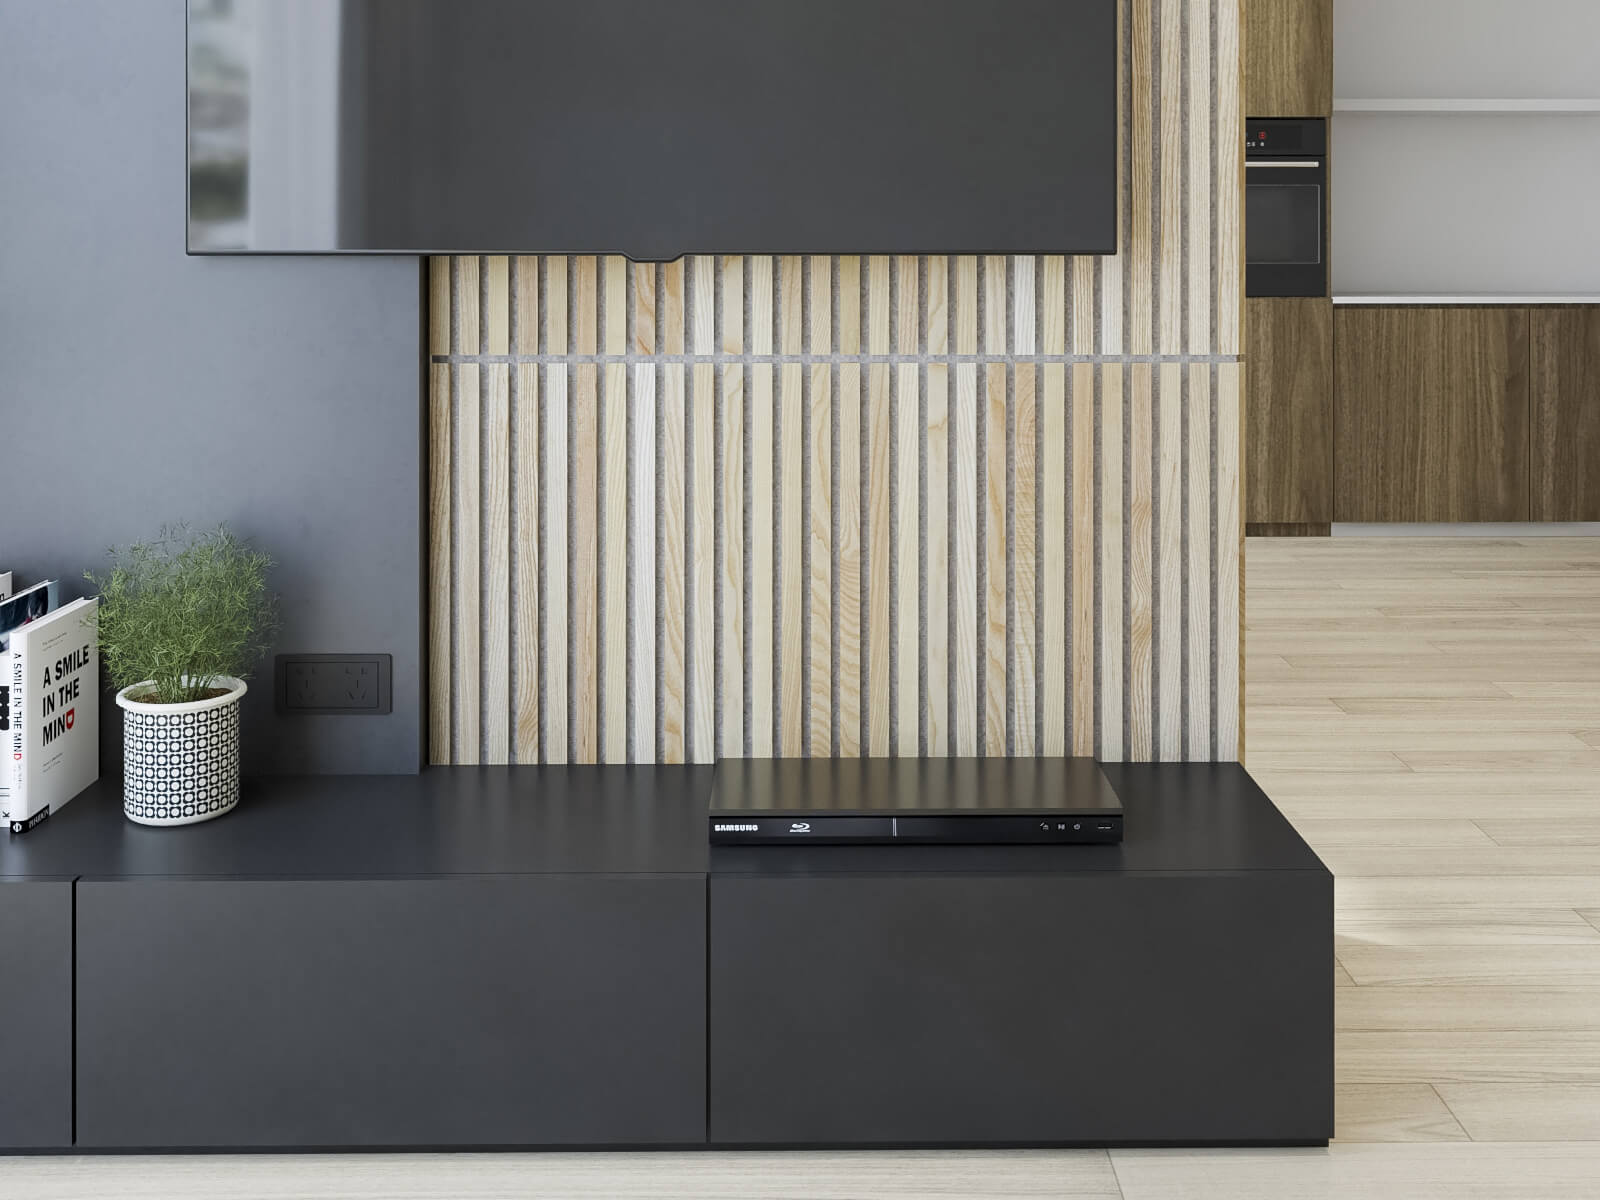
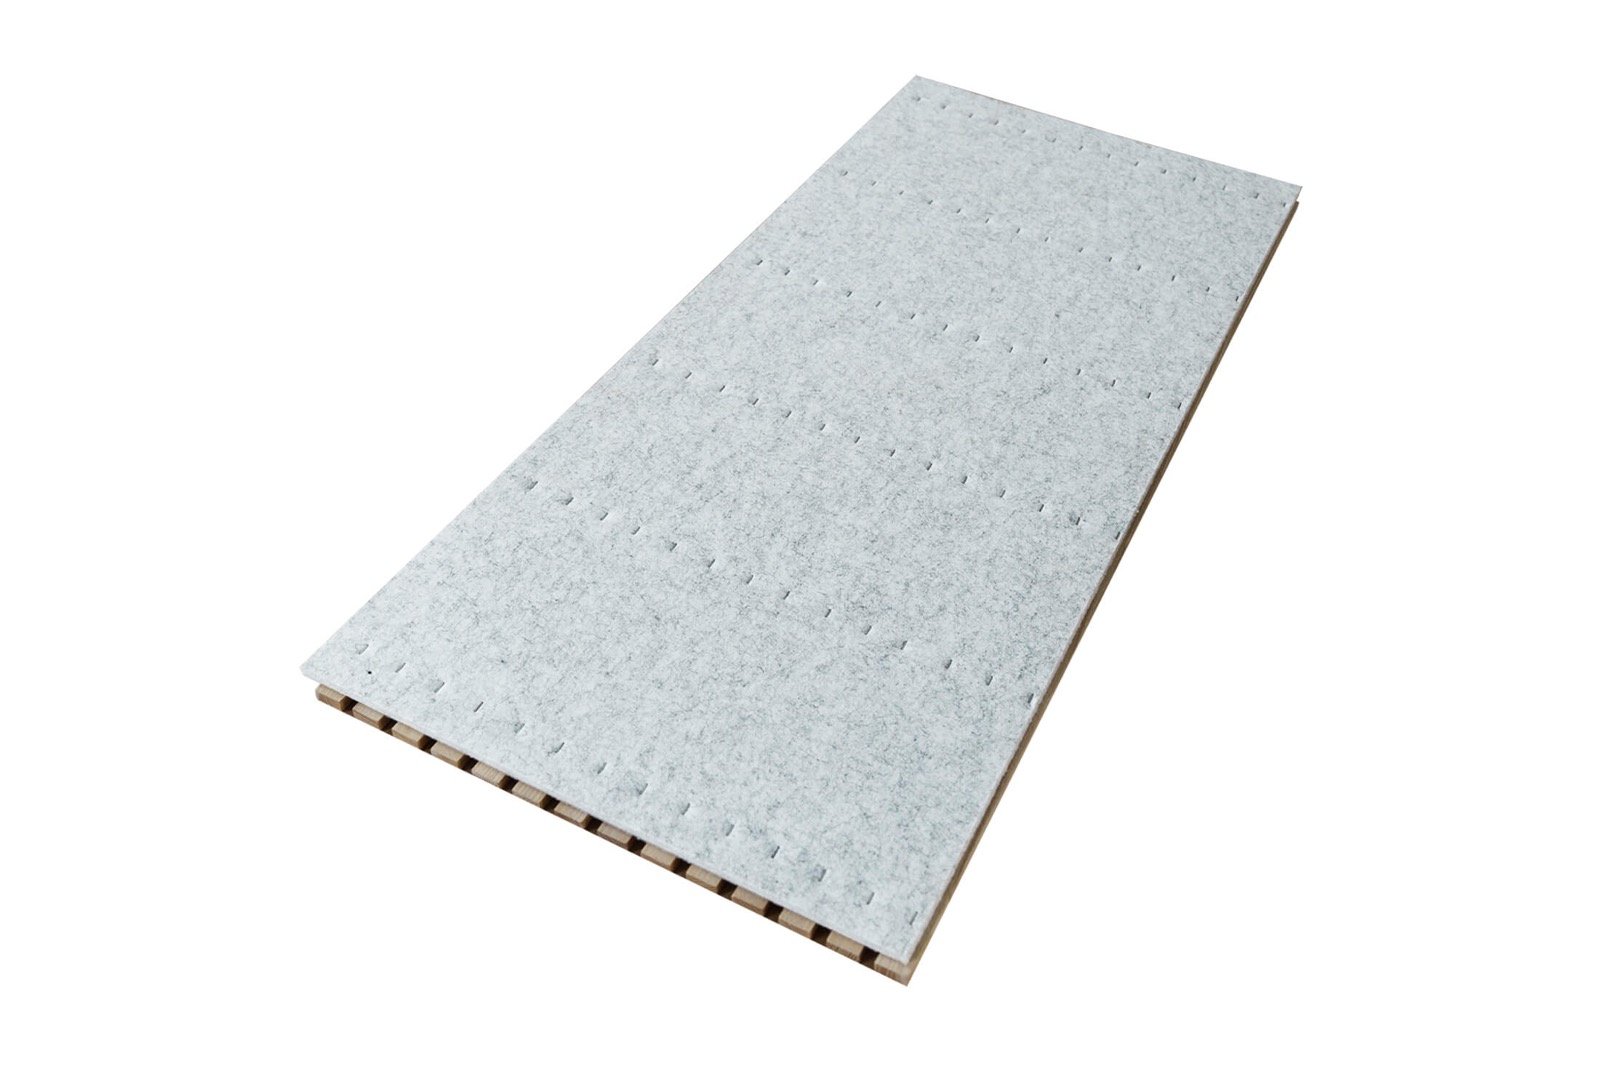
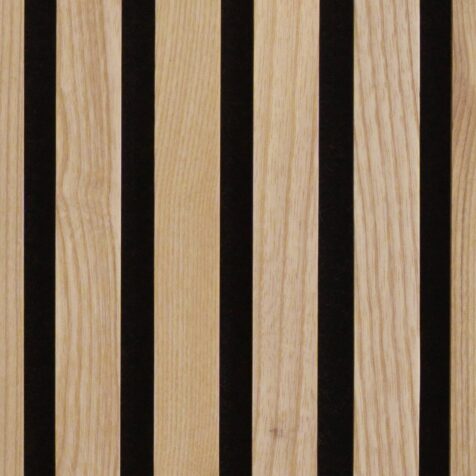
White Ash is always in high demand for décor and furnishings projects: it’s extremely durable with a beautiful beige color and attractive, straight grain. The look is ideal for contemporary and mid-century modern designs, and the grey felt backing for these slat wood panels adds unique style.
Specification
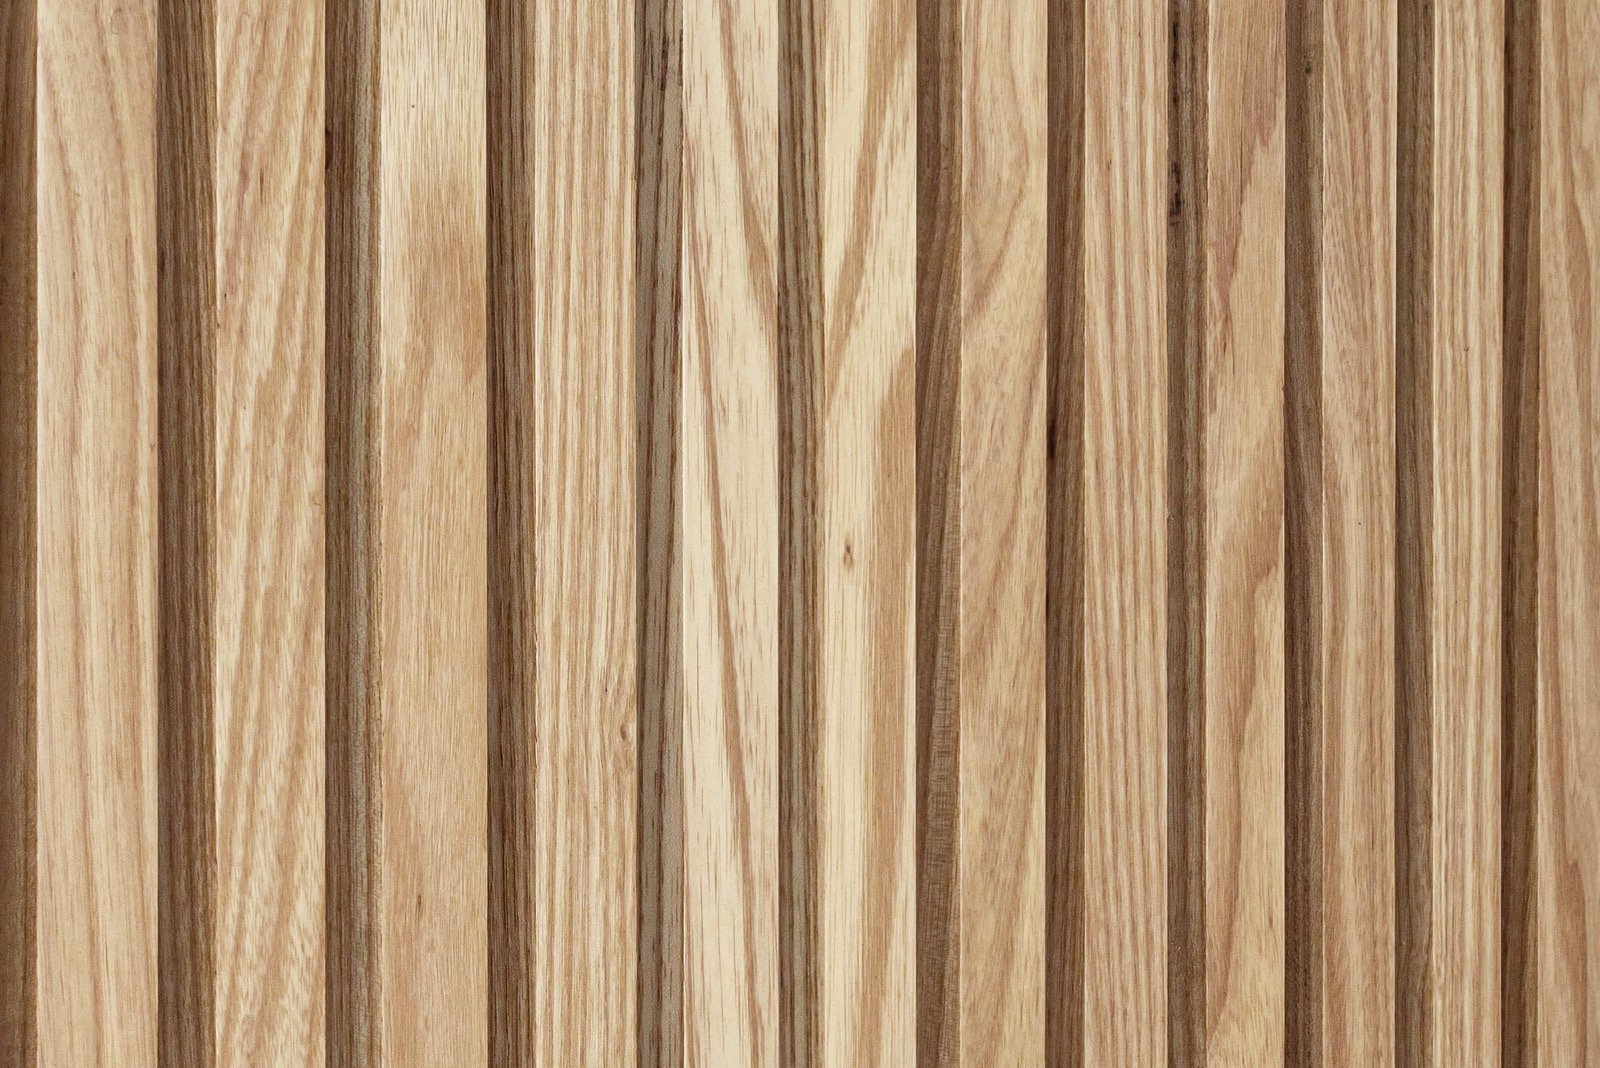
Our Solid Wood Slat Wall Panels are made from 100% solid American White Ash wood, hand-treated for maximum beauty and wear-resistance. Wood wall panels come in pairs (2 panels per box) and each wood slat wall panel measures 46 x 20 11/16 x 7/8 inches; multiple panels can be joined together seamlessly to create a professional-looking DIY wood slat wall.
For DIYers & Pros
We make DIY home projects simple and rewarding. All you need to install our slatted wood wall panels are a circular saw, screws and/or construction adhesive. Besides standard walls, these are suitable for mounting on ceilings, around alcoves and windows, and even on gently curved surfaces. Visit our How To Install page for instructions and a video demonstration.
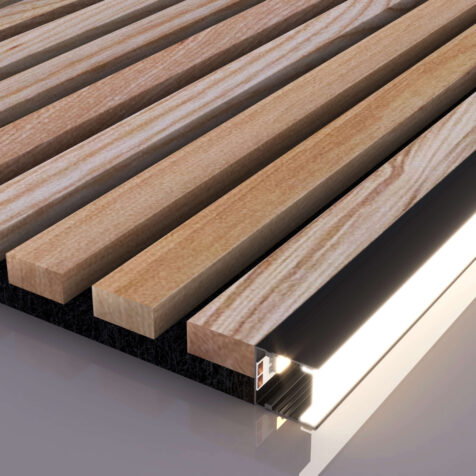
Elevate the allure of Wood Slat Wall with our LED Channel Lighting
Transform the visual appeal of your Woody Walls Wood Slat Wall with our exceptional LED accent lighting. Tailored specifically for Wood Slat Walls, our accent lighting solutions will elevate the visual impact of our Acoustic Slat Wall Panels. Our integrated LED channels and Edge lighting channels seamlessly blend with our slat wall panels, enabling you to effortlessly craft enchanting lighting effects that enhance the inherent charm of your wood slat wall while adding a touch of sophistication.
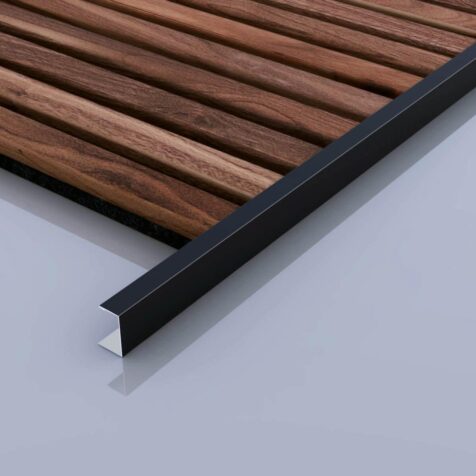
Perfect Pairing: Wood Slat Wall and Edge Trim for an Elegant DIY Project
Create a seamlessly polished DIY project by combining slatted wood wall panels with either Black Metal Edge Trim or Brushed Metal Edge Trim. While acoustic wood slat panels provide versatility for various interior ideas and DIY endeavors, achieving a polished edge finish can be challenging. Our Edge Trim offers an ideal solution, addressing edge-finishing challenges and adding a sophisticated touch to your creative projects. Furthermore, our Edge Trim is the perfect solution for enhancing the aesthetics of wood accent walls, ceilings, and wainscoting, ensuring a cohesive and refined result for your entire space.
Improve Sound Quality
The Woody Walls White Ash with Grey Felt Solid Wood Slat Wall Panels are meticulously crafted to provide top-notch acoustic performance. These acoustic wood panels effectively minimize echoes and reverberation, absorbing and dispersing stray noise to enhance the overall sound quality of any space. With an impressive NRC rating of 0.5, our slat wall panels excel in delivering superior acoustic capabilities.
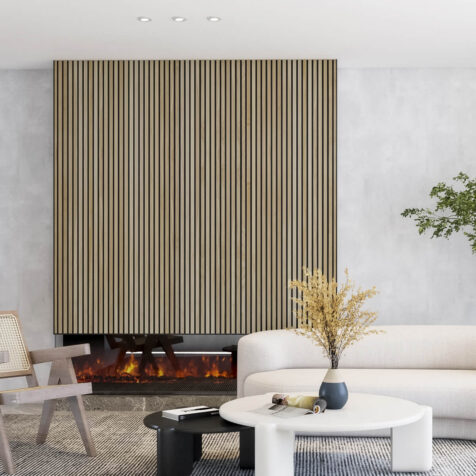
Bring Your Dream Décor Style to Life
There’s no substitute for the beauty and elegance of natural wood. Our acoustic slat wood wall panels optimize sound performance and gorgeously accent rustic, contemporary, or classic mid-century modern looks. Don’t spend thousands on a traditional renovation—upgrade affordably and effortlessly with Woody Walls!
Reviews
You must be logged in to post a comment.


1 review for White Ash with Grey Felt Solid Wood Slat Wall Panels
The acoustic slat panels from Woody Walls have completely changed the feel of my home theater. Not only do they look fantastic, but the sound quality has also improved si ... The acoustic slat panels from Woody Walls have completely changed the feel of my home theater. Not only do they look fantastic, but the sound quality has also improved significantly. The natural wood grain is beautiful, and the panels add a modern yet warm touch to the room. Amazing product and easy to install!
Lily Peterson Verified Buyer