
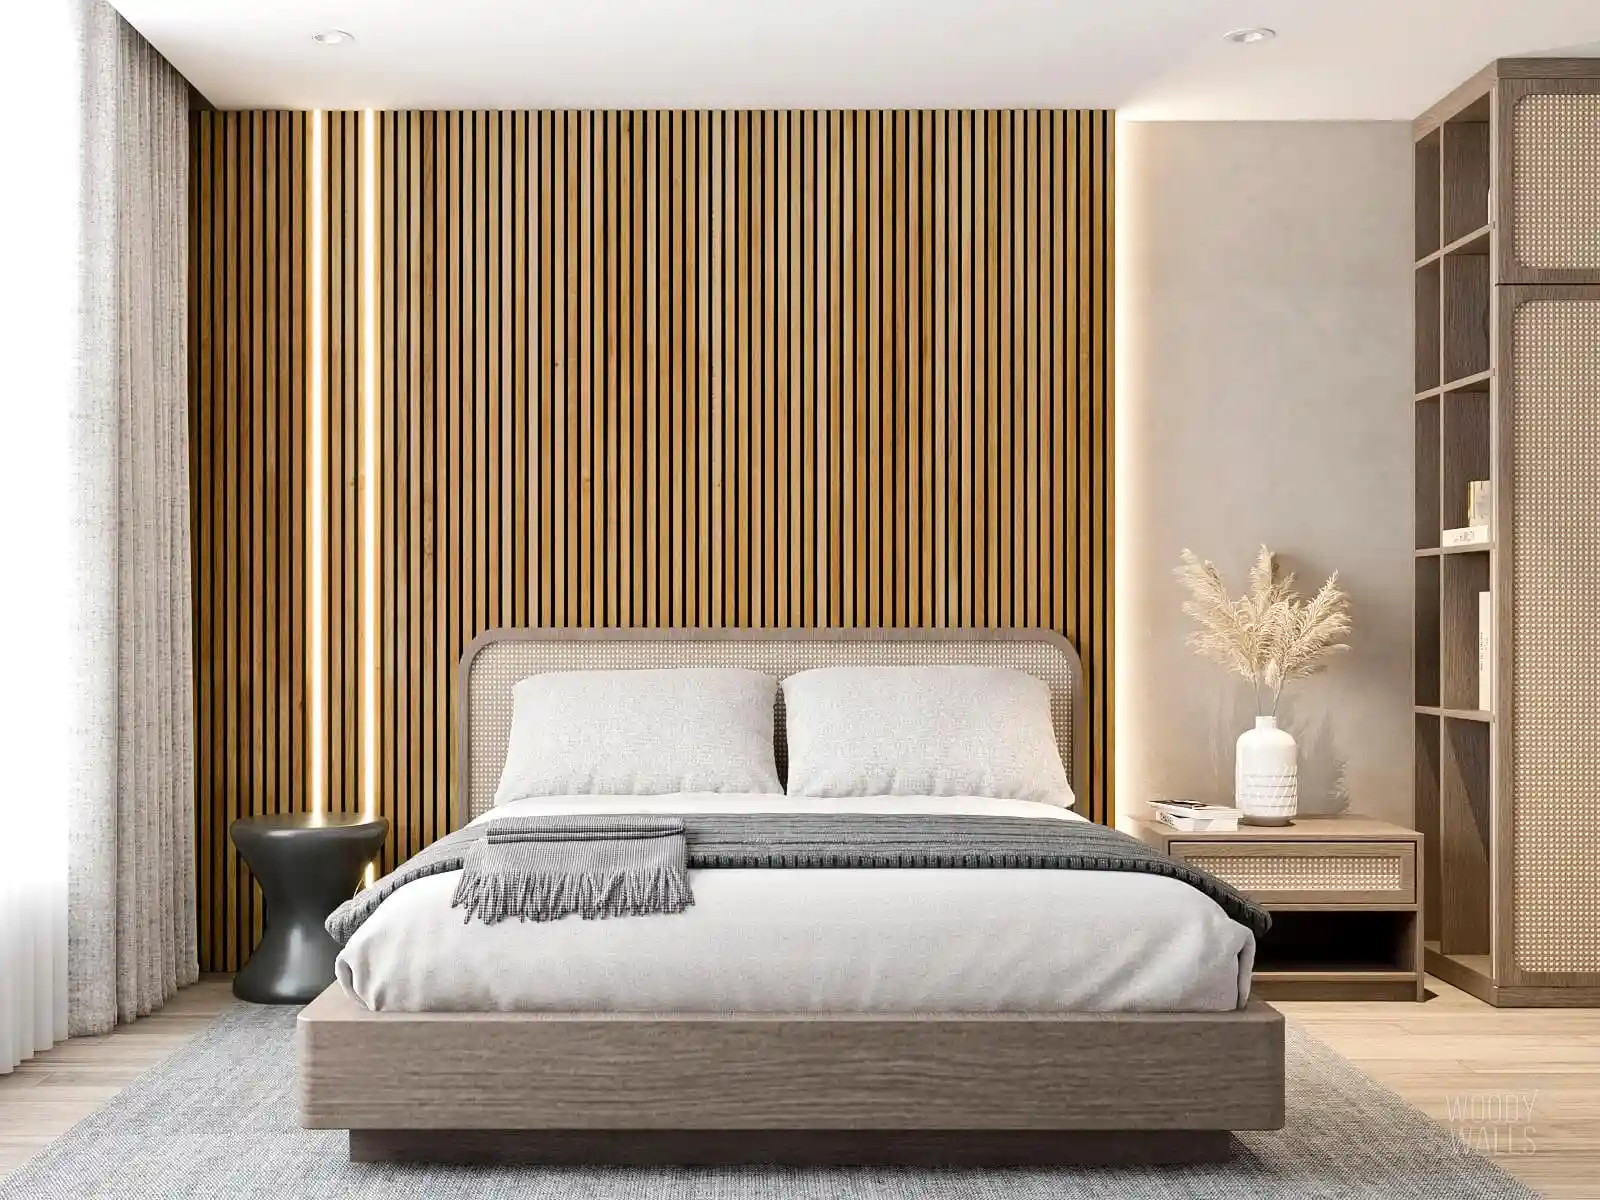


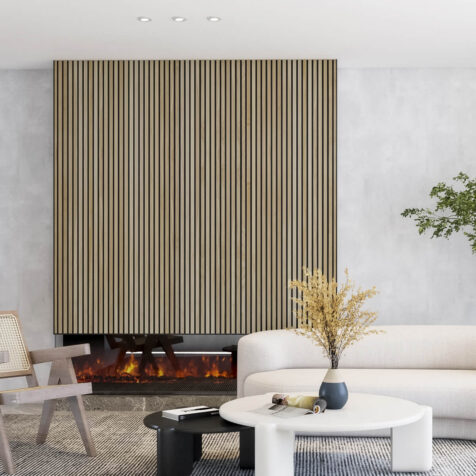
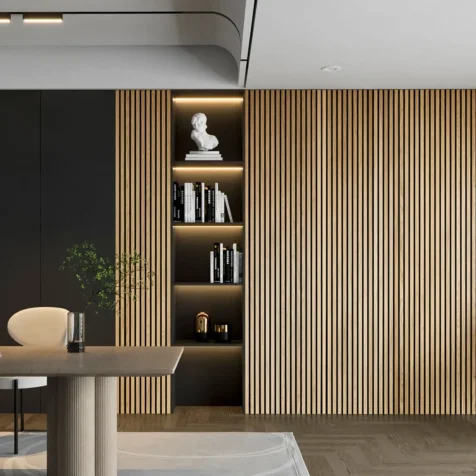
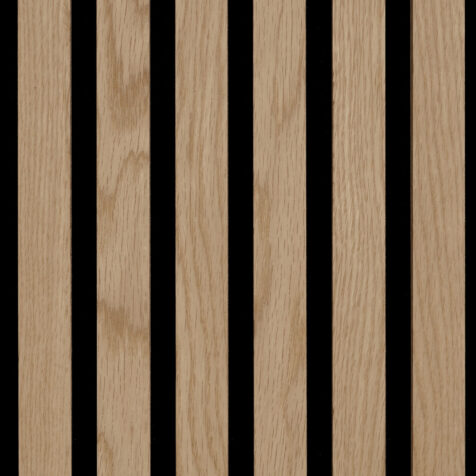
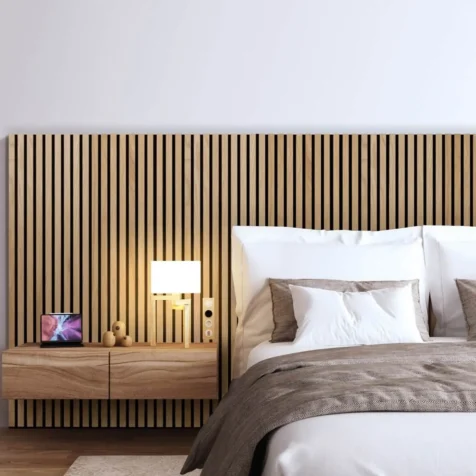
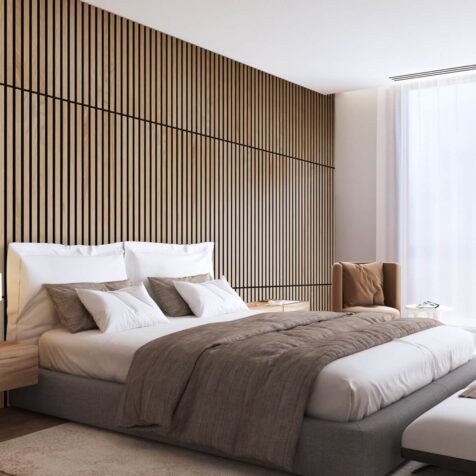
White Oak Full Height Solid Wood Slat Wall Panels
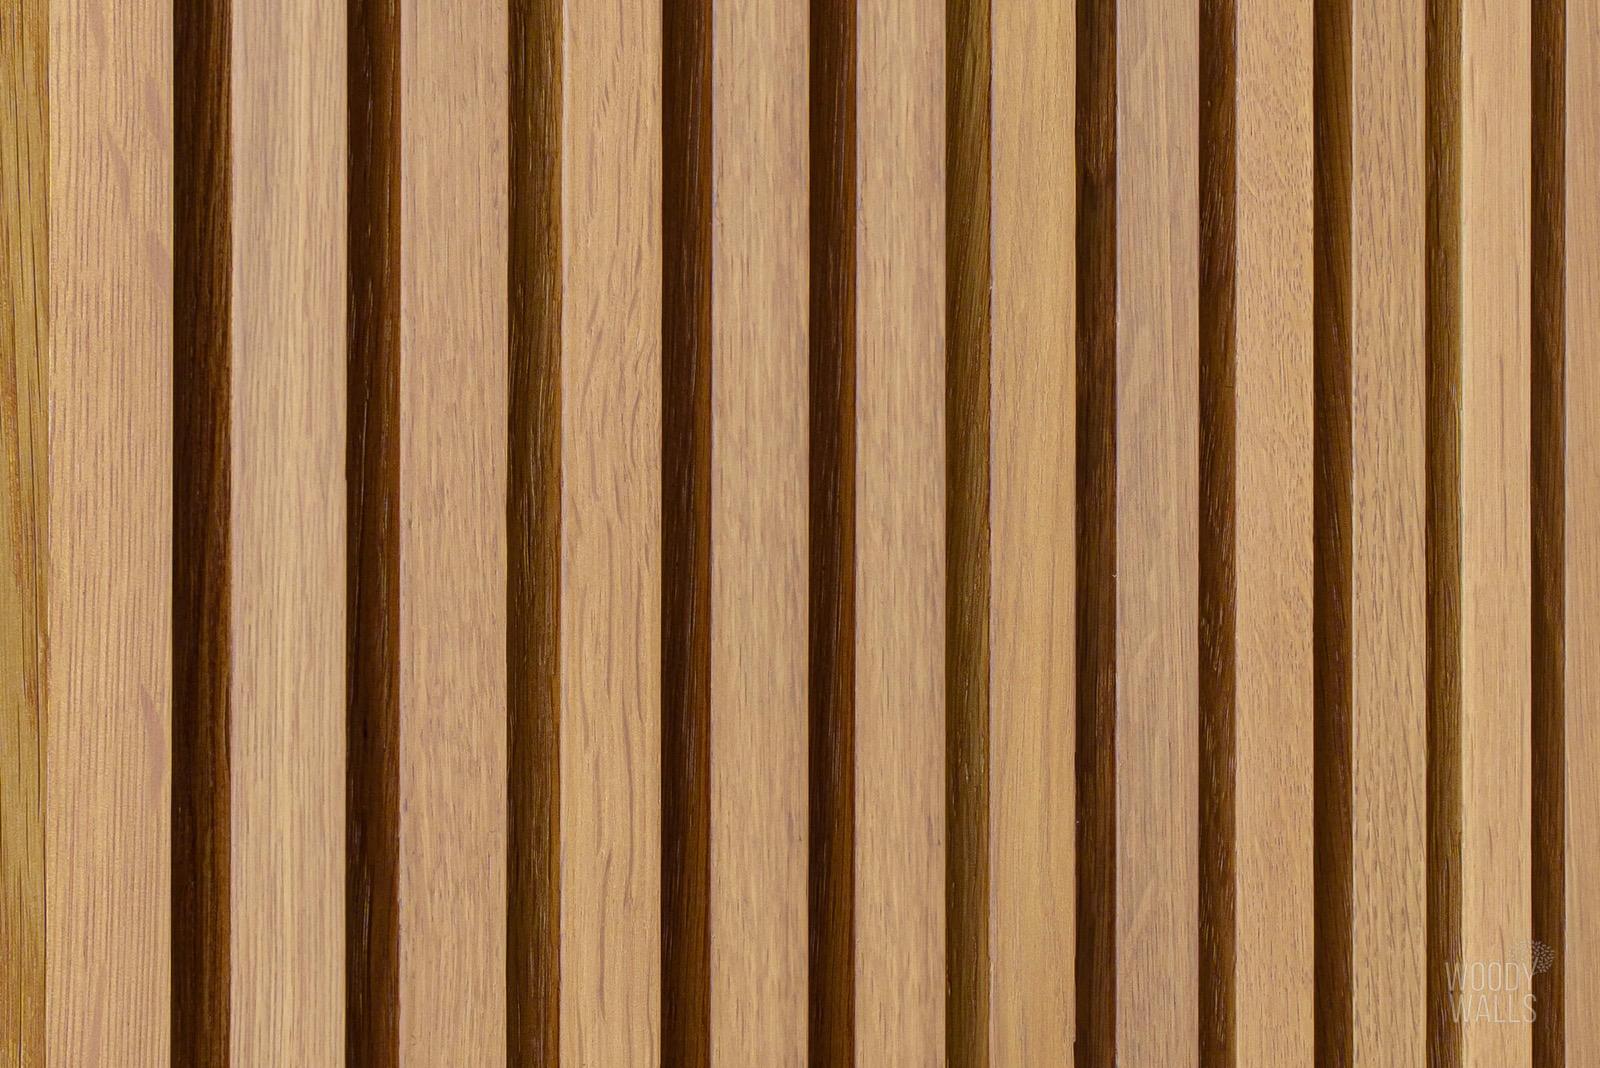
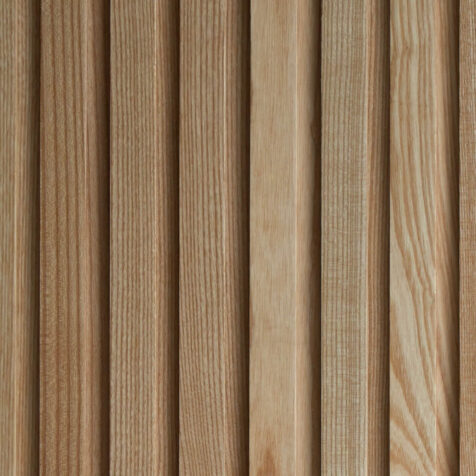
Bring timeless warmth and beauty to your interior with our White Oak Full Height Solid Wood Slat Wall Panels. Crafted from 100% real American White Oak, these panels feature rich mocha tones, a straight grain, and subtle ray fleck patterns—ideal for both classic and modern interiors.
Premium Quality and Coverage
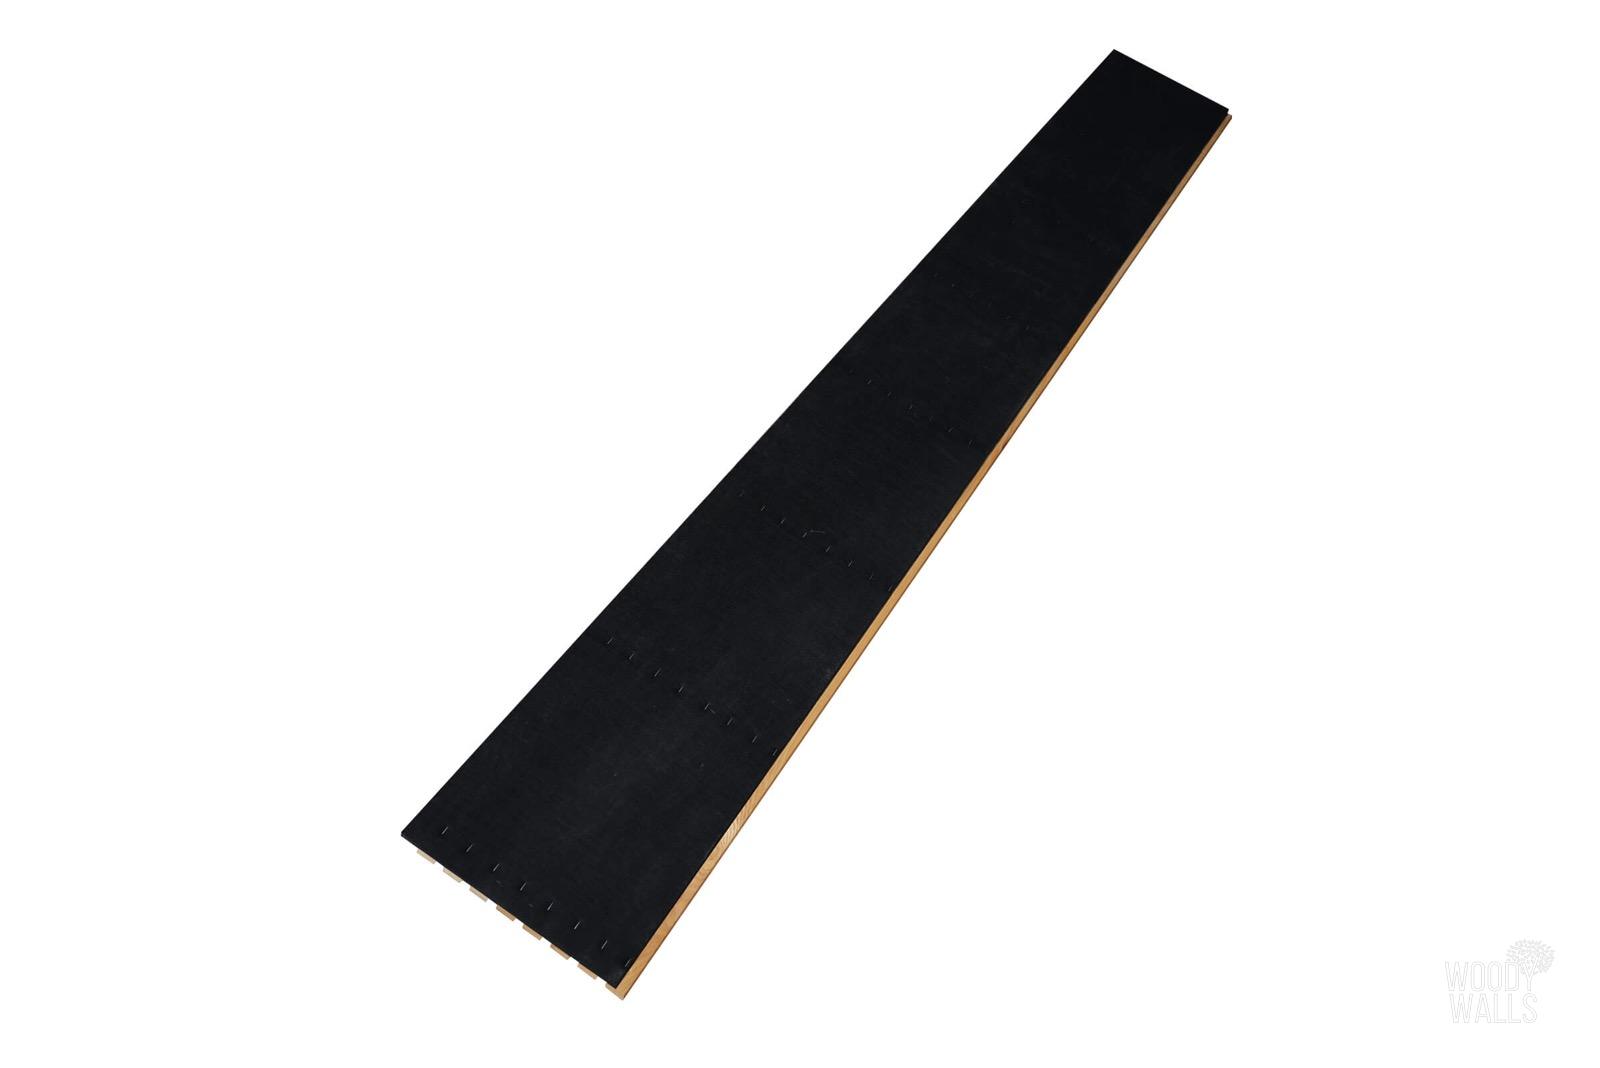
Each panel is hand-finished for enhanced durability and aesthetics. Panels measure 94 1/2 inches high, 11 7/8 inches wide, and 7/8 inch thick. Sold in pairs (two panels per box), each box covers 15.75 square feet. The panels are designed to fit together seamlessly for a smooth, continuous appearance.
Easy DIY or Professional Installation
Whether you’re a seasoned pro or a weekend DIYer, installation is quick and straightforward. All you need is a circular saw, screws, and/or construction adhesive. These panels are also suitable for ceilings, around alcoves and windows, and even gently curved walls. Visit our How To Install page for a step-by-step guide and helpful video.
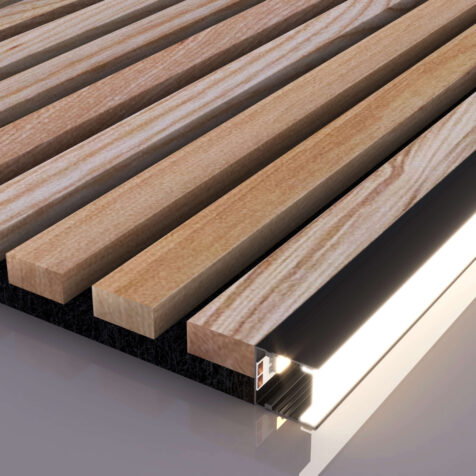
Integrated LED Accent Lighting
Enhance your design with our easy-to-install LED lighting solutions. Our LED channels are designed to integrate perfectly with our slat panels, creating a smooth, spot-free glow that highlights the natural beauty of the wood while adding a sleek, modern touch.
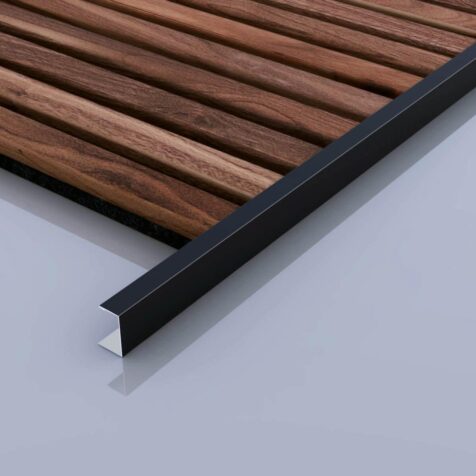
Finish with Stylish Metal Edge Trim
For a clean and polished look, complete your project with our metal edge trim—available in black or brushed finishes. These trims are ideal for finishing edges on walls, ceilings, or wainscoting, giving your installation a refined and professional appearance.
Superior Acoustic Performance
Our White Oak Slat Wall Panels are not only beautiful—they’re functional too. With an NRC rating of 0.5, these panels help absorb sound and reduce echo, making them ideal for living rooms, offices, and commercial spaces that benefit from improved acoustics.
Effortless Style Upgrade
Transform your space with the look and feel of a high-end renovation—without the expense or hassle. Whether you’re refreshing one wall or redesigning an entire room, our slat panels deliver natural elegance, acoustic benefits, and long-lasting quality that elevate any interior.


Reviews
There are no reviews yet.