


Walnut Solid Wood Slat Wall Panels
$209.00 per box
Installation:
Glue & ScrewsMaterial:
American WalnutQuantity per box:
2 panelsSize per panel:
46” x 20" 11/16” x 7/8”Box Coverage Size:
46" x 41 3/8"Available sizes:
How many boxes do you need?
* All values are in inches!
Related products


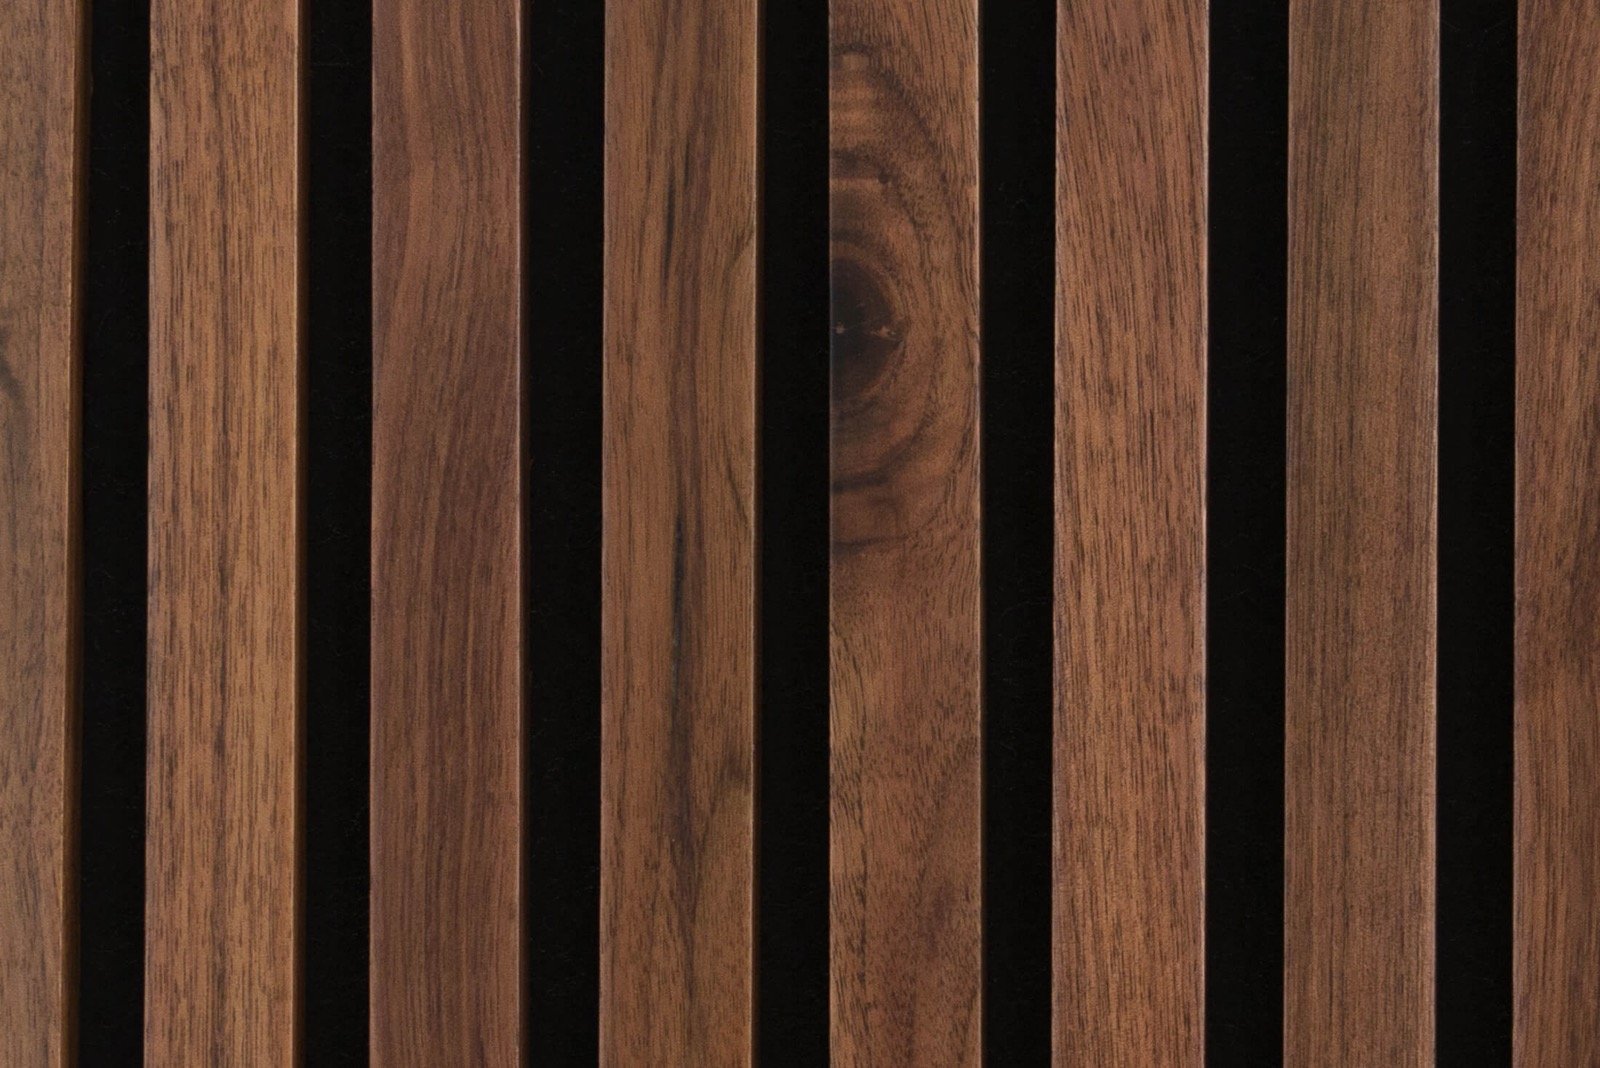
Walnut Solid Wood Slat Wall Panels
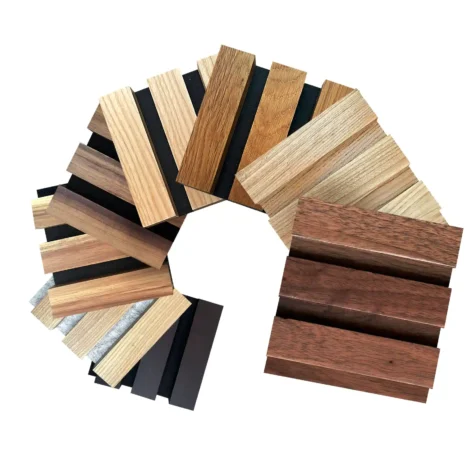
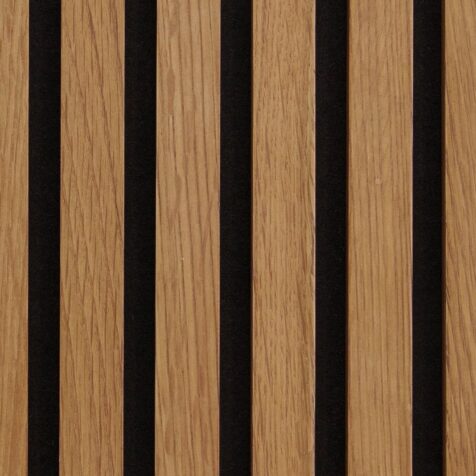
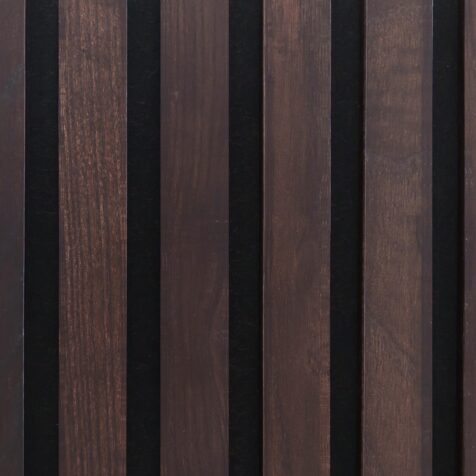
Walnut is one of the most famous and beloved woods for interior décor and furnishings. You’ll love the rich mocha hue of our Walnut Solid Wood Slat Wall Panels: this hardwood is very durable and features a distinctive straight grain with attractive knots and waves. It’s a classic looking wood suitable for a wide variety of home styles.
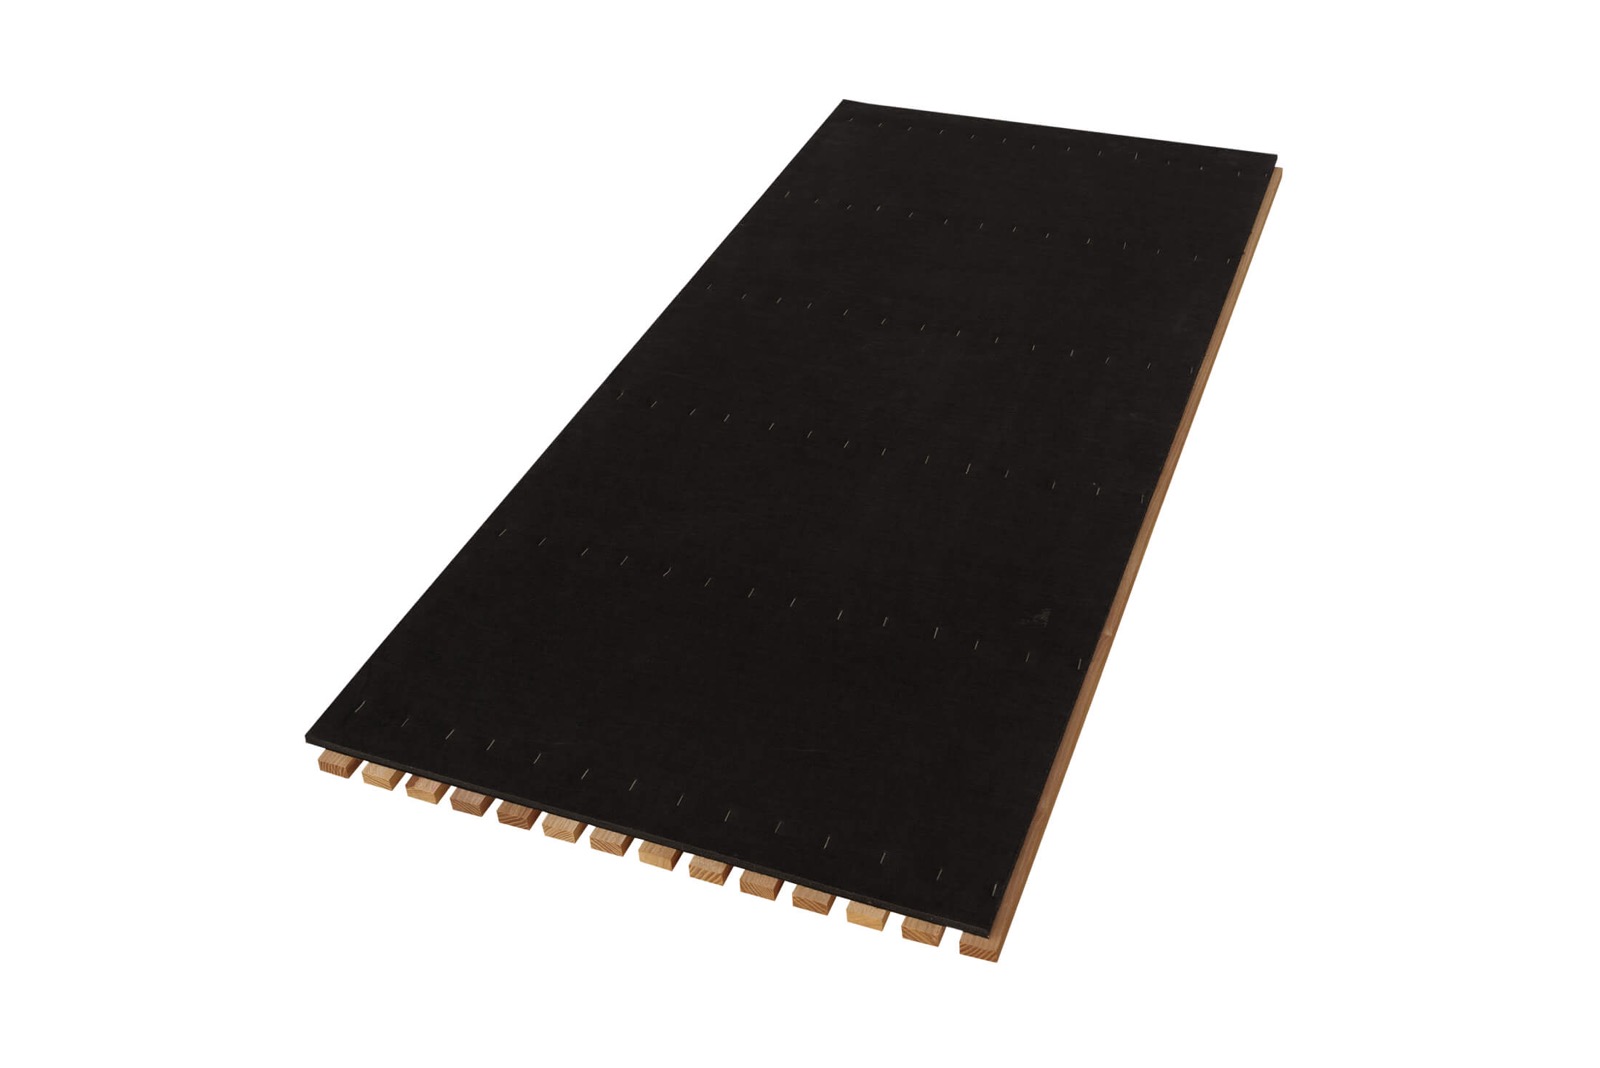
Specification
Our Solid Wood Slat Wall Panels are made from genuine solid American Walnut wood, hand-treated for maximum beauty and wear-resistance. Wood panels come in pairs (2 panels per box) and each wood slat panel measures 46 x 20 11/16 x 7/8 inches; multiple panels can be joined together seamlessly to create a professional-looking DIY wood slat wall.
For DIYers & Pros
DIY home projects aren’t a chore with Woody Walls—they’re less hassle and more affordable than a traditional remodeling job. All you need to install our slatted wood wall panels are a circular saw, screws and/or construction adhesive. They can also be mounted on ceilings, around alcoves and windows, and even on gently curved surfaces. Visit our How To Install page for instructions and a video demonstration.
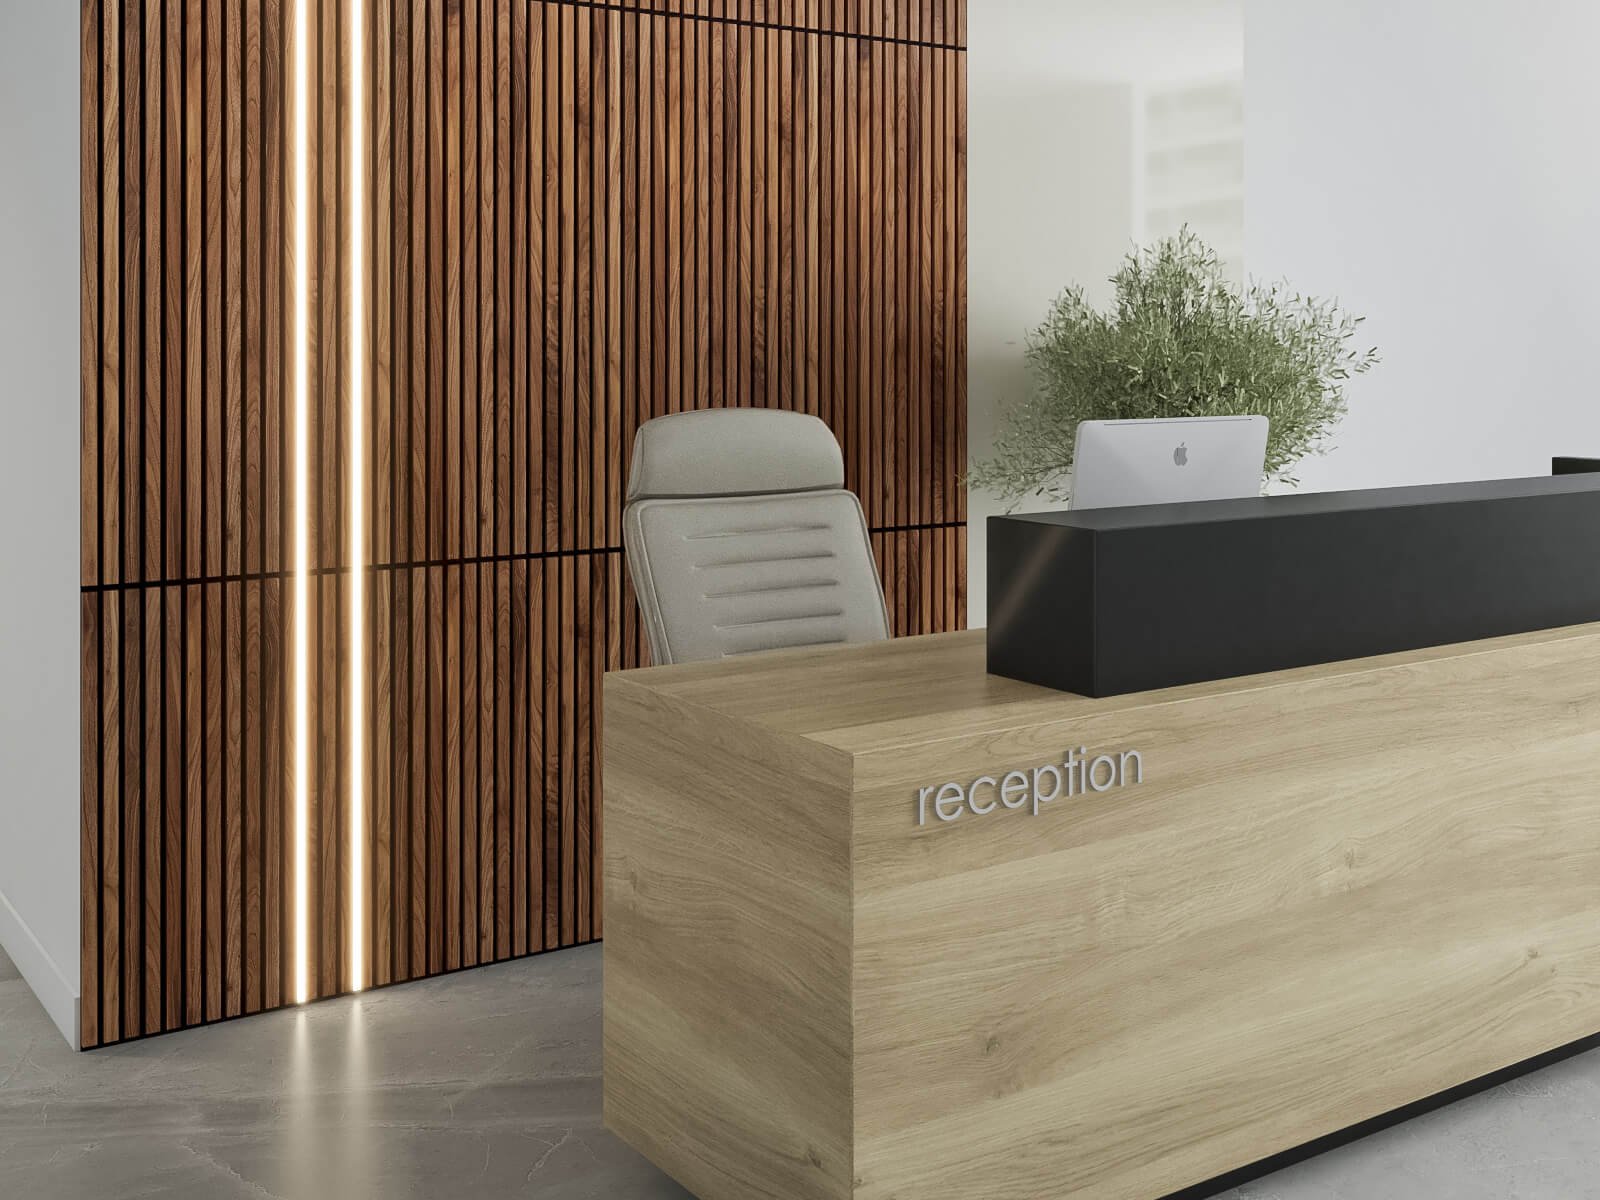
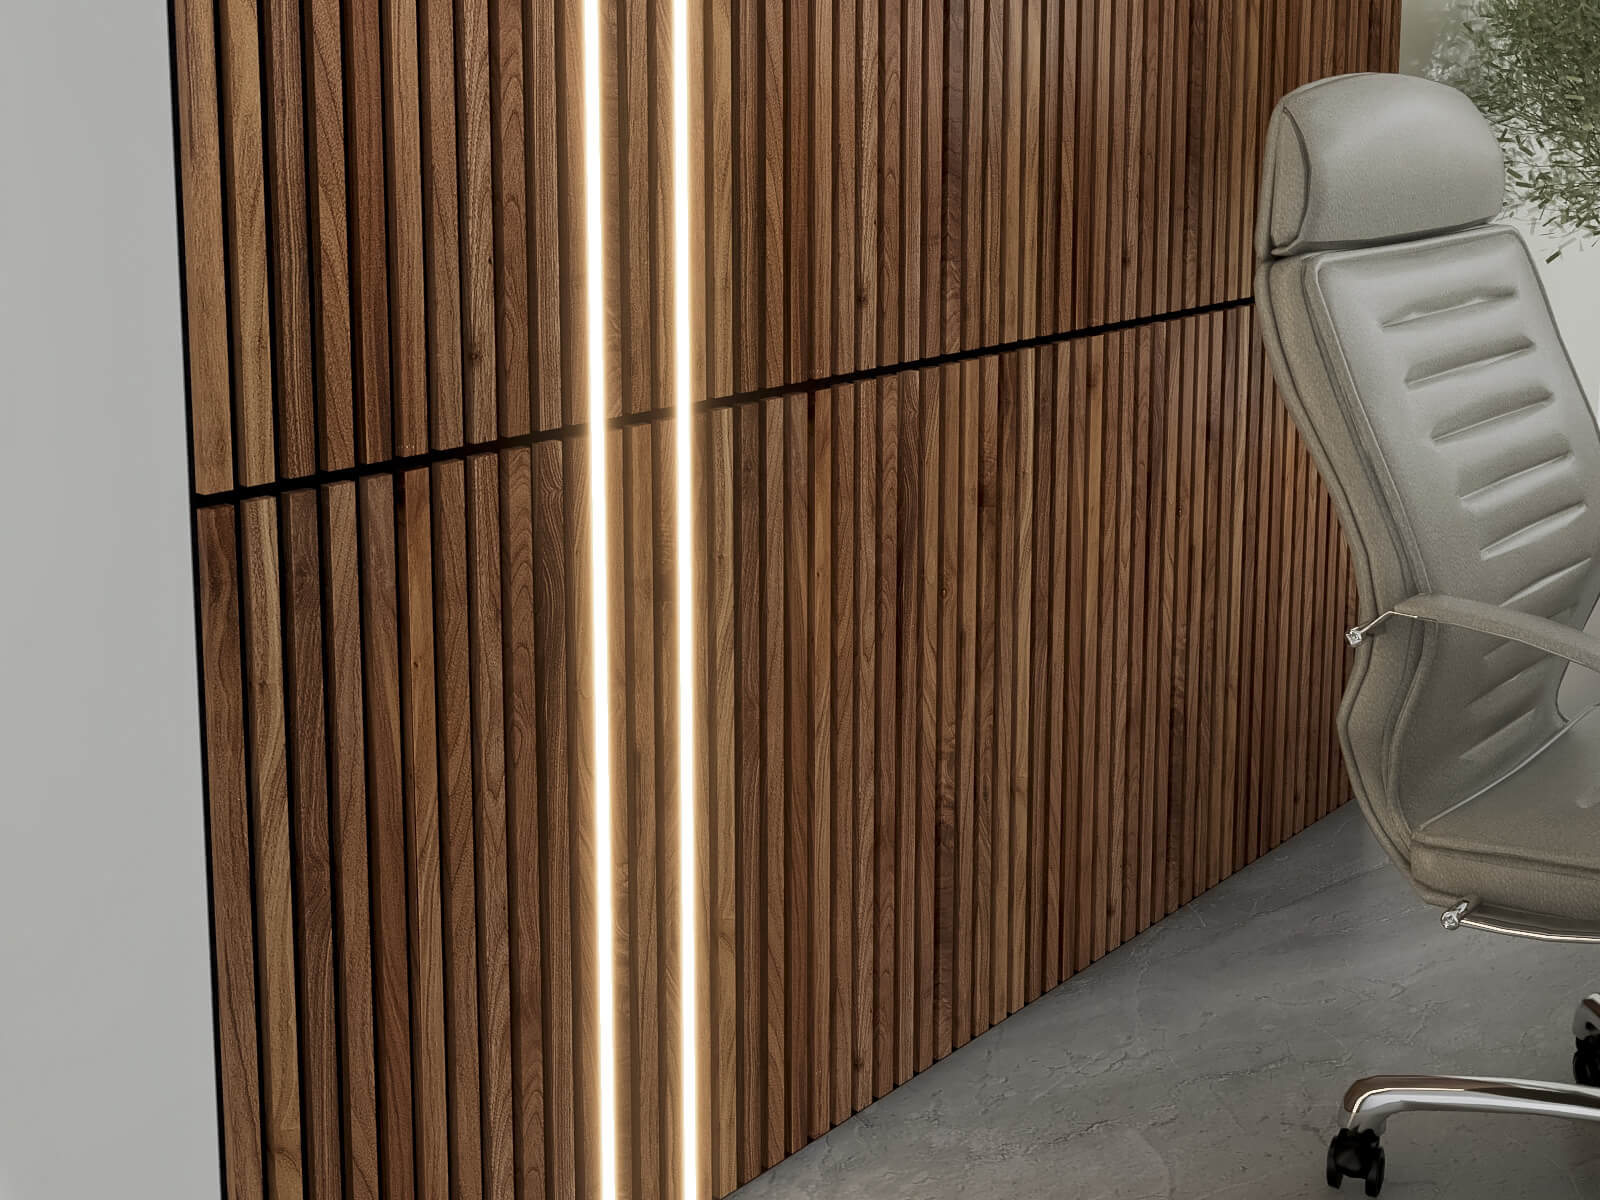
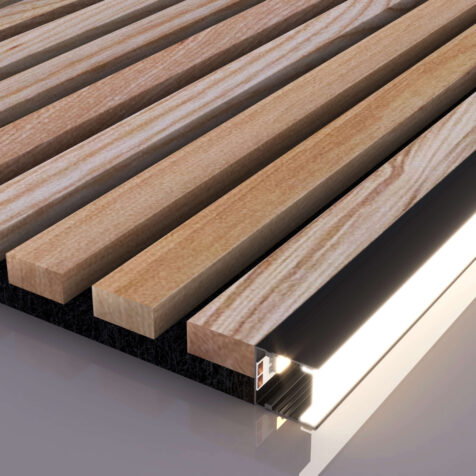
Enhance the Beauty of Your Wood Slat Wall with Our LED Channel Lighting
Renew and amplify the aesthetic charm of your Woody Walls Wood Slat Wall by embracing our extraordinary LED accent lighting. Tailor-made for Wood Slat Walls, our accent lighting solutions are designed to elevate the visual appeal of our Acoustic Slat Wall Panels. These seamlessly integrated LED channels and Edge lighting channels flawlessly blend with our slat wall panels, allowing you to effortlessly create captivating lighting effects that enhance the inherent beauty of your wood slat wall, infusing it with an added touch of sophistication.
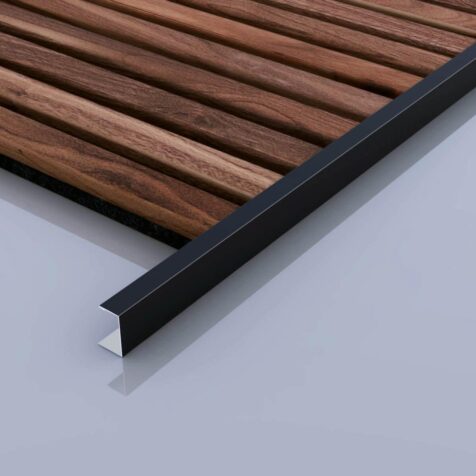
Perfect Pairing: Wood Slat Wall and Edge Trim for an Elegant DIY Project
Enhance the sophistication of your DIY endeavors by seamlessly combining slatted wood wall panels with either Black Metal Edge Trim or Brushed Metal Edge Trim. While acoustic wood slat panels offer versatility for a range of interior concepts and DIY undertakings, achieving a polished edge finish can pose a challenge. Our Edge Trim provides an optimal solution, addressing edge-finishing concerns and adding a touch of refinement to your creative ventures. Additionally, our Edge Trim is the perfect solution for enhancing the aesthetics of wood accent walls, ceilings, and wainscoting, ensuring a cohesive and refined result for your entire space.
Improve Sound Quality
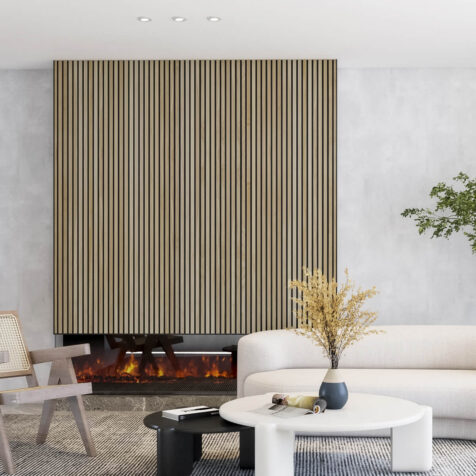
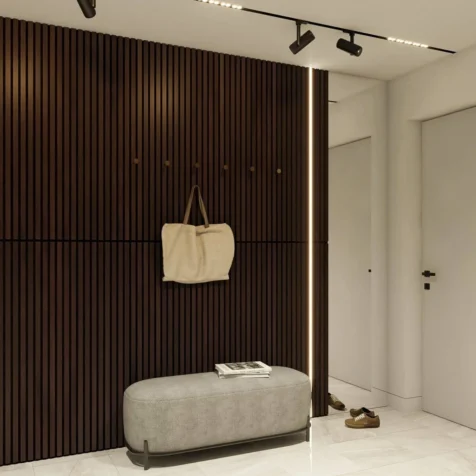
Bring Your Dream Décor Style to Life
The elegant, authentic appeal of these acoustic slat wood wall panels creates a distinctive and appealing look. Our Walnut Solid Wood Slat Wall Panels are versatile and perfect for a variety of styles—are you ready to create walls you will really love to live in?
Reviews
You must be logged in to post a comment.


2 reviews for Walnut Solid Wood Slat Wall Panels
I used the real walnut wood panels and added some LED accent lighting—all of which I found here. The process was super easy and convenient. I absolutely love how my proje ... I used the real walnut wood panels and added some LED accent lighting—all of which I found here. The process was super easy and convenient. I absolutely love how my project turned out!
Anné Rothermel Verified Buyer
Woody Walls’ Acoustic Slat Panels are a game-changer for my home office. They not only look sleek and modern but also greatly reduce the echo in the room, making it a mor ... Woody Walls’ Acoustic Slat Panels are a game-changer for my home office. They not only look sleek and modern but also greatly reduce the echo in the room, making it a more comfortable space to work in. Installation was simple, and the natural wood finish is stunning. I’m really impressed with the quality and design!
Marvin Smith Verified Buyer